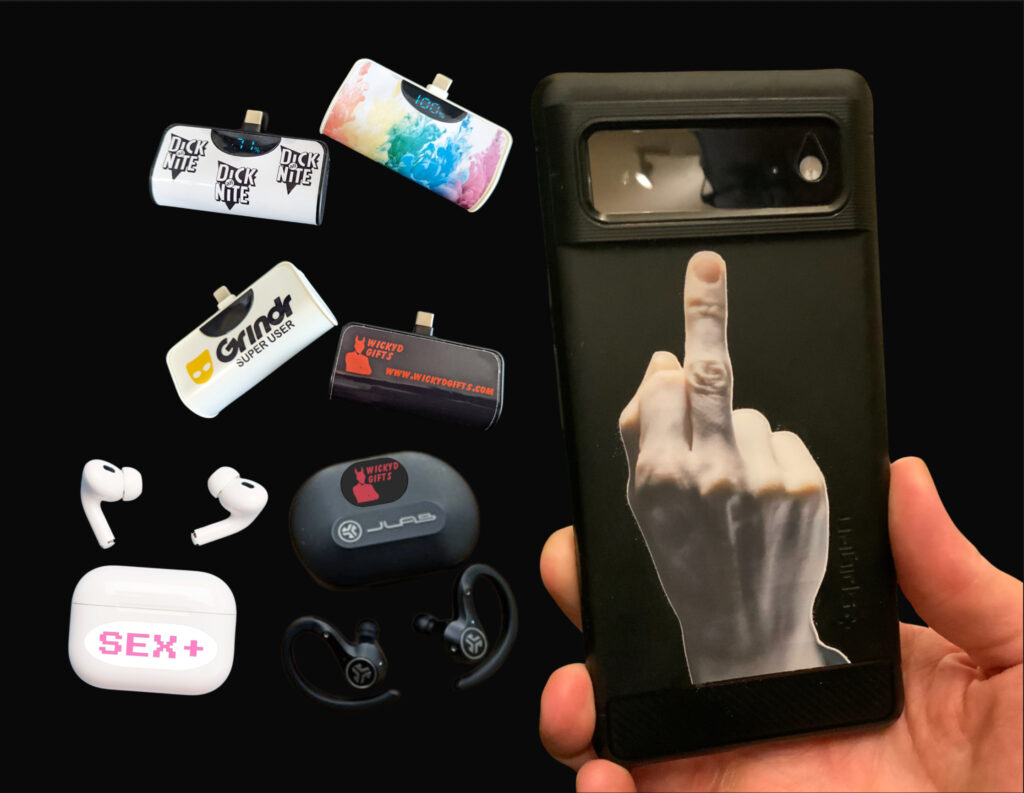
If you’ve been following along, I’m sure you’ve noticed that I am constantly using printable vinyl in many of my projects. It is such an inexpensive, versatile material that can be used for so many applications.
I have created fake Action Figure Packaging of my friends for a group Christmas gift. I’ve made temporary custume patches to easily repurpose the same outfit for different Halloween parties. And quite recently, I showcased how easy it is to produce prank stickers in a jiffy.
And here we are with another printable vinyl hack. This time, with a focus on personalizing something for yourself in mind. At least for me.
So follow along with a few of these off-the-cuff projects that I am currently working on, in hopes to inspire yourself to personalize something too.
So let’s get into it…
MATERIALS
Printable Vinyl (I prefer JandJPackaging from Amazon)
Measuring Tape
Some Sort of Design Software
Items to Customize, such as:
Portable Charger (Shown here with the YHO 2-Pack Mini Portable Charger Power Bank)
Wireless Earbuds Case
Phone Case
Select items to personalize
For this project I have settled on a phone-themed set: a new external charger set, my wireless headphones charging case, and my phone case. I liked the idea of theming everything around my phone, but i knew that each individual design wouldn’t necessarily correlate with one another.
But you can personalize almost anything using printable vinyl, so keep an open mind and get creative while out and about. Maybe you will be inspired by some random items while shopping at Home Goods, the Target dollar spot, or while out thrifting.
Measure and prepare your items
Starting with the external chargers, I loved their compactness and how they just plug directly into the phone without the need for a separate cable. What i did not love was the sparkle motion glitter decal that it came attached with.
Using good old fashioned force, I carefully removed the original decal from the charger. Once removed, I measured the decal’s dimensions. This will help to create a template to design on in the next step.
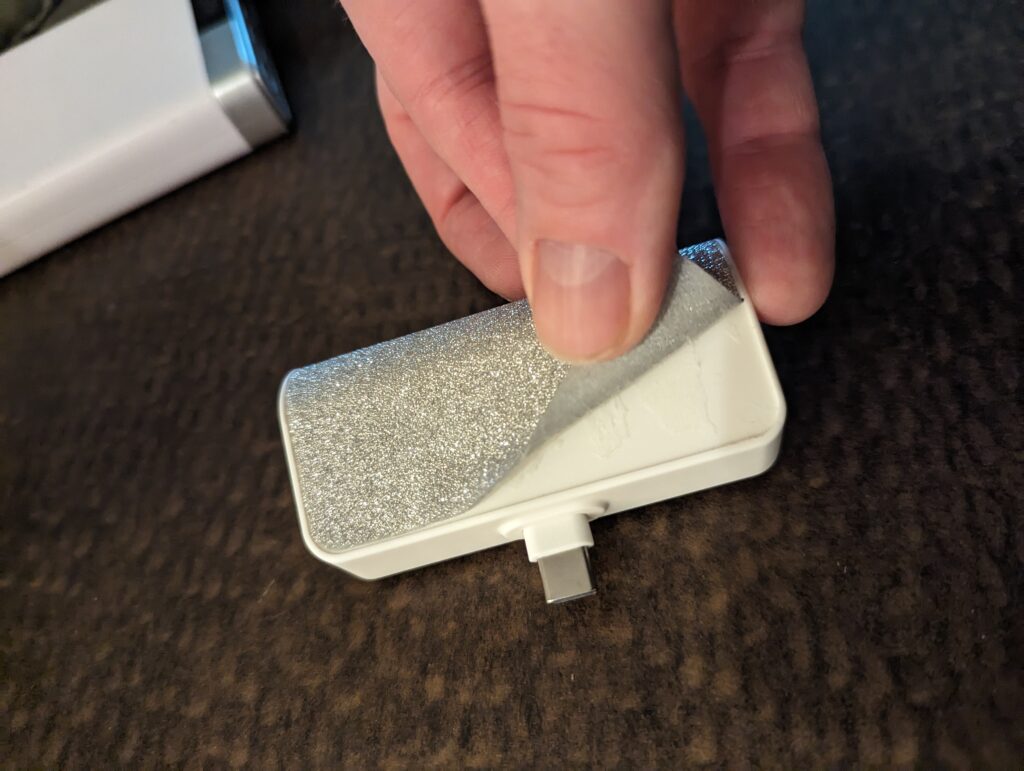
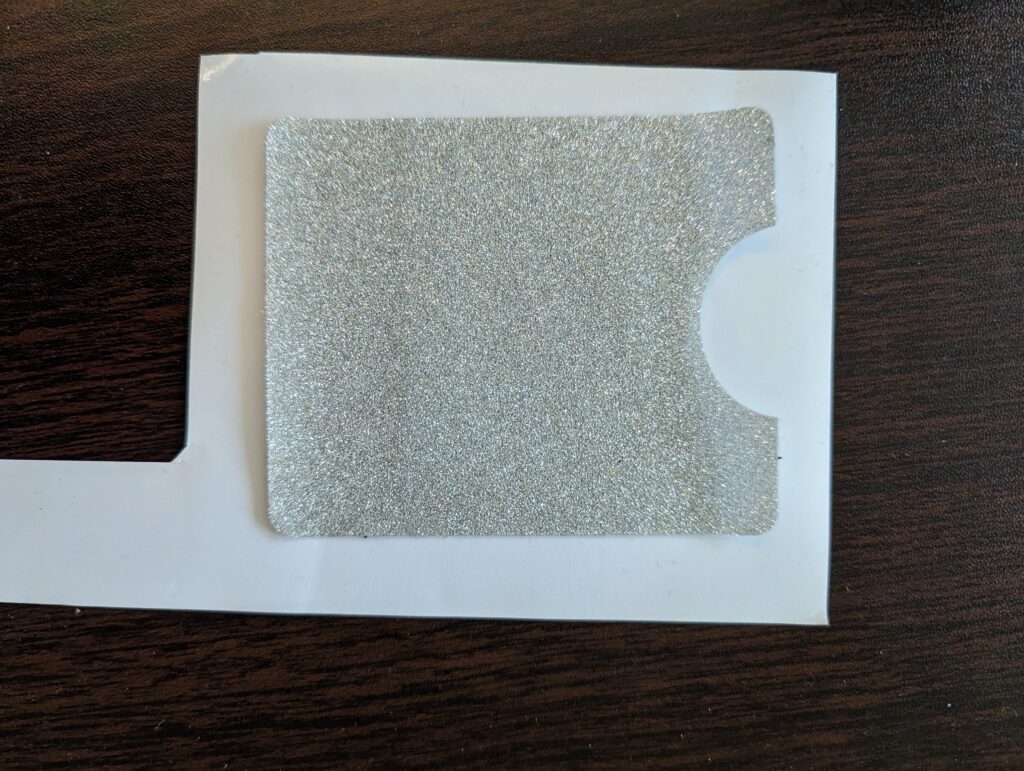
I found there was still quite a bit of residue left over on the product, so I cleaned the remaining residue off using Goo-Gone and a microfiber towel. For any remaining adhesive along the edges I dipped a Q-tip in the Goo Gone, I then used a (barely) damp cloth to clean off the remaining cleaner.
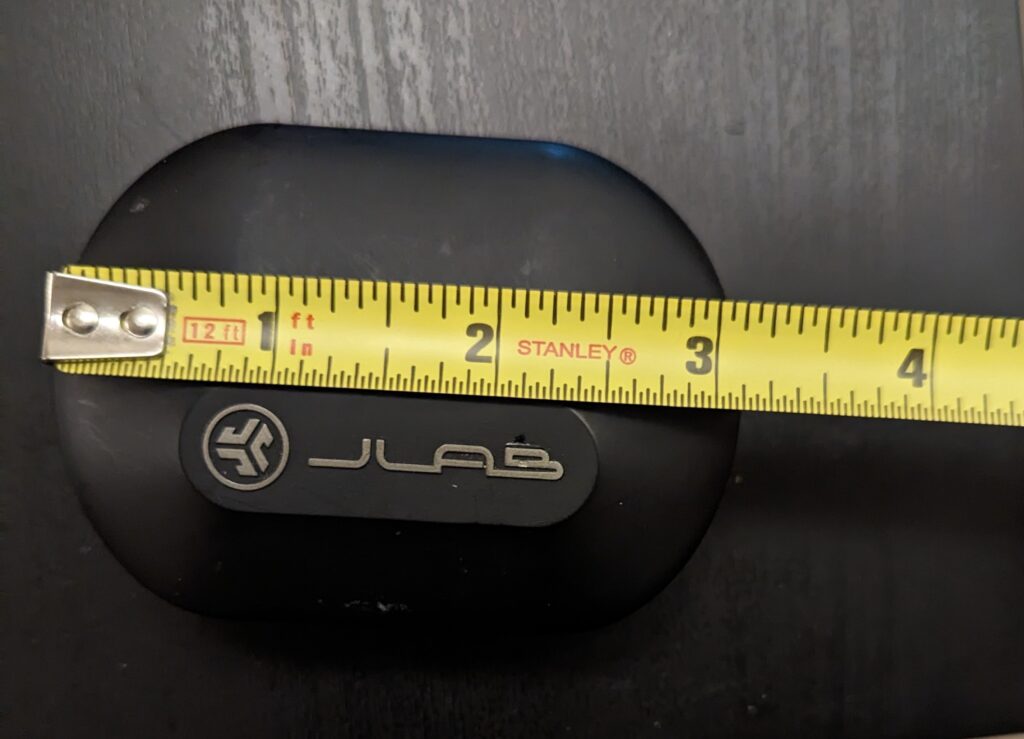
For the earbuds and phone cases, I simply measured the usable design area. I then cleaned the surface area using a disinfectant wipe and allowed it to dry.
Create a template for each item
For both of the cases, I created a template within Cricut Design Space by adding a shape to the canvas, changed its size to the pre-measured dimensions, and then turned the shape into a Print-Then-Cut. I then brought in some previously designed elements, and messed around with placement.
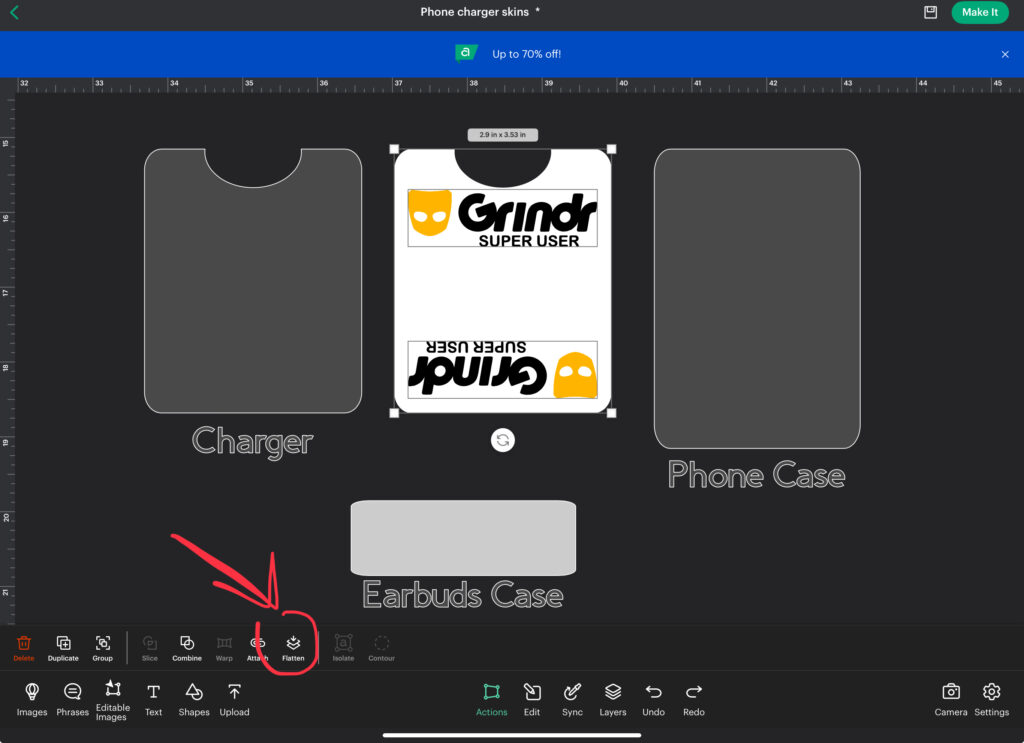
Knowing the charger(s)’ designs would have more complex detail, I first recreated the removed decal shape in Cricut Design Space. I then took a screenshot of the shape, and inserted it onto Canva so I could remove the background.
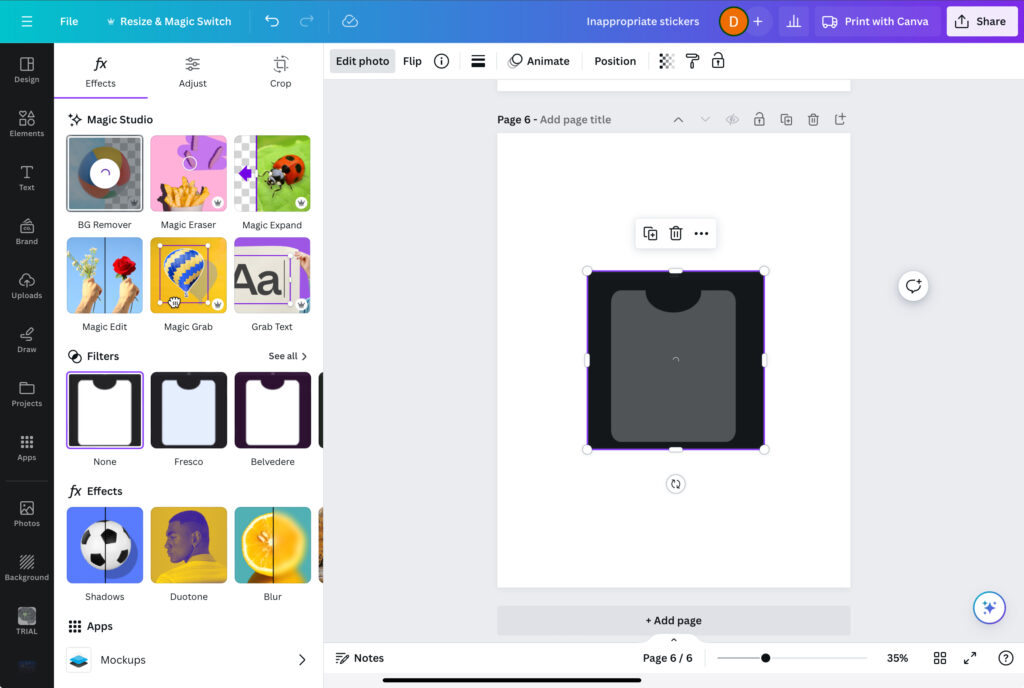
Once this step was completed, I brought the new template into Procreate where I could work with its final design. (You’d think with all these extra steps I’d finally get around to learning Adobe or Affinity by now)…
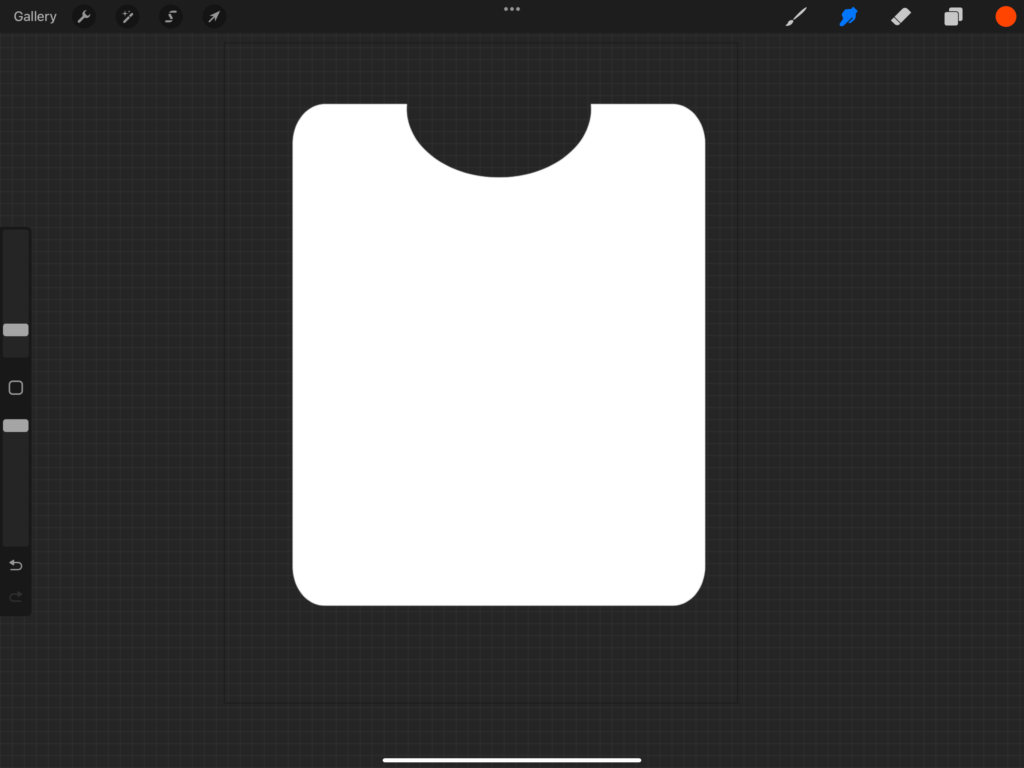
Create a customized design for the items
Using the different templates for the cases, I brought in some previously designed elements, messing around with placement. Once I was happy with everything, I flattened all of the elements (including the template), for it to be a single Print-Then-Cut project.
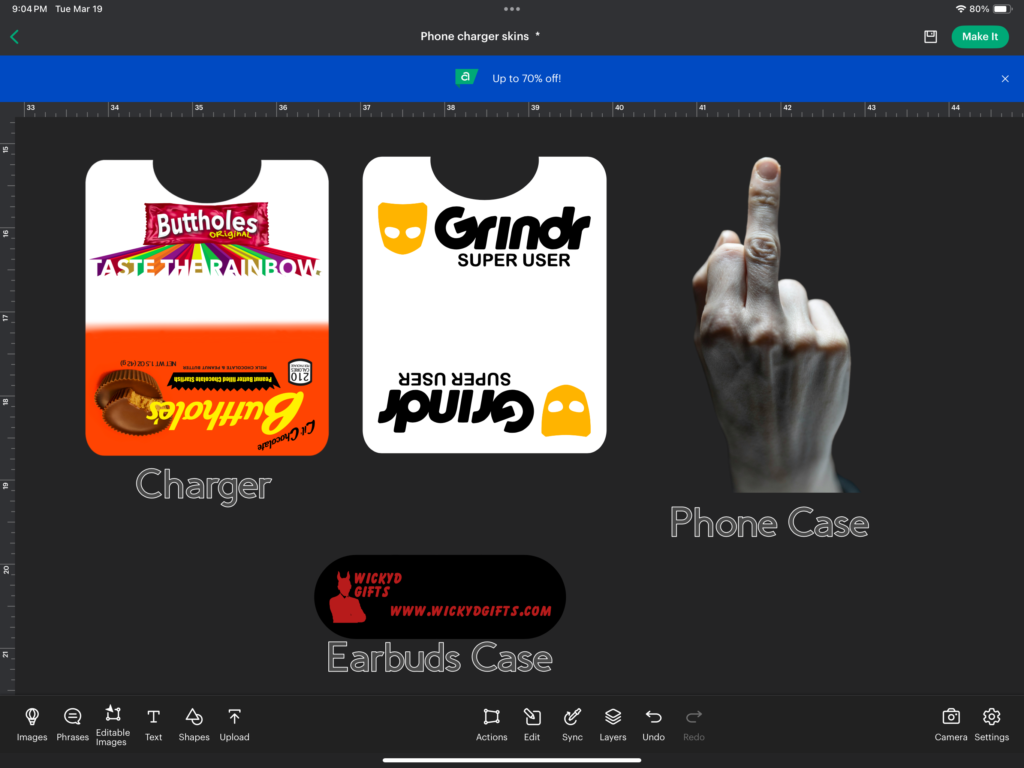
When designing the chargers, in Procreate I first turned the main template into Alpha mode. This will make sure any images that have clipping mask turned on will stay within the borders of the template. I brought in other design elements to fill the design using this technique.
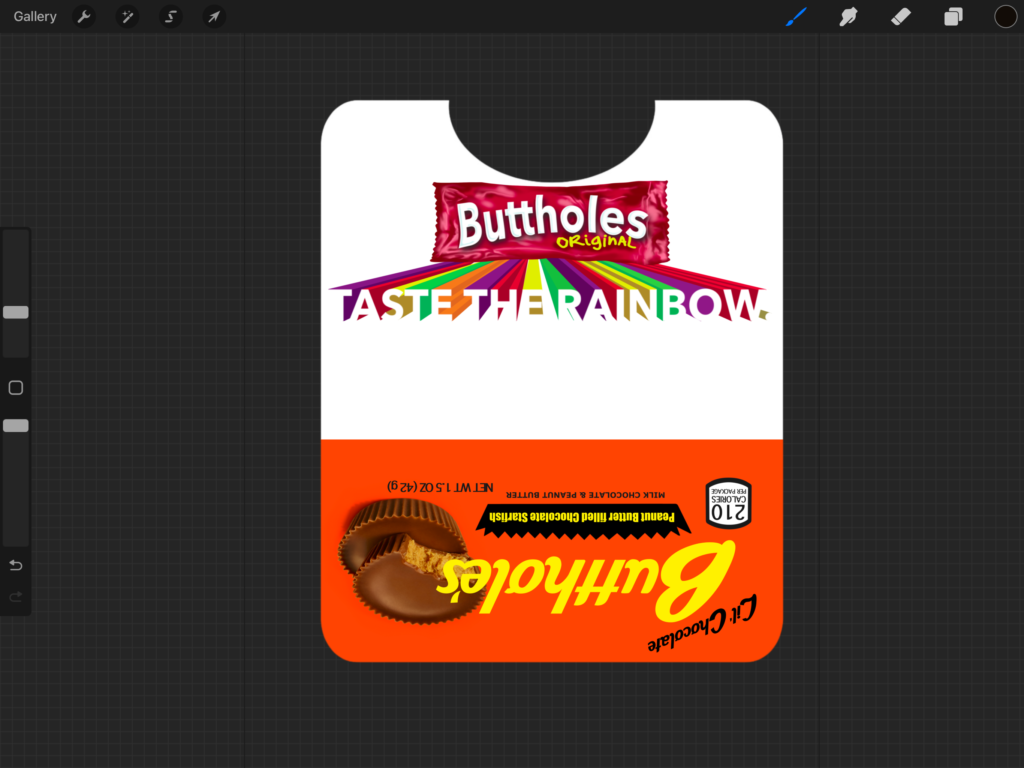
Once happy with the design, I saved the file as a PNG, uploaded it into Cricut Design Space, and resized to its original template size.
*I’ve noticed that when using an AI removed background PNG, occasionally the edges might not be as perfectly sharp as Cricut Design Space prefers, causing lines that are less than straight. Because of this reason, I will sometimes resize my design ever so slightly larger than the needed dimensions, and use the original template shape to slice out the final design. This step isn’t done every time, only when I notice the possibility for error.
Print, Cut and apply the design
With the new designs ready, select “Make It” in Cricut Design Space. This will first allow you to alter the Print Then Cut design layouts on the mat. (Helpful if you have multiple designs to print and would like to conserve vinyl — sometimes Design Space doesn’t utilize the printable areas in the most economical way). The next screen will allow you to send your images to the printer, then select the material to be used to cut them out.
With everything properly set up and selected, apply the print(s) to your mat, and then load the mat into your Cricut machine. Select the “Go” button, and allow the Cricut to work its magic.
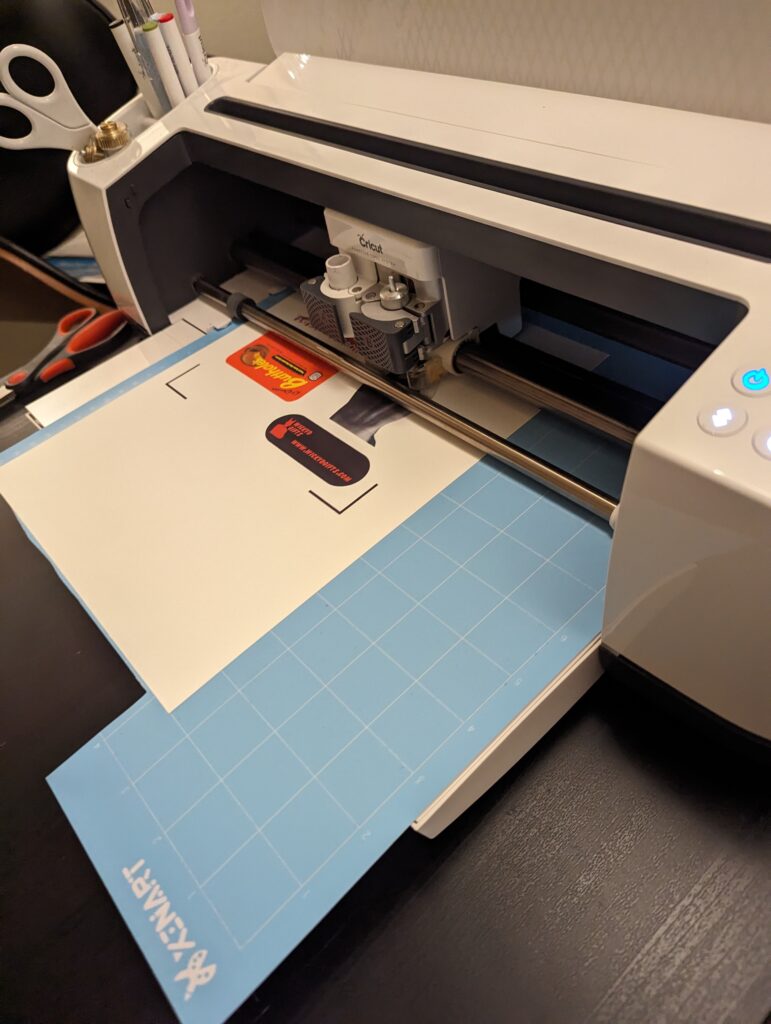
Once cutting is completed, unload the mat and carefully remove your designs by flipping over the at and removing the mat away from the prints, vs the other way around. This will reduce curling of your designs.
Apply your designs to selected items
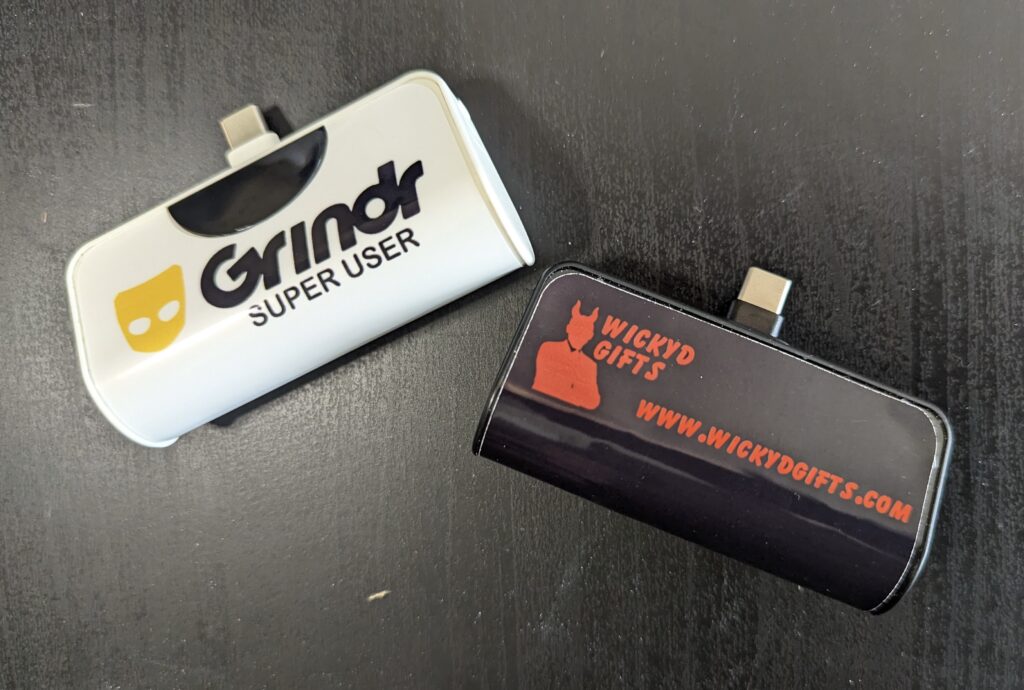
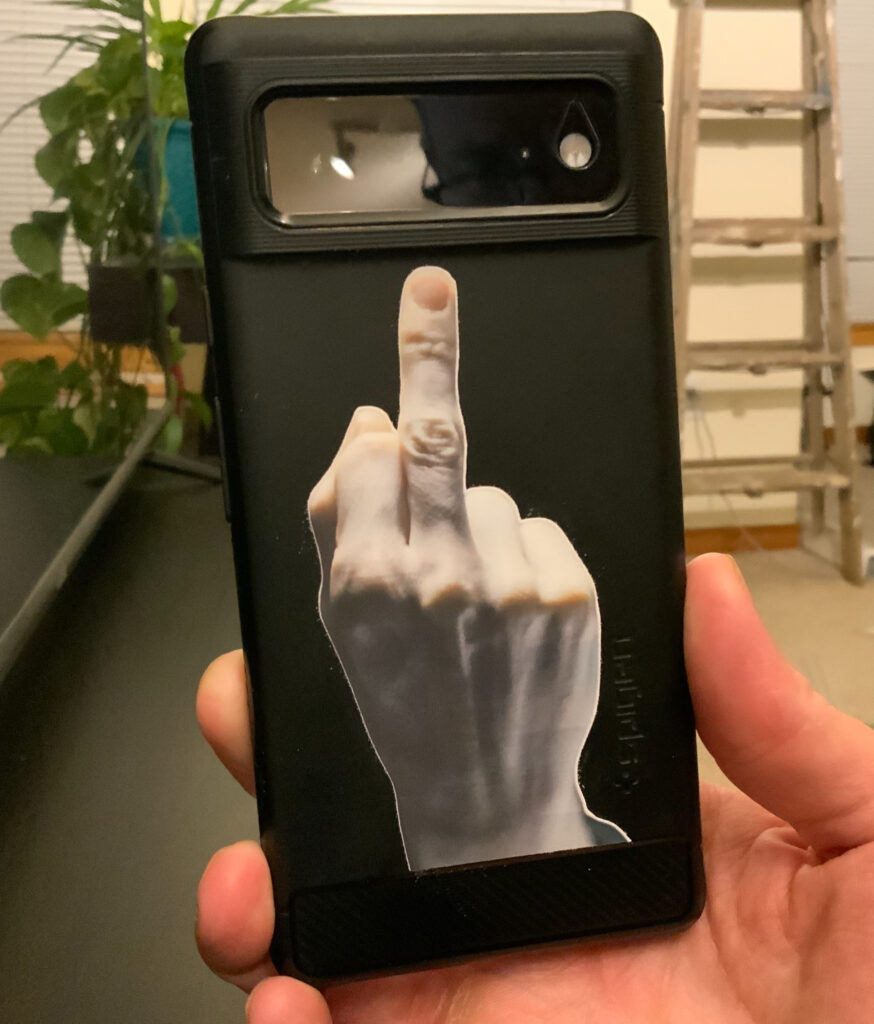
Now, this all is not to say that printable vinyl does not have its setbacks. Printable vinyl isn’t particularly waterproof, nor is resilient from wear and tear. So while choosing what you would like to personalize, keep in mind its likelihood of coming in contact with the elements.
If you find your item(s) may easily become wet or affected by constant handling or friction, you can add a clear vinyl laminate over your design. This will help to make things sufficiently waterproof and help with general wearing. Perfect for something like custom stickers on water bottles, or an item that may find itself freely rolling around in a bag from time to time.
And there you have it, my trusty pal printable vinyl yet again lending a helping hand to personalize something special. What items will you be personalizing? Any fun ideas for the class? Share in the comments and let’s get to making.
Okay, bye….!

