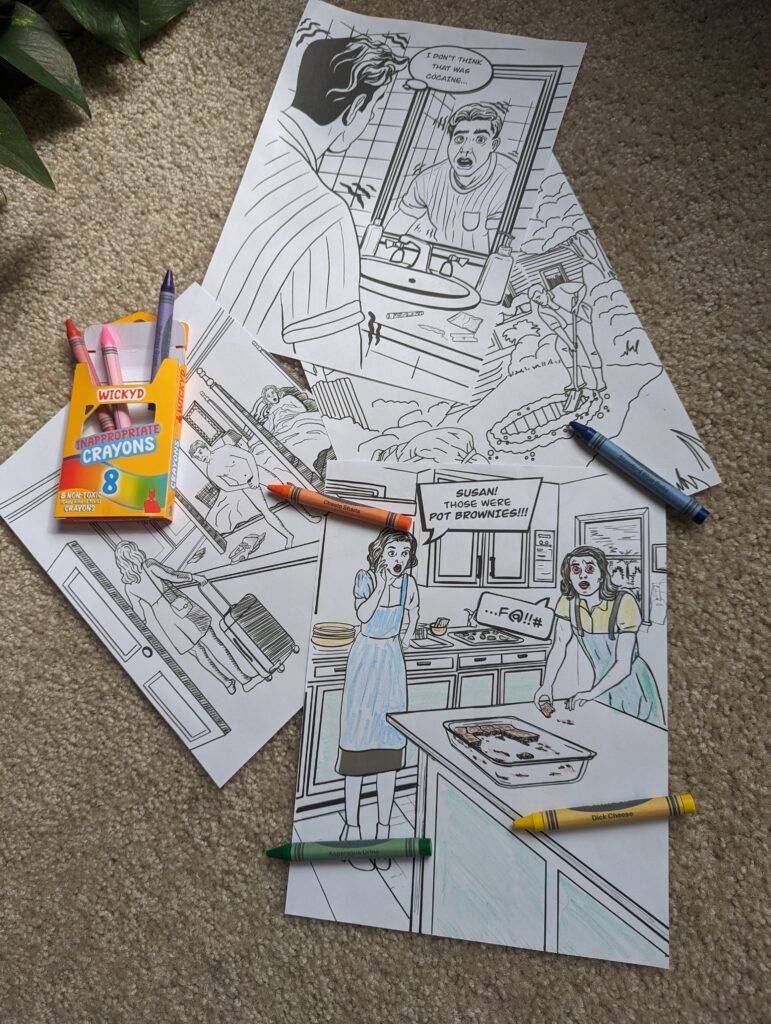
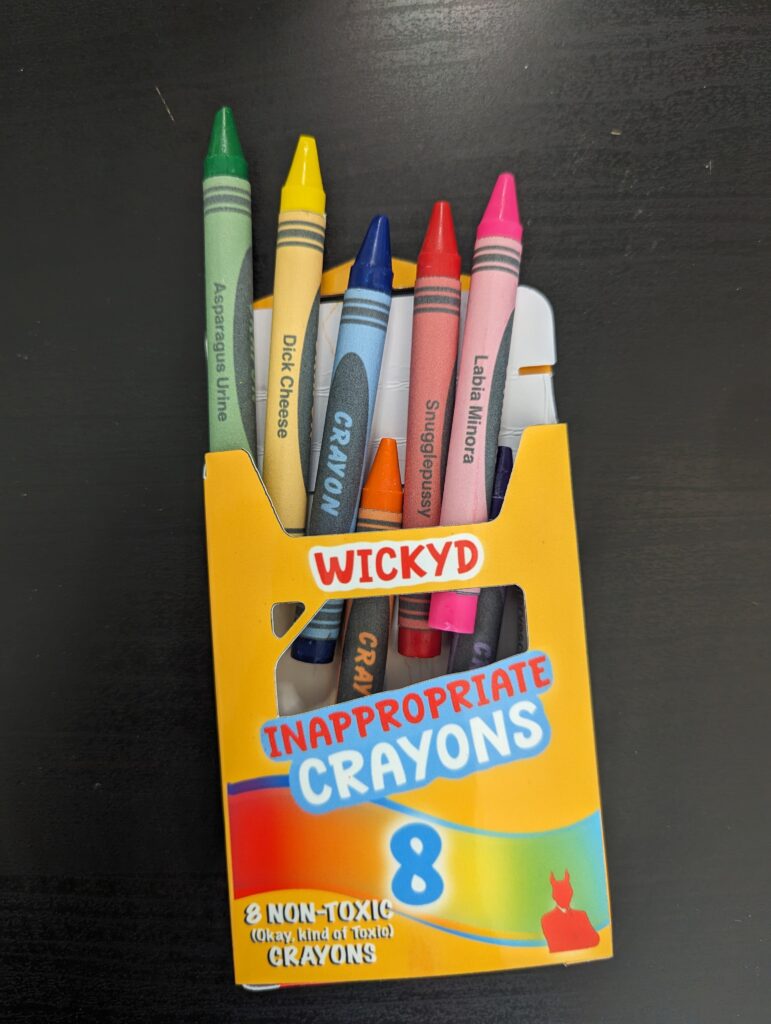
In preparation for the release of my “Where The F#@! Did It All Go Wrong?” adult coloring book that is almost compete, I thought it would be fun to create some properly themed custom crayons to go along with them. The concept is simple: buy some crayons, relabel each one with a much more creatively named title, and create a custom crayon box to accompany my coloring book. Simple enough. So no more dilly-dallying, let’s get into it…
MATERIALS
Crayons
Stationary or construction paper
Printable vinyl
Poster Board
Glue stick
Printer
Design Software of Choice
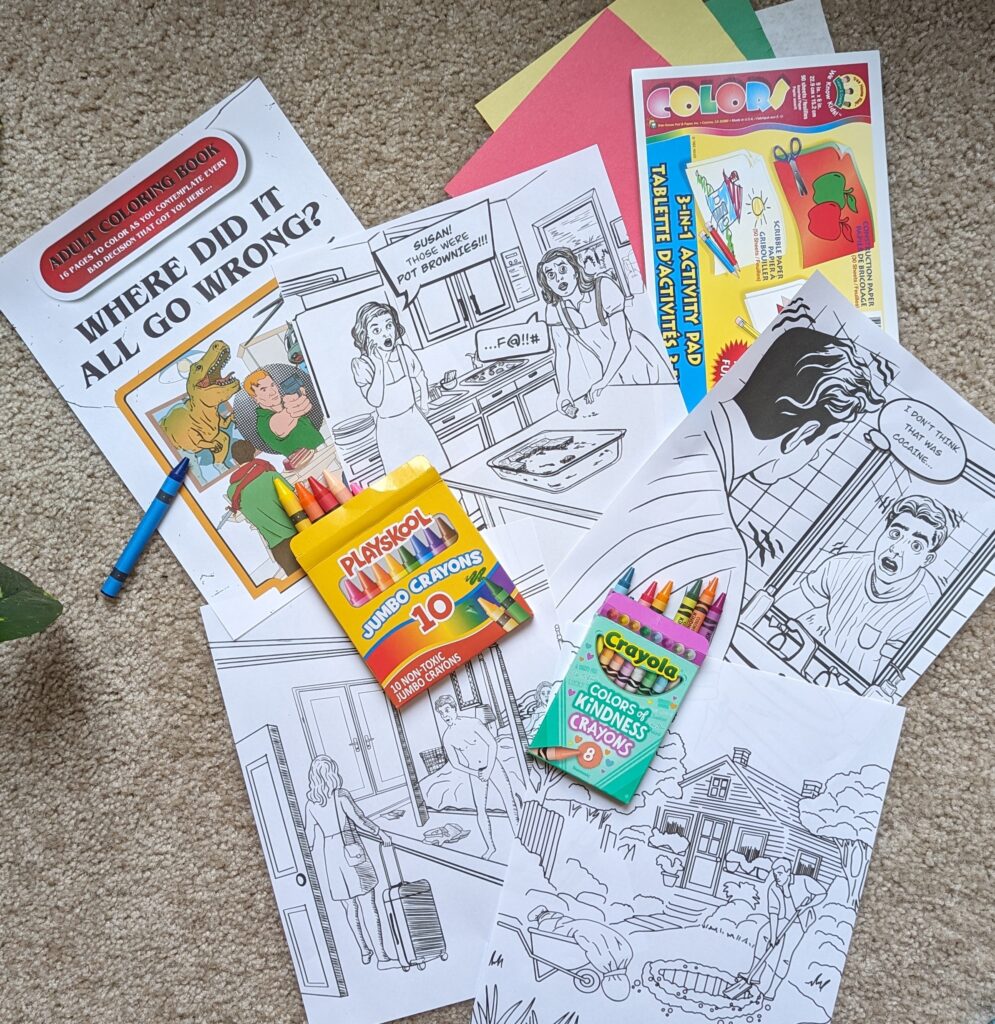
RENAME EACH CRAYON COLOR
To begin we need to come up with your new crayon titles. Take one crayon out of its box at a time, and read its original name. Try to brainstorm a funnier, off-the-wall name to replace it. If possible, write down multiple options for each color, and with each new name try to one-up the last. Do this until you have names for each of the crayons.
For the crayons that have multiple name options, go through your list and circle or highlight your favorites until you have narrowed down one title for each crayon color.
DESIGN YOUR CRAYONS
With new names in hand, we must design the new crayon labels. For this tutorial, I made a simple template by first measuring a carefully removed crayon’s label. I then measured the label, and created a canvas to the appropriate dimensions in Procreate.
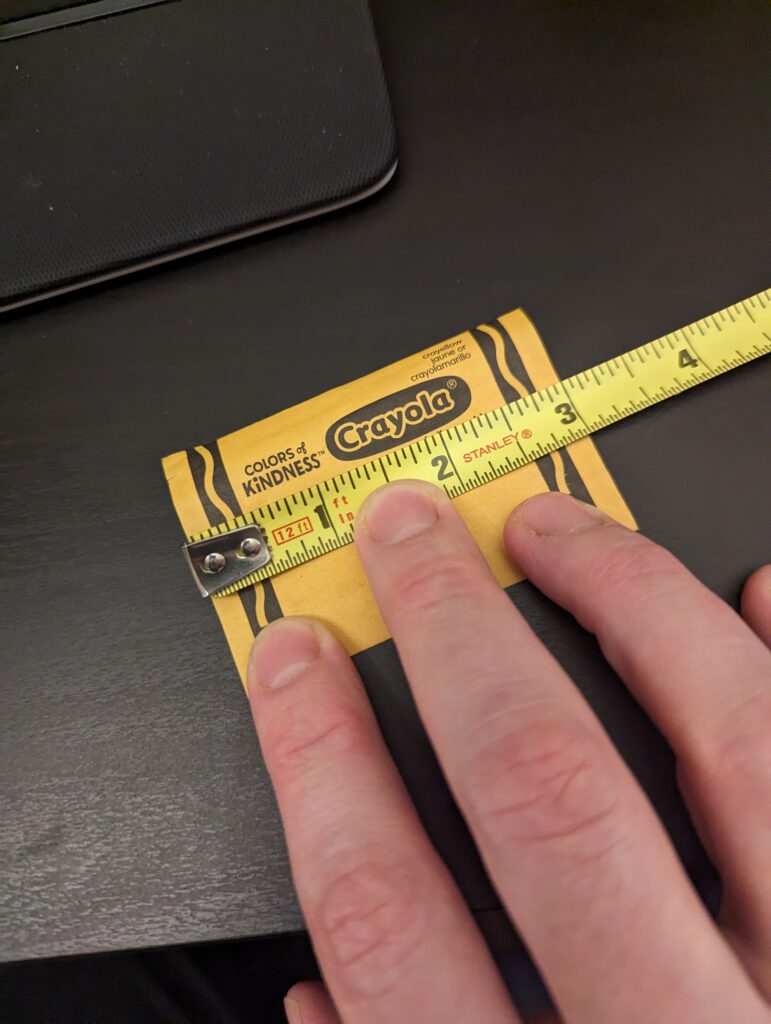
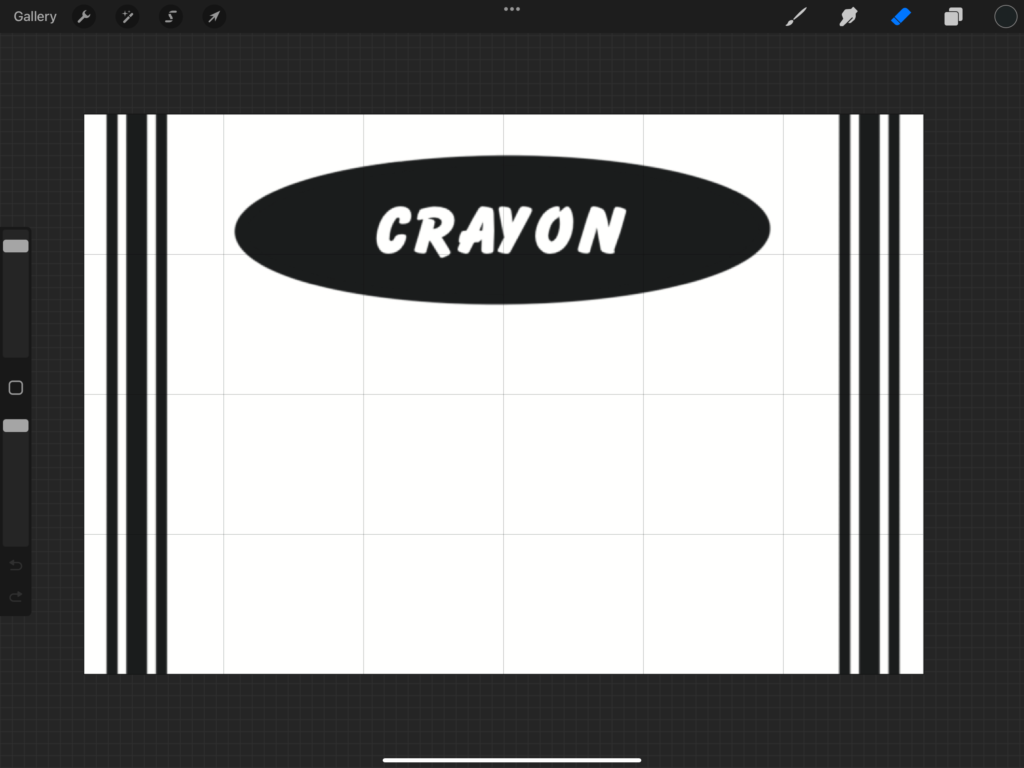
Once the canvas is set up to the proper dimensions, begin to design a simple crayon template that can be easily swapped out for each crayon name. Once happy with the way it looks, change the canvas size to 8.5” x 11” and duplicated the template set to fit as many labels as you can (in this case 8).
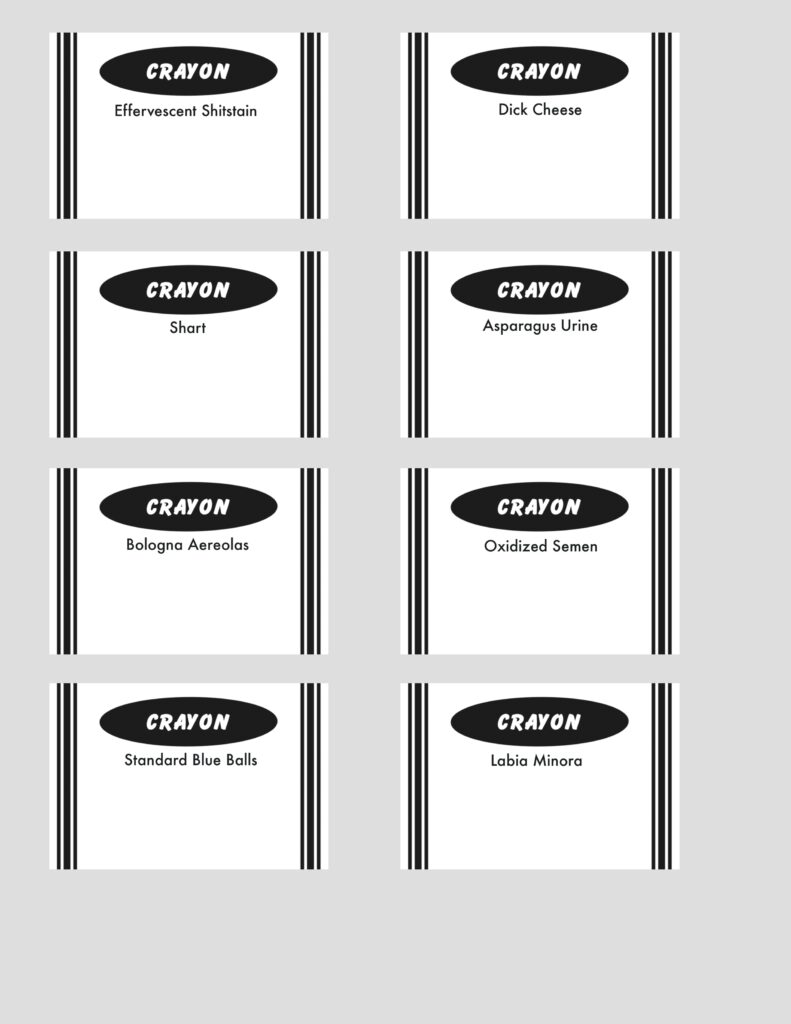
Individually select each white label box and change the color to match the corresponding name. Use the original crayon labels as reference if necessary.
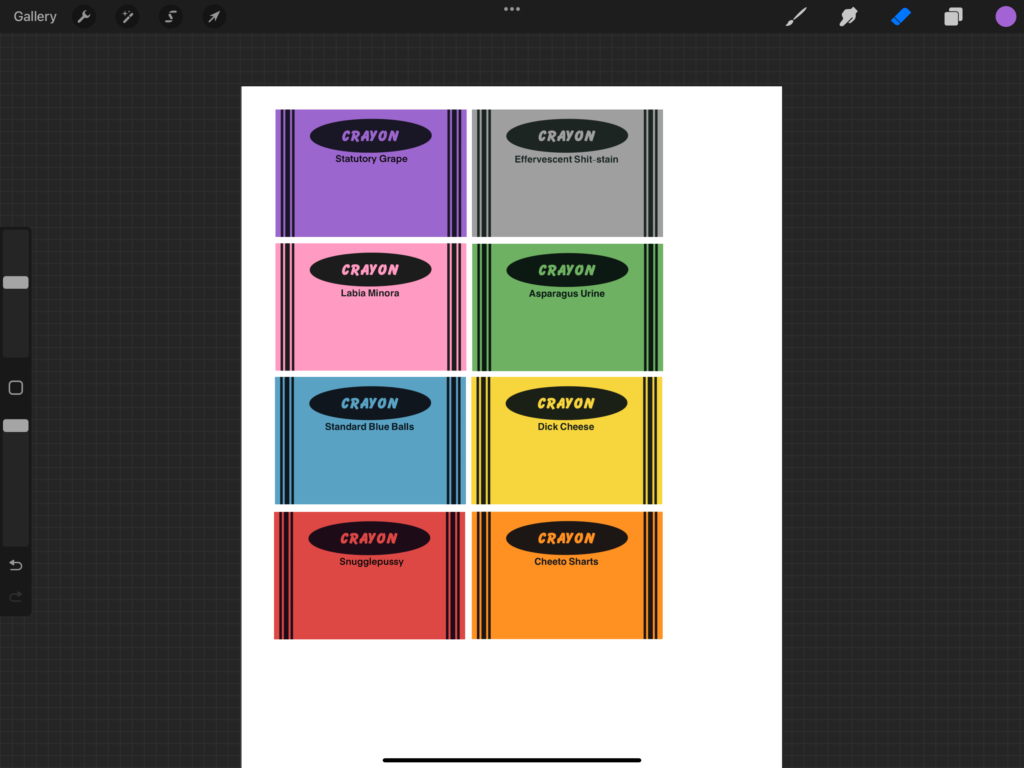
After inputting each crayon name, do a final check for spelling or design errors. Once happy with everything, save it as a PNG to be imported into Cricut Design Space.
(Importing to Cricut Design Space is technically optional, as you can easily send the design to your printer and cut them out using a straight edge or paper cutter.)
*As always, use whichever design software you are most comfortable with.
SET UP YOUR CRICUT PRINT THEN CUT FILE
Upload the crayon label png file into Cricut Design Space and save it as a Print Then Cut File. Once the file is saved, it will auto-populate onto your canvas, however It will most likely not keep its original dimensions. A simple way to resize is to go to shapes, insert a square, and resize to the original dimensions of 3” x 2” (or similar). Place this rectangle over the first crayon label, and then using the resizing node, resize your file to match the rectangle’s dimensions. Once everything looks in order, hide or delete the reference shape.
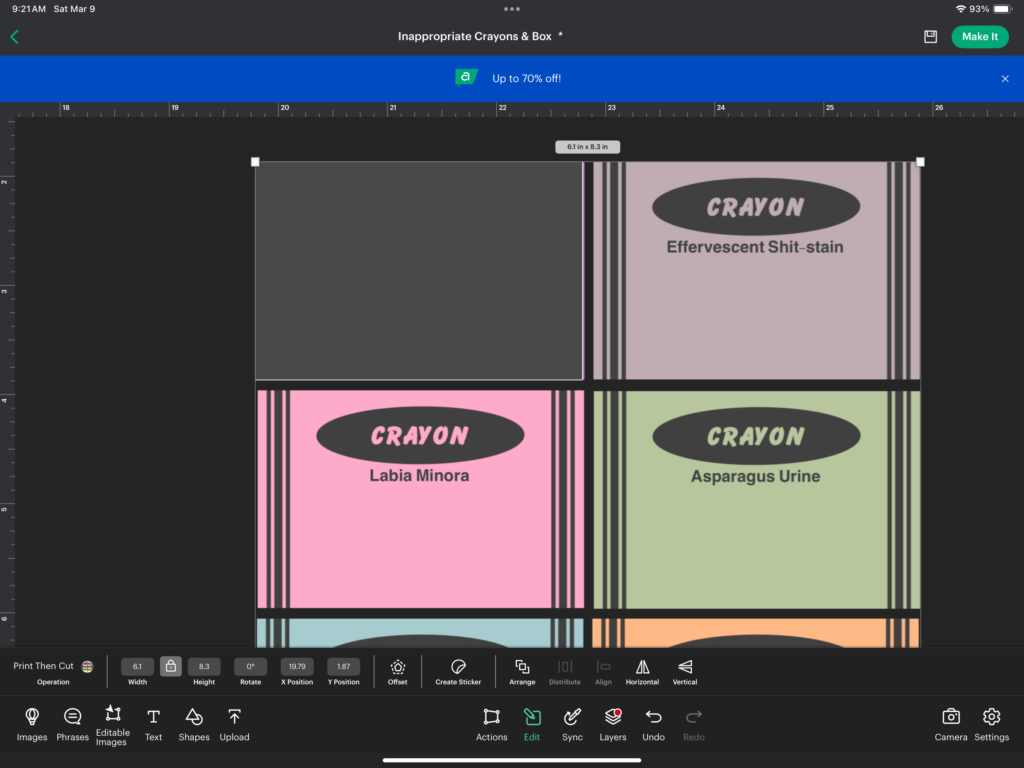
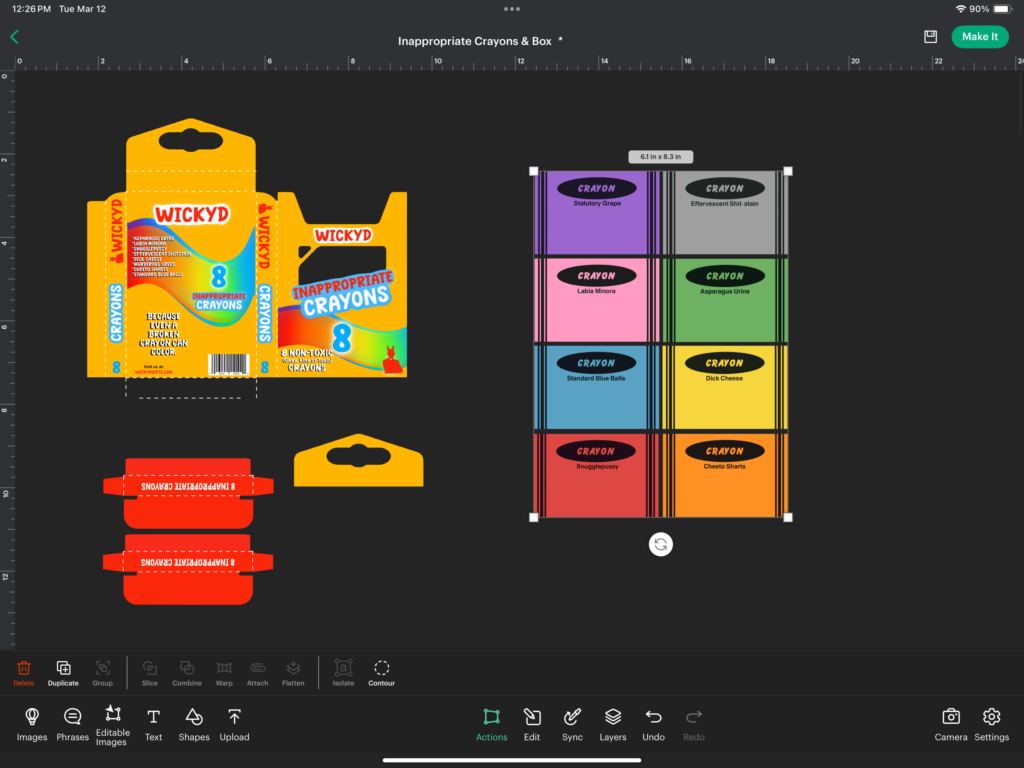
As you can see from the image above, I also created a crayon box. This was done by simply searching for “crayon box” on the Home Screen of Design Space. There are multiple options available for free with Cricut Access, all with varying degree of difficulty.

I selected a pretty classic looking box. I uploaded different design elements I had previously created in Procreate (all saved as Print Then Cut). Once on the canvas, I resized and placed the elements to my liking, flattened each element to the crayon box project, and followed the below steps to cut it all out.
PRINT AND PREPARE THE CRAYON LABELS
Load the printer with your preferred paper. Classic crayon labels are similar to a construction paper in texture, though reasonably thin. Try and find a paper with a similar feel and weight. For my project I happened to have had a thin stationary paper on hand that came with an old sketching set.
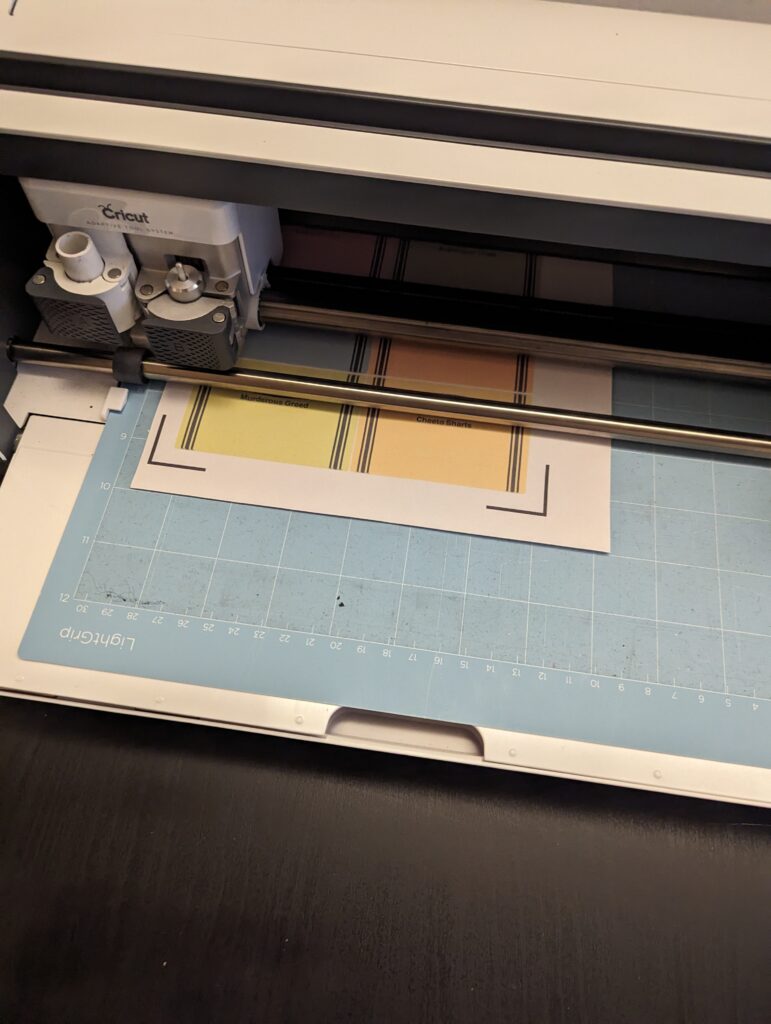
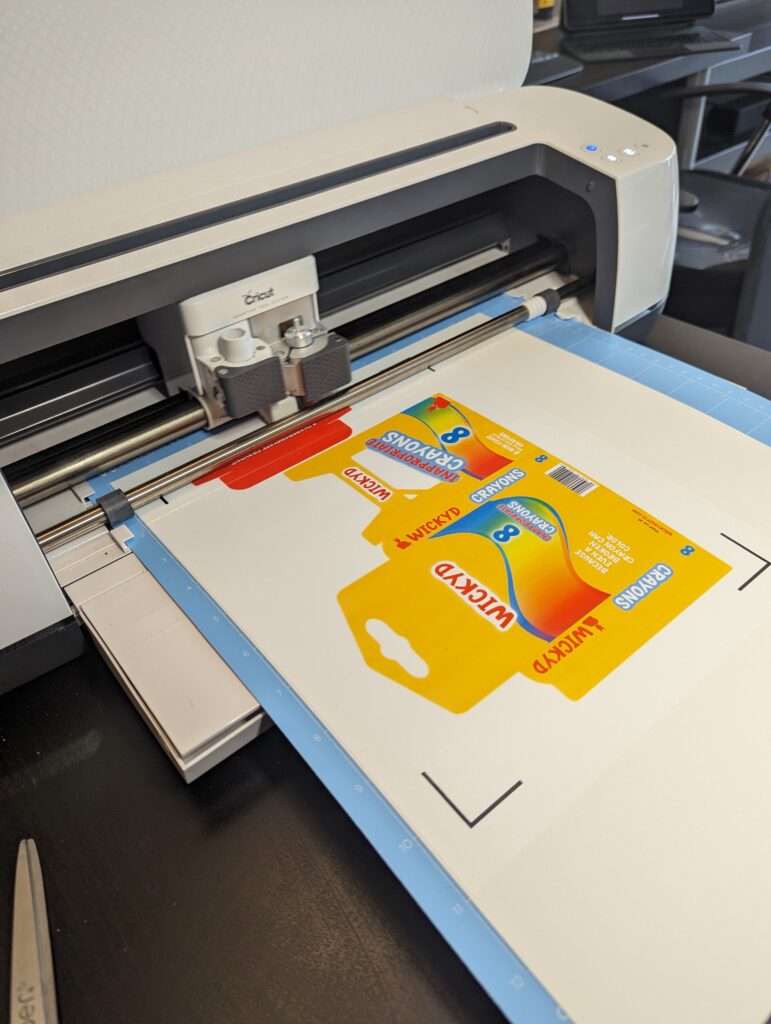
In Design Space, select “Make It”. Next, select “Send to Printer”. Once printed, attach the print to a cutting mat. Select the paper type (in this example I selected construction paper). Load your mat into the cutting machine, select “Go”, and let your Cricut work its magic.
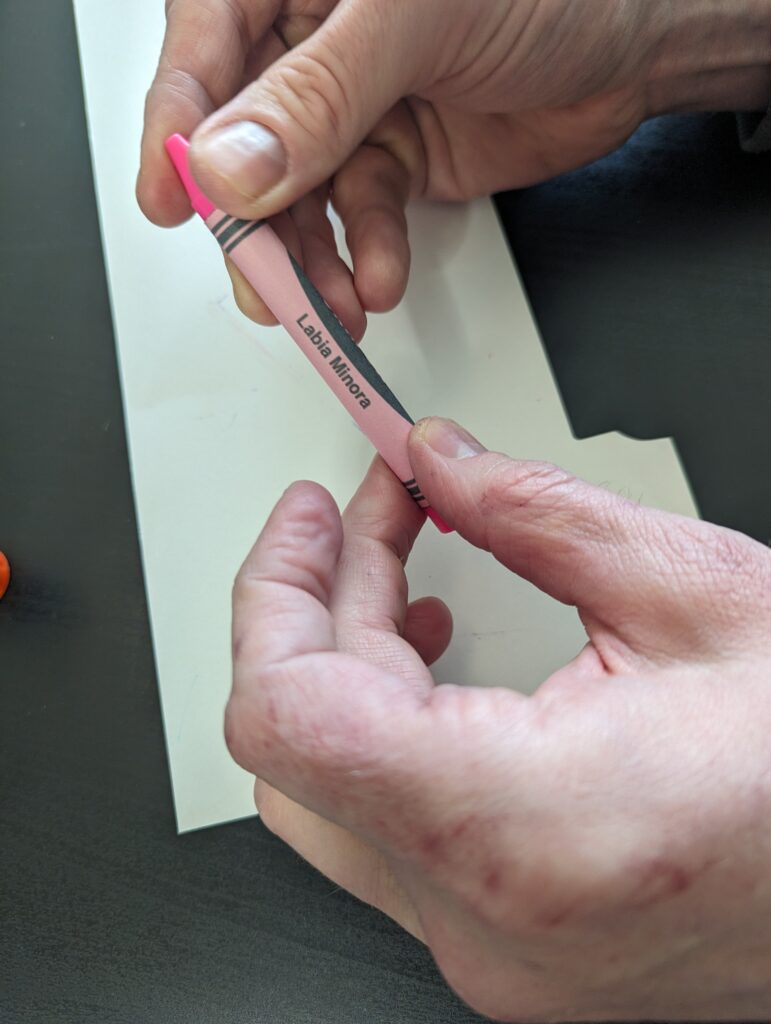
Attach the labels to the crayons
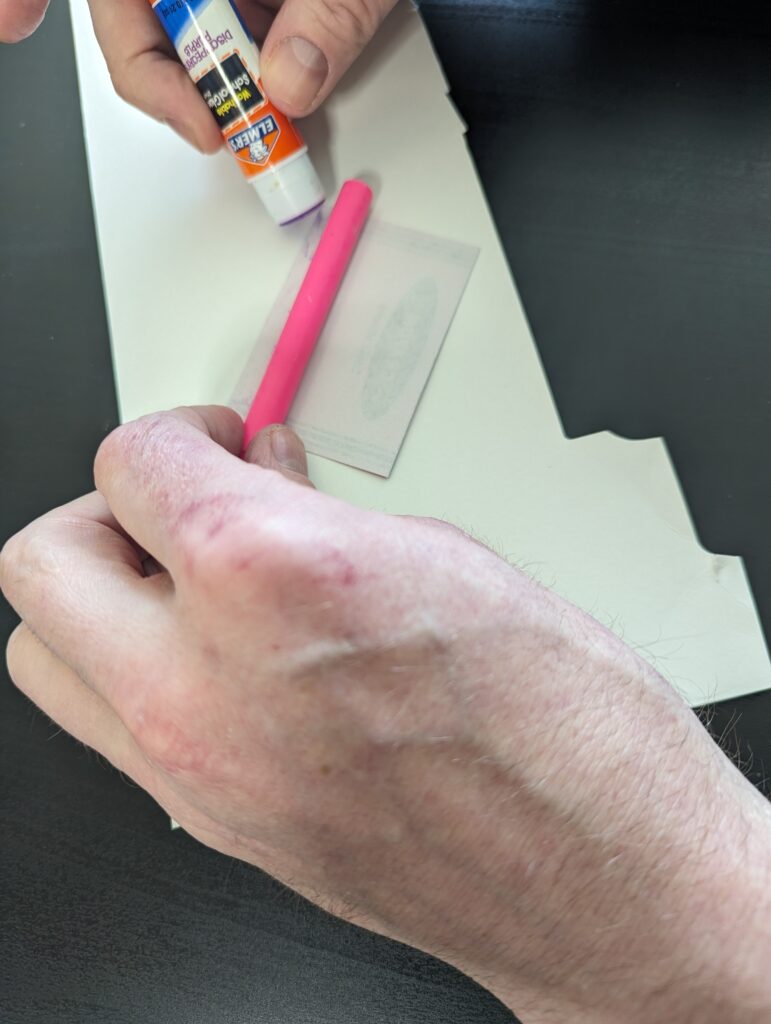
With your new crayon labels designed, printed and cut out, it is time to reattach labels to the crayons. Apply a small amount of glue to the blank edge of the label. Center the corresponding crayon onto it, and gently roll the crayon over the edge of the label. Press lightly to secure, then roll the crayon into the label. Glue the edge down onto itself using the glue stick, ensuring even coverage. Gently press and smooth out the edge for adhesion.
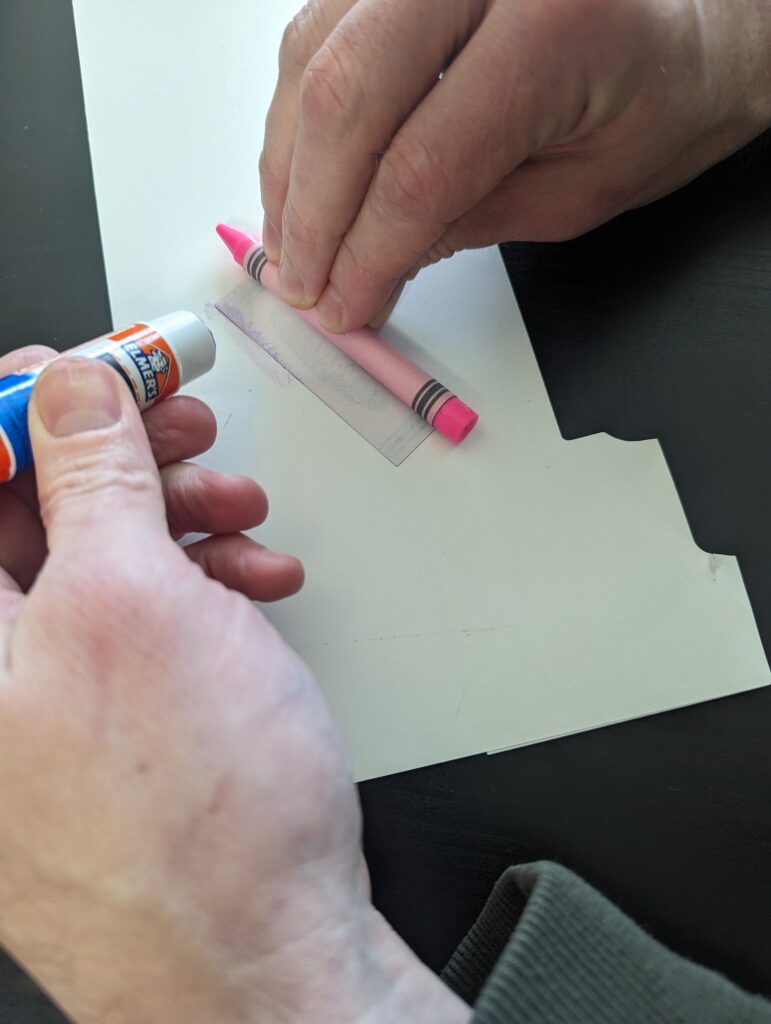
Repeat this step until all of your crayons have new labels attached.
Optional Crayon Box
Take as many liberties as you’d like and have fun designing your crayon box. Once you are happy with the design, reattach any perforation lines if applicable. Then once ready, select “Make It”, and send the design to your printer.
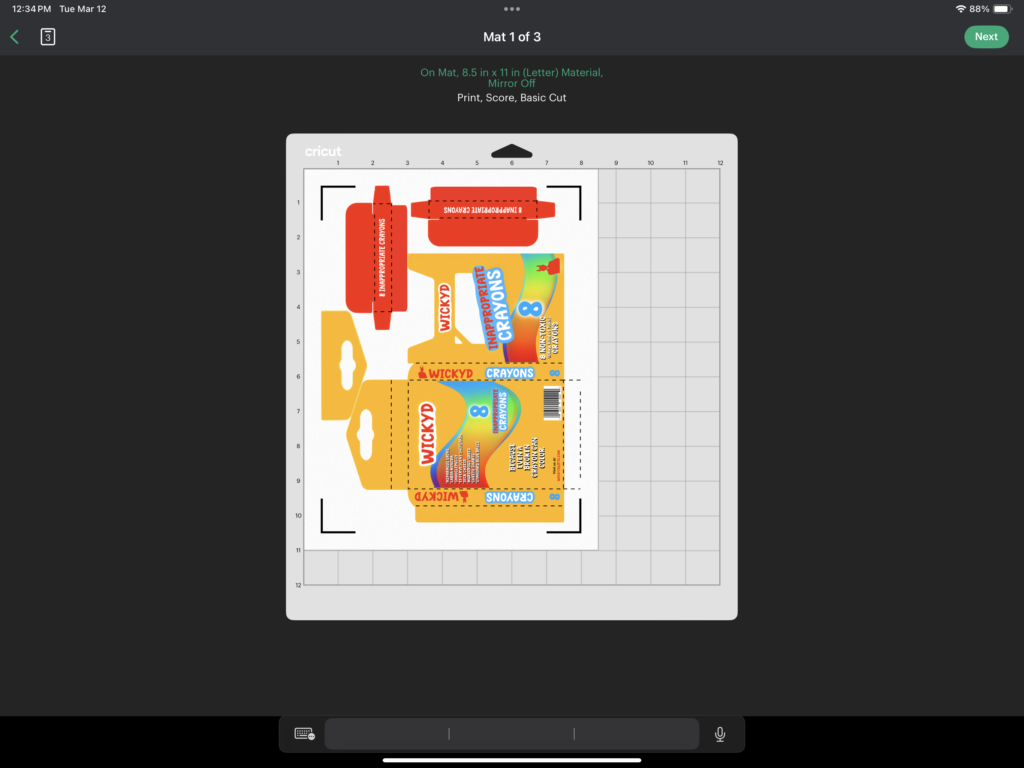
After the project has been printed, attach your printable vinyl to a sturdy material, such as posterboard, a flat cereal box, or heavy cardstock. Under “Materials”, select the appropriate option for your selection. Next attach the material to your cutting mat, load it, and select, “Go”. The machine will again read the registration marks and cut out your project.
Assemble the crayon box using double-sided craft tape.
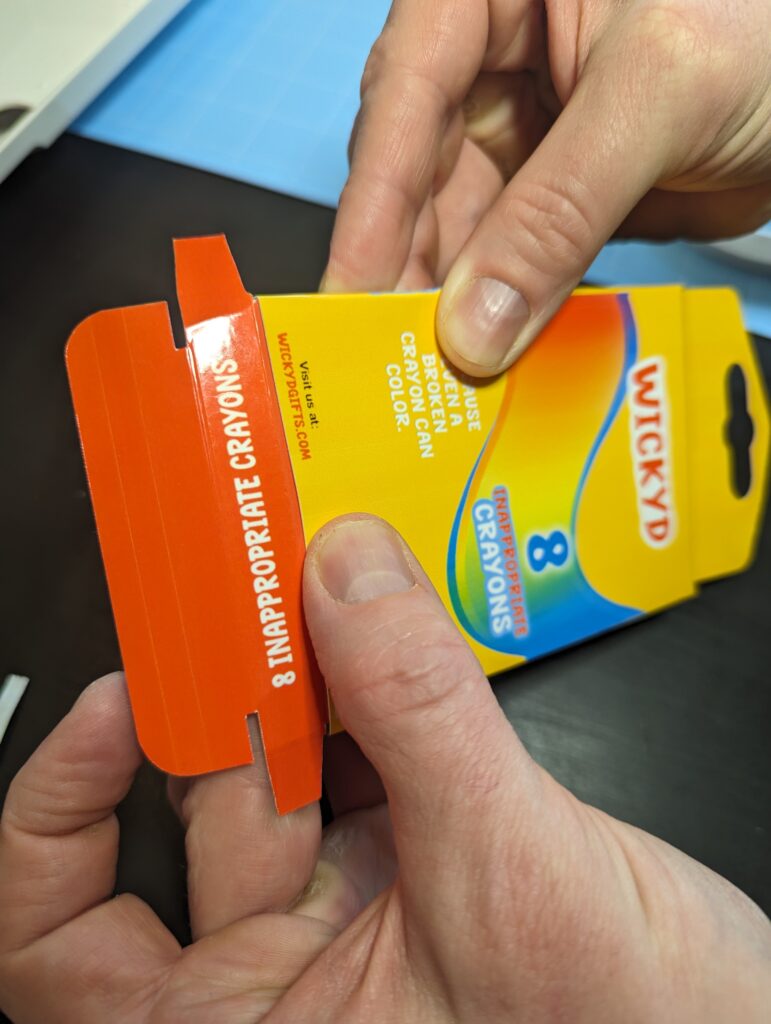
Once assembled, insert your new crayons.
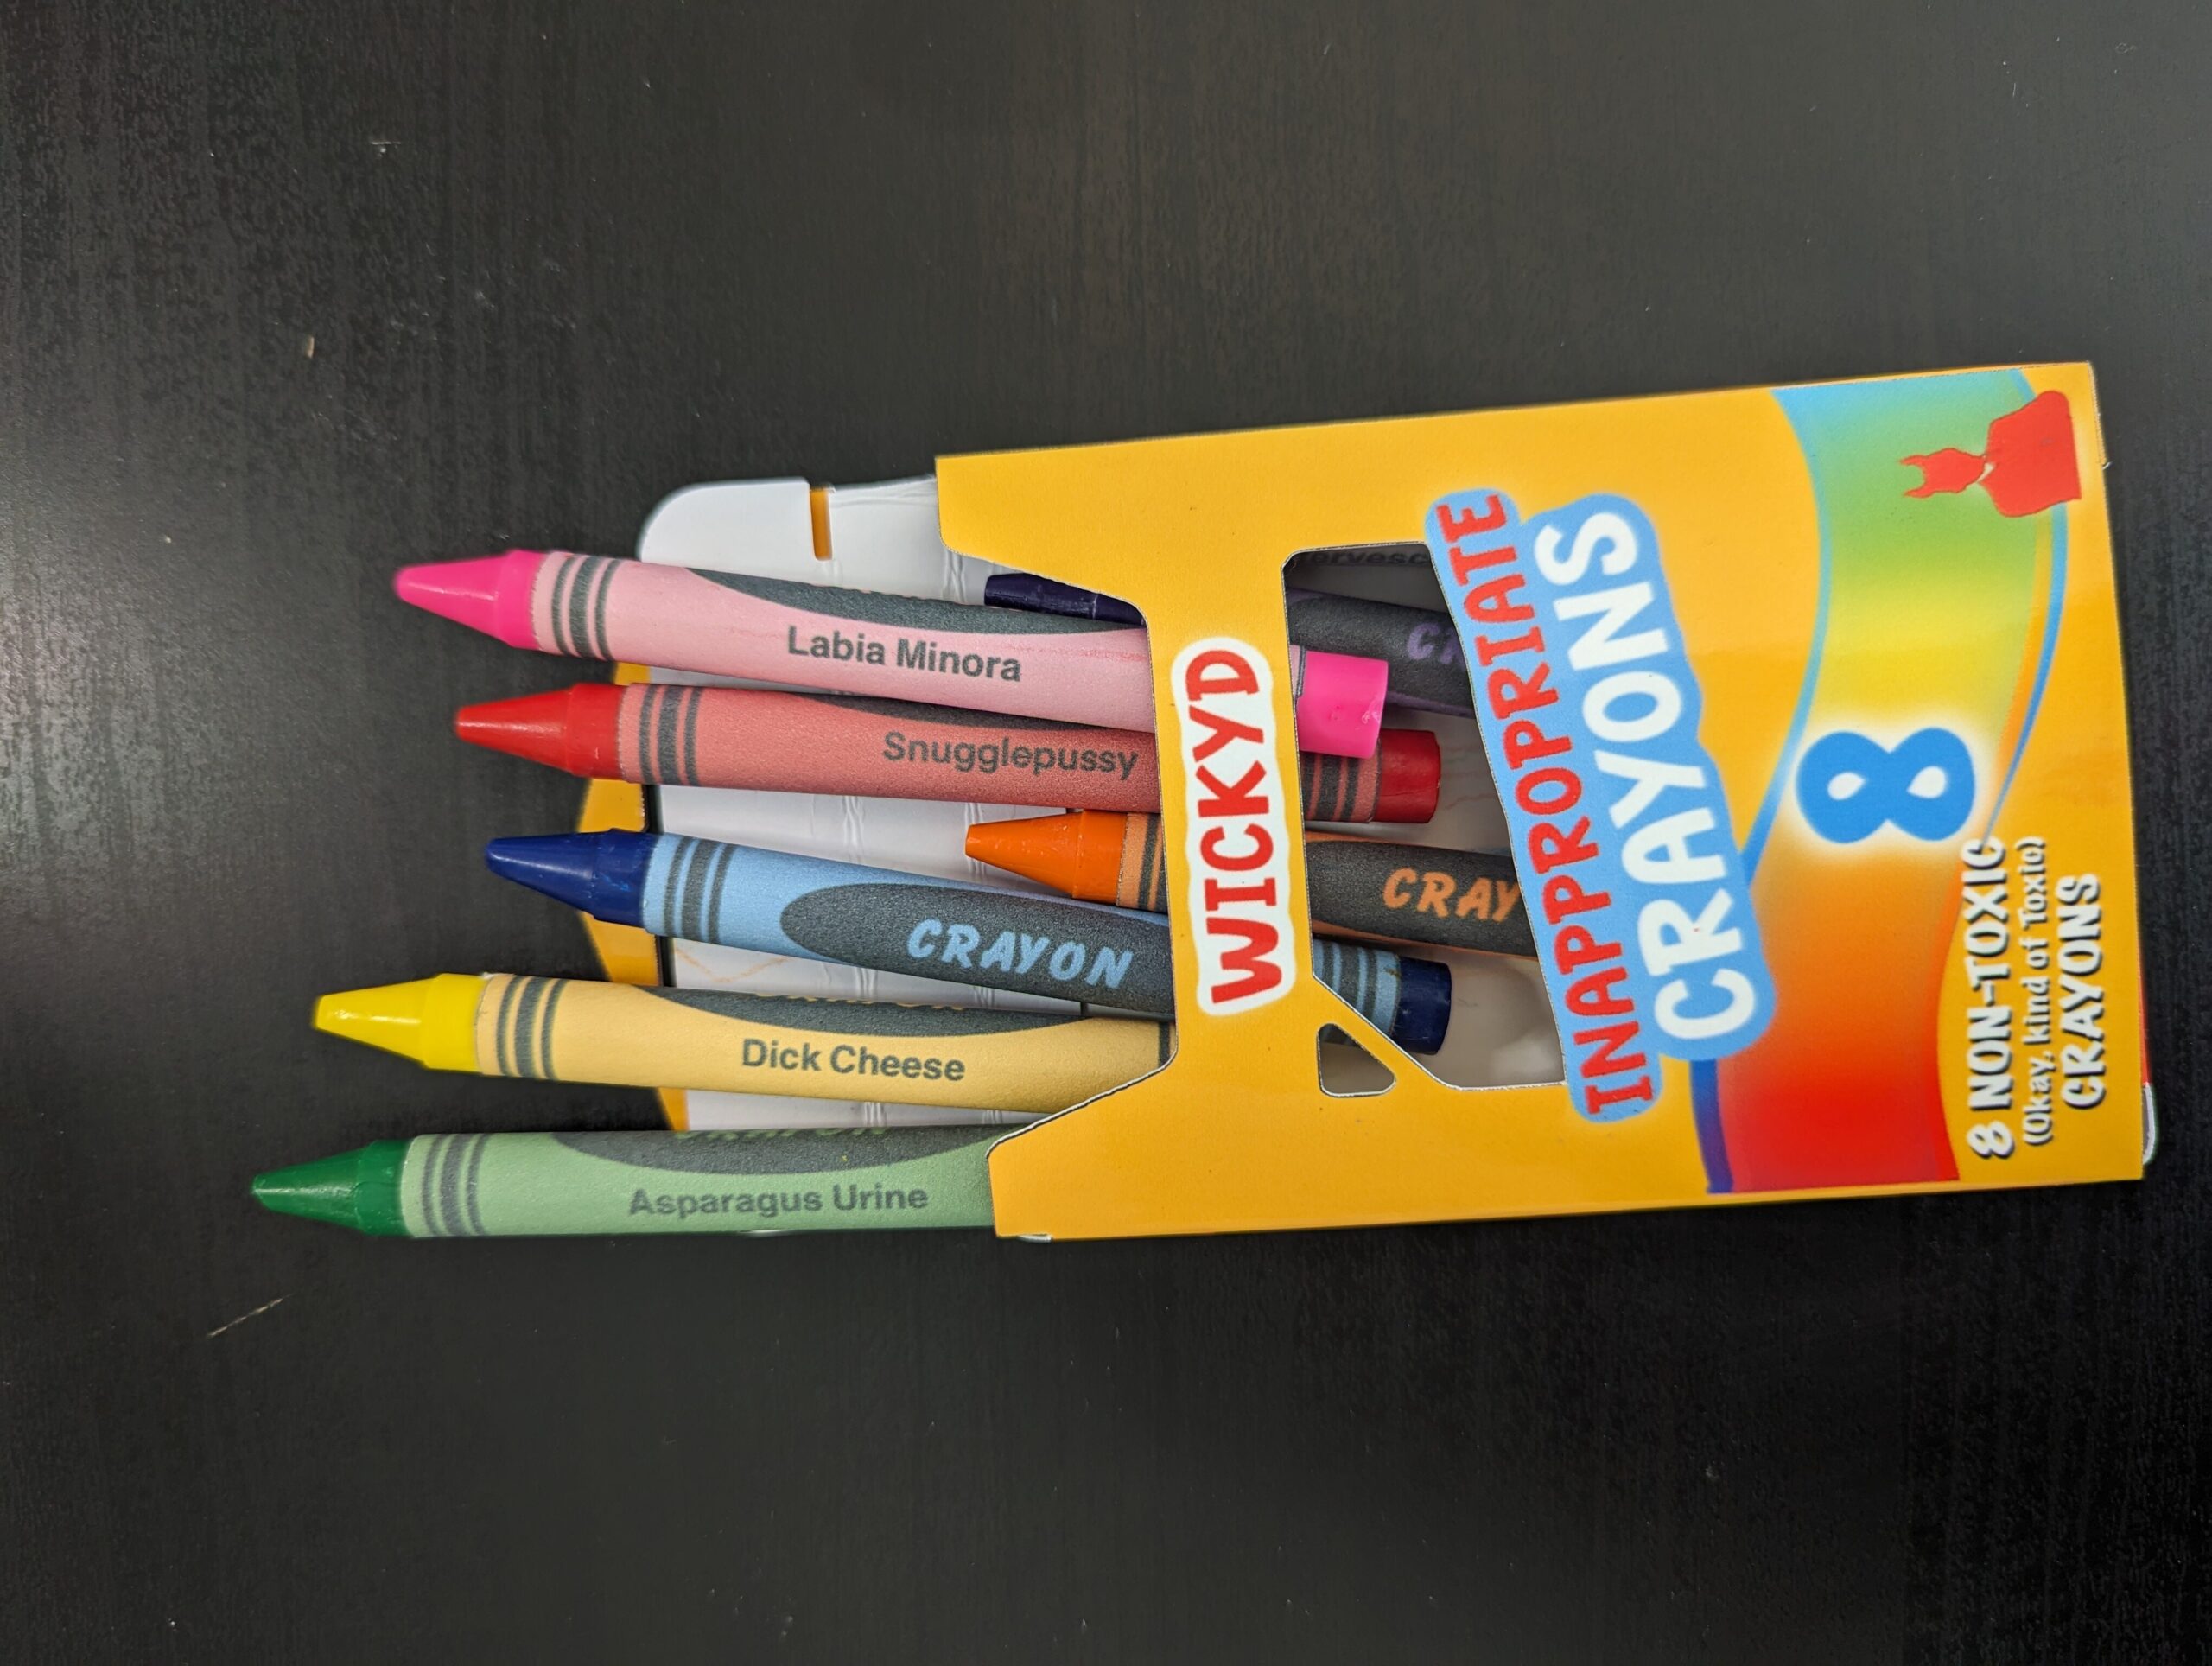
And Tah Dah!
Congratulations! You’ve made your own custom crayons.
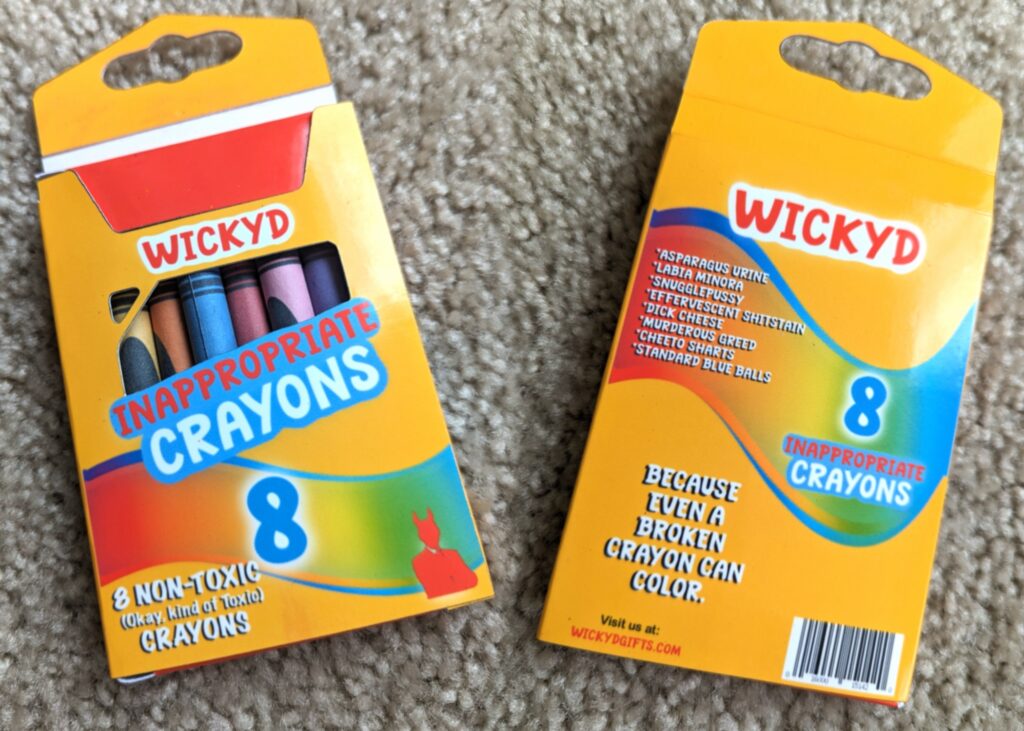
If you choose a more appropriate route, these would be a great alternative to a birthday card for a friend that loves adult coloring books. Simply write what they mean to you on the back of the box. Then rename each crayon based on an attribute of theirs or a favorite thing that they love.
…or you could just make totally whacko names like, “you’re the reason your parents are divorced Red”, and leave the crayon box somewhere totally inappropriate like a kid-friendly dentist’s office.
The choice is yours. So what will you do? Let me know below.
And of course…
…. Okay, bye!!!
