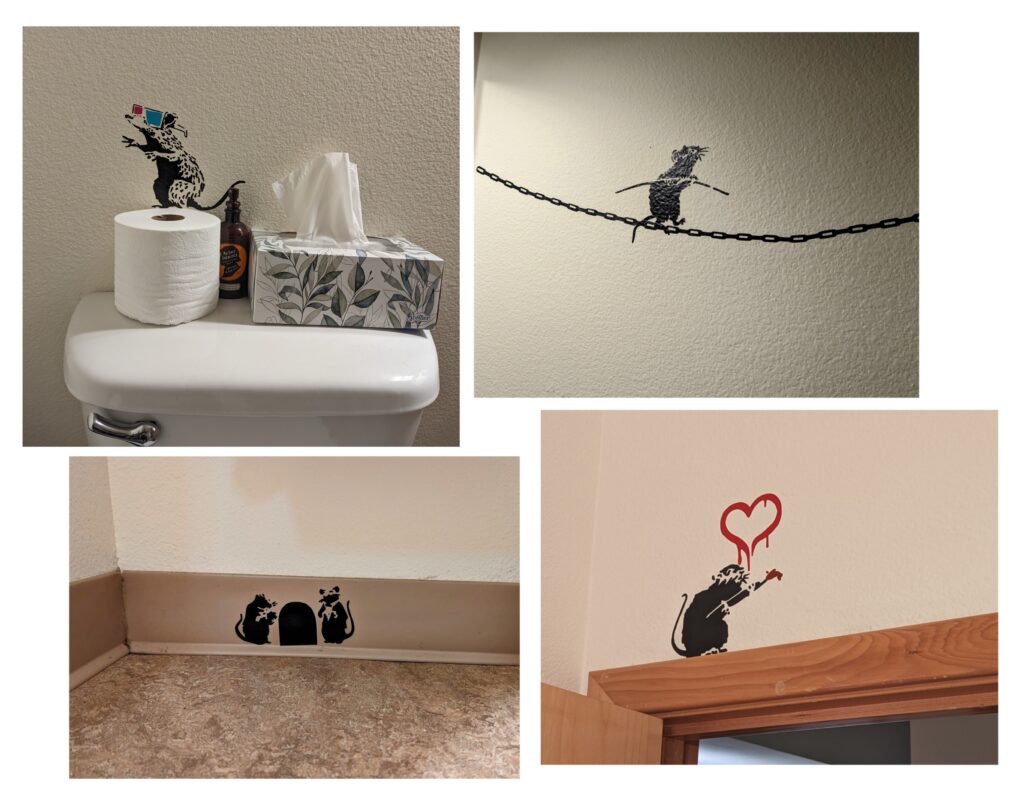
You can decorate your space in a unique way with a little inspiration from the street artist Banksy, some vinyl and a Cricut machine. Not into Banksy? Then you’re probably a nerd. But you can still use this technique to decorate your walls with whatever concept you want. Do you rent? Choose removable vinyl and you can safely decorate and still get your deposit back. And the best part is this is such an easy project that literally takes just minutes to make.
MATERIALS:
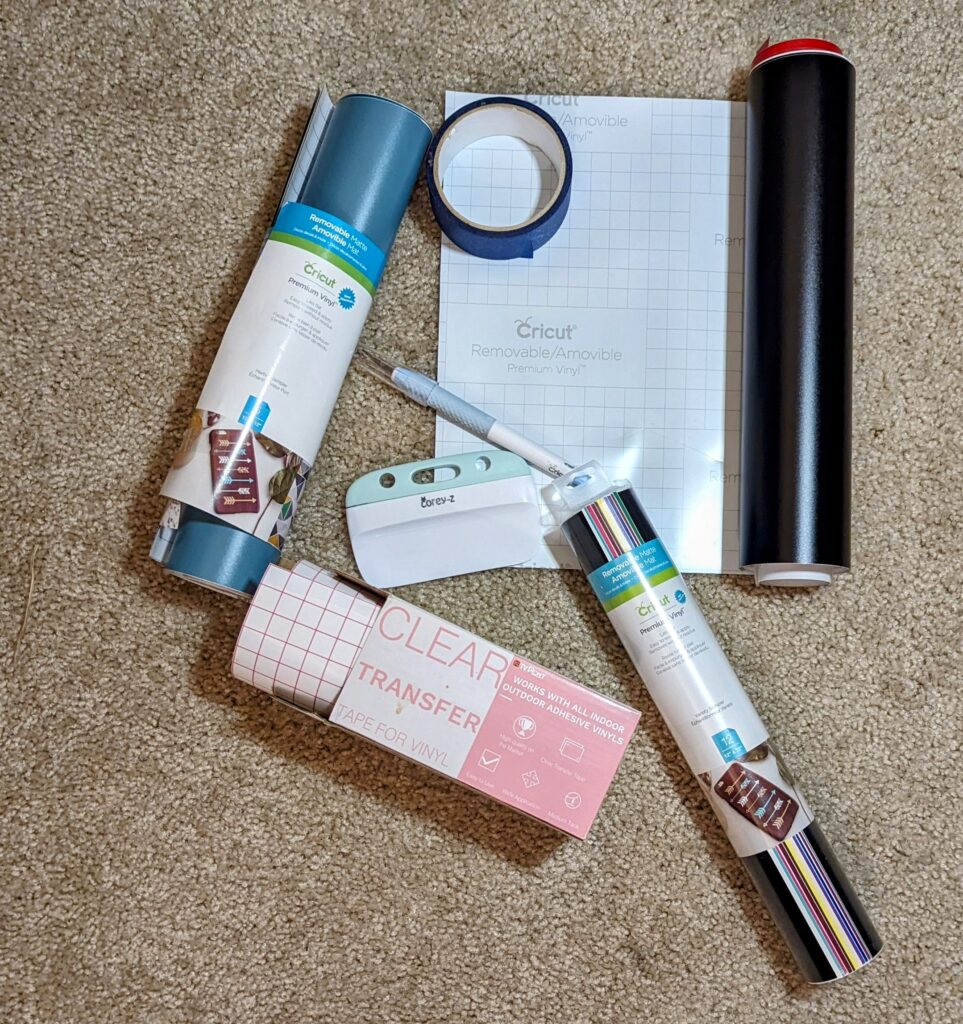
Removable vinyl
Vinyl Transfer Tape
Cricut
Cricut Design Space
DECIDE ON YOUR WALL DECOR
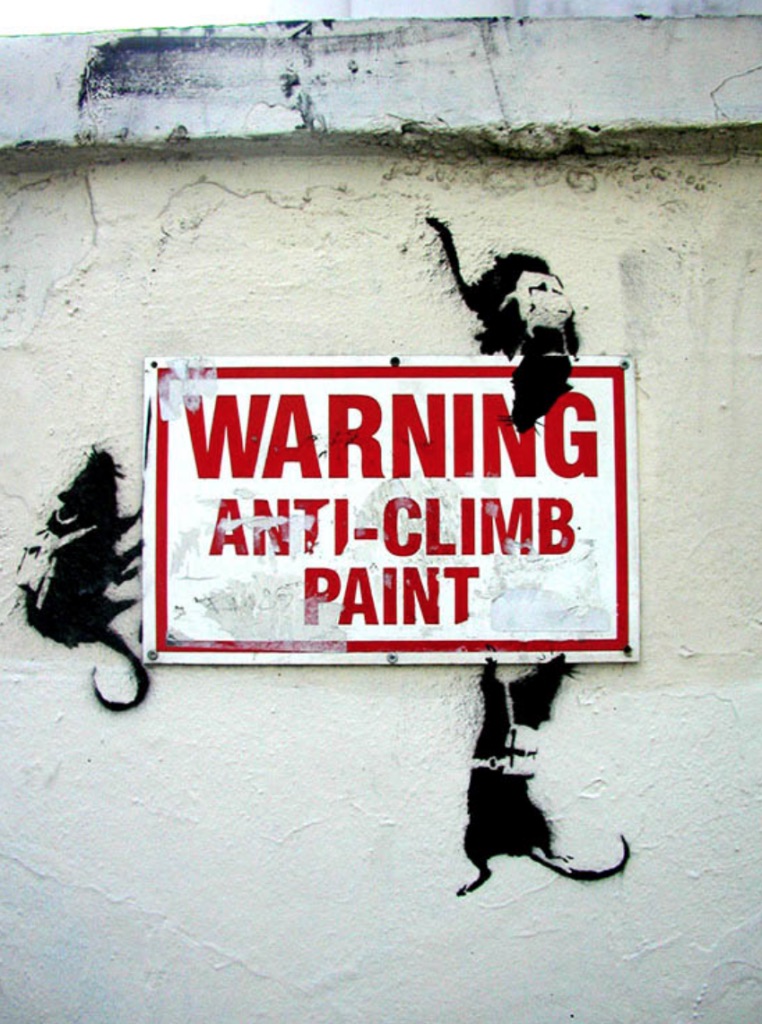
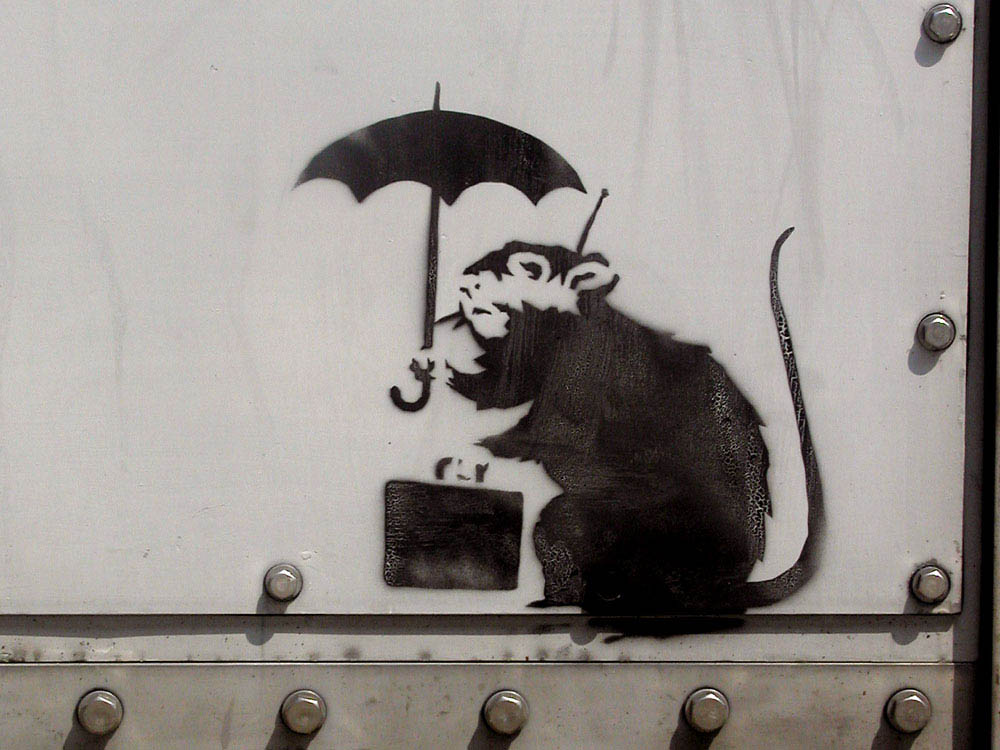
Find inspiration for what style you are going for. Take screenshots, create an old-school vision board, sketch them out or take advantage of Pinterest. However you would like to compile concepts for your design is up to you. Once you have found enough images that best suit your style, select your top favorites for inspiration or as reference. Now it is time to move on to the design phase.
CREATE YOUR DESIGN
Using your reference images, begin designing your project. Keep in mind what limitations this medium will have. With vinyl we can surmise that the more detail present, the more weeding, and thus work it will take on our behalf to create our final piece. Also take in to account the cutting limitations your machine may have. When designing, think about dimensions, layers and time required to create. You may also want to take advantage of what elements are already available in Design Space. Are there elements included that can help streamline this design?
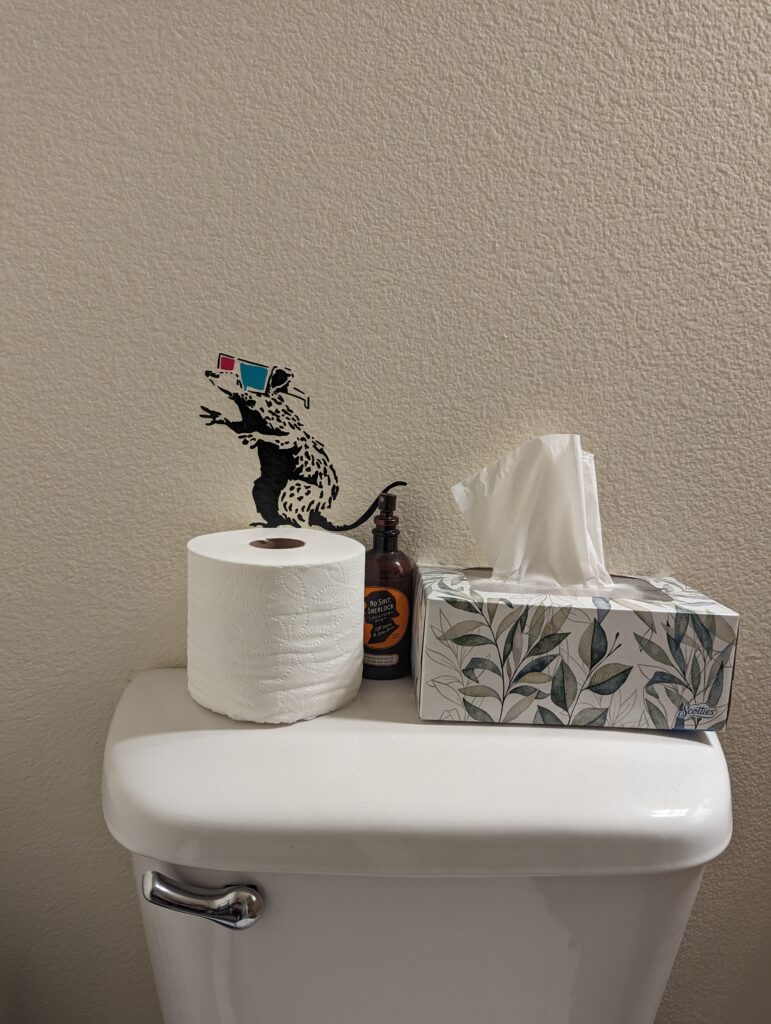
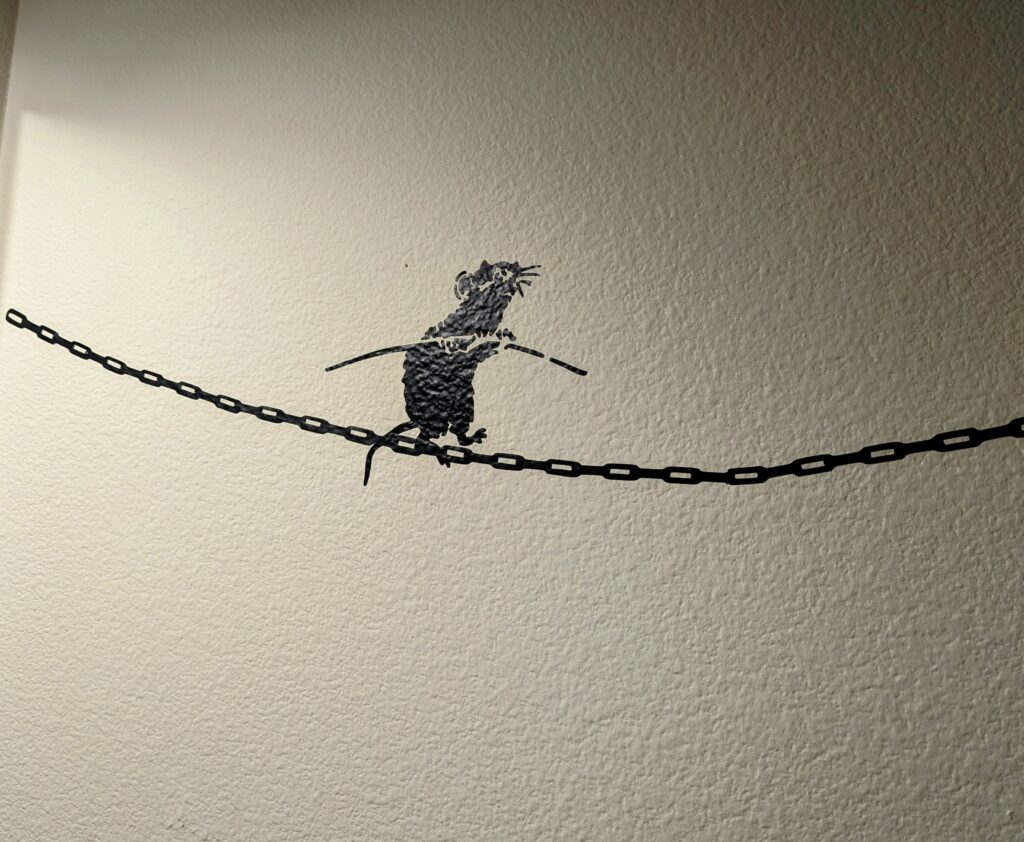
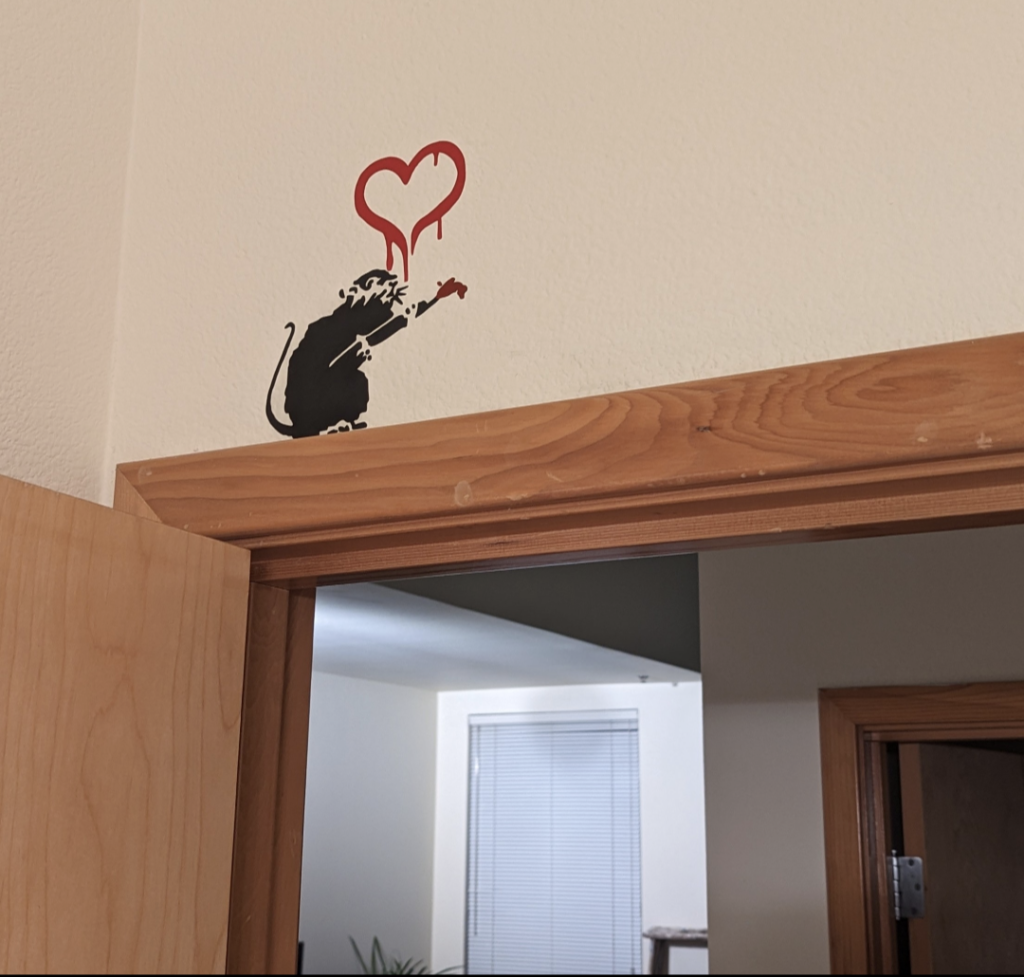
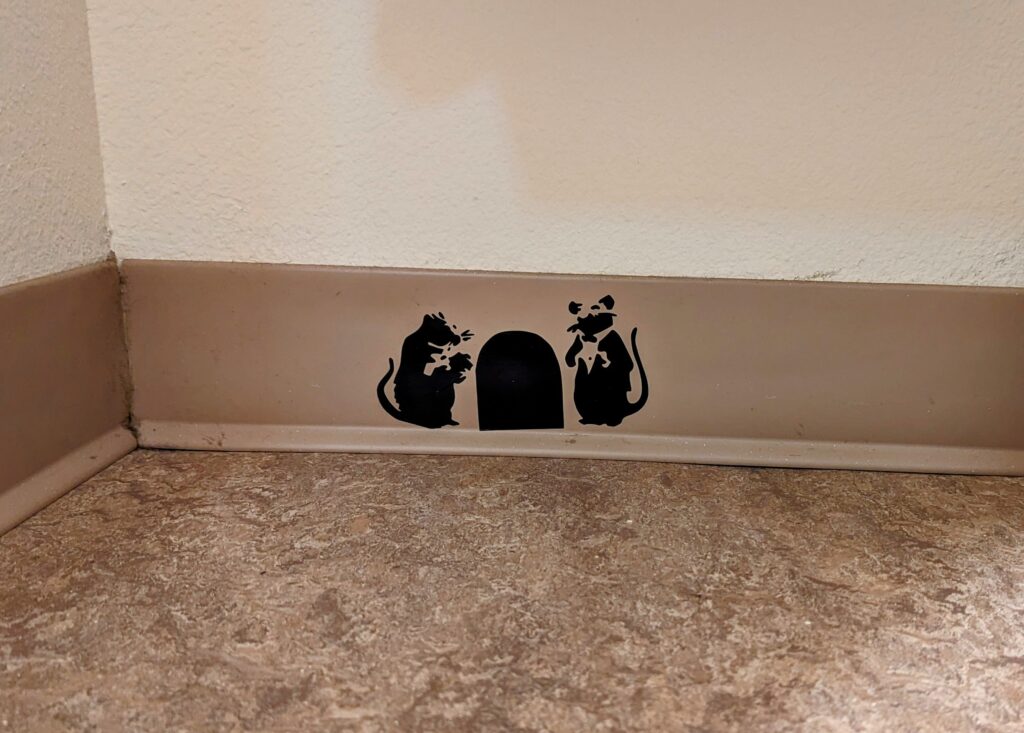
For this project I took screen grabs of a few of Banksy’s graffiti art pieces that I deemed suitable for my space. I dropped the images into Procreate, and recreated them by dropping the opacity of my reference photo and essentially tracing the art on a new layer. Look, I’m not particularly proud of this method, but your boy’s on a time crunch here…
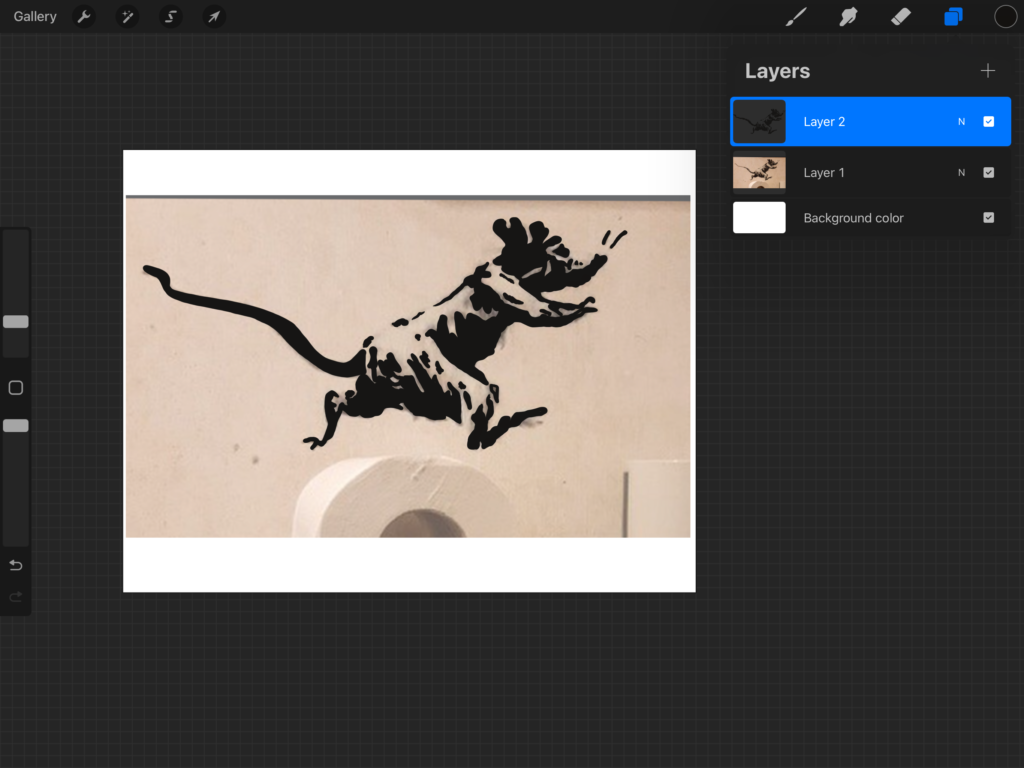
UPLOAD YOUR DESIGN INTO CRICUT DESIGN SPACE
Once your design has been prepared, upload the image into Design Space.
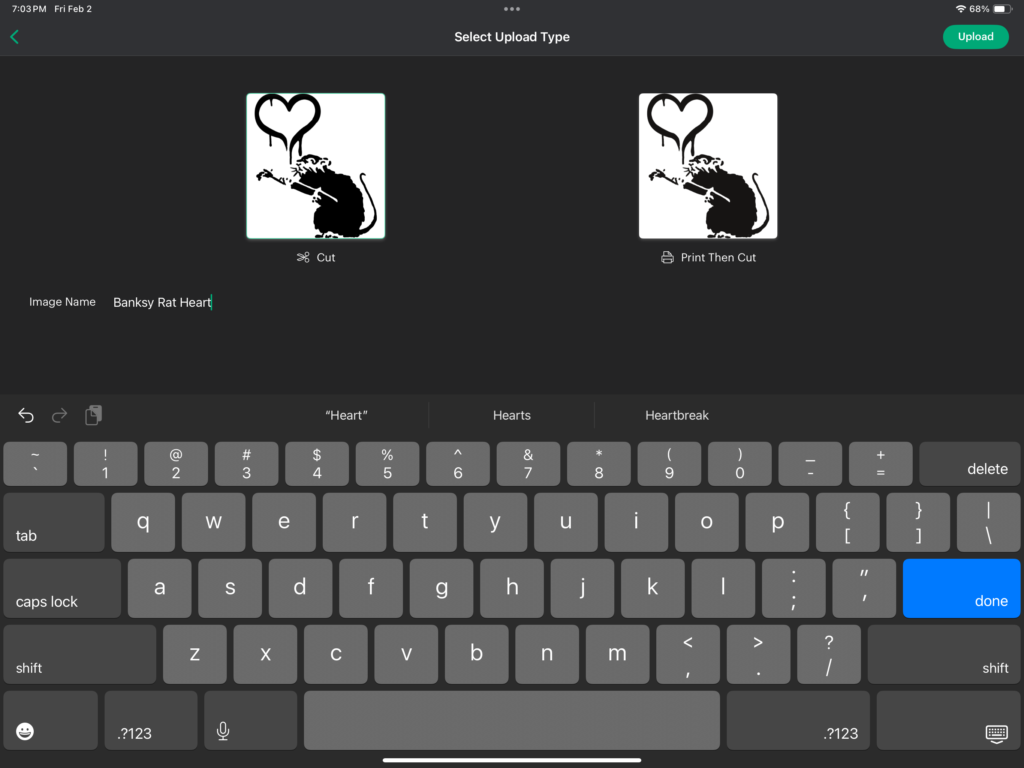
DECIDE ON DESIGN LOCATION AND SIZE
If you have not yet done so, decide where you want to hang this project. Once chosen, measure the estimated size of how big you would like the design to be in the area. Take into account any limitations the Cricut machine and your vinyl may have. If you think that your final image is too large for the machine to cut or the materials you have available are too small, try to find a place in the design that would allow you to split the image into separate sections that could be less conspicuous once cut out and reassembled. Otherwise resize as needed.
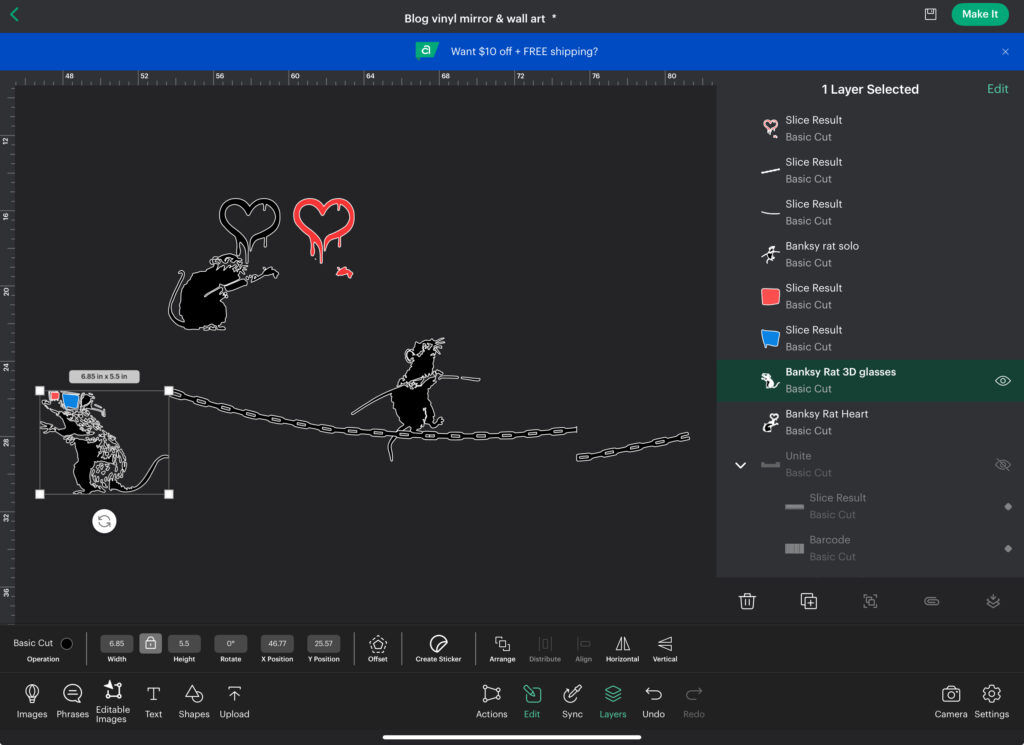
With the design ready to go it is time to send it to the cutting machine.
CUT OUT YOUR VINYL WALL ART DECALS
Select ‘Make It’ in Cricut Design Space. Choose what size mat you will be using to create your images and select ‘Confirm’. Reposition the images on the cutting mat preview if needed. Once everything looks accurate, select ‘Next’.
You will be prompted to set what material you are using. Premium Vinyl works for both permanent and removable Cricut-branded vinyl, but should also work for most other brands. If this is the first time using a new vinyl, it is recommended to do a test cut before continuing to your final project.
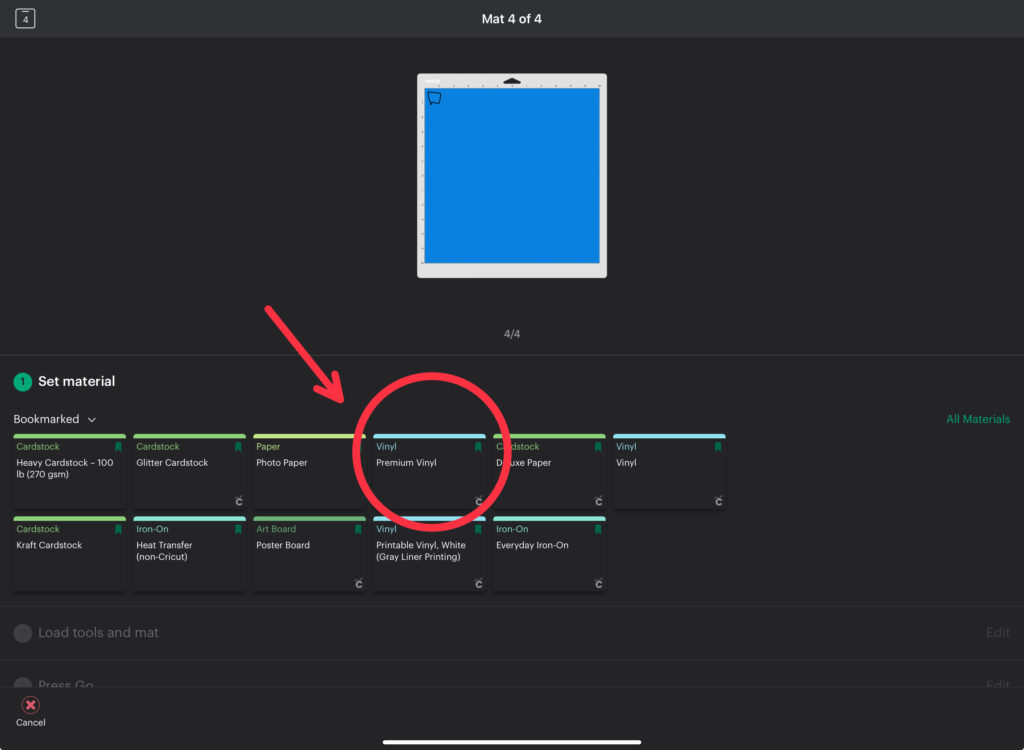
Load your vinyl onto the appropriate cutting mat, then load the mat into the Cricut machine. When the logo’d ‘Go’ button blinks, press it, and allow the machine to cut out your images.
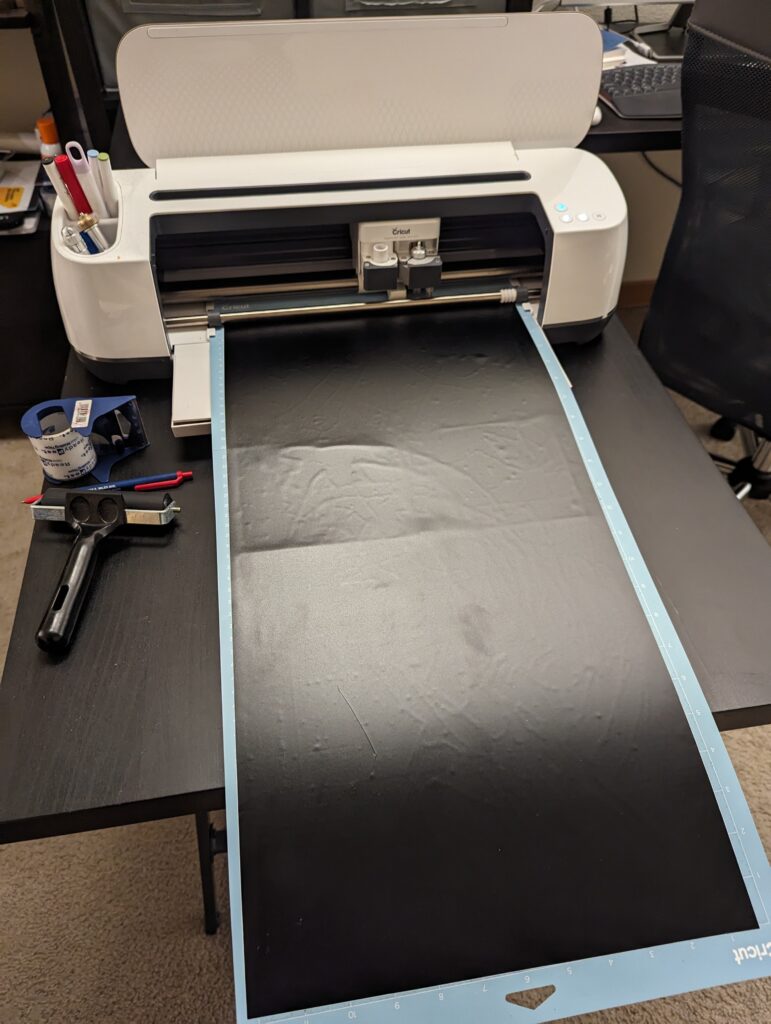
Once completed, unload the mat and remove the vinyl. It is best to flip the project over and gently pull the mat away from the vinyl. This helps to not create a curve or bend in the vinyl.
PREPARE THE VINYL DECALS FOR INSTALLATION
With the decals cut out, it is time to weed out any vinyl that will not be used in the image. Take your time with this step. It is very frustrating to have spent so much time and still have forgotten to remove a rogue piece of vinyl in a letter or image. Once you feel everything has been removed, do one final check under good lighting.
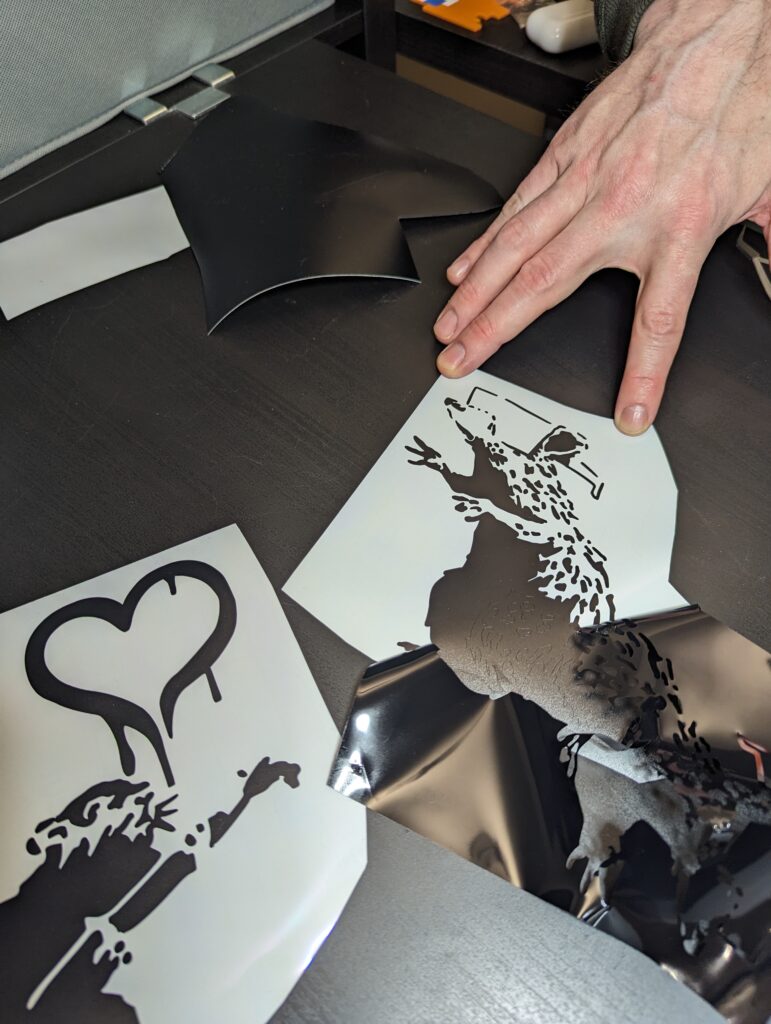
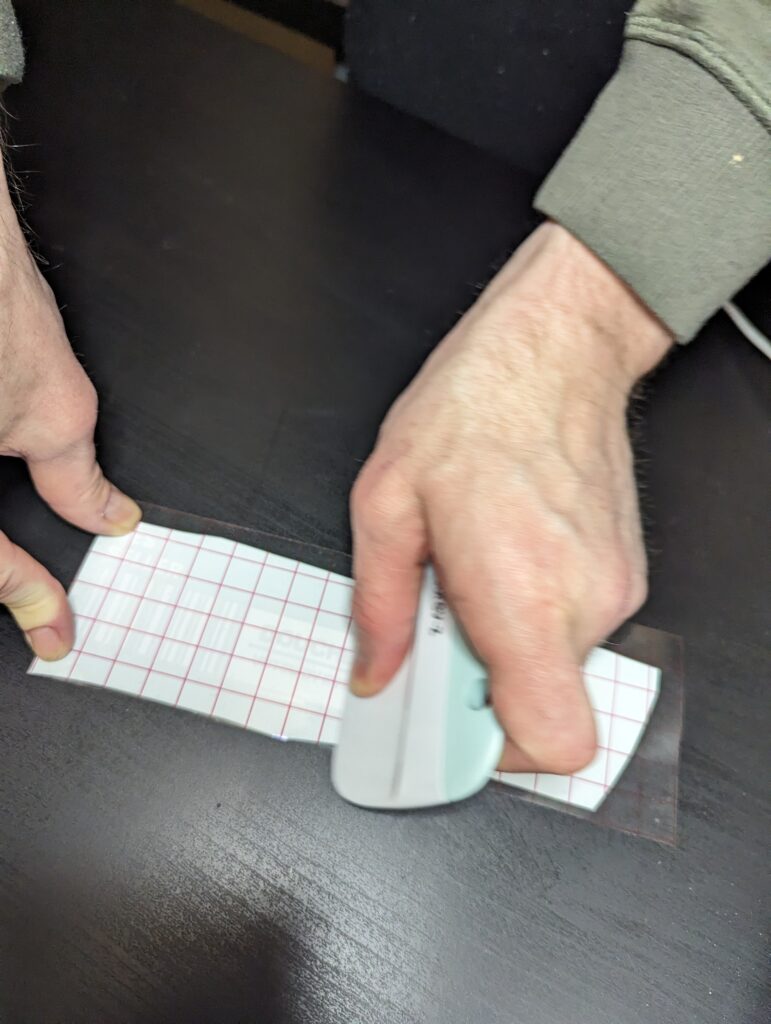
Attach the transfer tape over your vinyl decal. Using a scraper tool, go over everything with firm pressure to ensure contact and adhesion to insure an easy transfer.
INSTALL THE VINYL
Clean the installation area and allow to dry prior to installation if needed. With the vinyl backing still attached, orient your image(s) to the area to preview placement. When you are happy with its location, carefully remove the backing of the vinyl. Use a scaper tool to create contact and transfer the vinyl to your final surface. Slowly peel away the transfer tape, making sure the vinyl has been properly adhered. If smaller details are still attached to the transfer tape, simply relay the tape back down and firmly press the vinyl using the scraper tool until proper adhesion.
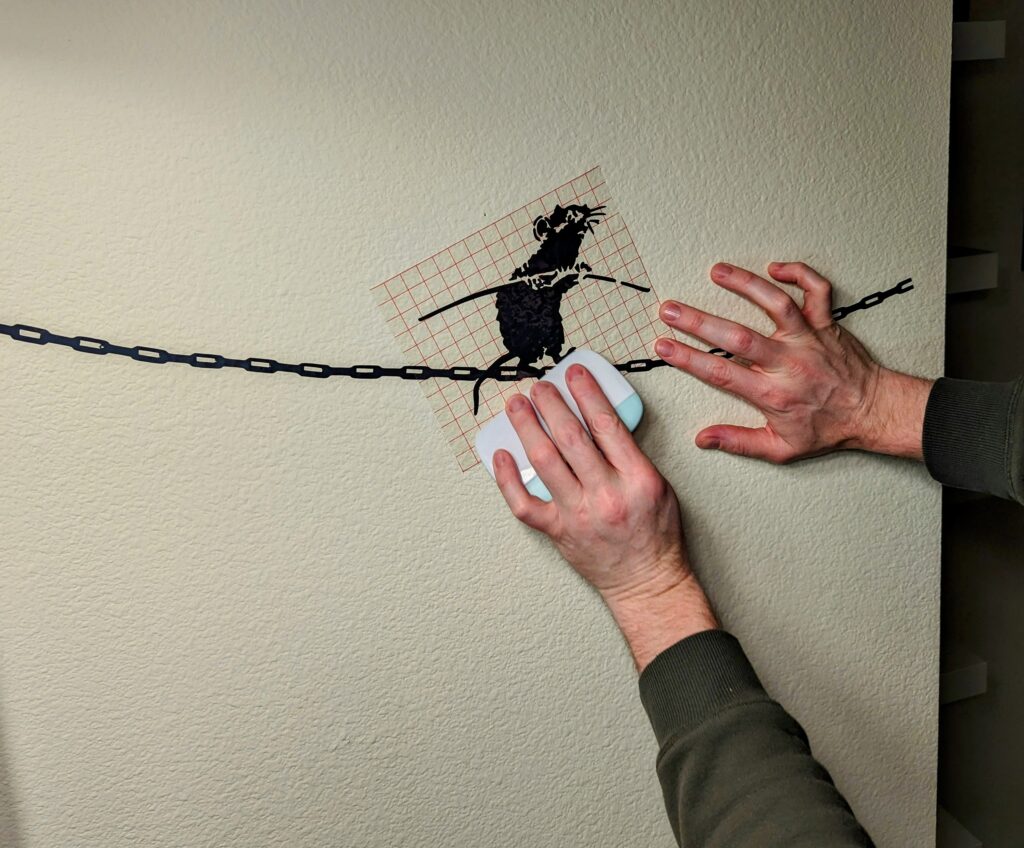
**For easier installation of larger images, it may be helpful to hang the whole image using painter’s tape vertically across the center of the vinyl with the backing still attached. Find your ideal placement, and then peel back and cut away only half of the vinyl backing for an easier placement.
AND THAT’S IT!
Step back and look at all of your cool handiwork. If you followed along with me, then perhaps you too have a rat-infested bathroom. These Banksy – inspired vinyl graffiti art decals are incredibly simple to make and very inexpensive to produce. Don’t want to deal with peeling these off on moving day? Substitute a white canvas and you have custom, mobile art done in a jiffy. Perfect for a housewarming gift or a quick way to fill in a blank space in your own home.
Do you see yourself using vinyl decals to decorate your art? What about your car? Or you can prep these to be used as they were initially intended, as actual graffiti. You could even start tagging your neighborhood with your own designs! Let me know in the comments if you do, and what it was.
And as always….
…Okay, bye!

