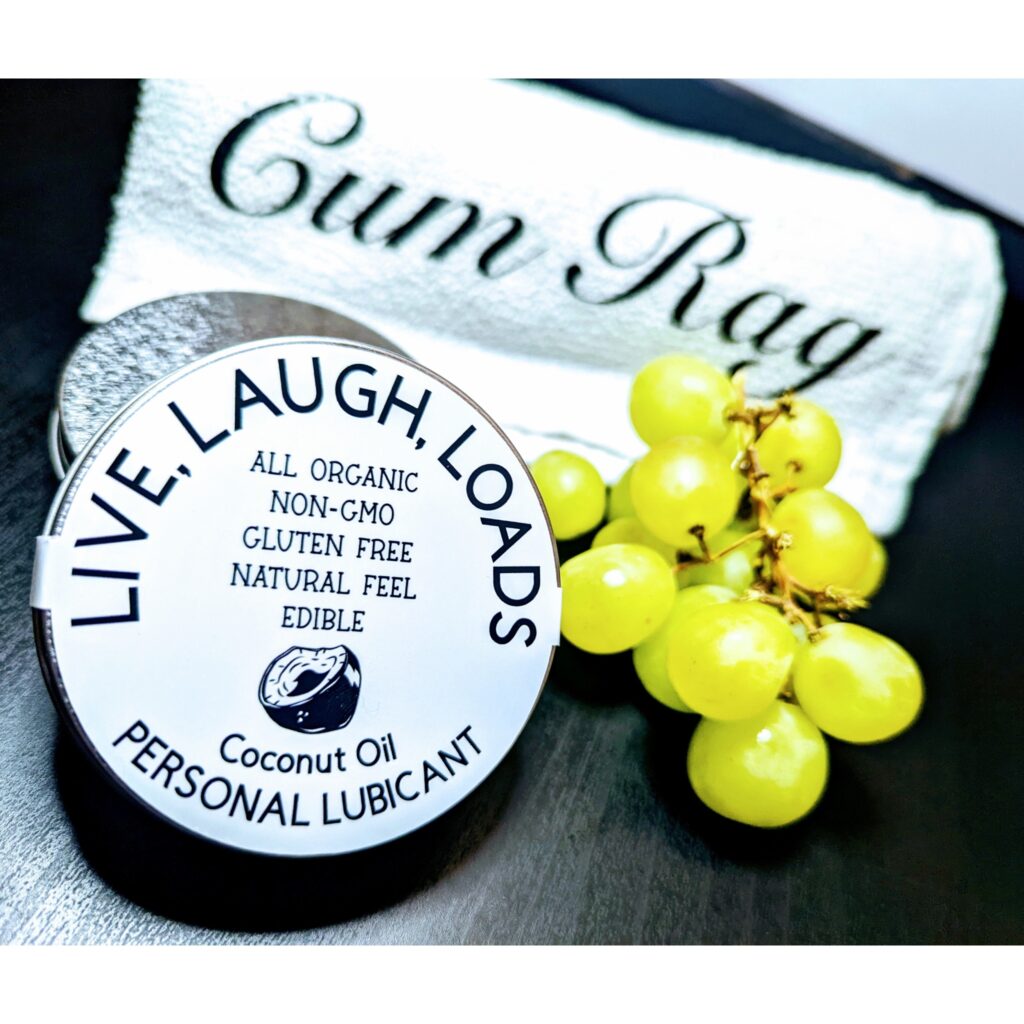
Not everyone has the time or energy to create something entirely from scratch. A quick and easy alternative to create a fun and personalized gift with minimal effort is by simply relabeling an already existing product.
For example, I have a friend that prefers to use coconut oil over manufactured personal lubricants found at sex shops. Although I prefer a silicone-based lube myself, I totally get why. Coconut oil is a readily available, organic and edible alternative, where silicone lubricants are often expensive, synthetic and did I mention expensive?
So let’s delve into creating our very own line of sexually deviant personal lubricants, or any custom product label you so choose…
MATERIALS
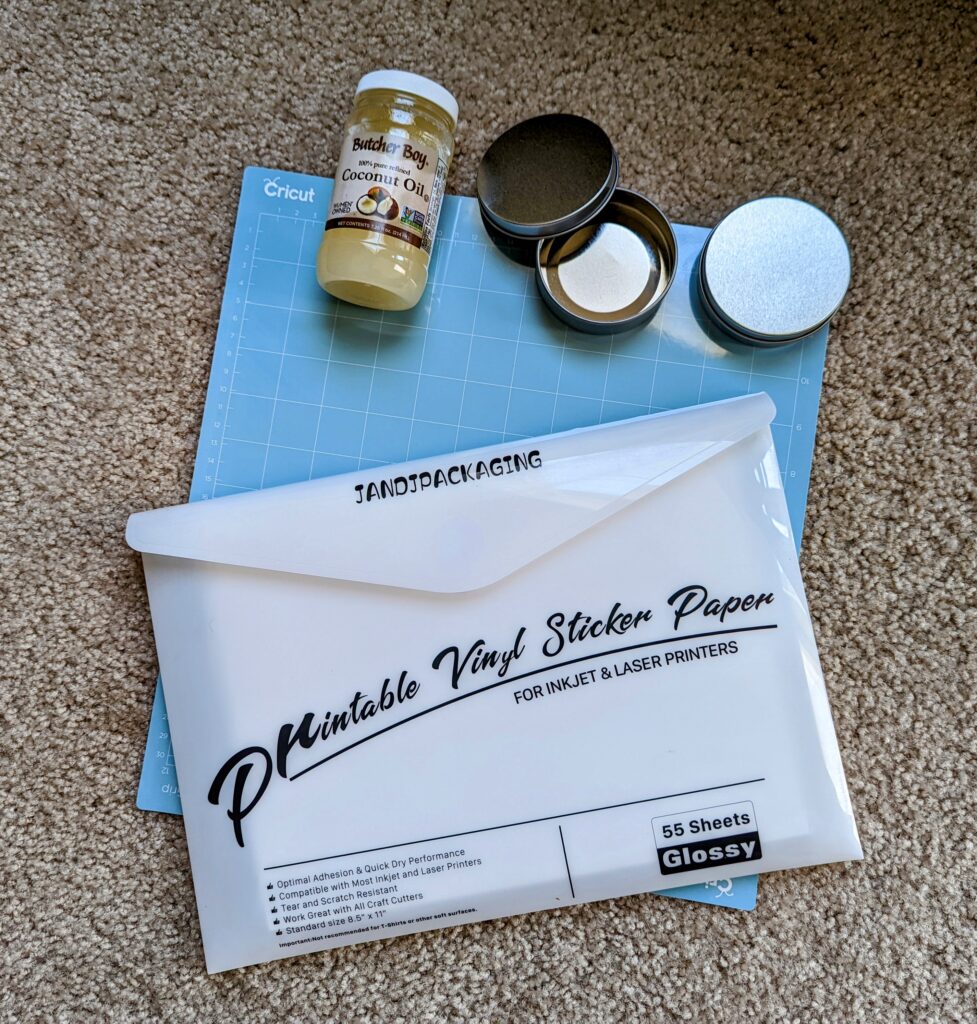
- Coconut Oil – food grade. I purchased mine from my local Dollar Tree
- Round Tins – Also purchased from Dollar Tree, pack of 2
- Printable Vinyl – I prefer JANDJPACKAGING vinyl easily purchased on Amazon
- Cutting Mat
- Cricut
- Cricut Design Space
PREPARING THE PRODUCT
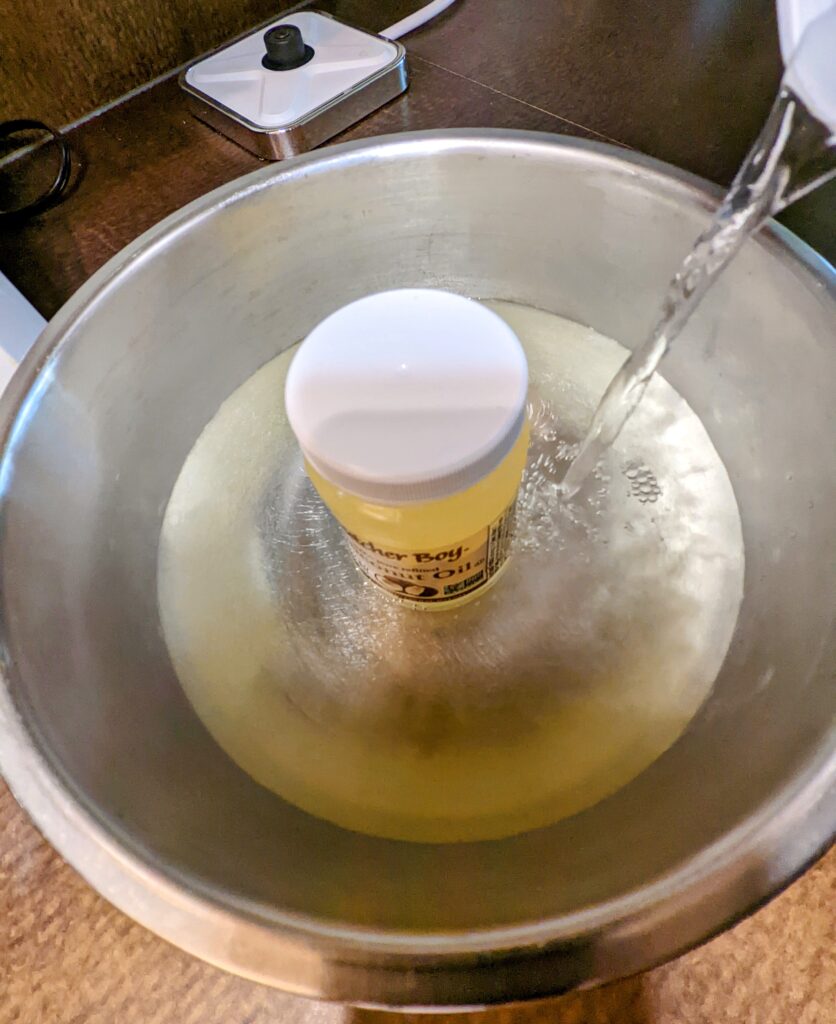
Let’s begin by creating the actual product. Take an empty tin and remove the lid. The coconut oil I got from Dollar Tree was in a small plastic container, so it was easy to heated it up by submerging it in boiling water inside of a large bowl.
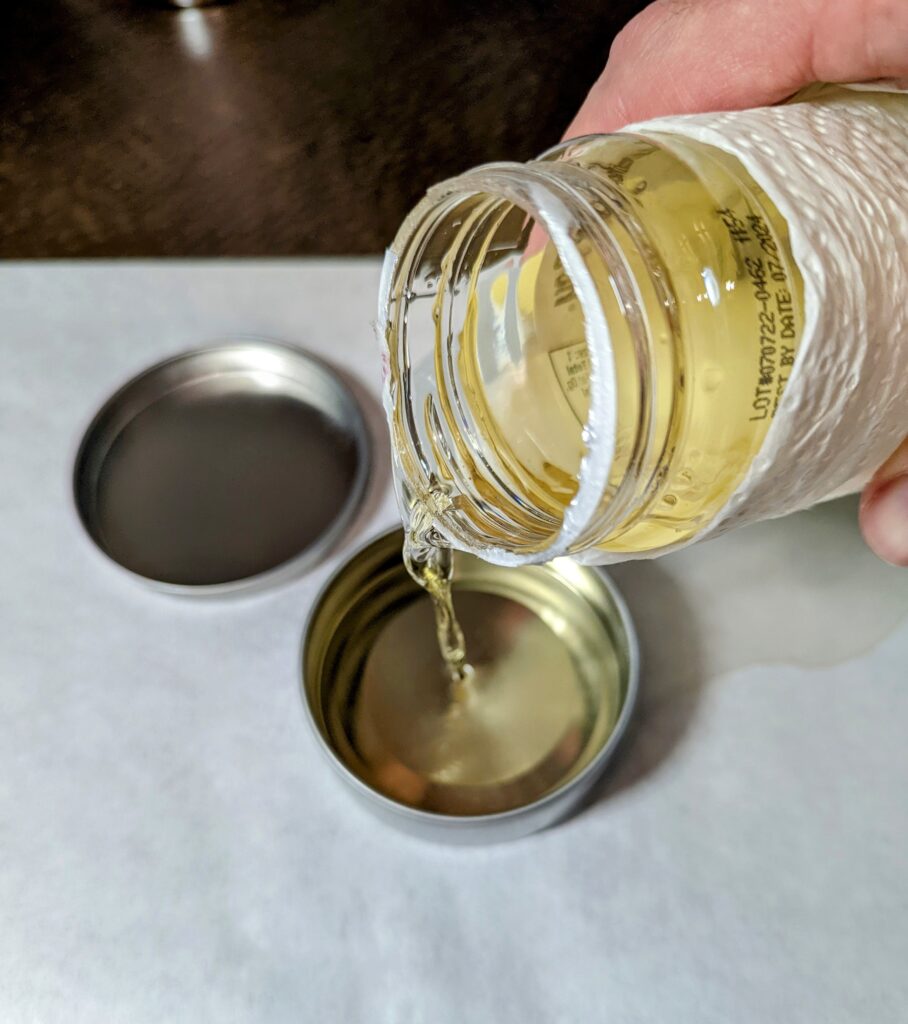
Carefully fill the tin with the melted coconut oil. Replace the lid and store in the refrigerator to let re-solidify.
CREATING THE LABEL
There are many ways to create your label. For those with experience in graphic design software, one could create an incredibly realistic label no problem in Illustrator.
For someone who isn’t as tech savvy but doesn’t mind dishing out a few bucks to simply edit an already created professional design, sites like KITTL will produce an incredible graphic in a matter of minutes.
But for this tutorial let’s give Cricut a go. Cricut Design Space has stepped up their app game as of recent, and with the addition of the Curve tool, you can absolutely build your label entirely on your iPad.
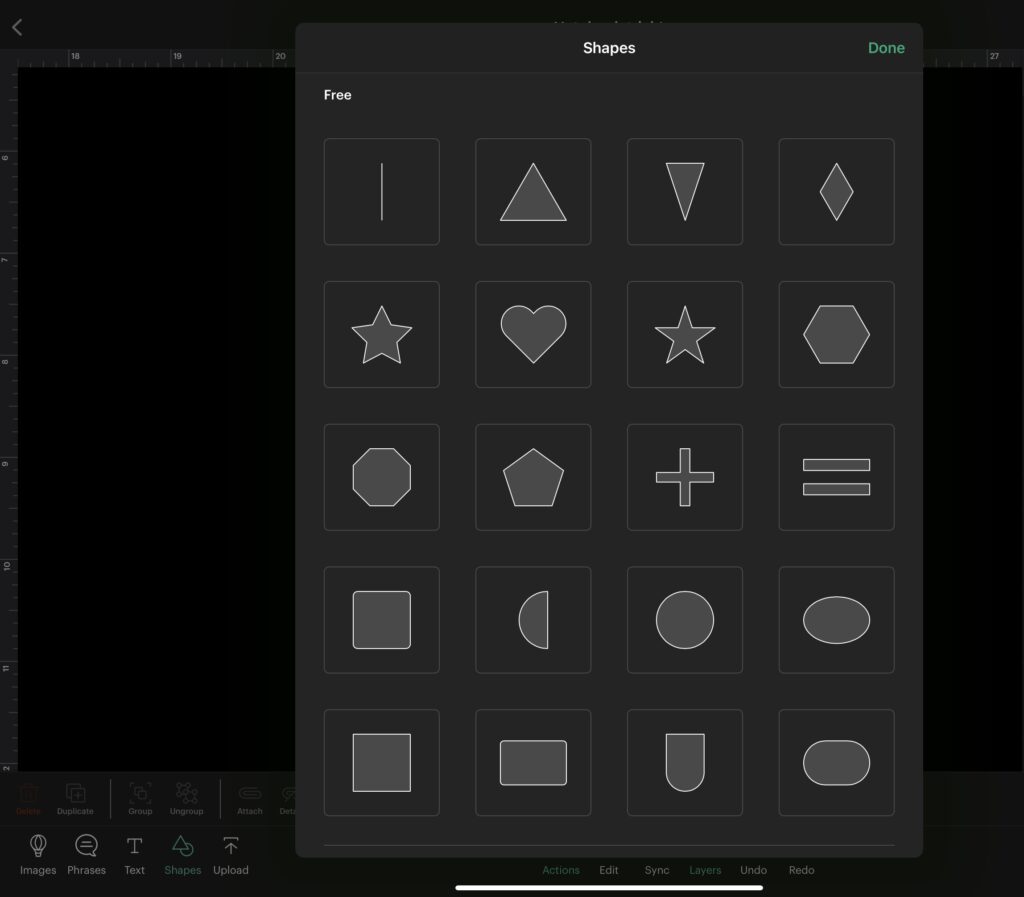
Start by opening a blank canvas and selecting a circle under Shapes. Size it to just shy of the diameter of the tin, for this example 2.85″.
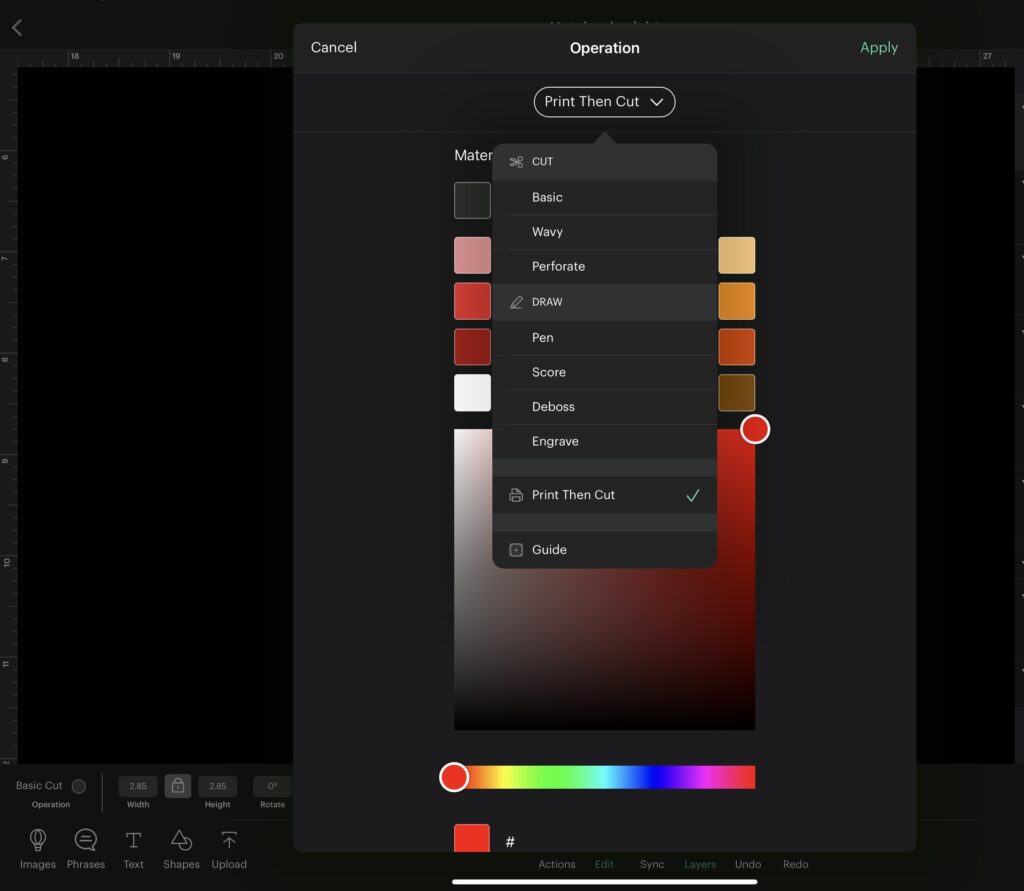
***For simplicity sake, with each step once a design element has been properly edited and positioned, select Operation, change the operation to Print Then Cut, and select the preferred color of choice. This will streamline the process prior to flattening the elements together.
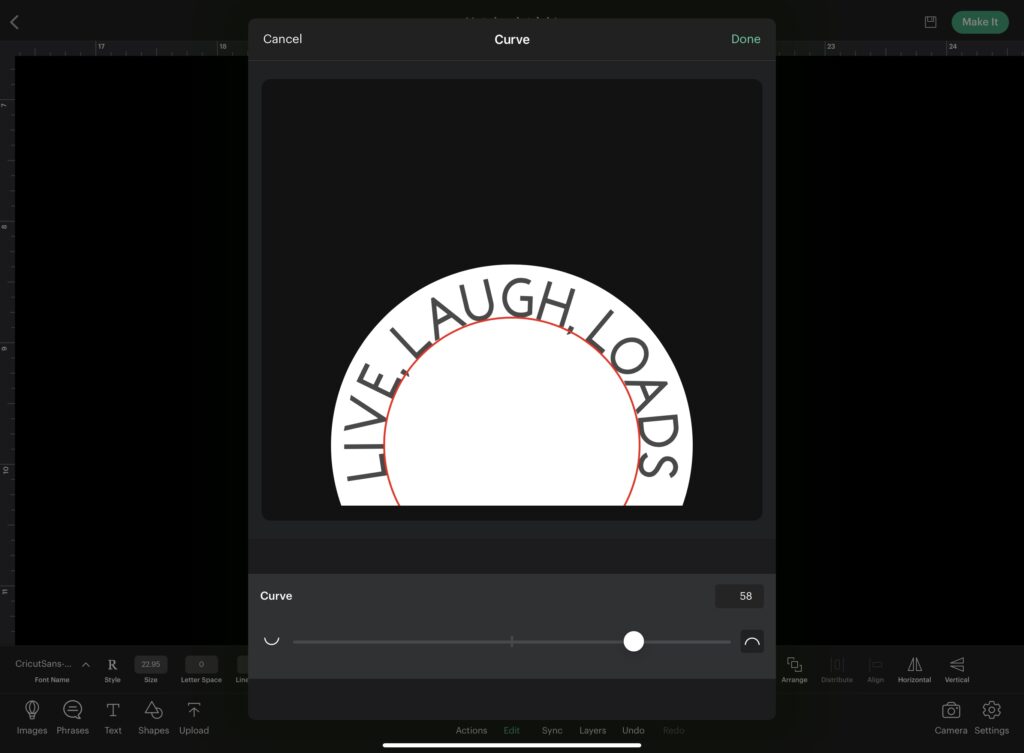
Tap on Text and type out the name of your fake product. Then, after selecting the desired font, select the Curve tool and adjust the curvature of your product name. Resize and position.
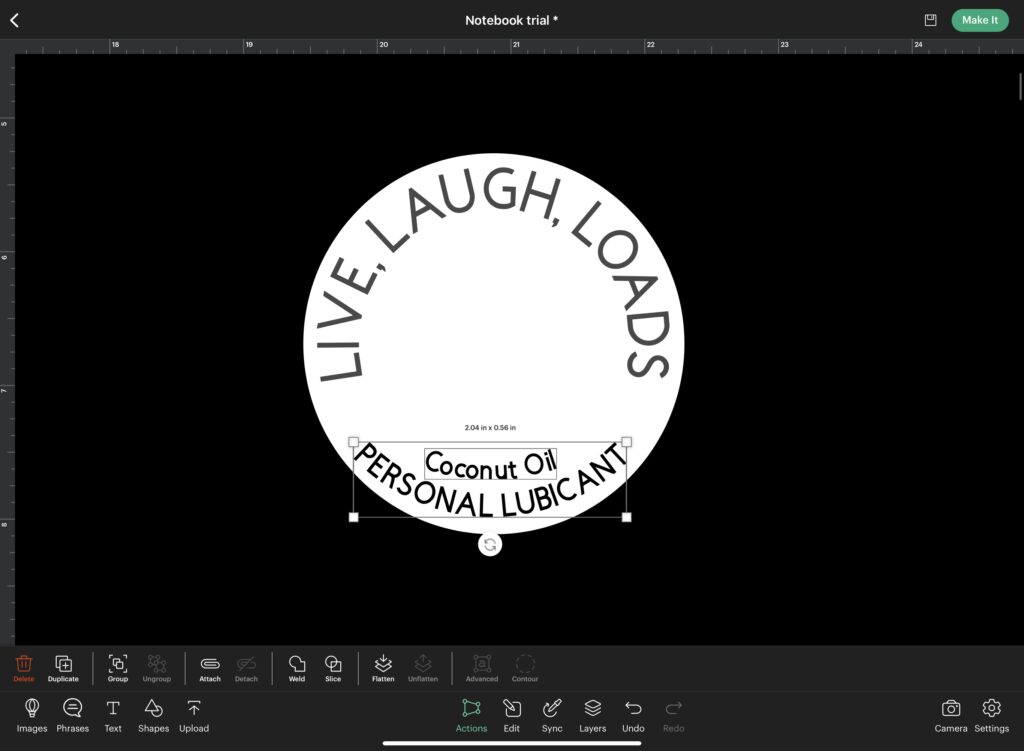
Repeat the process if necessary for any other curved lettering. Select Text once again to add additional information similar to what a real product may have.
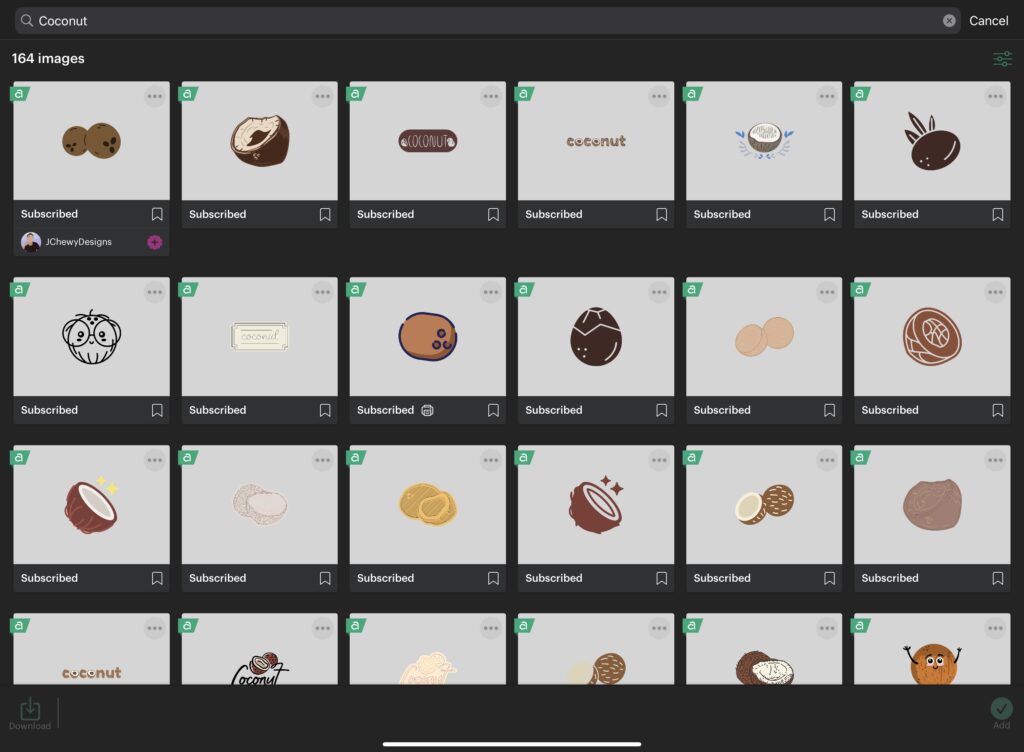
Select Images and use search terms to find images that best fit your product’s aesthetic. (Here I searched “coconut”). Resize and position the image to your liking.
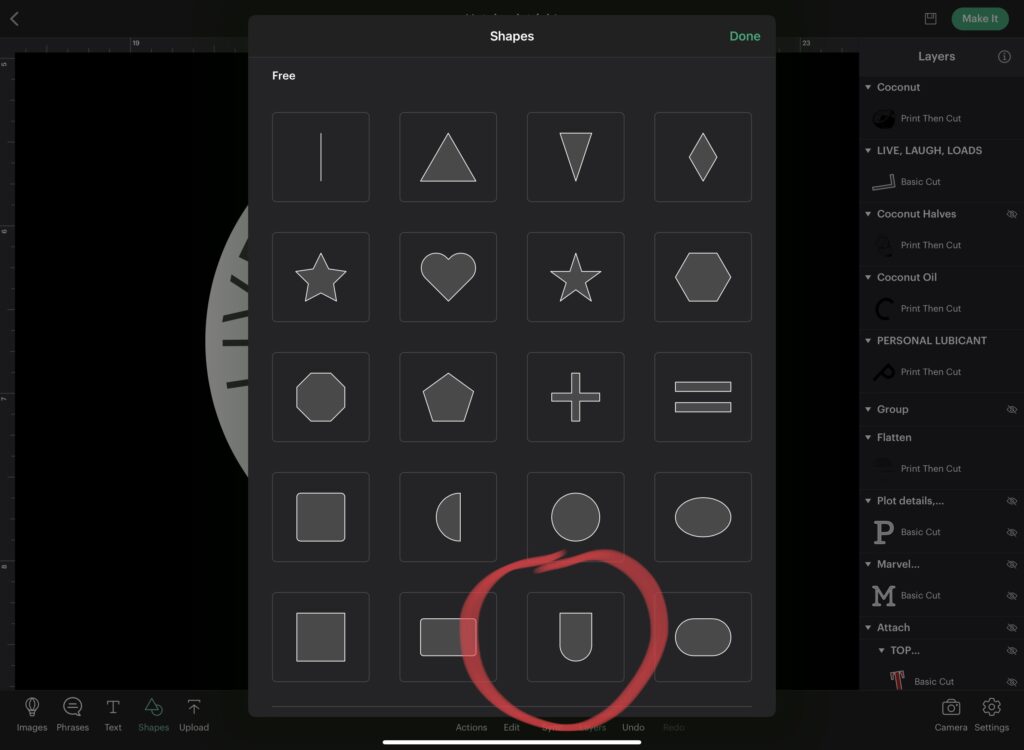
To add side seals, click Shapes and select a shape that works for you.
With measurements unlocked, resize it to extend well beyond the circle, remembering that the flaps will go down the sidewalls of your product. Duplicate the shape, flip its direction horizontally and reposition it to mirror the opposite side.
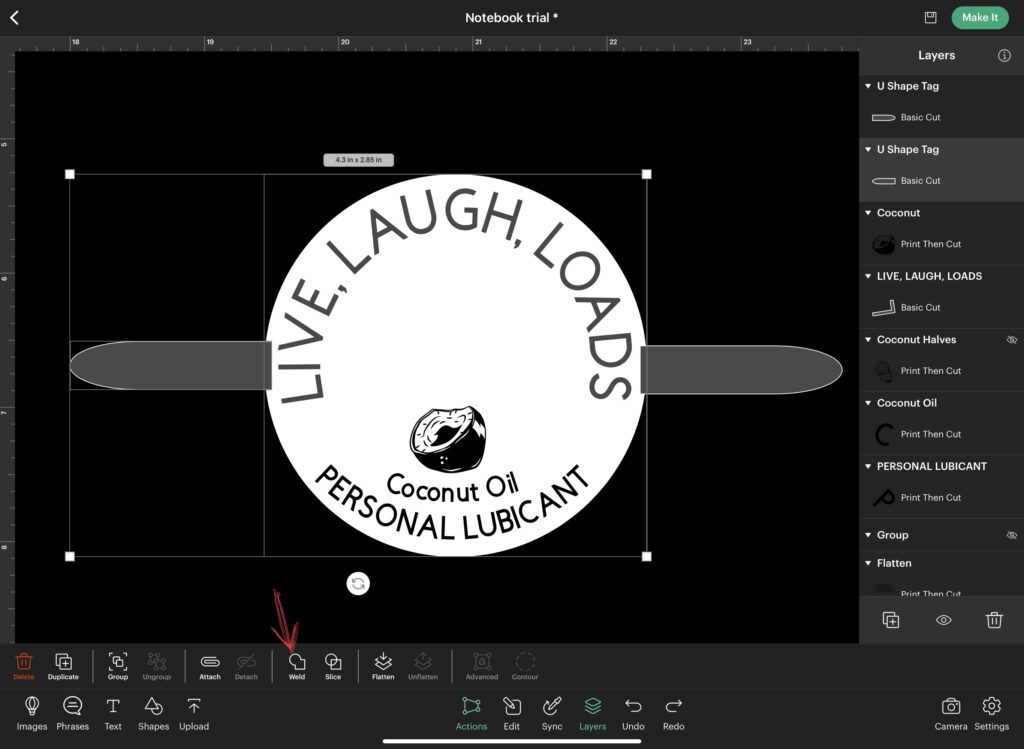
Selecting one flap and the circle, click Weld to to combine the shapes. Repeat for the other side.
Once you are happy with your design, highlight everything and select Flatten.
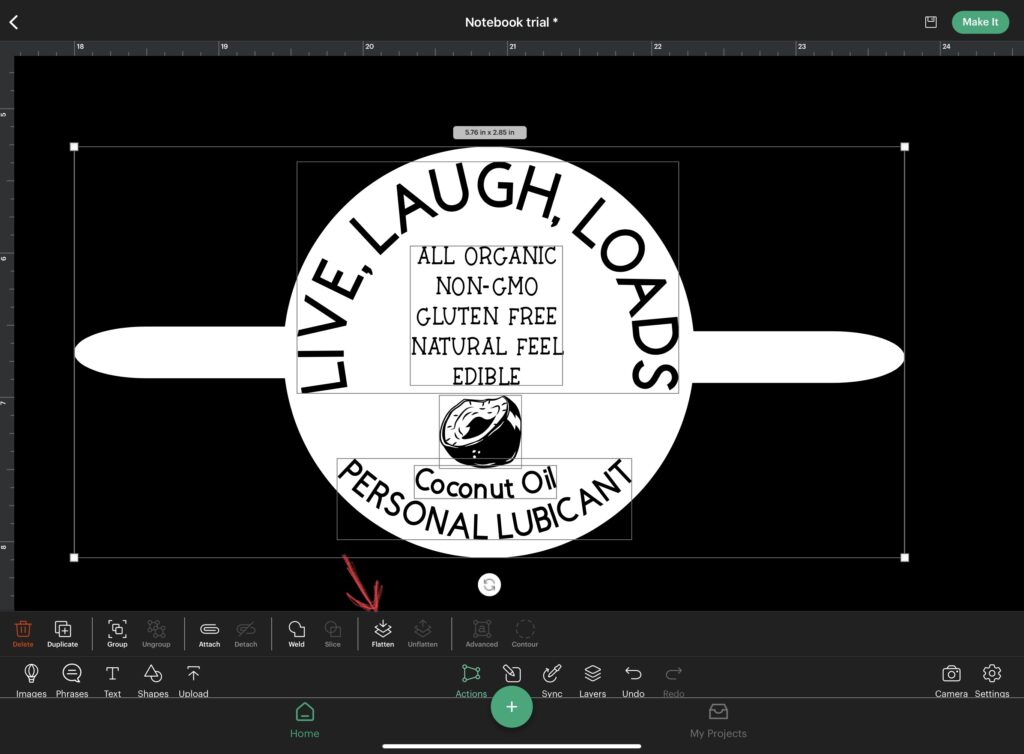
(Repeat the above process to create a label for the back of your product as well.)
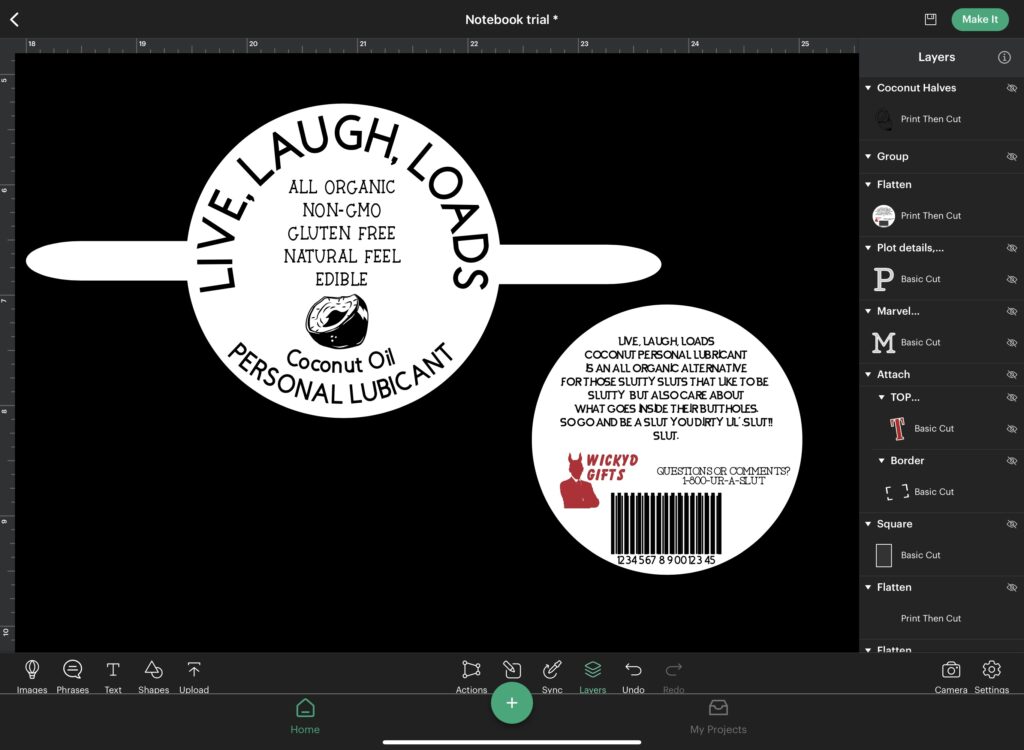
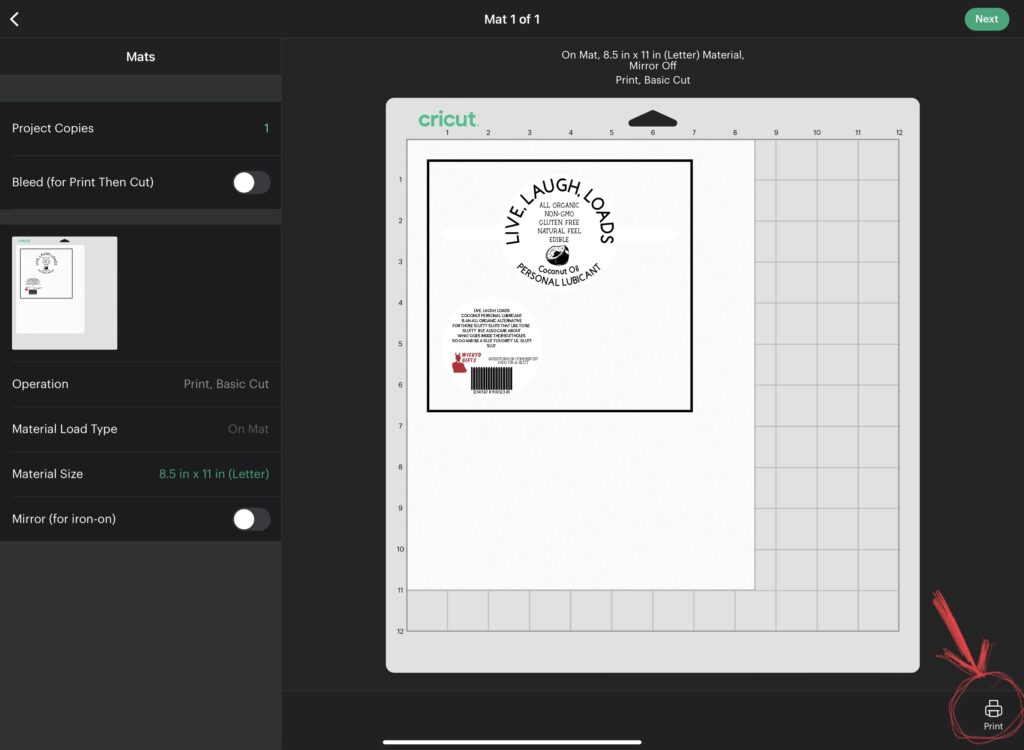
Now that the image(s) are ready to be printed and cut out by your Cricut machine, select Make It. Load your printer with the Printable Vinyl and select Print.
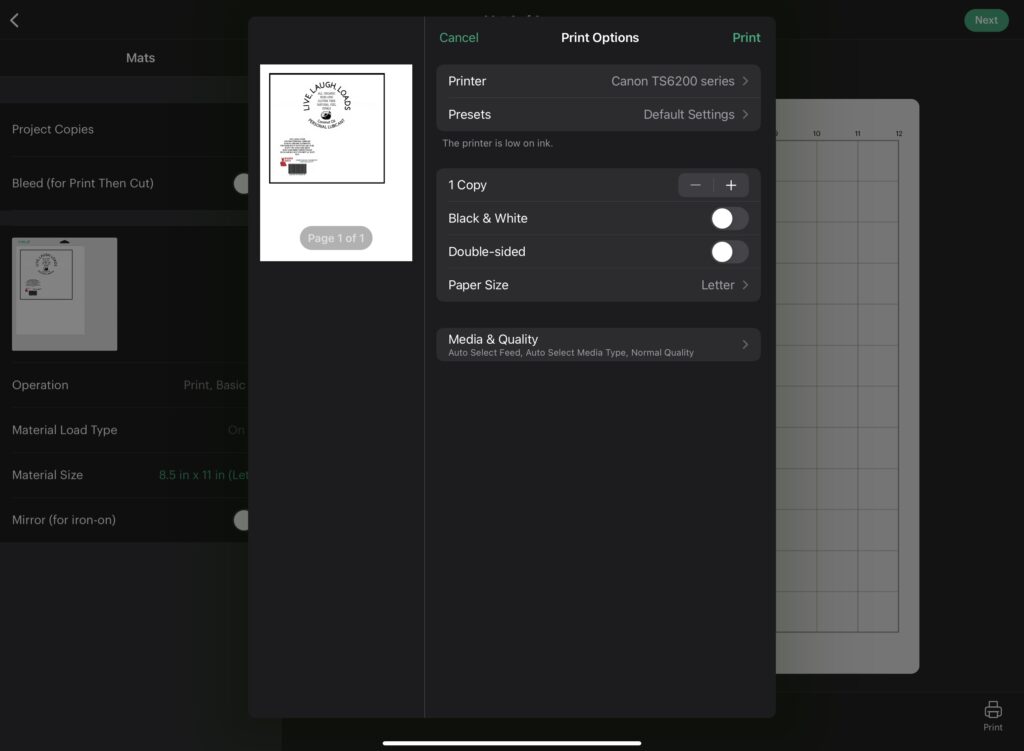
Select the appropriate printer in the new dialogue box, change any other preferences and again select Print.
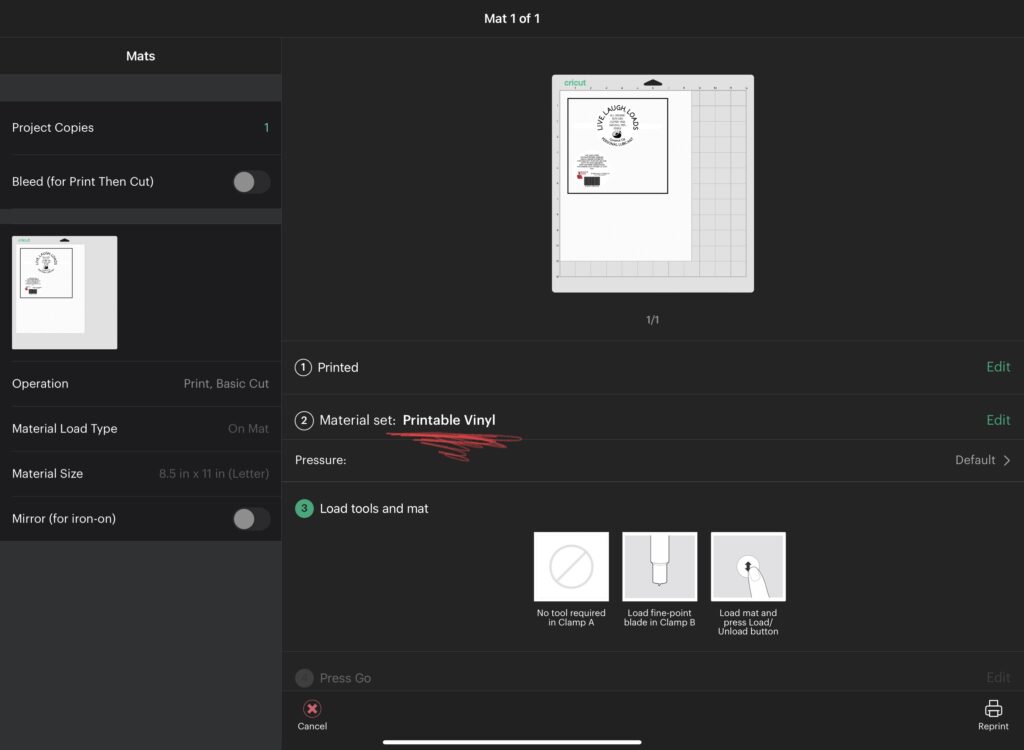
When printing is complete, select Next in Design Space. Choose Printable Vinyl as your material.
Load the print onto the cutting mat, taking note to position it in the same way as shown in Design Space. Load the mat, press the Cricut Logo and the machine will begin to first read the registration marks and then cut out your image.
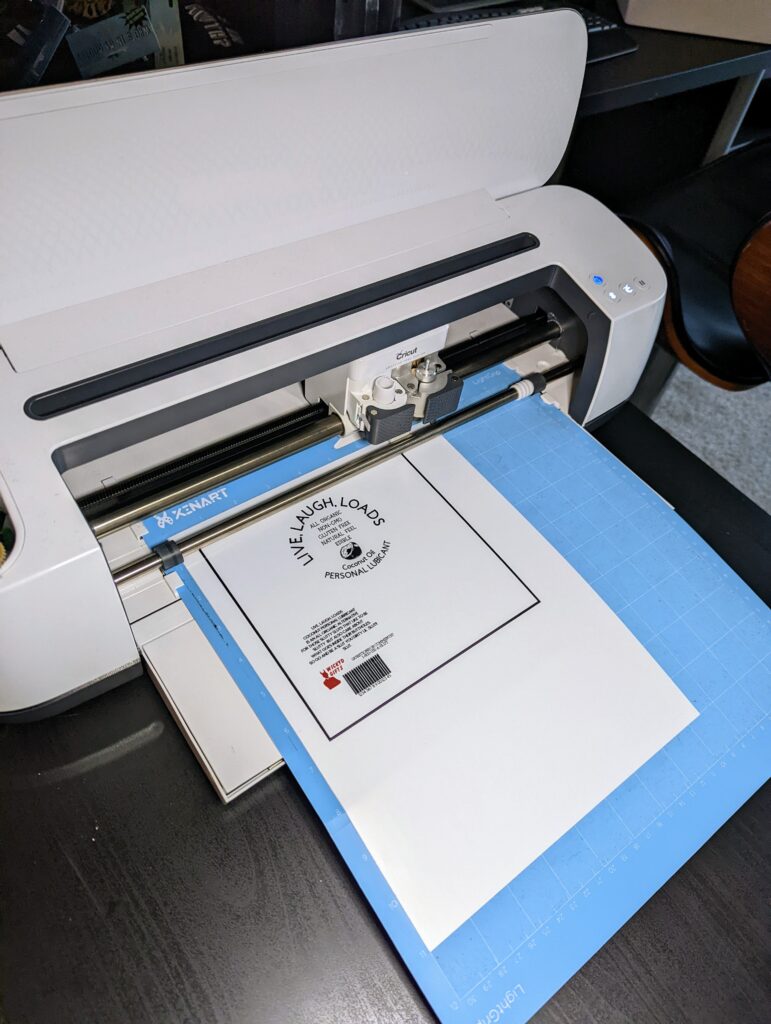
After your Cricut completes cutting, unload the mat and remove the print.
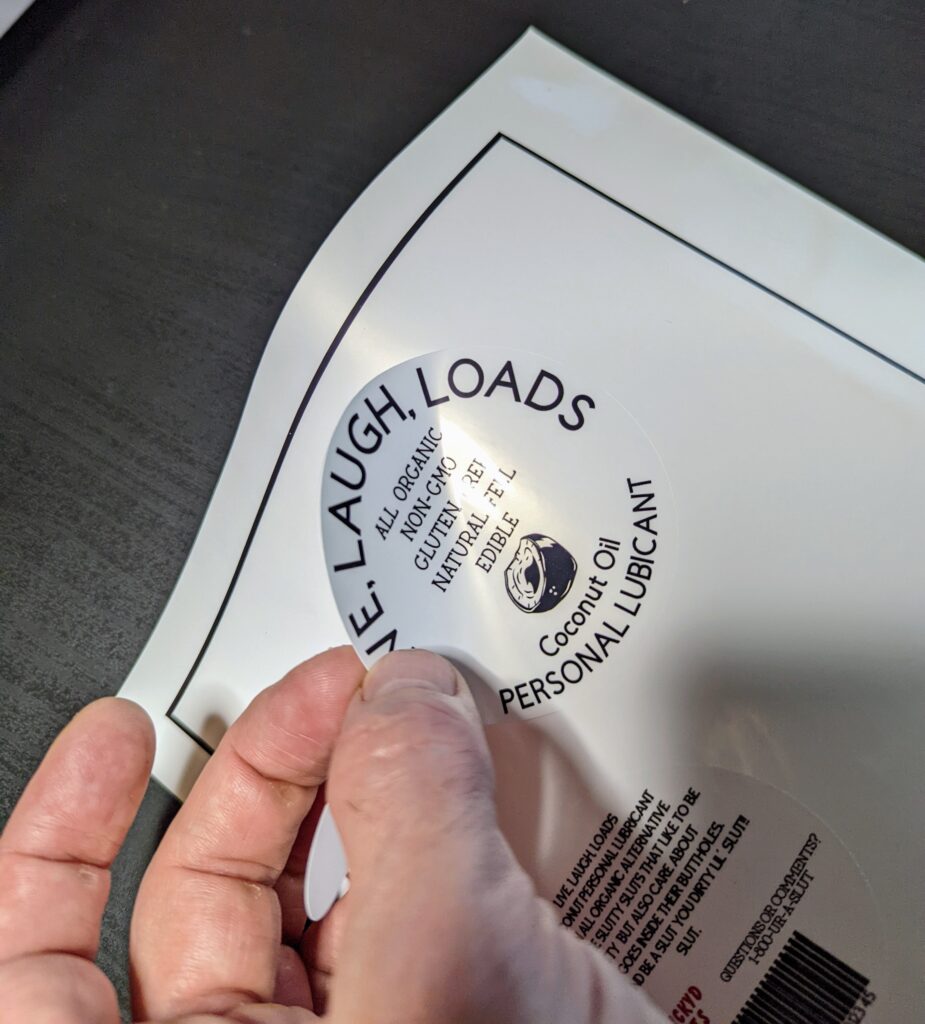
Peel back the sticker and carefully position and apply the label to your product, being mindful not to collect air bubbles. Repeat the process for the bottom label if applicable.
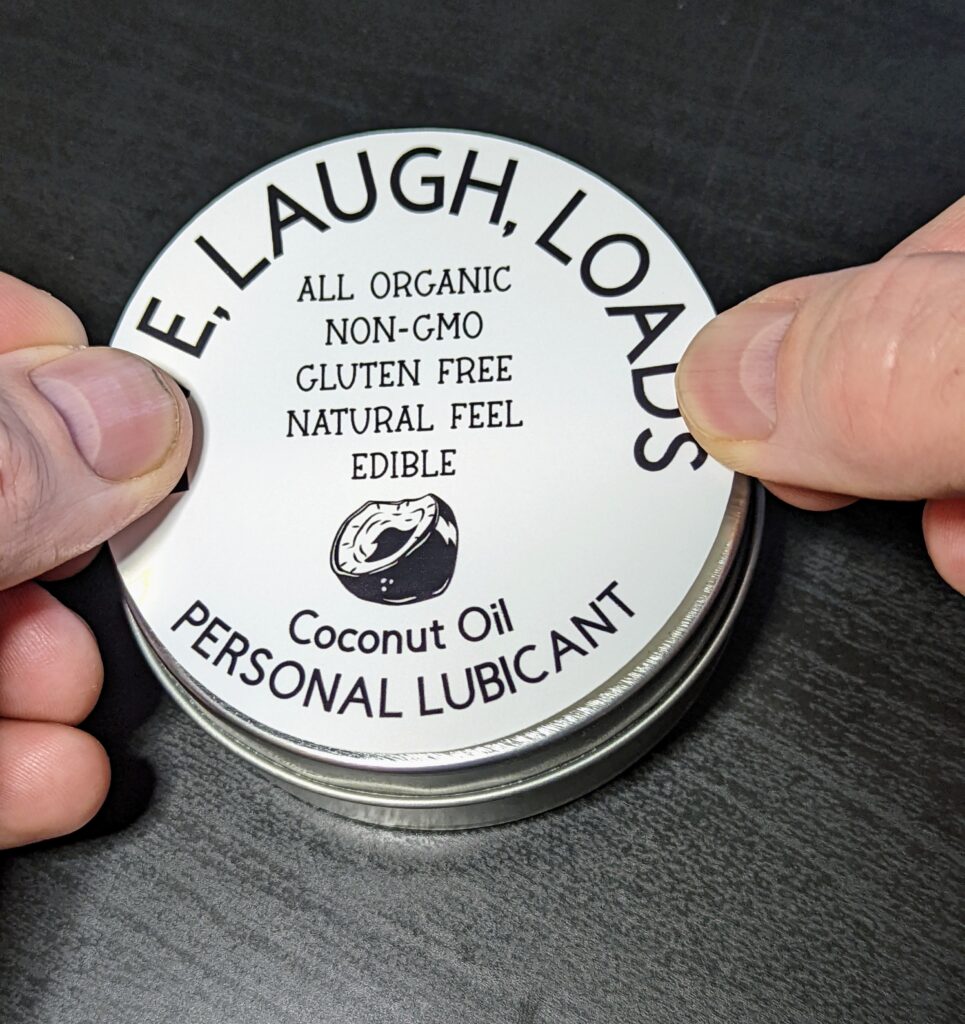
Fold down the side seal flaps as well.
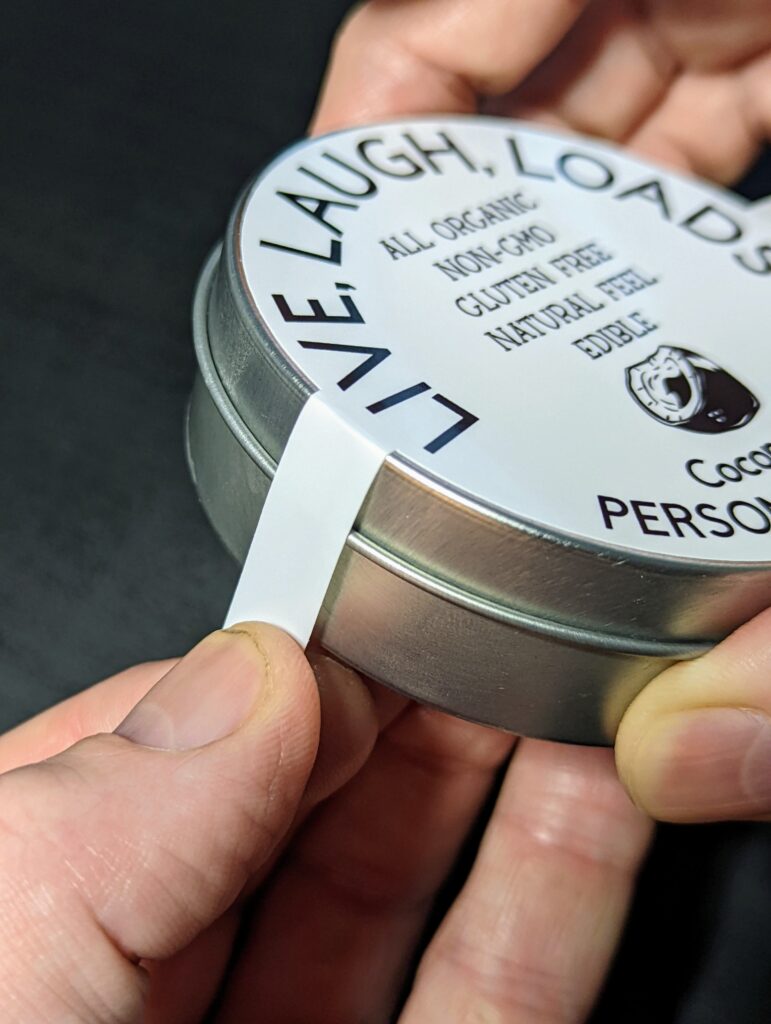
And Vois La!! Once fictional-but-realistic-looking Artisanal Lube!!
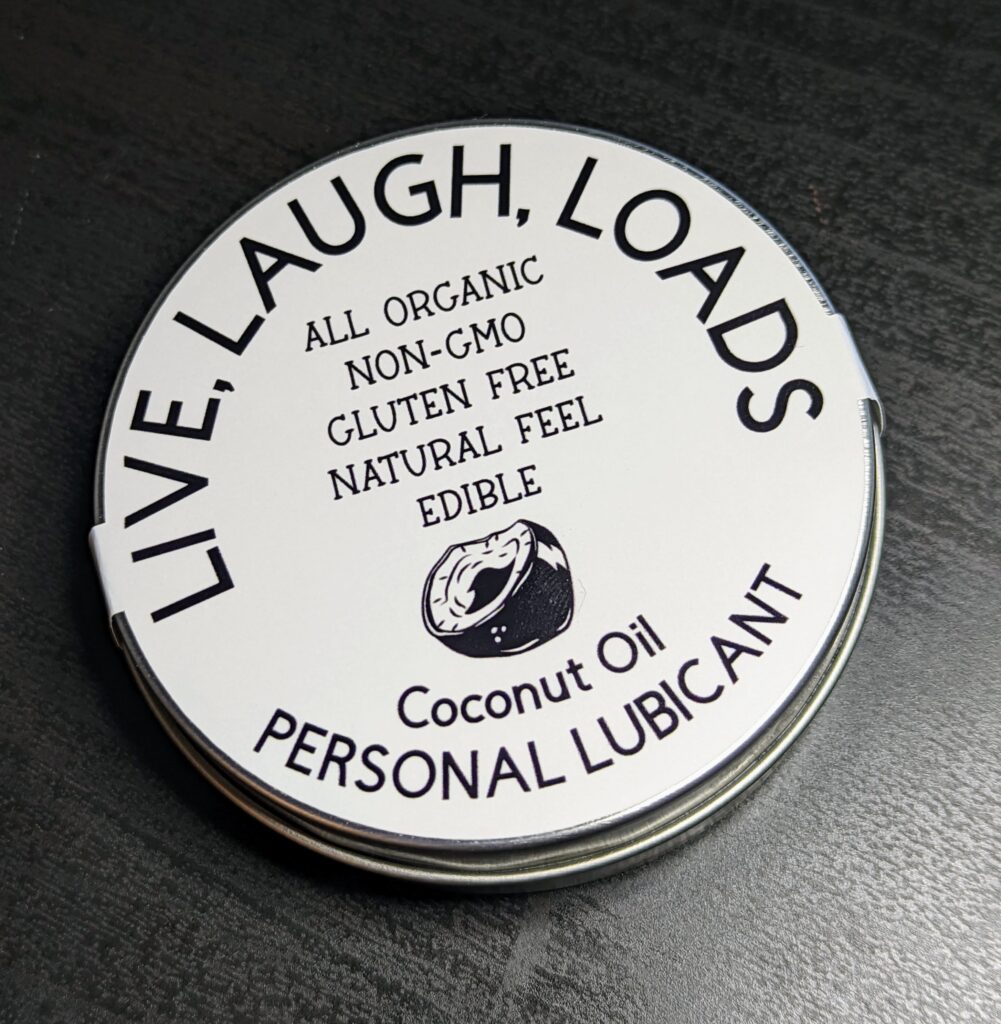
You Go, Glen Coco(nut)!!!
And That’s It!
What I love about this project is it lends itself to a myriad of products, such as wine labels, pill containers, candy wrappers and so much more. For example, you could create a “Thank You” label in lieu of a card to put on someone’s favorite beverage of choice. Alternatively, you could create luxurious looking label for a transcendent body soaking kit that turns out to be skin-staining nightmare. From thoughtful to humorous or anything in between.
What sort of imaginary product will you make? Feel free to share your creations; I’d love to see what you come up with.
And…..uh……Okay, bye.

