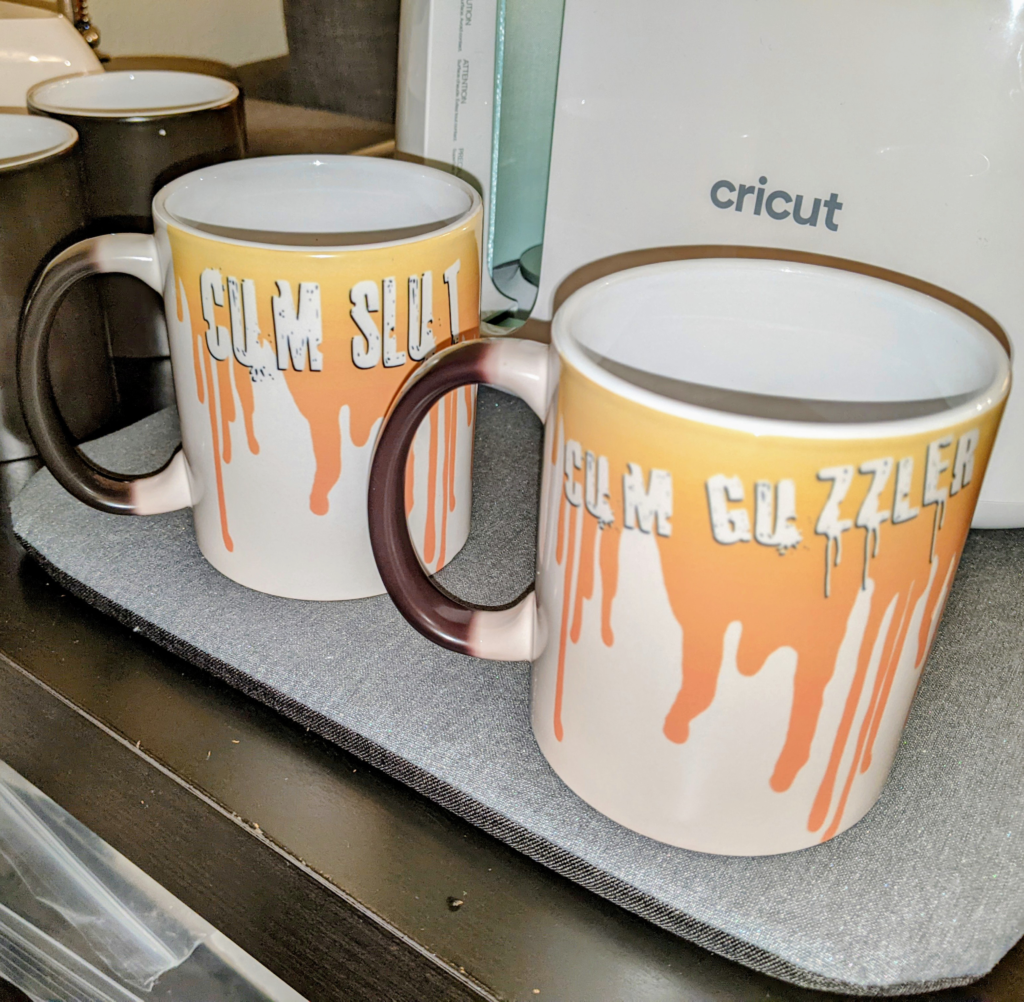
Personalized coffee mugs are great for stocking stuffers or putting together a last minute, inexpensive gift. Last holiday season I compiled an entire “Slut Box” for my two partnered friends. Everything in the box included an item that insinuated they were a coupla’ downright slutbags. This “Cum Slut/Cum Guzzler” matching set fit perfectly into the mix.
(A side note: If you don’t have friends in your life that you can greet with a good ole’, “Hey, Slut” or other derogatory term of endearment, I feel a great swell of pity for you. They’re the best kind of friends. But I digress…)
This project is reasonably quick, completely customizable and super cheap if you already have the necessary equipment. And it’s always very exciting taking the wrap off the mug once pressed to see your finished product.
So let’s get started.
What you’ll need:
- Sublimation mugs (I used heat activating color changing mugs I found on Amazon)
- Sublimation paper & sublimation printer OR Infusible ink and a Cricut machine
- Cricut Mug Press
- Heat resistant tape
- Heat resistant mat (for cooling the mugs)
- Butcher Paper
- Lint roller or lint-free cloth
- Cricut Design Space
Initial Design
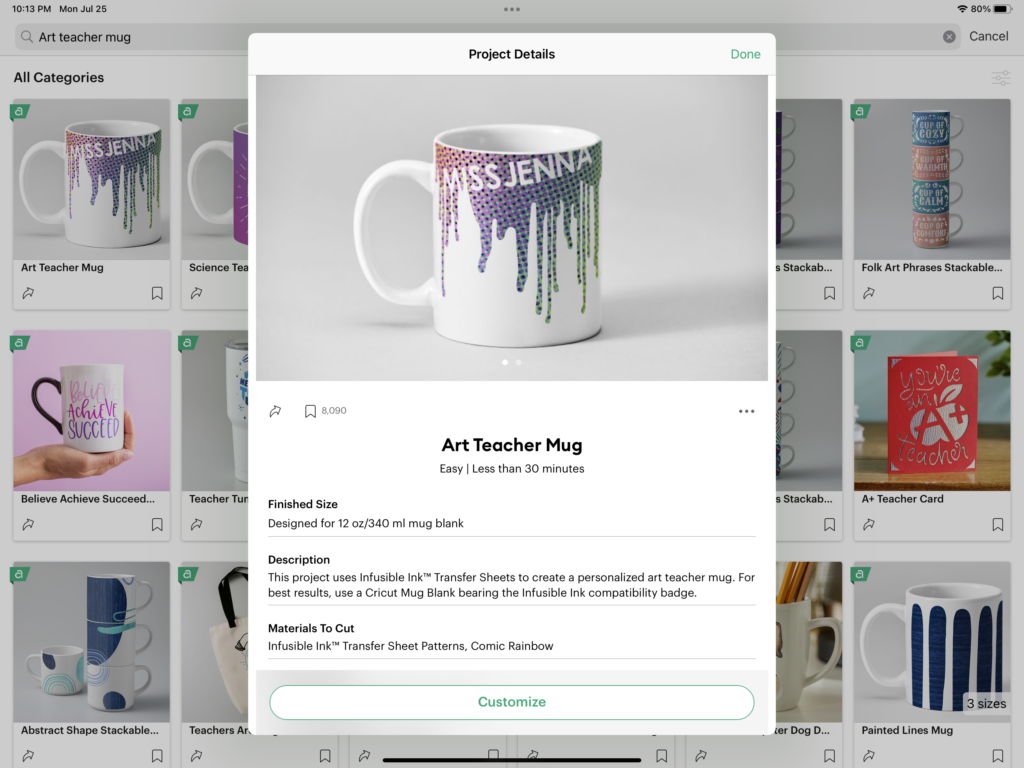
Launch Cricut Design Space and start a new project by searching for ‘mug’. You can chose from many of the already prepared templates, or start from scratch by searching “Mug Design Setup”. This template will allow you to chose which size mug blank you are using, as well as different edge finishes.
Many of the already prepared templates are customizable, making it rather easy to make whatever kind of mug you are looking for. Wholesome, NSFW, your call.
For my design I decided to use the “Art Teacher Mug” design as my base. This design has a dripping effect going down the mug. Given that it reminded me of dripping semen and I decided to substitute the name for an slutty phrase, I found this most fitting for my needs. Choose whichever template, phrase and font works best for you design.
Procreate Extra Credit
Now we have our image. At this stage you could simply change and slice out the text and cut this out of infusible ink with your Cricut.
I however like to make things difficult, have a sublimation printer and wanted to have a bit more control over the color palate. For this reason I decided to further modify the design in Procreate. This step is completely unnecessary for most, but I wanted to make things harder on myself. (Skip down to cutting out the image section if you’d like to skip this part.)
Taking a screenshot of the design, I inserted it into Procreate where it was resized to fit my canvas. Under ‘airbrushing’ I selected the soft brush. Then using the color palate I selected the color I wanted for the top of the mug. With each pass of color I selected a slightly darker hue from the color palate until I reached the bottom of the design.
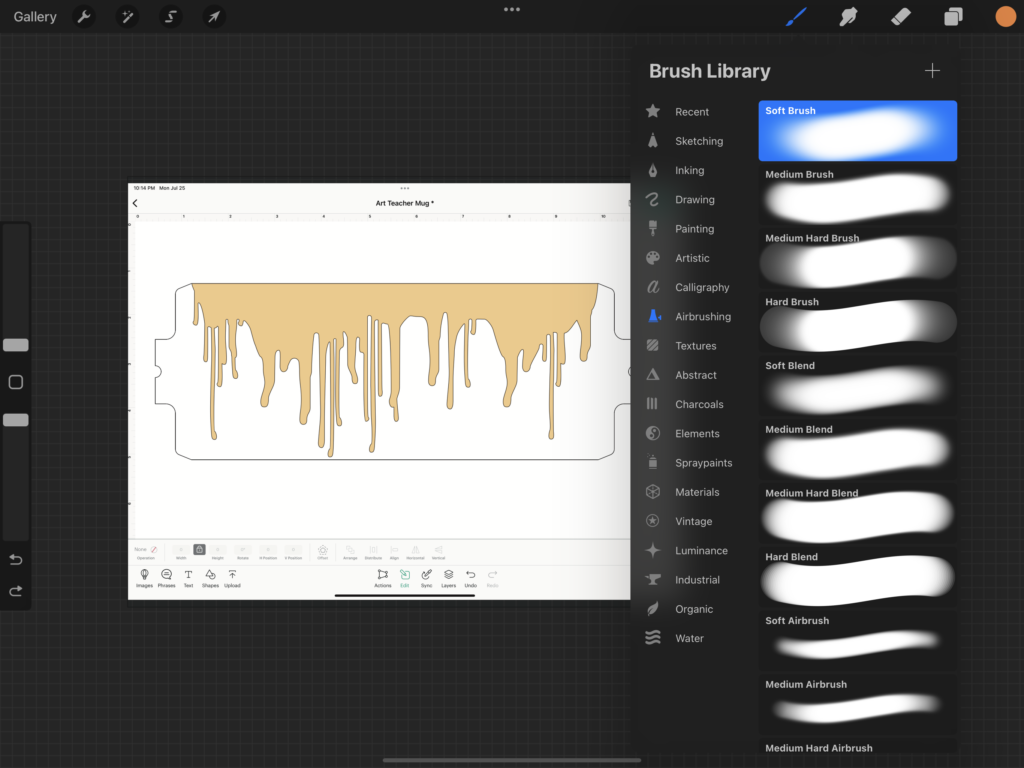
Under the adjustments icon in the upper left I next selected ‘Gaussian Blur’. Using the Apple Pencil I slowly swiped the screen from left to right until I obtained the blending effect I was looking for.
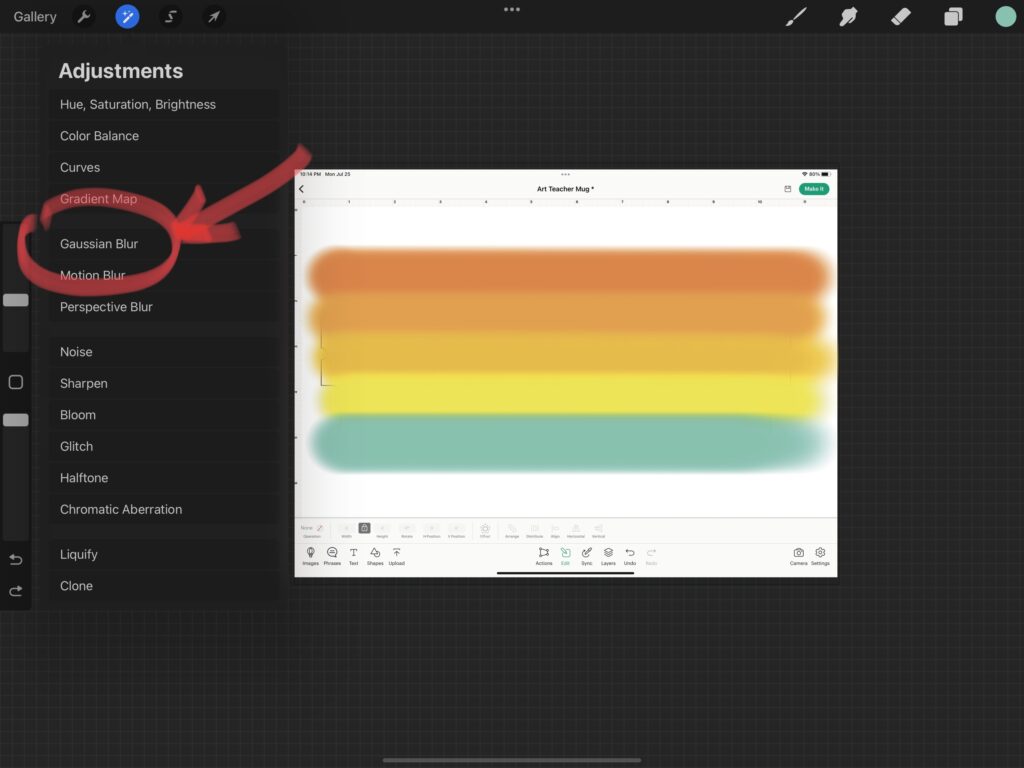
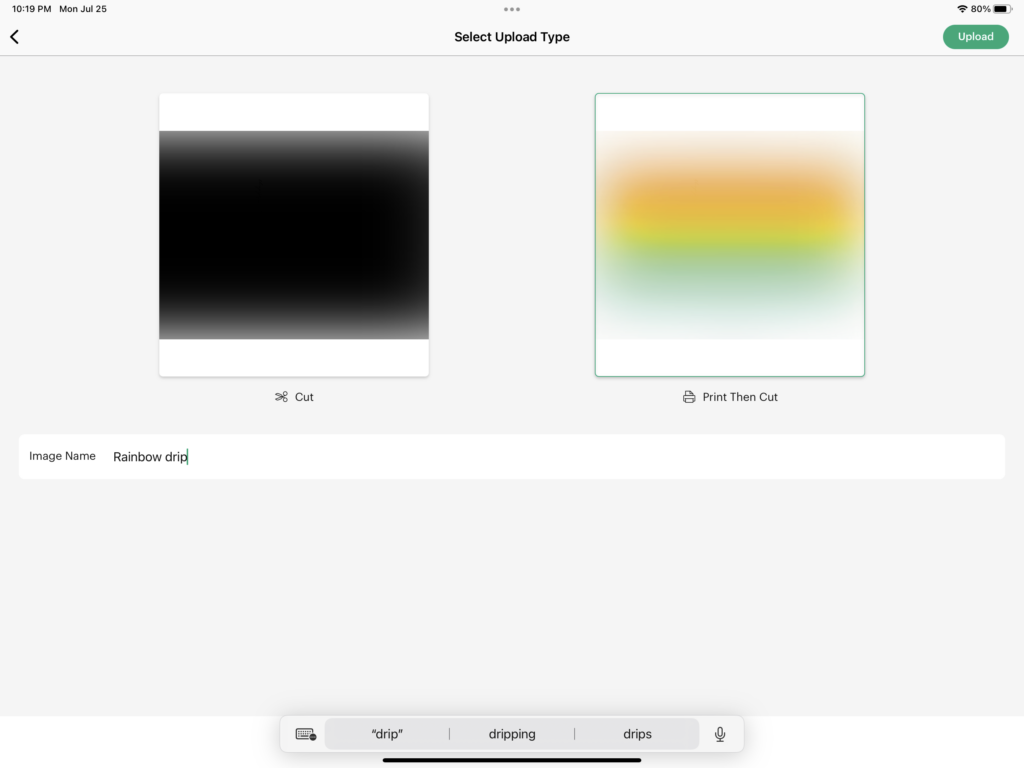
At this stage my new design was ready to be brought back into Cricut Design Space by first saving it as a PNG and then imported into Design Space as a ‘Print then Cut’ file.
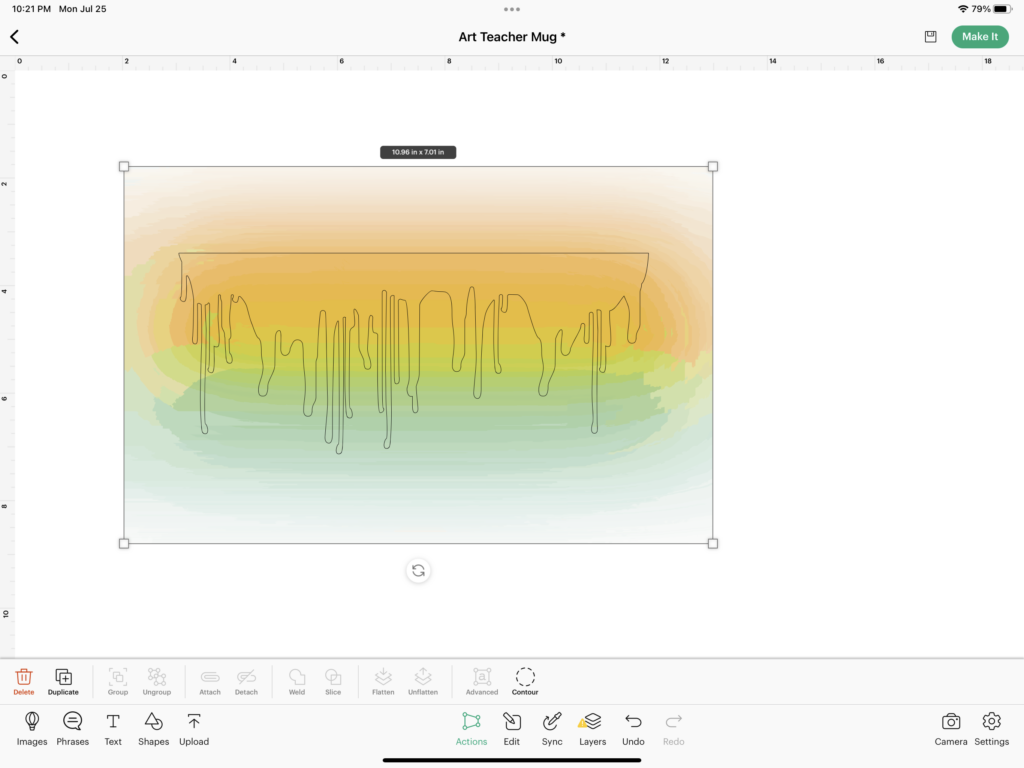
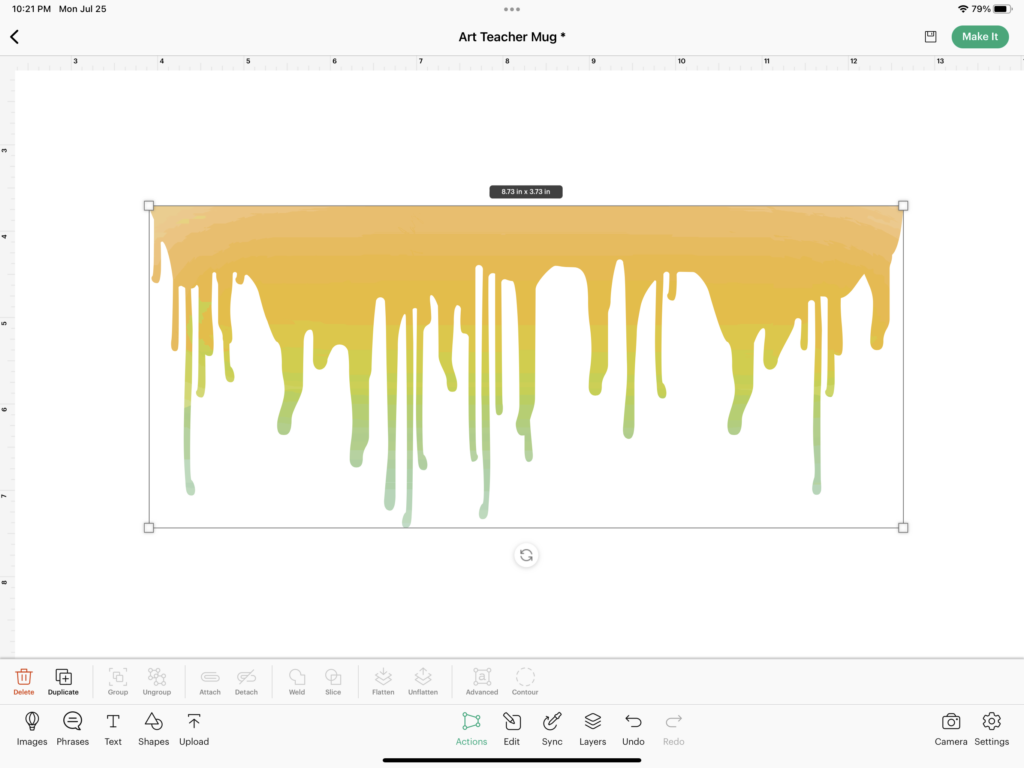
Back to the Design Space canvas, I placed the drip template on top of my newly designed image. Highlighting both, I selected ‘slice‘, creating the dripping color gradient I had intended.
I already had a font in mind that I wanted to use, so under the Edit menu I selected Change Font and switched to System. Under my previously downloaded fonts I chose “Bacon”, which has a dripping effect as well. I found this font through FontSpace which was 100% Free and acceptable for commercial use.
I duplicated (and altered) the font and placed one on either side of the mug design. Choosing the right side of the design I highlighted ‘cum slut’ with the mug template and selected ‘slice‘. I clicked off of all design elements, and on the opposite side of the mug design I repeated the previous step to slice out the second font phrase.
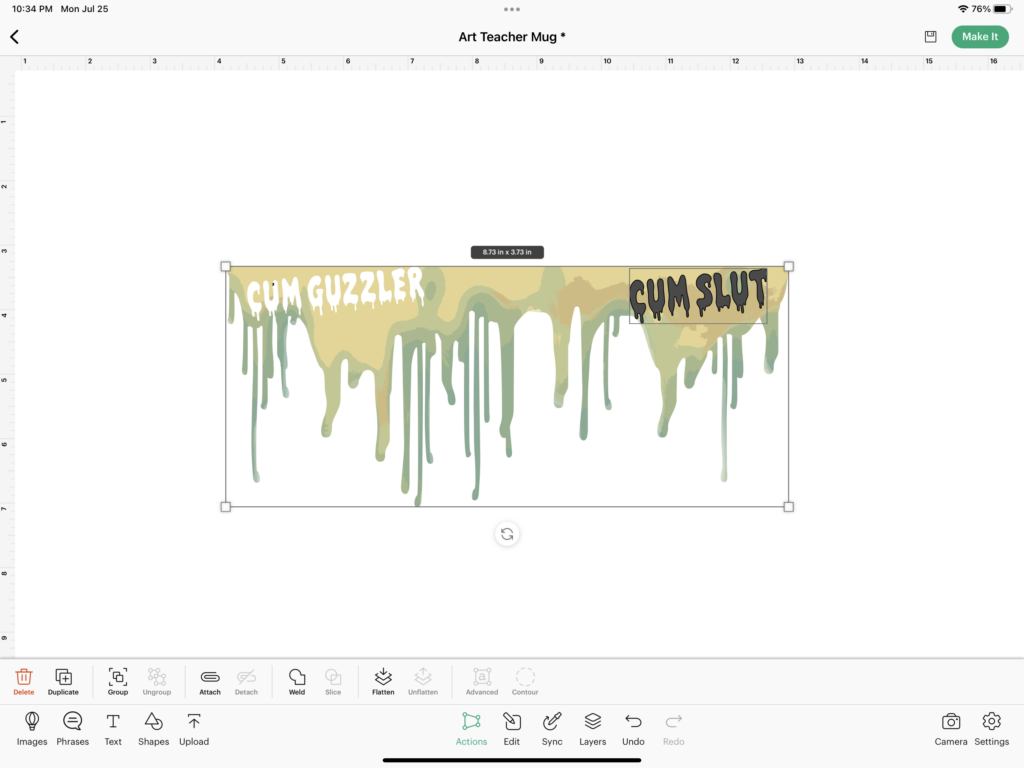
Now that both phrases were sliced out of the design, I separated the mug design from the sliced pieces and deleted the remaining elements.
At this stage the design can be printed with our sublimation printer.
Cutting out the image
Whether using infusible ink sheets or printing out a design via a sublimation printer, be mindful to mirror your image.
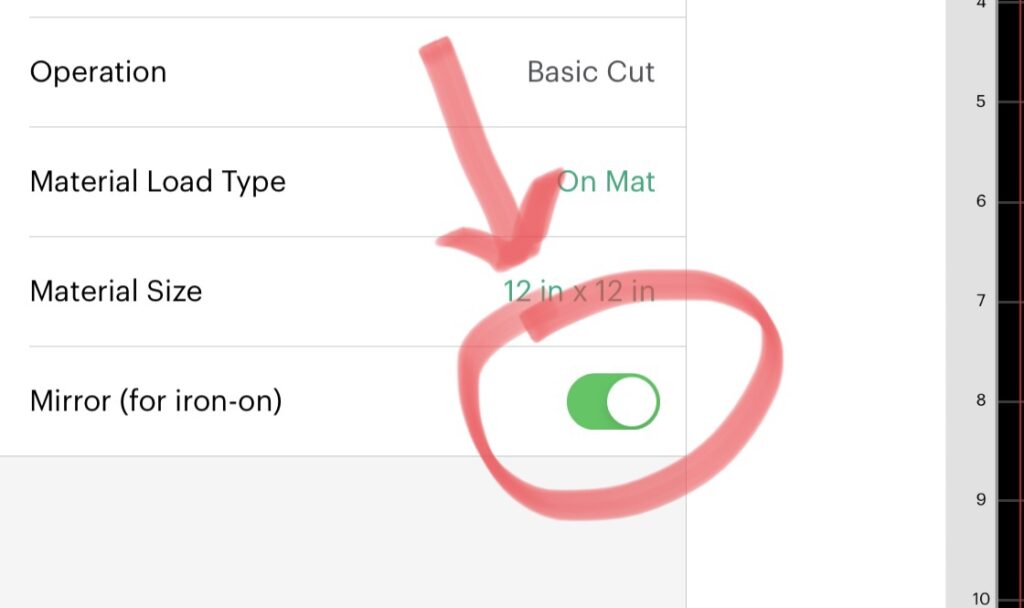
Select your material and follow the prompts through Design Space.
*If using infusible ink, once everything is cut out I have found it is best to slowly bend back and pop out excess pieces rather than using a weeding tool when you can.
Pressing your Mug
Now the part we’ve been waiting for, actually creating the mug.
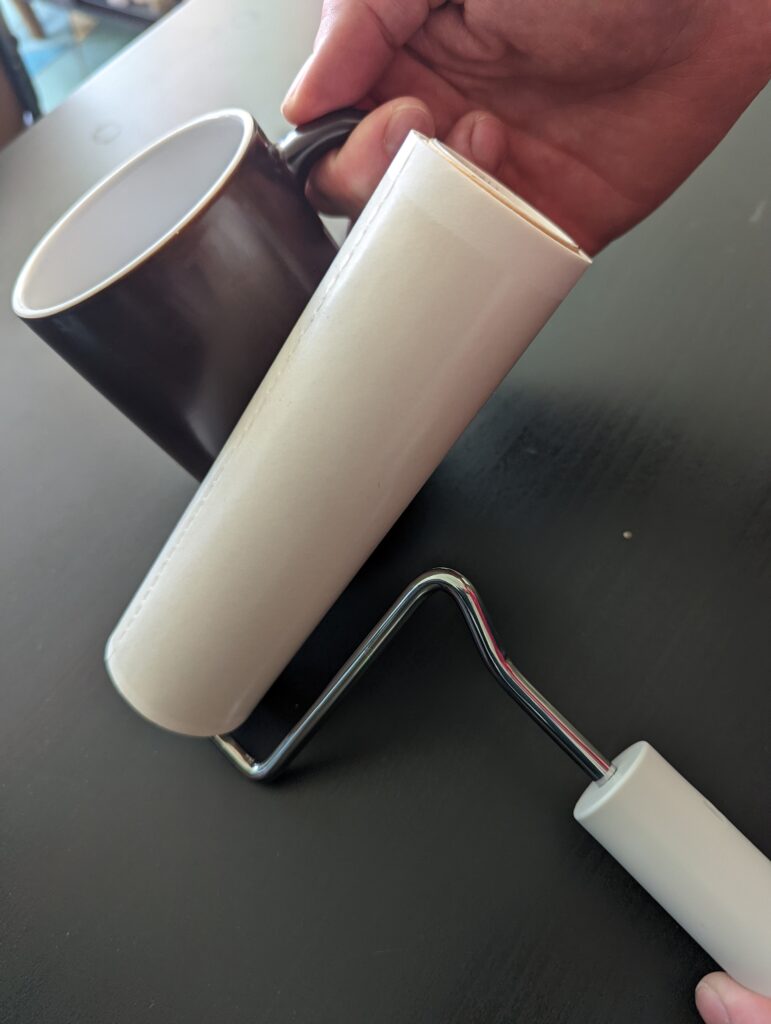
Preheat your mug press and prepare the mug by using a lint roller or lint free cloth to remove any, you know, lint.
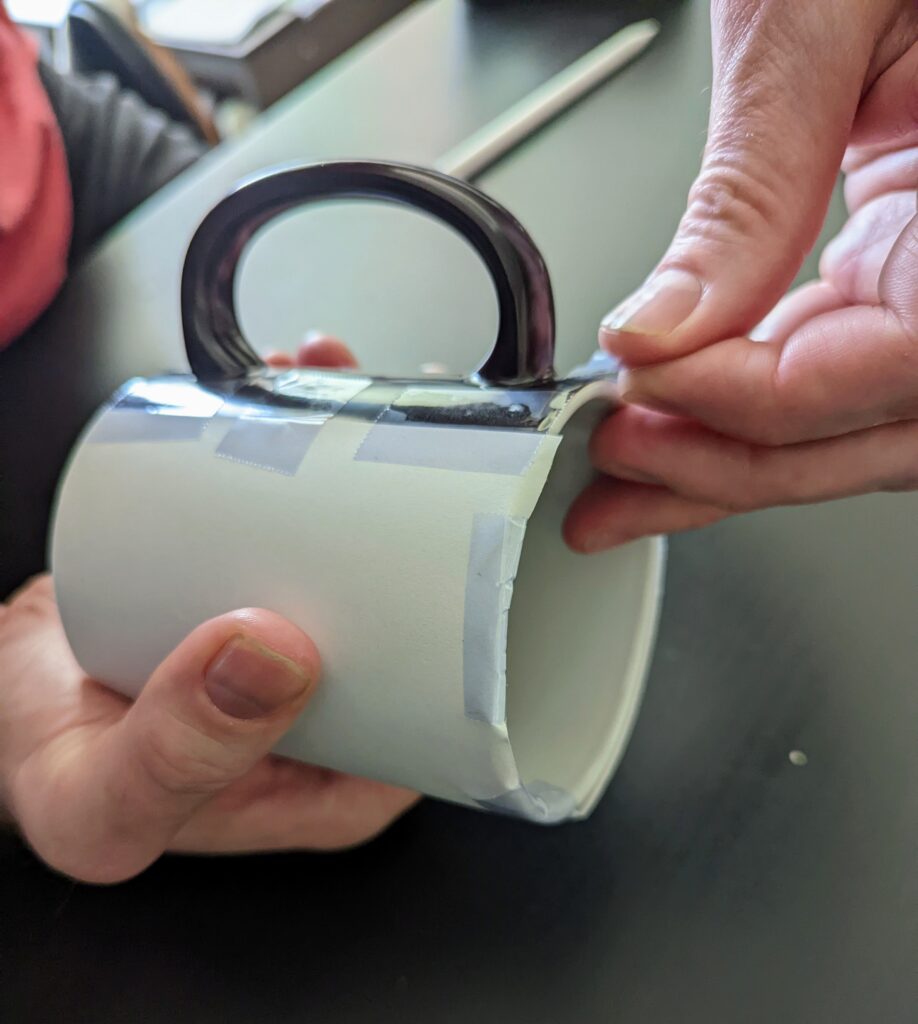
Wrap your design to the mug using heat resistant tape. Make sure the bottom is flush with the mug’s base. Be mindful to keep your design taut and don’t be shy with the tape; any slight shifting of the design can create a ‘ghosting’ effect to your final image, essentially ruining it.
Next wrap 2 to 3 layers of butcher paper around your mug. This ensures that if there is any bleeding through of the sublimation paper it will not get inside the mug press.
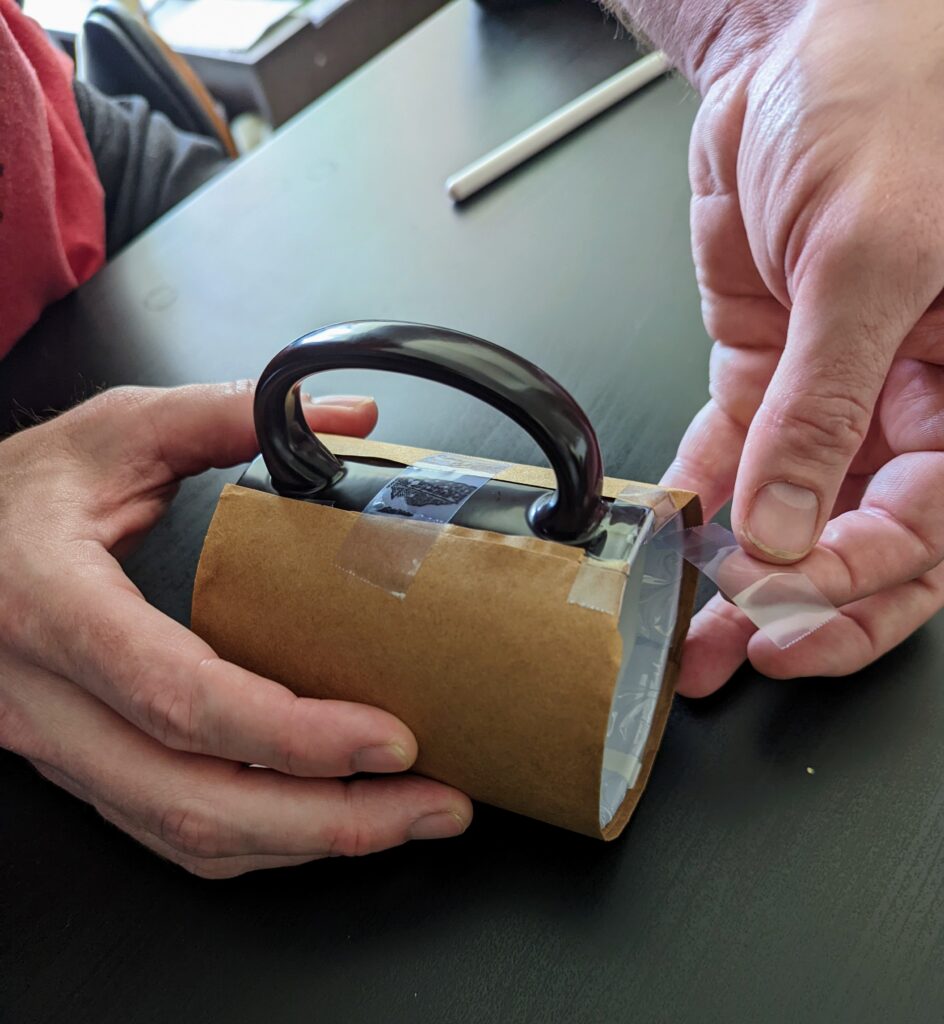
Once the press is ready, carefully insert the wrapped mug into chamber. Close the clamp and allow for the press to count down.
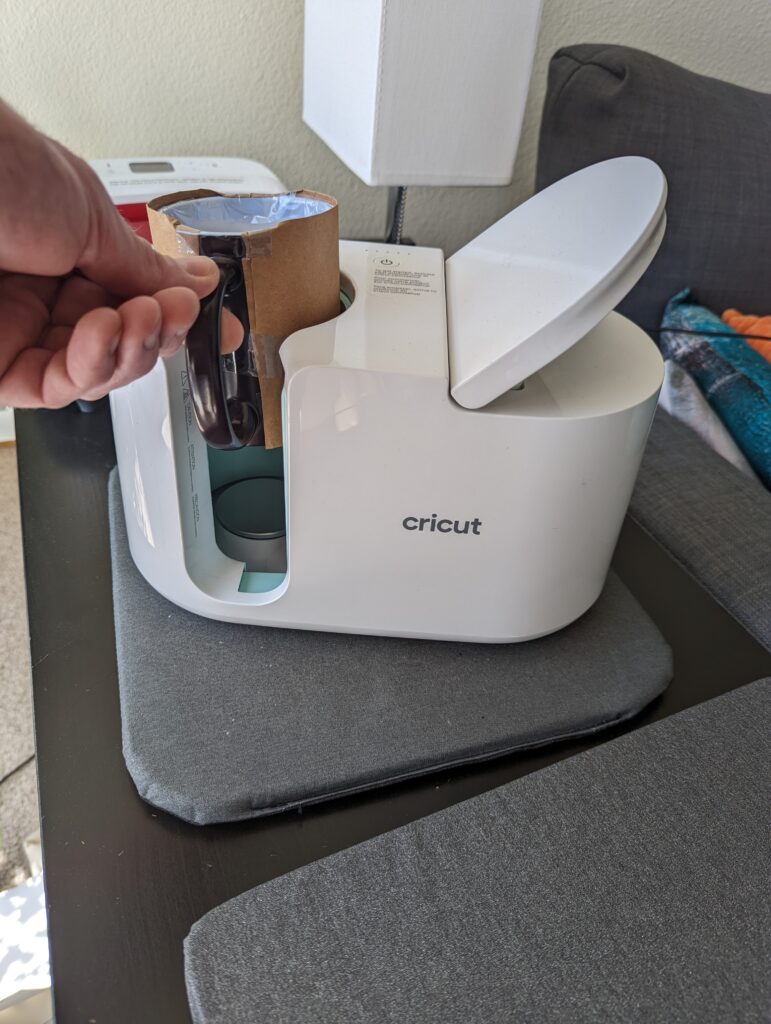
The average press in the Cricut Mug Press is around 6 minutes. Once finished all lights will be illuminated and the Press will beep. Simply pull up on the lever and carefully remove your mug, only touching the handle as the rest of the mug will be molten-level hot.
Allow your mug to cool down on a heat resistant cooling mat for 15-30 minutes before trying to remove any tape or product. Heat resistant gloves, although not necessary, are also a good idea if you have some available.
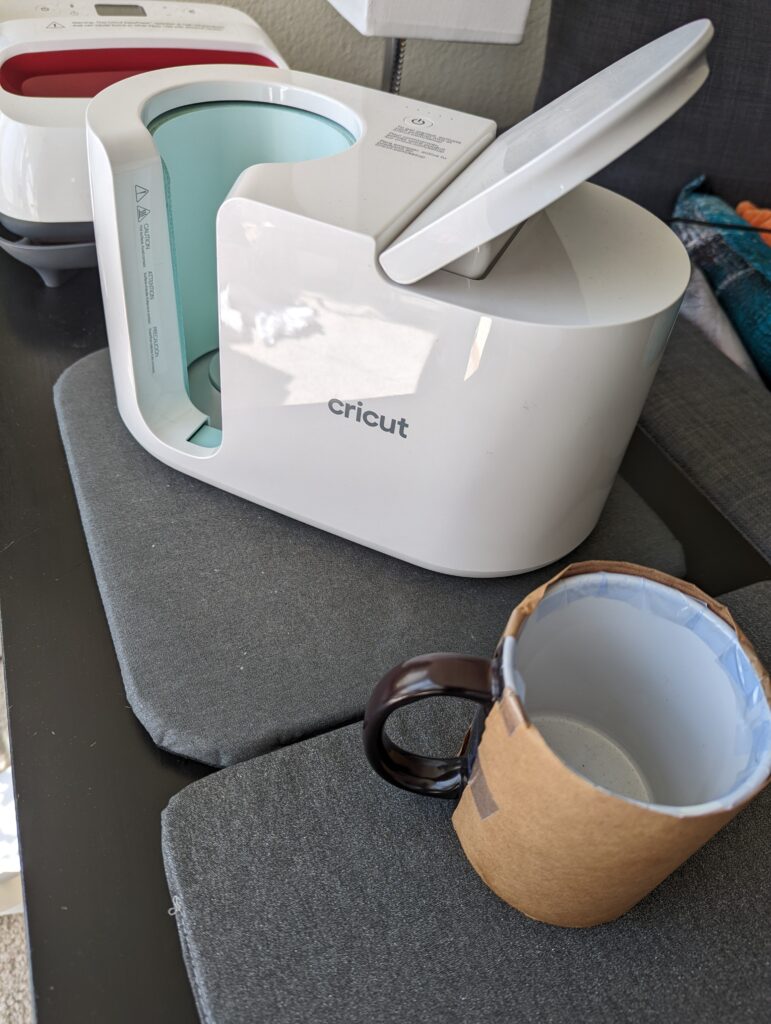
Once it is safe to remove the paper, carefully do so to reveal your pressed design. If everything went well you should have a crisp, vibrant looking mug. Now all you have to do is decide who you want to make laugh or piss off, depending on your intentions.
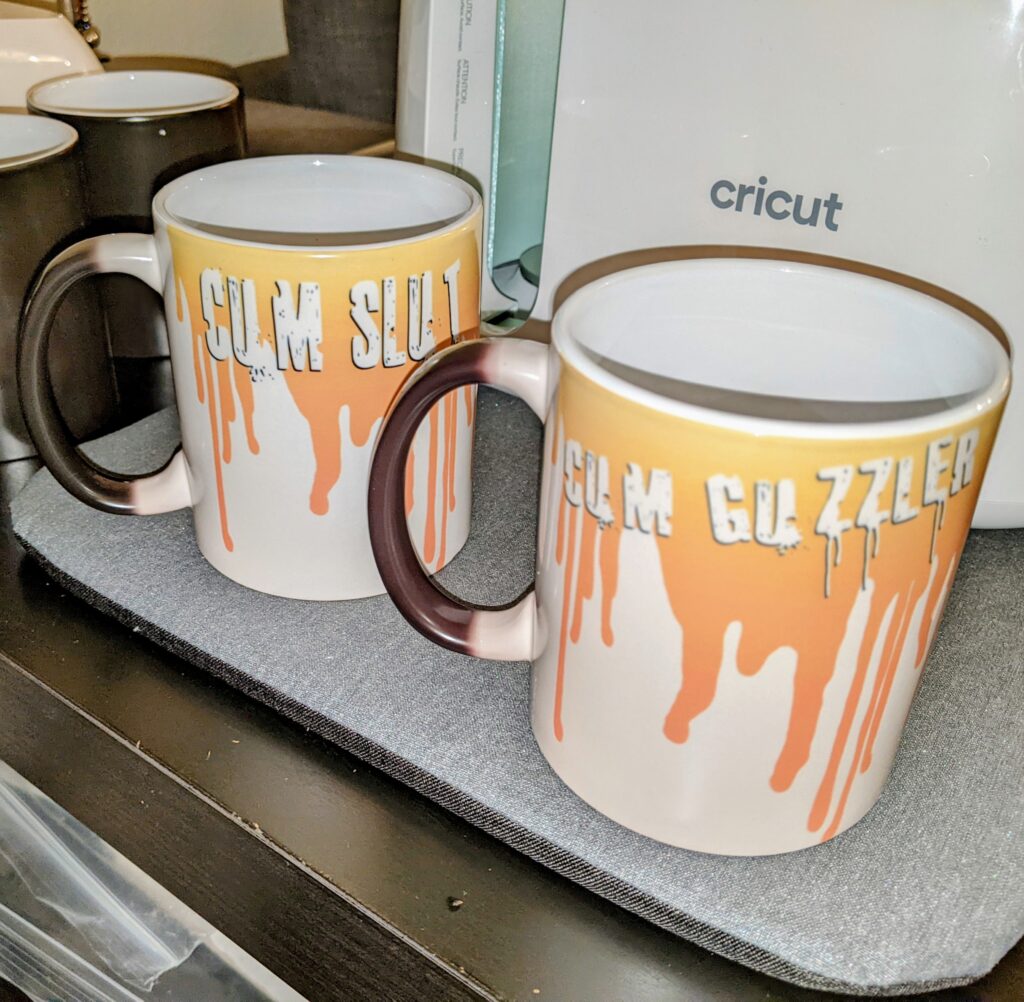
And That’s It!
This project is quick and cost effective and can be made rather quick if in need of a last minute gift. You could also throw in a packet of hot cocoa and a mini airplane bottle of rumplemintz to spice it up. I opted to put it in one of my prank gift boxes and accompany it with other slut-shaming garb, but that’s just me.
What do you have planned for your coffee mug? “Denise is a Bitch”? “Don’t FUCK with the Babysitter!”? As long as it’s funny, I’m excited to see what you share!
Happy making!

