Oh the fond childhood memories I have of Halloween… Sadly these days I’d probably get arrested attempting to trick or treat. But that won’t stop me from getting into the holiday spirit! (Get it? S P I R I T). …I’m a nimrod.
Whether you’re creating a candy-toter for that kid in your life, you need a matching purse for your fantastical costume or you simply want a reusable shopping bag that shows your inner ghoul, here are some tips, “tricks” and ideas for a truly haunting, tote-ally terrifying, super spooky satchel.
Okay, okay, I’ll stop.
First we will create a simple design, and then once we know how to make it, we will move on to other ideas and materials to really make your treat bags pop.
MATERIALS
- HTV – Specific themed colors, Glow-In-The-Dark or Reflective for safety.
- REUSABLE TOTE – Target’s fabric totes are sturdy, MUJI sells quality blank canvas totes for under $2.00, or one you already have. Even a large old purse could do.
- HEAT PRESS – I use the Cricut EasyPress 2 with a pressing mat
- CRICUT
- CRICUT DESIGN SPACE
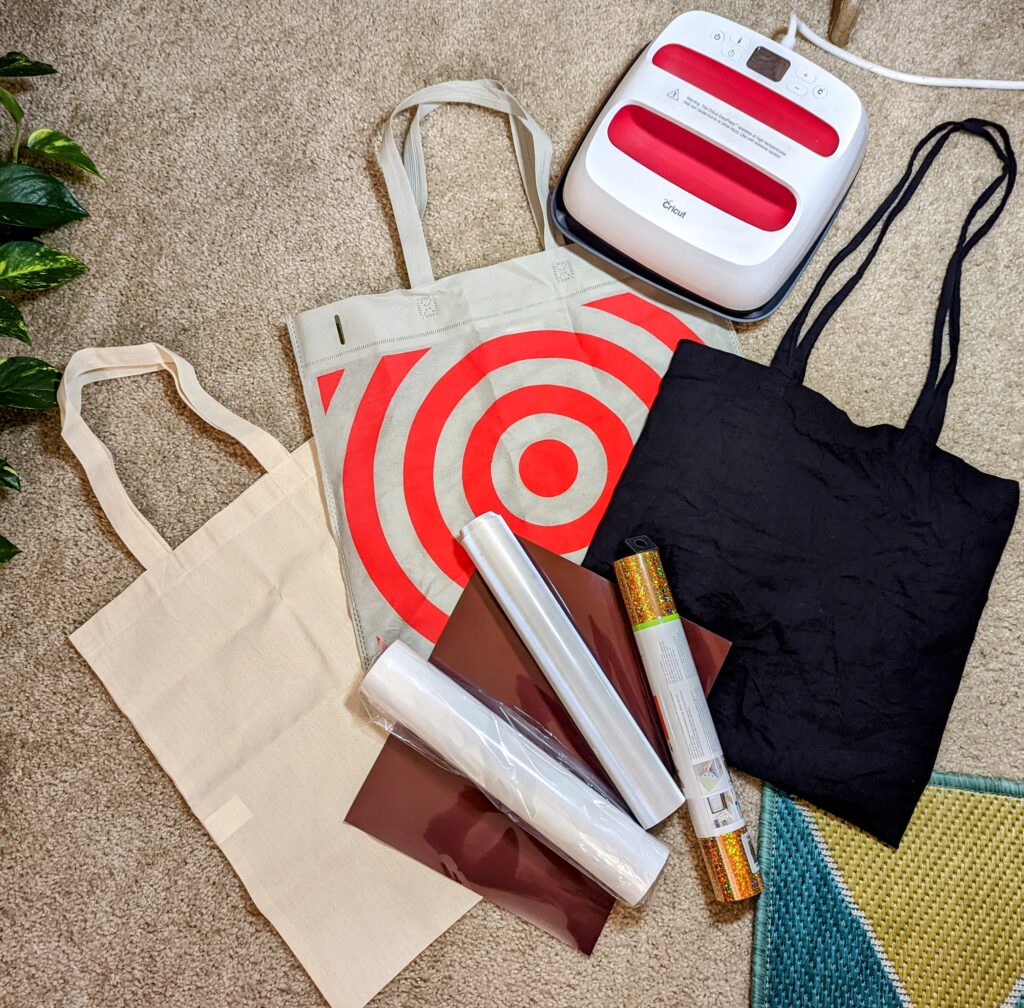
DESIGN
Obviously we can’t create anything without a concept. For reference I will be creating a few different Trick Or Treat bag ideas to hopefully get the creative juices flowing.
Though each design uses different Heat Transfer Vinyl, creating them is virtually the same.
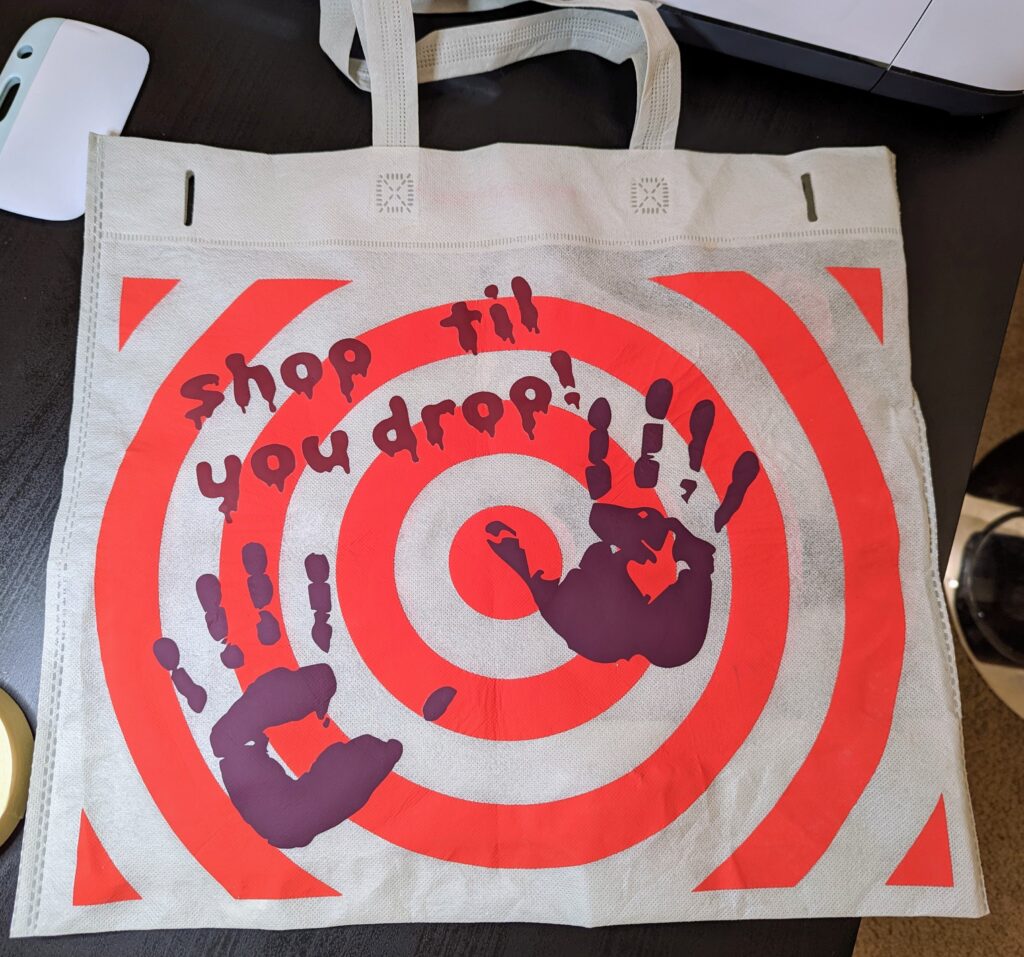
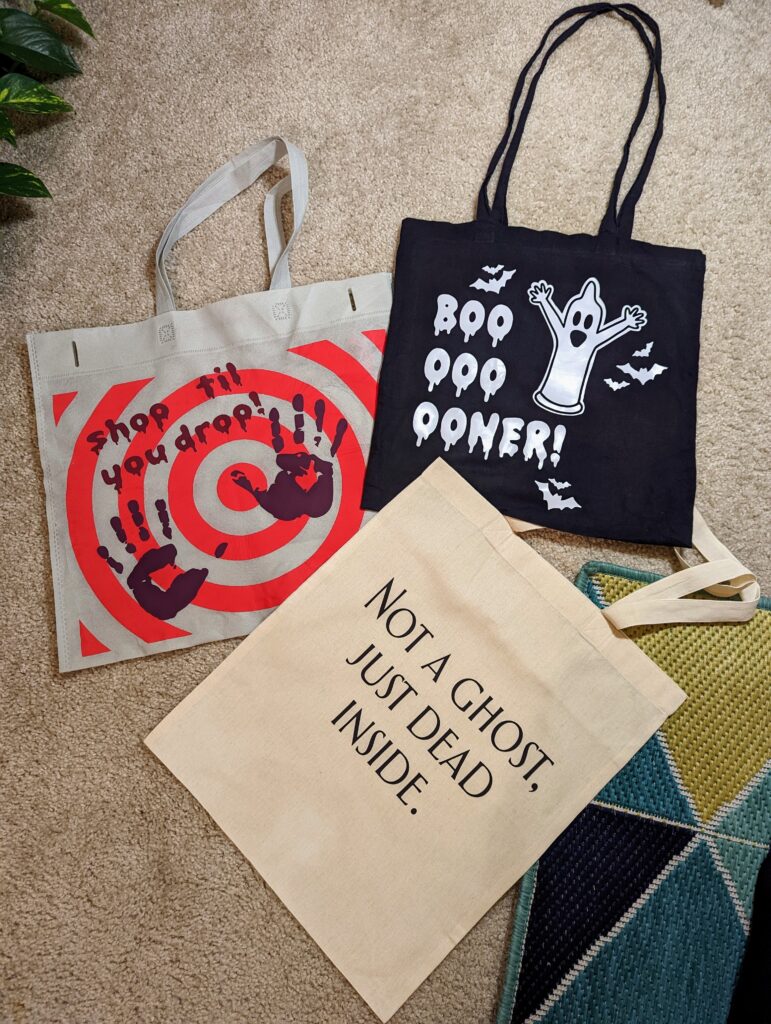
For the first tote. I am reusing on of the many Target fabric bags I have laying around. I decided to create what would work well as a candy tote, but also great for shopping throughout the month of October.
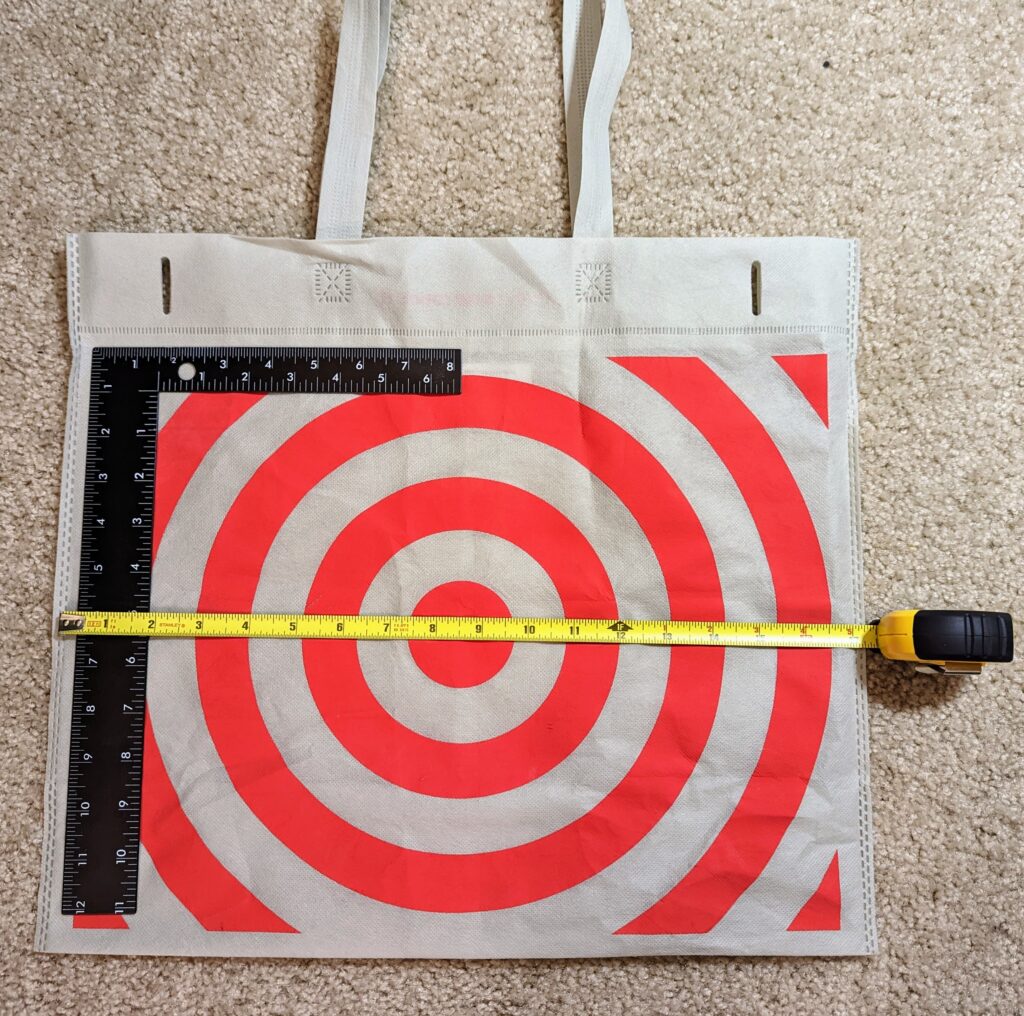
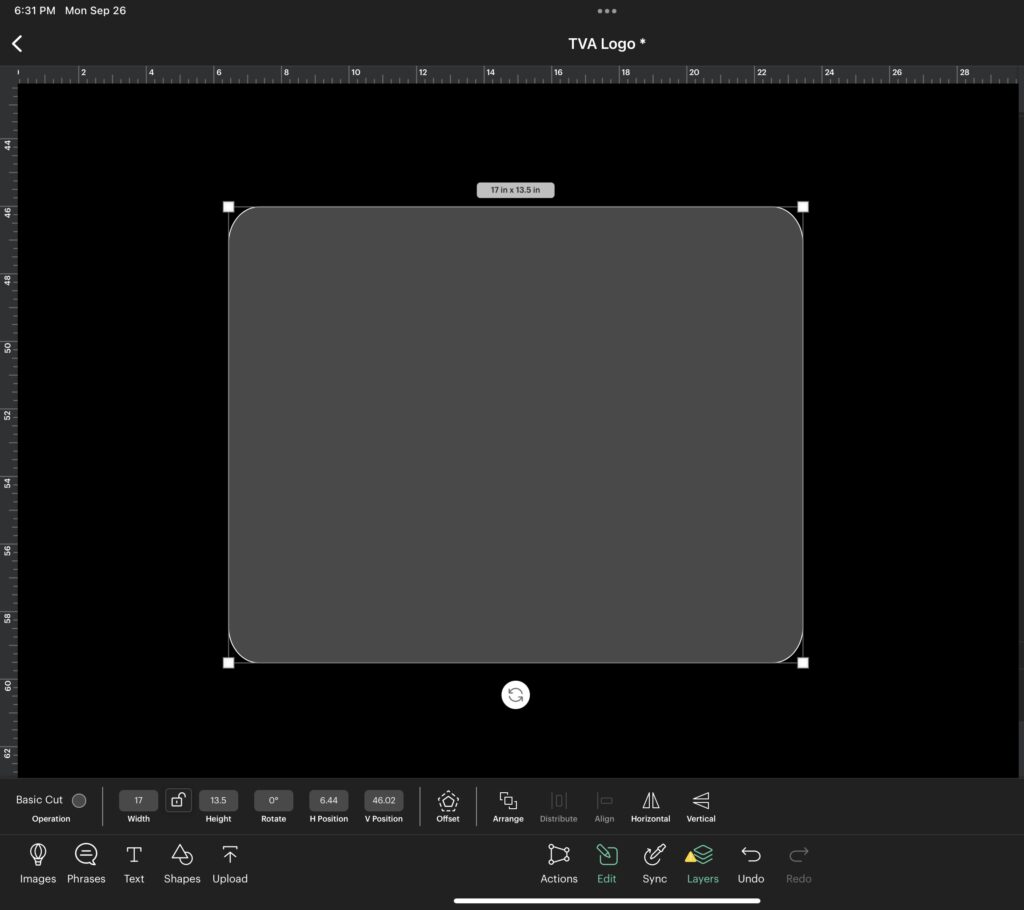
To start, measure the dimensions of your tote. The Target bag being used is 17” x 13 1/2” (inside the stitching). In Cricut Design Space, select Shapes, then select a square shape and resize it to your measurements.
This next step isn’t vital, but will help visualize the design better: Under Images, Search for ‘target”. Select one that resembles the Target logo and drop it onto the canvas.
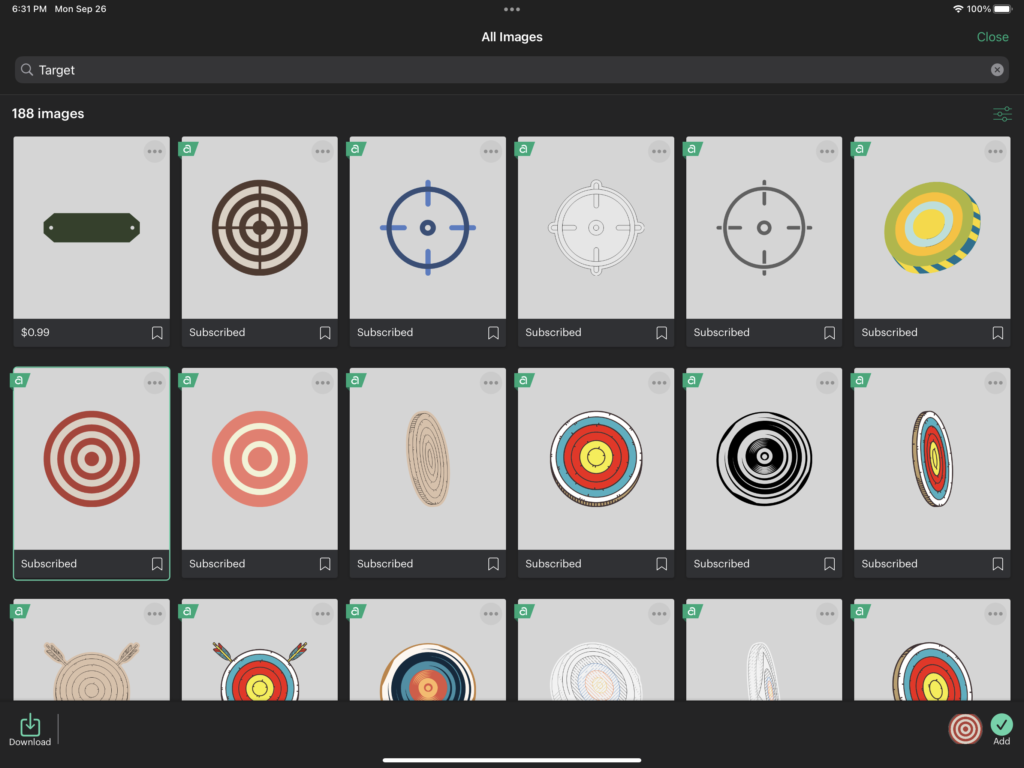
With it selected, click Ungroup, and delete the background layer.
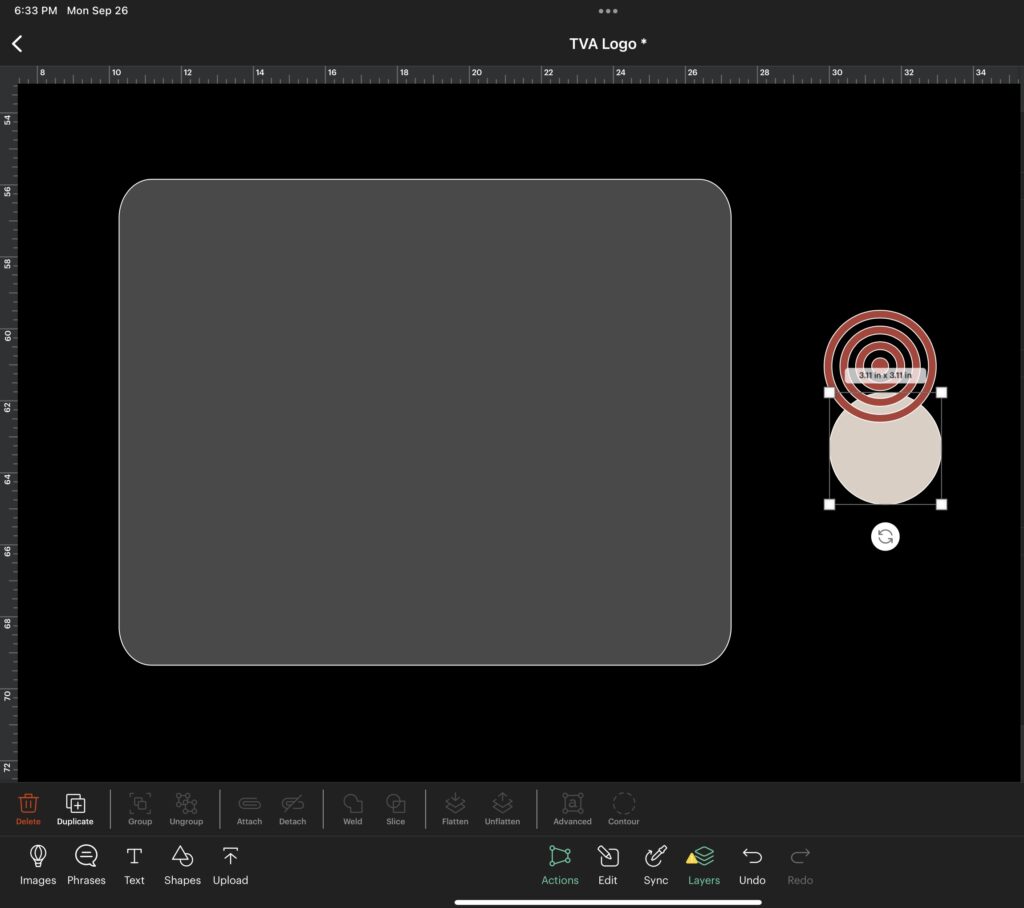
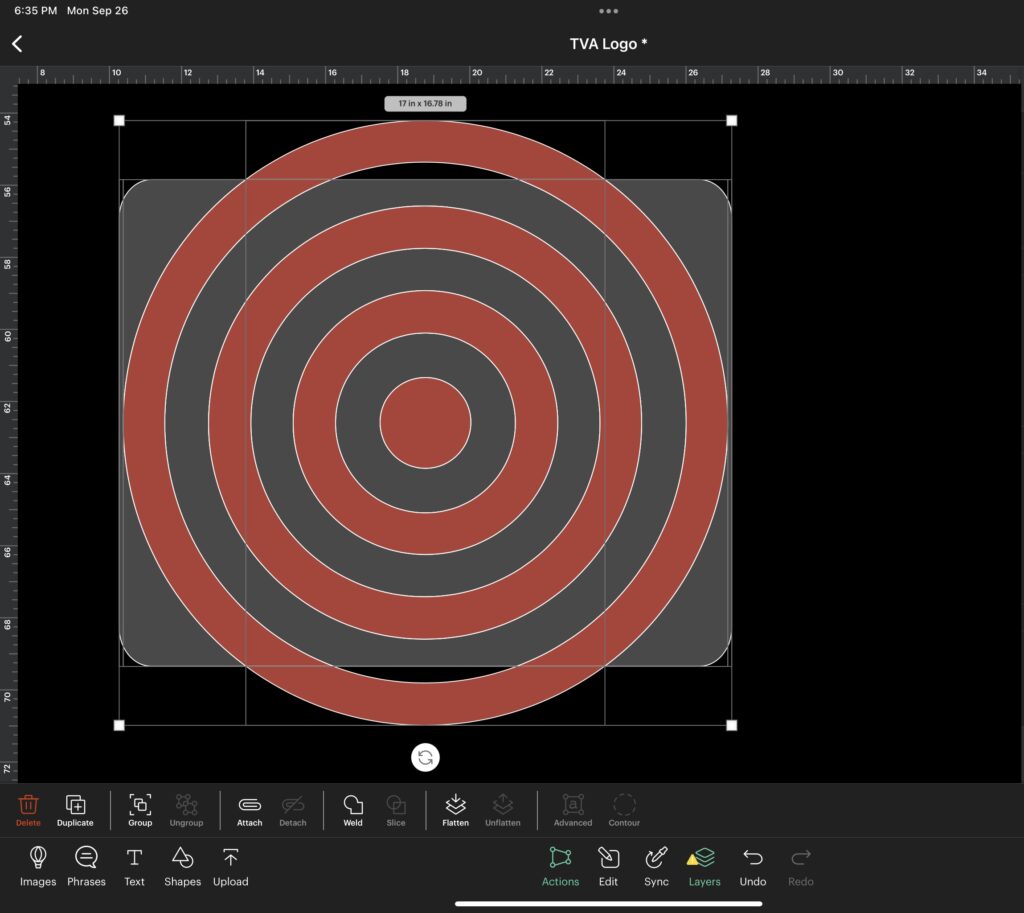
Resize the target to the best of your ability to match the layout of your tote. Once it is properly aligned select Slice. Delete the excess pieces, highlight everything else and select Flatten.
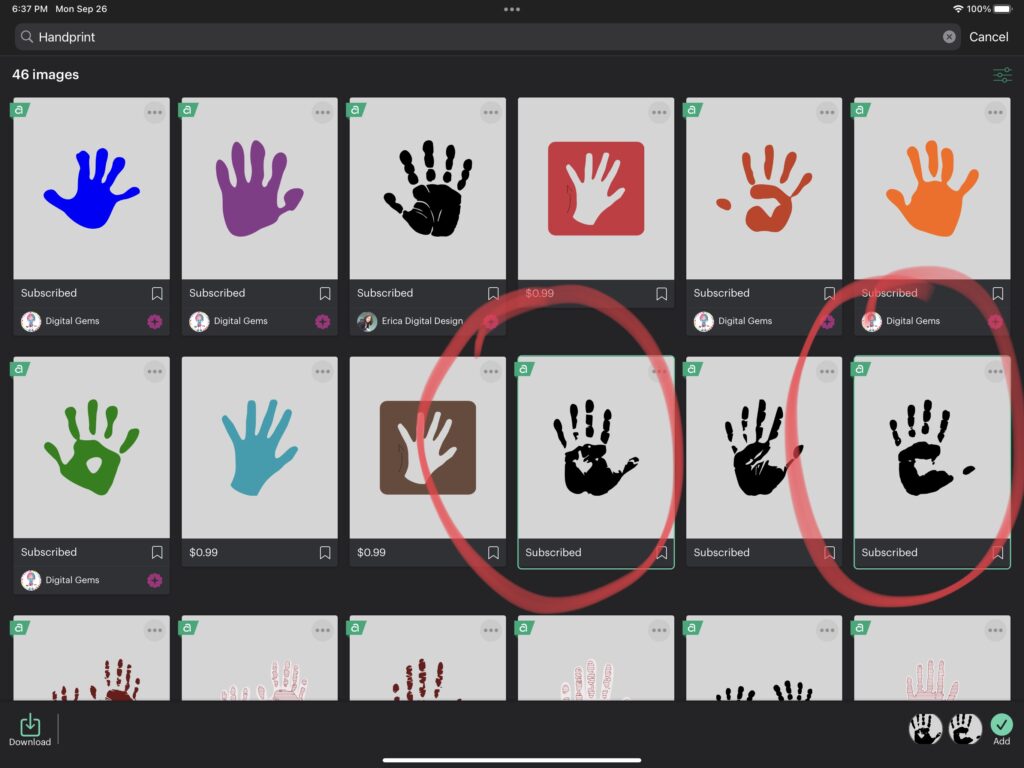
Back under Images, search for “handprint”. There will be multiple options. I chose two images that looked very similar, yet slightly unique to one another to mimic an actual human hand press.
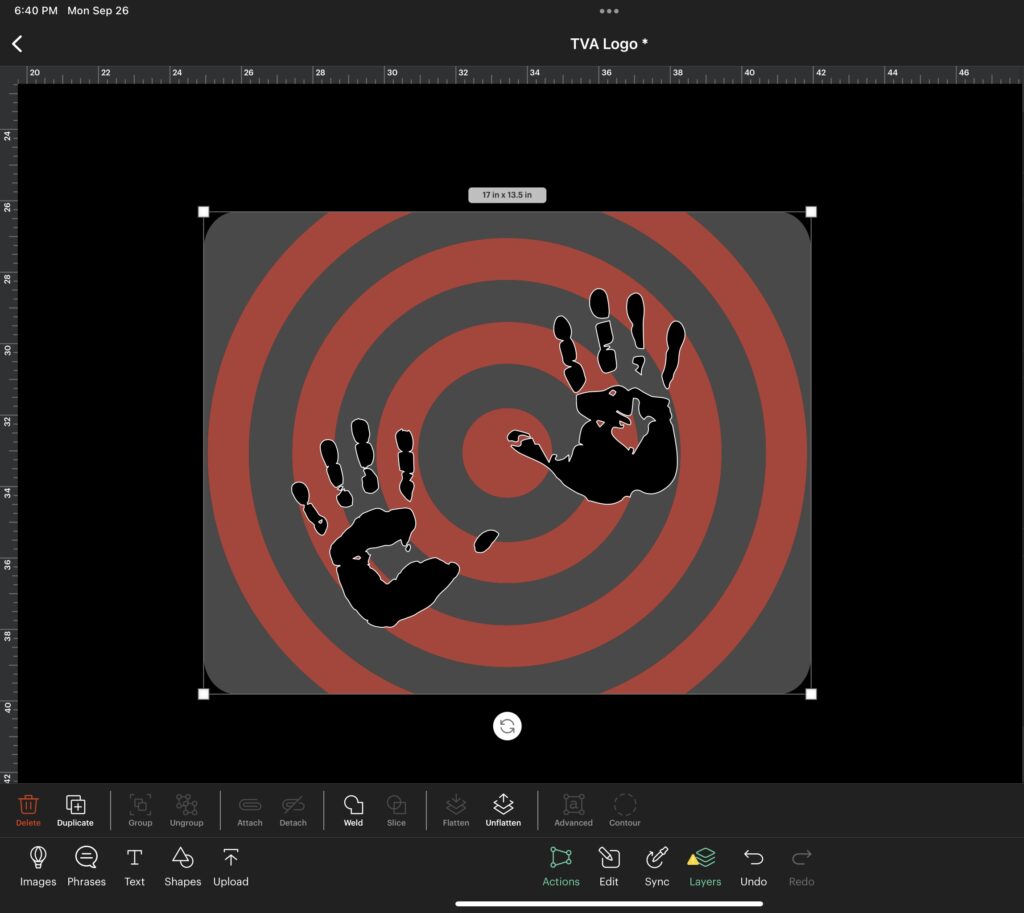
Flip one handprint horizontally, then resize and angle them to your preference.
Next add your text. I selected a previously downloaded font that had a simple dripping effect titled, “Bacon”. It can be found on Fontspace.com as a 100% free, commercial use font. Shout-out to Someshinzz for creating it.
To change the color of the entire design at once, move the bag template away from the design or under Layers select the eye icon to hide it. Highlight the entire design and under Edit, select the material color to modify.
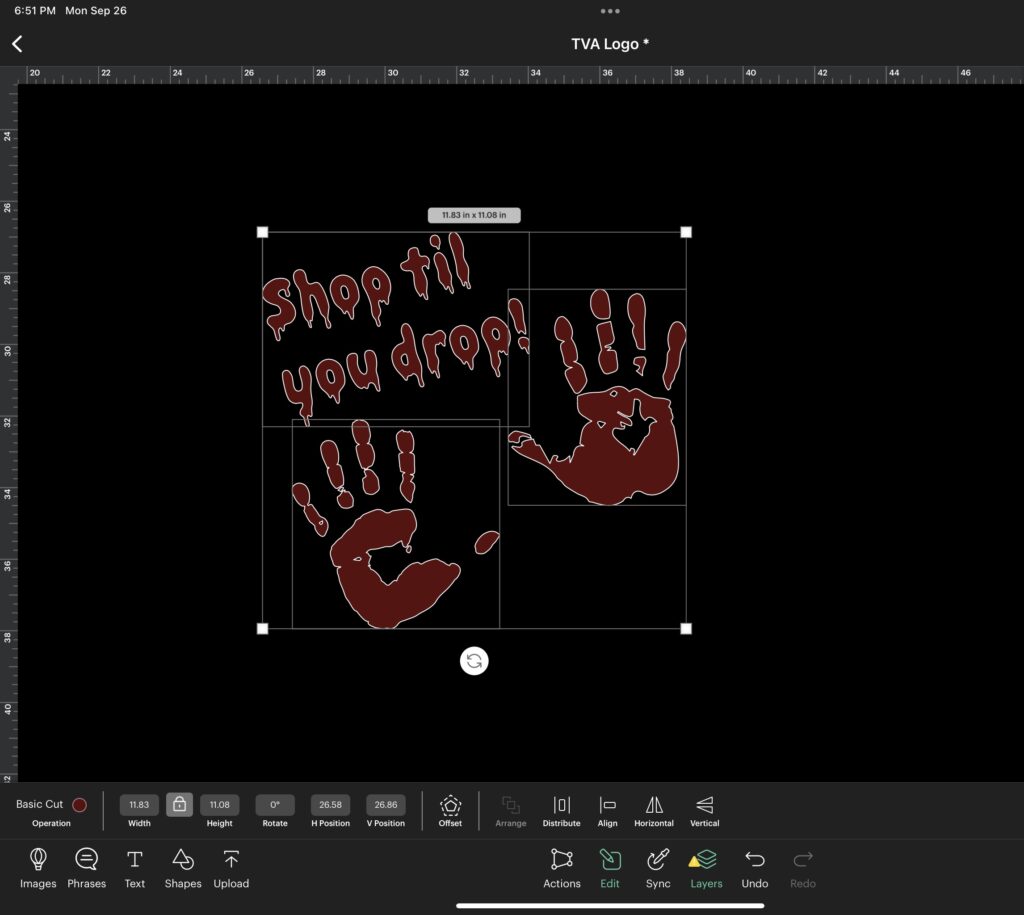
With everything still highlighted, check its dimensions. This image is slightly too large for the cutting mat, so adjust one of three things: 1) Resize the entire image to fit within the cutting parameters, 2) highlight two of the three elements and select Attach or 3), let them cut as individual cutting projects and eyeball placement.
Option one allows you to simply weed and place with no guesswork, however your image is smaller than previously designed. Option two keeps the original dimensions and only needs little guesswork for placement of the third. And option three allows you to move the images on the virtual cutting mat before the actual cutting to conserve vinyl, but forces you to eyeball placement for each individual design element. Choose what preference works for you.
For me, I had a smaller piece of HTV than the cutting mat, so I decided to conserve space and eyeball everything. This particular design isn’t one that exact placement is vital, so really one could go with any option.
And now we’re ready to cut…
MAKE IT!
Select Make It, and for each mat make sure to toggle on Mirror (for iron-on). This is also the step for rearranging the designs to best fit the cutting mat(s).
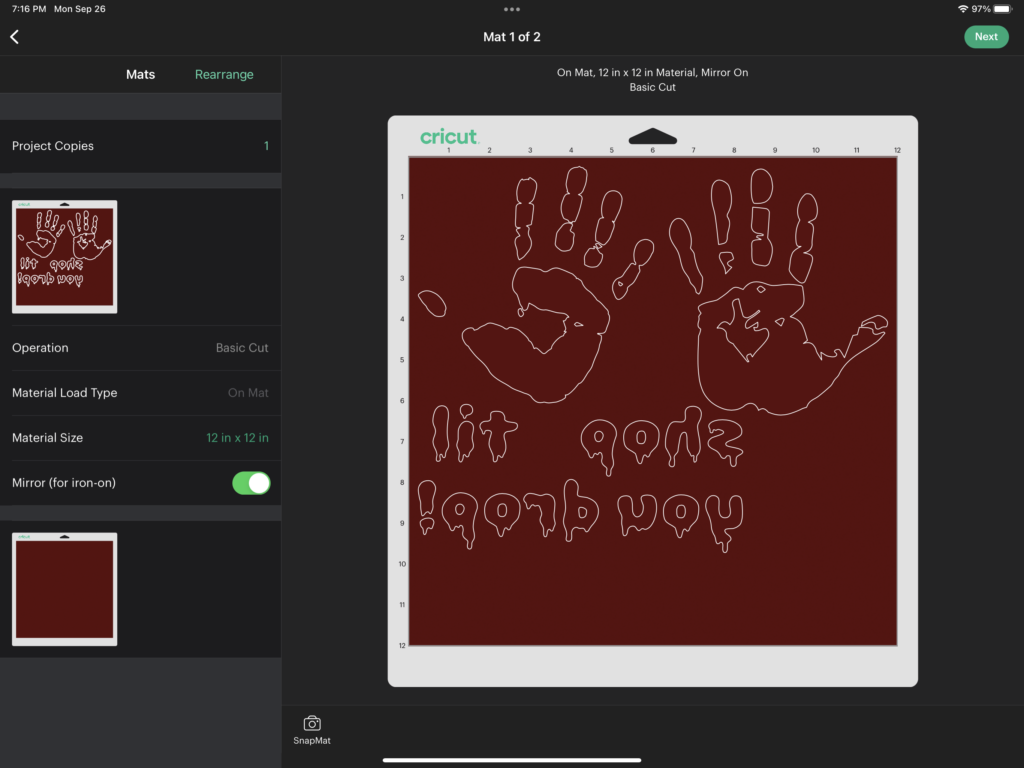
Select Next and choose the material. Then load your mat and select Go on your machine.
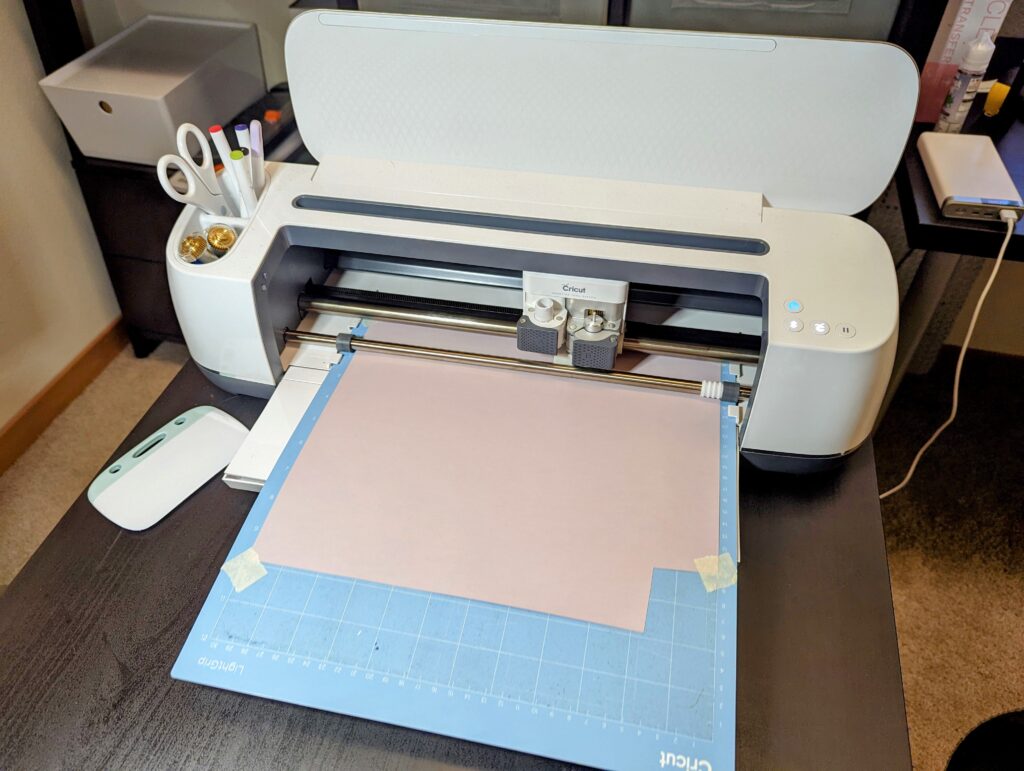
Once the cutting is complete, unload your mat and weed the excess material.
—VERY IMPORTANT – – The Target bags are made of non-woven polypropylene., which need a lower temperature setting. You may need to experiment as heat presses vary, but I found that using a heat setting of 275 degrees for 20 seconds allowed for the HTV to set without any melting.—
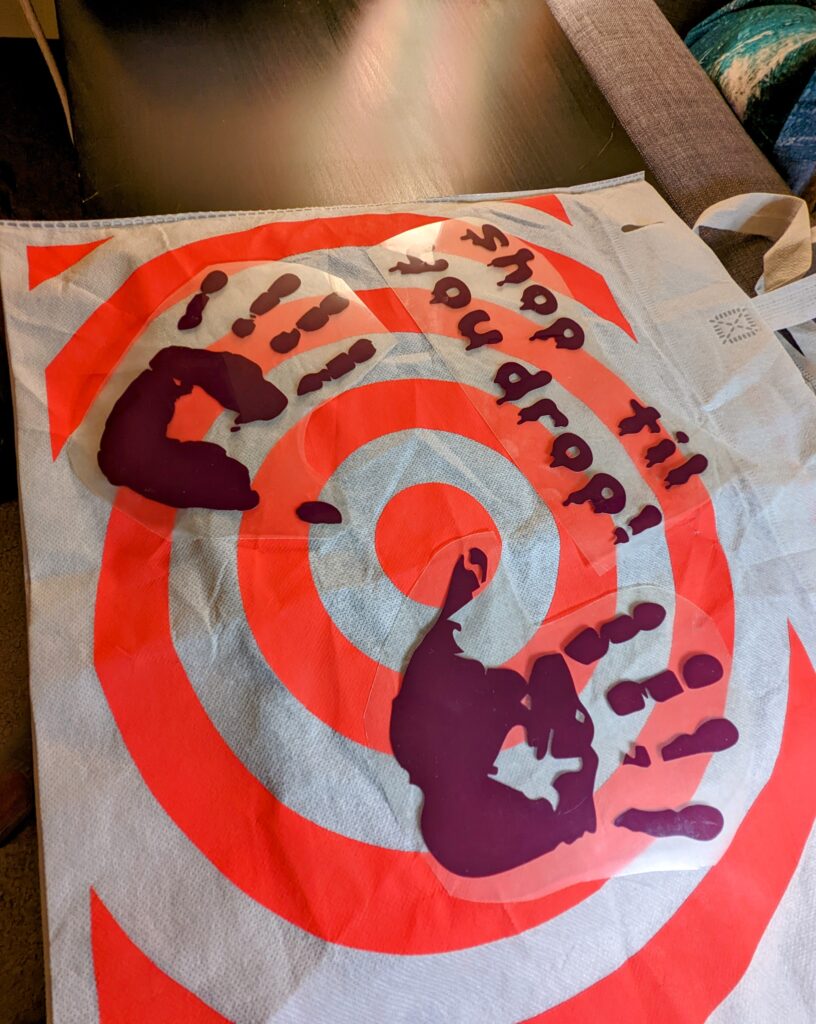
Preheat your press and do a quick press (5 seconds) on the tote or bag to remove any excess moisture. Place your newly cut HTV on to the bag. Press your design for the appropriate time setting. For the Target tote it is highly recommended to do a cool peel.
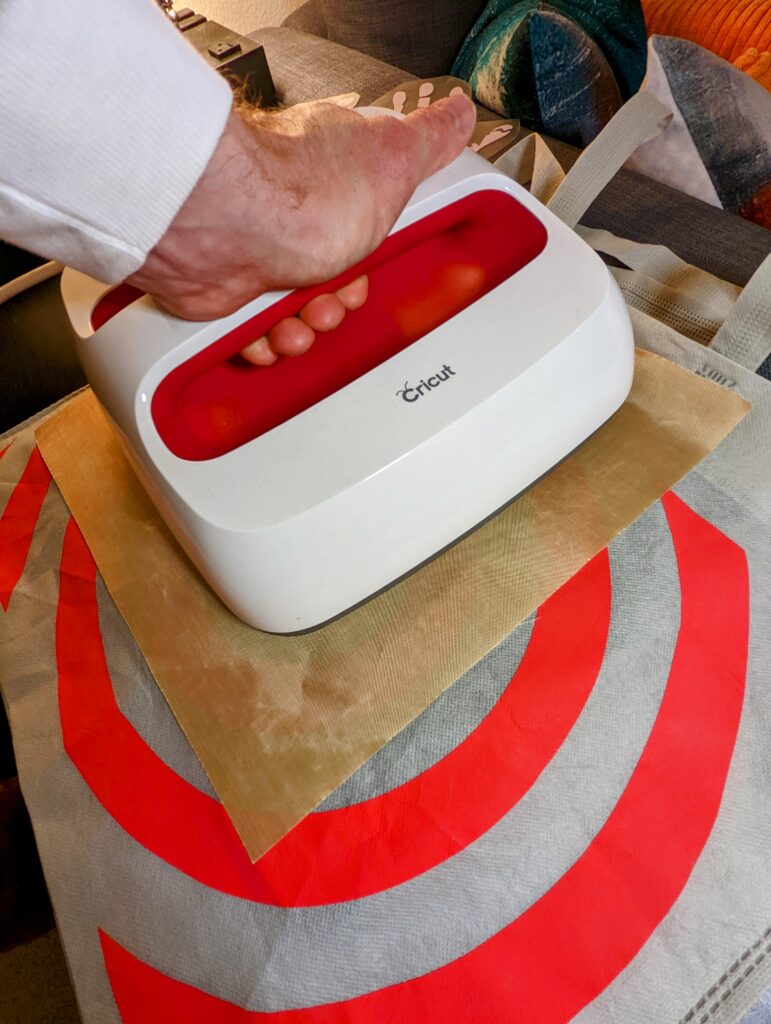
(It should be mentioned that I did in fact use a higher setting for a trial run and the bag totally melted, ruining one of my teflon sheets. Also, it seems the actual red target design on the bag is itself HTV or similar, so definitely use a protective sheet between the material and heating element on the press.)
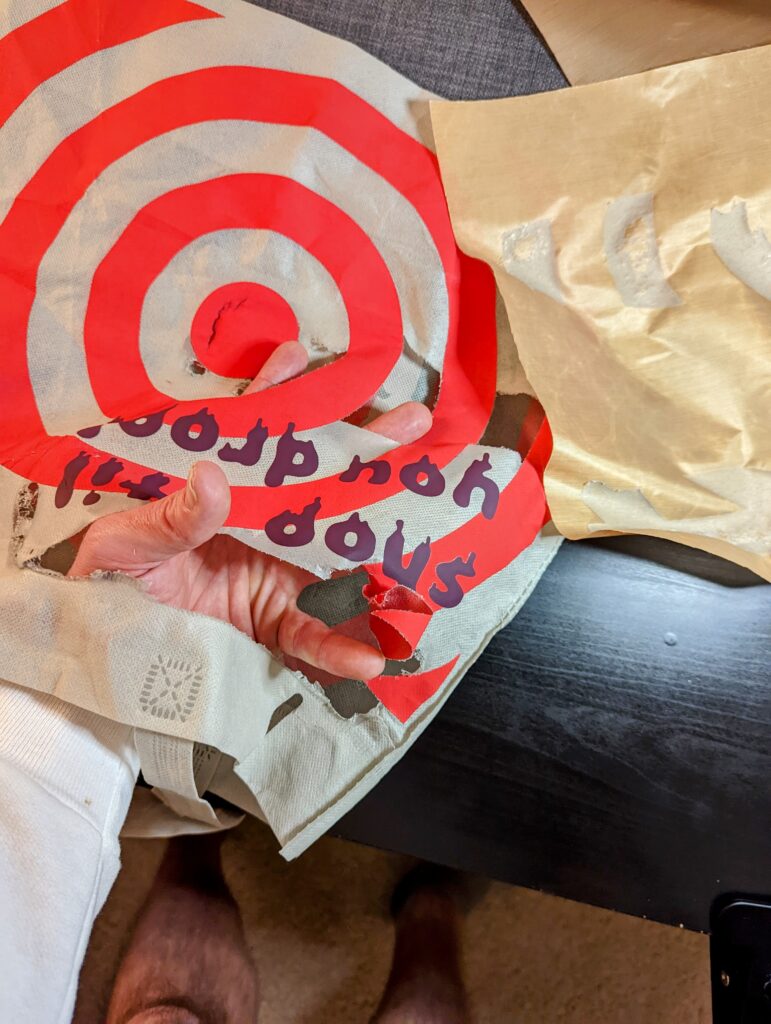
And after you realize you didn’t burn down your house…Wham-O! A creepy candy carrier.
VARIATIONS
Now that we know how to create a custom bag, let’s look at alternative ways to really make them pop.
Matching your costume
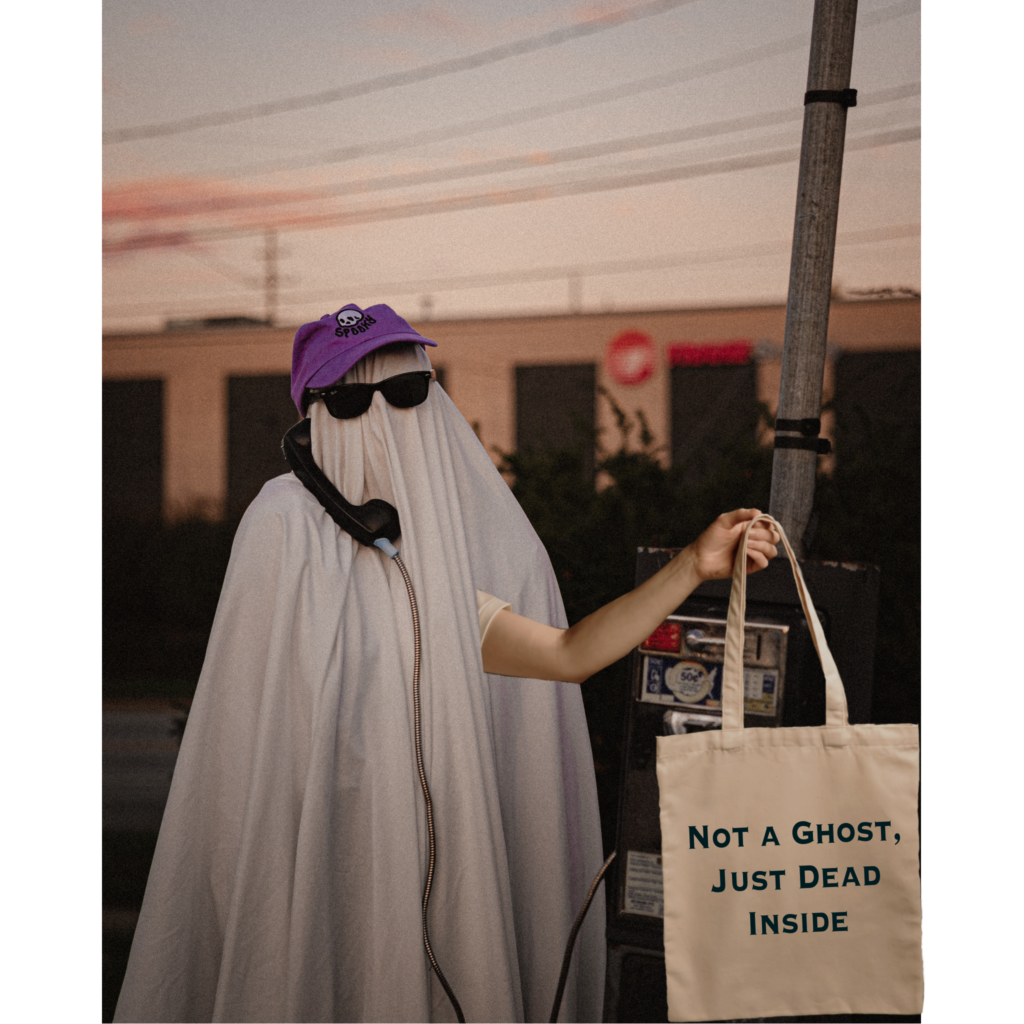
The easiest way to match your bag to your costume is by adding a phrase. Ghost? Have your bag read, “Not a ghost, just dead inside”. Harry Potter? Add “Expecto Patronum” with a silhouette of a stag (or your own patronus). One of the Sanderson Sisters? Attach, “I Put A Spell On You” or “I Smell Children!”.
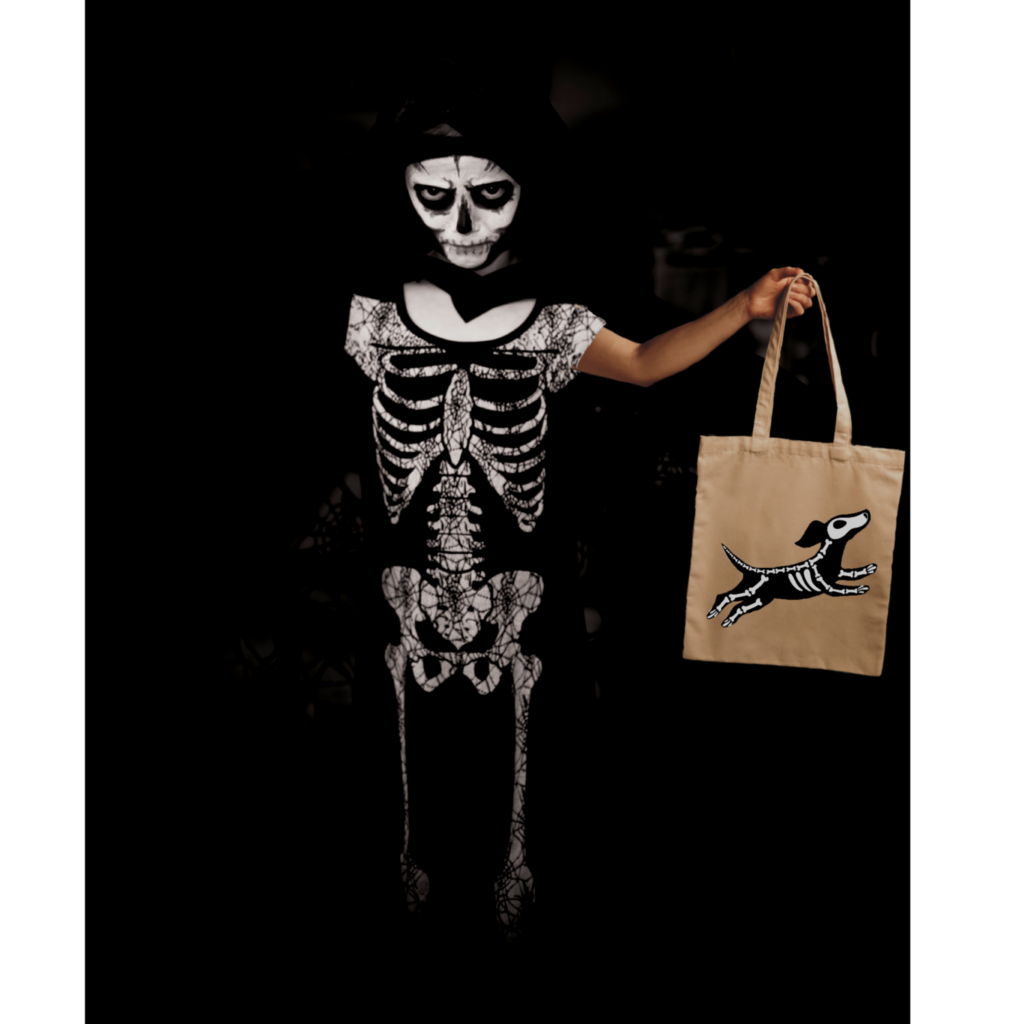
Alternatively you can add an image, one most likely found within Cricut Access. An old-school skeleton costume could be paired with a dog skeleton on your tote. Star Wars attire could be matched with a Rebel Alliance Starbird logo. Personalizing your bag to coincide with our costume really showcases your attention to detail.
Glow-In-The-Dark HTV
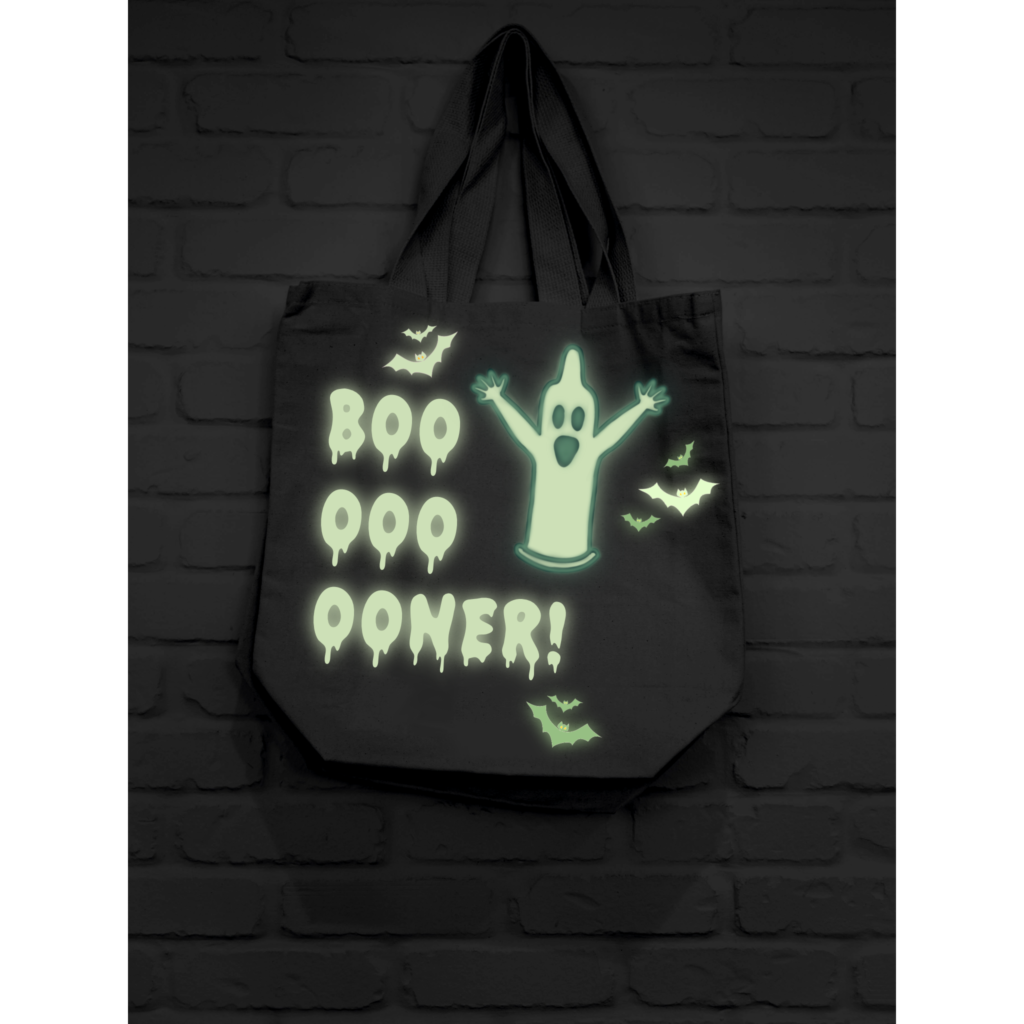
A fun way to step up whatever design you choose is by adding glow-in-the-dark HTV. A fun personalization for kids is to add their name and perhaps a spooky ghoul to their bag. GITD HTV will make any design stand out, and has the added bonus of safety if you or a kiddo are roaming the streets at night. Plus photoluminescence is pretty magical at any age.
Reflective HTV
If your main focus is on safety, reflective HTV is really the way to go. When light hits this material, the light reflects off making it incredibly hard to not be noticed. It also creates a really trippy look even under normal light settings. So if you or a loved one will be out at night, take solace in the added attention. Also play around with this material in your designs. If your costume or tote could benefit from some glowing light refraction, reflective HTV may prove helpful to create a cool effect.
In my experience both Glow-in-the-dark HTV and Reflective HTV adhere well to cotton and canvas materials when pressed at 315 degrees for 30 seconds.
AND THAT’S IT!
Creating a custom trick-or-treat bag that perfectly matches your costume can be done with a little creativity, cheaply and with little effort.
What kind of costume and tote combo will you be creating this spooky season? Let me know below and get to crafting!!
…Okay, bye.

Thanks!