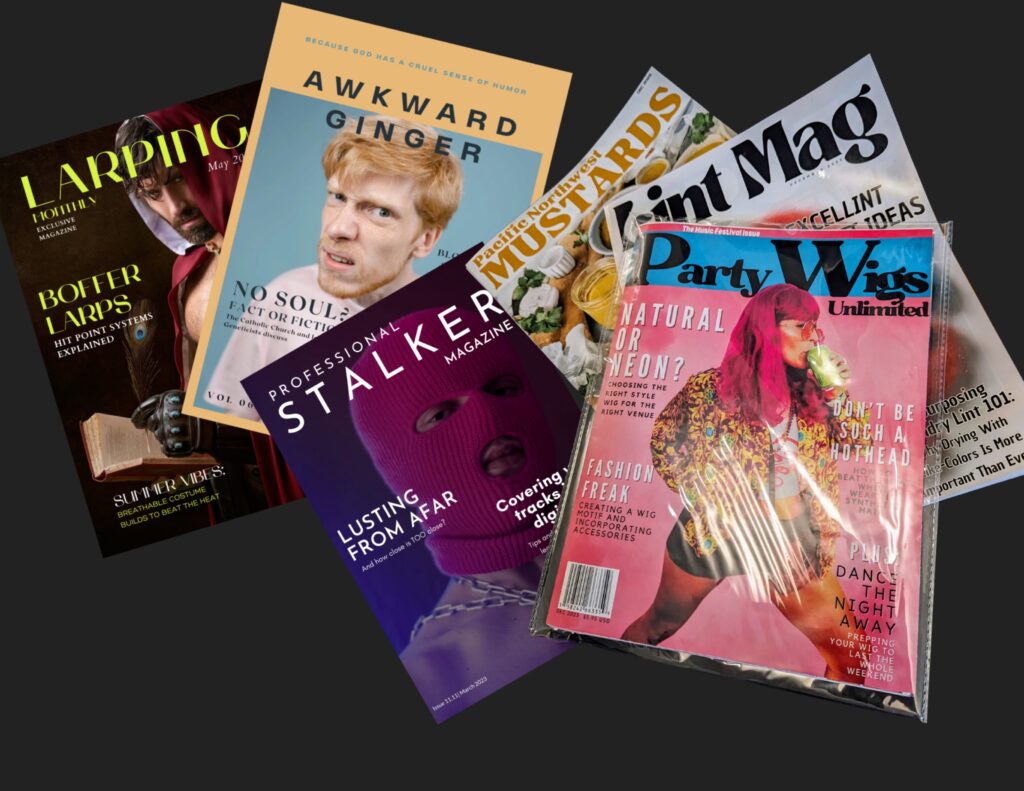
My friend Carissa’s birthday was coming up, and in lieu of a card, I had the idea of creating a fake magazine with her as the cover model. One of Carissa’s “things” is that she loves to dress up for concerts, parties and events, always sporting a fun, neon wig. This gave me the premise of the magazine, and I began designing using Canva.
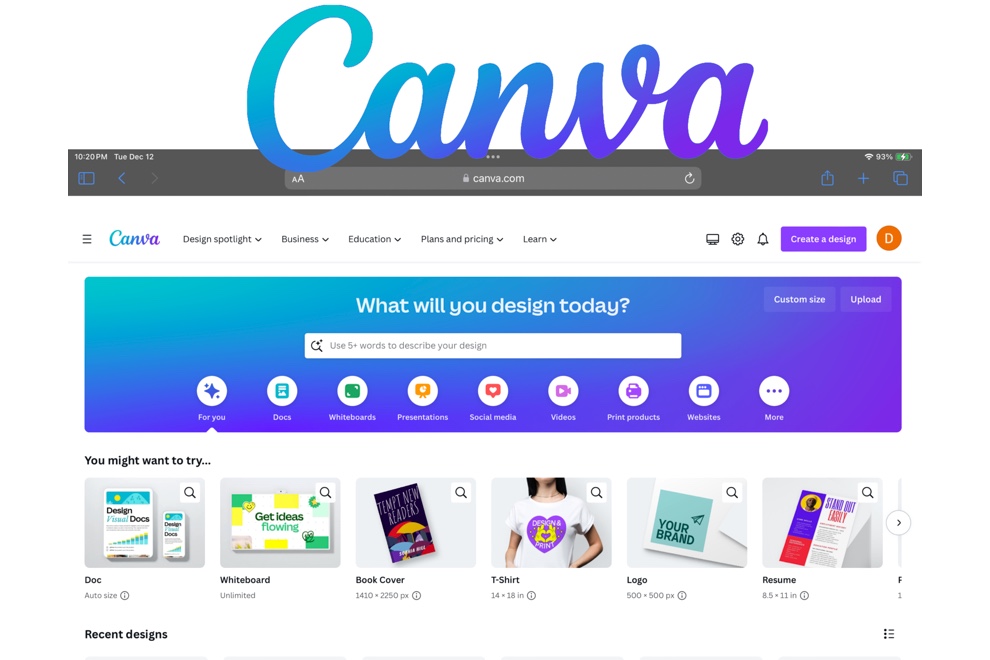
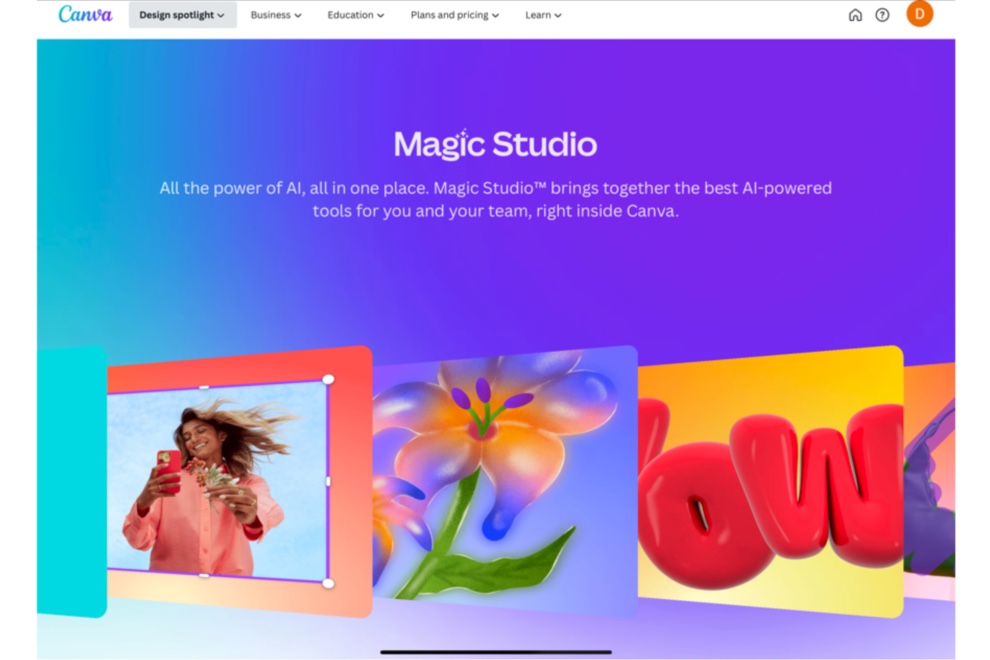
Canva is a great, user friendly option to designing something, especially if you lack professional design software. Canva has a free option, which still offers many key features, including a large selection of free stock images and templates. You can definitely come up with something great simply using this free tier. I however do pay Canva’s monthly membership for the added features, which now includes it’s recently launched Magic Studio. Some of Magic Studio’s new features that I will be taking advantage of for this project include the Auto Background Remover, as well as it’s AI Image Creator.
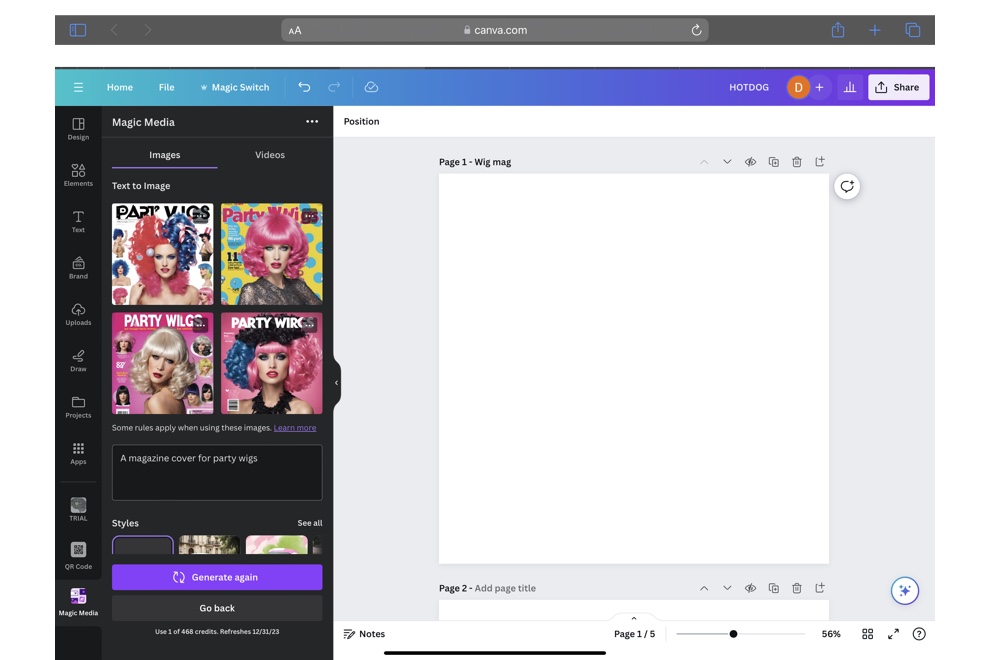
To begin, I wasn’t sure exactly how I’d like the layout of the front cover to look, so I selected the Magic Media feature for inspiration. In the Text to Image prompt box, I typed in, “a magazine cover for party wigs”. In just a few seconds I had four options to choose from. What’s great about this new feature is that if I didn’t find something that caught my eye, I could simply press Generate Again to get new images until I found one that I liked.
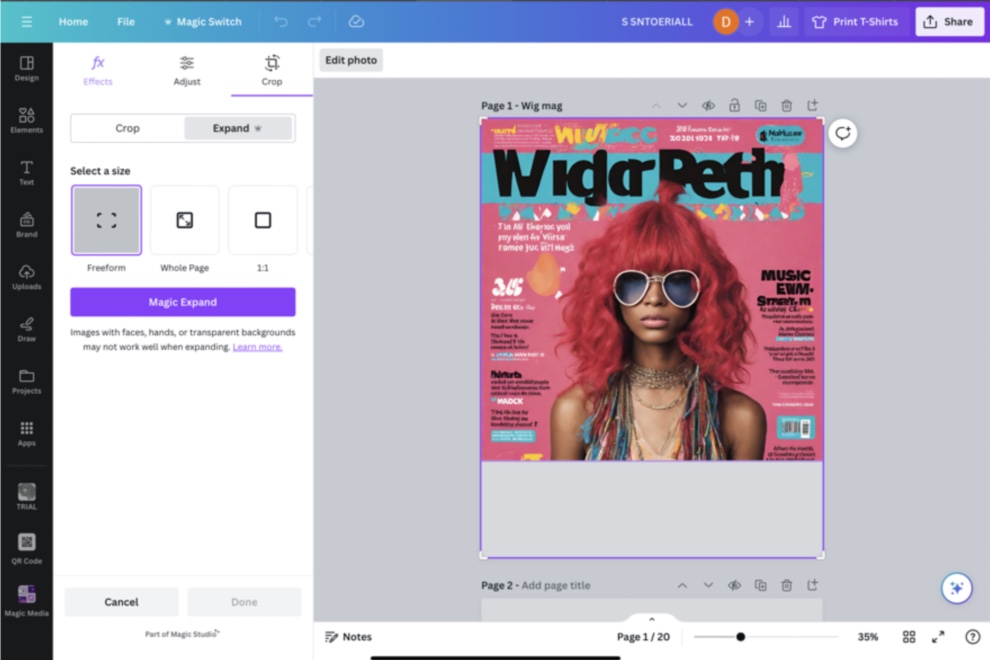
After a couple of goes I finally saw a cover that felt like an aesthetic that would work best as my template. I dropped it onto my canvas and used another Magic Studio feature, Magic Expand. This offers a few options of what it thinks the rest of the image should look like based on your preferred canvas size.
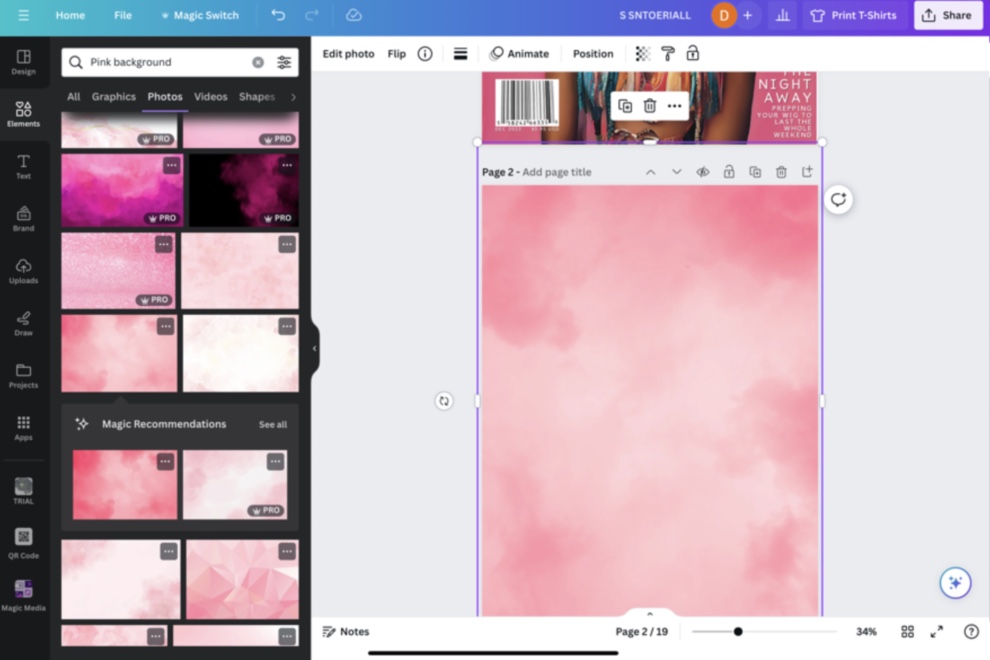
Next I created a second page and began to recreate the image. I liked the pink background, so I searched under the Elements tab for “pink background”. I have found that Canva’s elements search is really intuitive, and I rarely have a hard time finding the right search term for the image I am looking for.
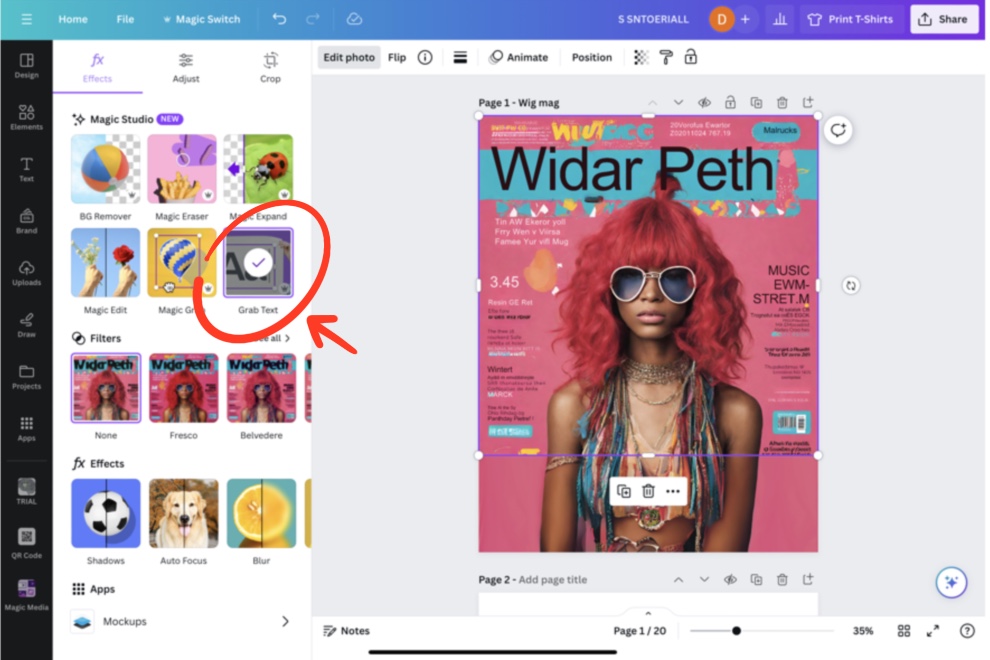
Although the text on my AI Generated image was all sorts of bananas, I did like the font style and wanted something similar in my design. Highlighting the image, I selected Edit Photo, and here I found a few more new features to select from. In choosing the Grab Text option, Canva automatically grabs what it thinks is text in your image to make it editable. It grabbed this gobble-gook mess of AI lingo no problem, and I was able to rename my Magazine using the desired font.
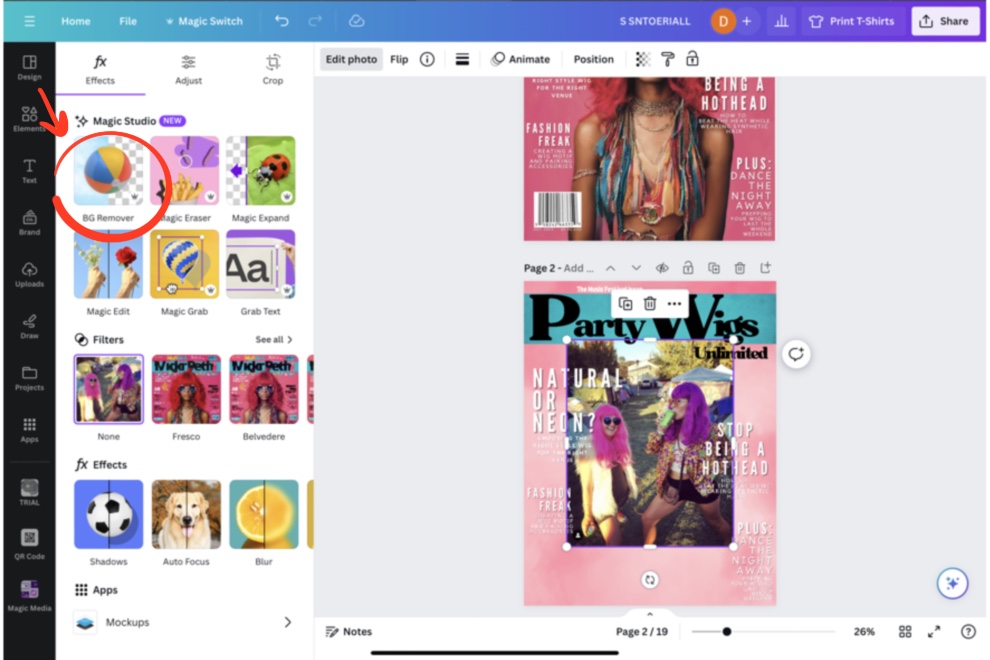
I really needed a cover model for my new magazine, so I went on over to Carissa’s instagram and started scrolling through her posts. I found an image that looked fun to use, and took a screenshot. After a quick crop job, I uploaded the screenshot onto Canva to try out the new Background Remover function. Without hestitation I had a perfectly background-less cover model ready to pose for my magazine.
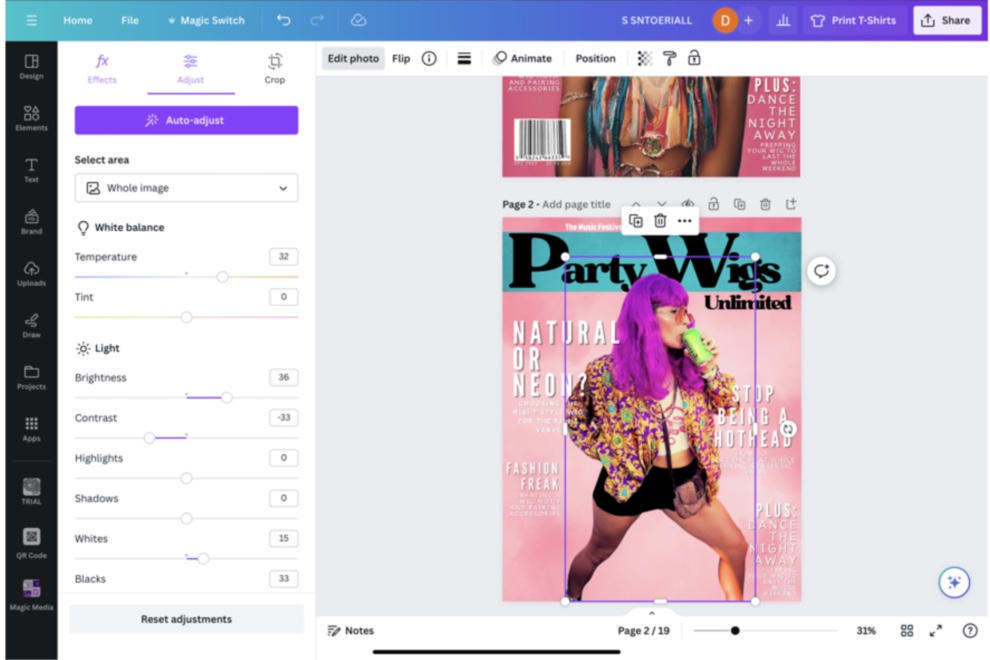
I played around with different font sizes and placement for the cover stories, and dropped in a barcode from Elements to make it look like a real magazine. And in probably around twenty minutes time, I had a truly unique birthday card that doubles as a gift designed.
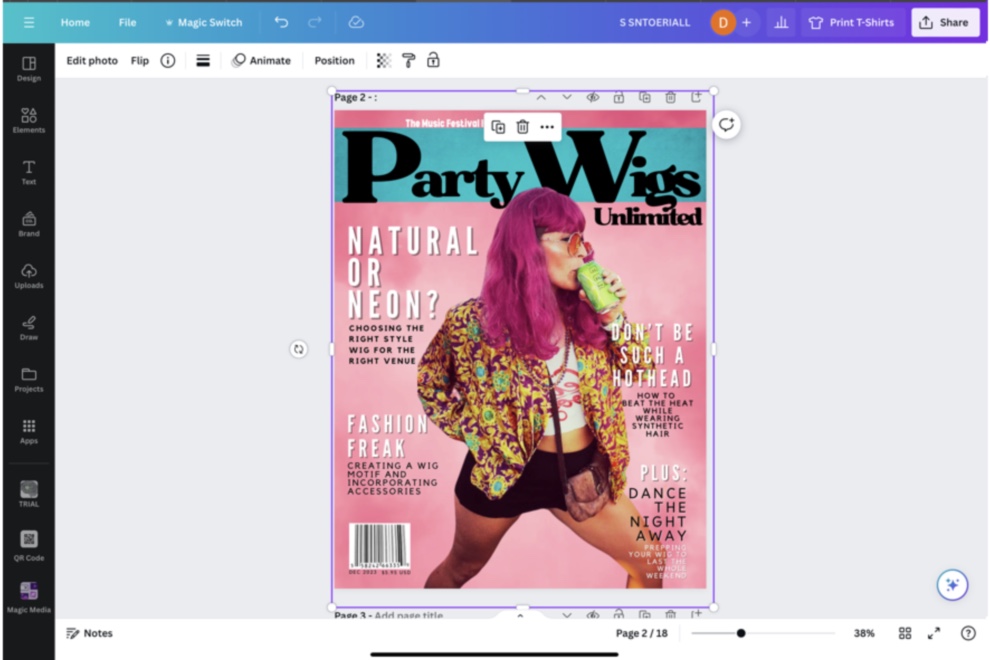
But how do we bring this into the real world? Well I had two minds about it:
I could print this off on printable vinyl and adhere it to the cover of a real magazine or coloring book.
I could keep experimenting with the Magic Studio suite and continue making ads and articles for my fake magazine, and have it printed at a print shop like Office Depot for same day pickup.
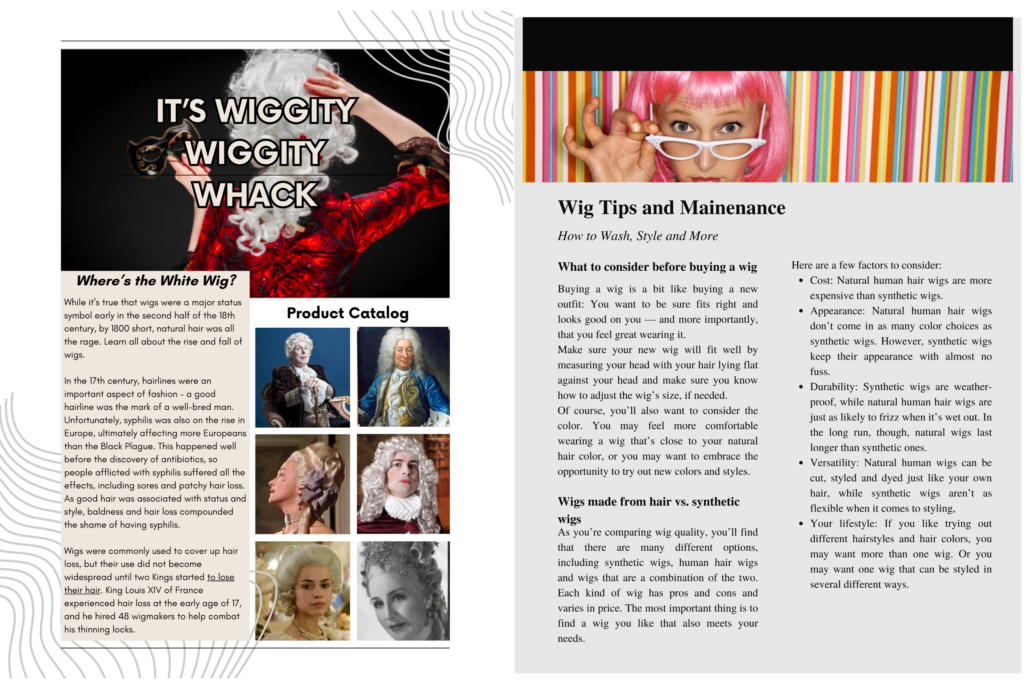
What I ended up doing was the latter. Using my new Magic Media tools, free images from sites like Unsplash and Pexels, and design elements from previous projects, I found myself a few days later with ten (10) 11×17 pages, two designs per side, ready to be sent to the printing press.

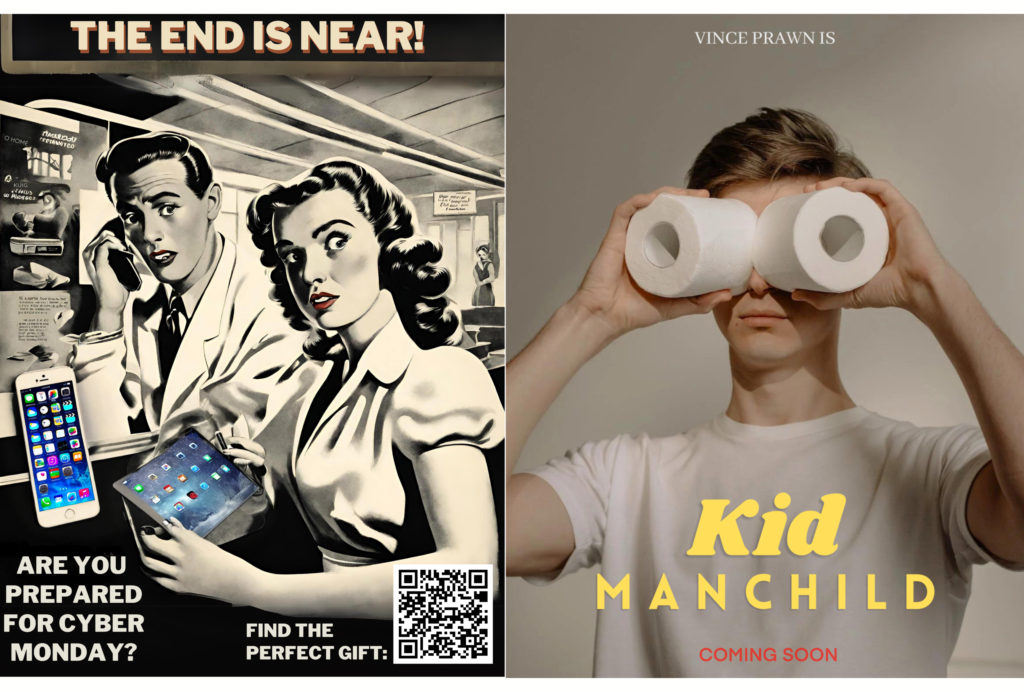
I sort of guessed on what type of paper to print on, but I essentially went with a heavier glossy paper for the cover, and the standard 11×17 paper for the guts of the magazine. When I picked them up I was happy with how everything looked, and was ready to assemble.
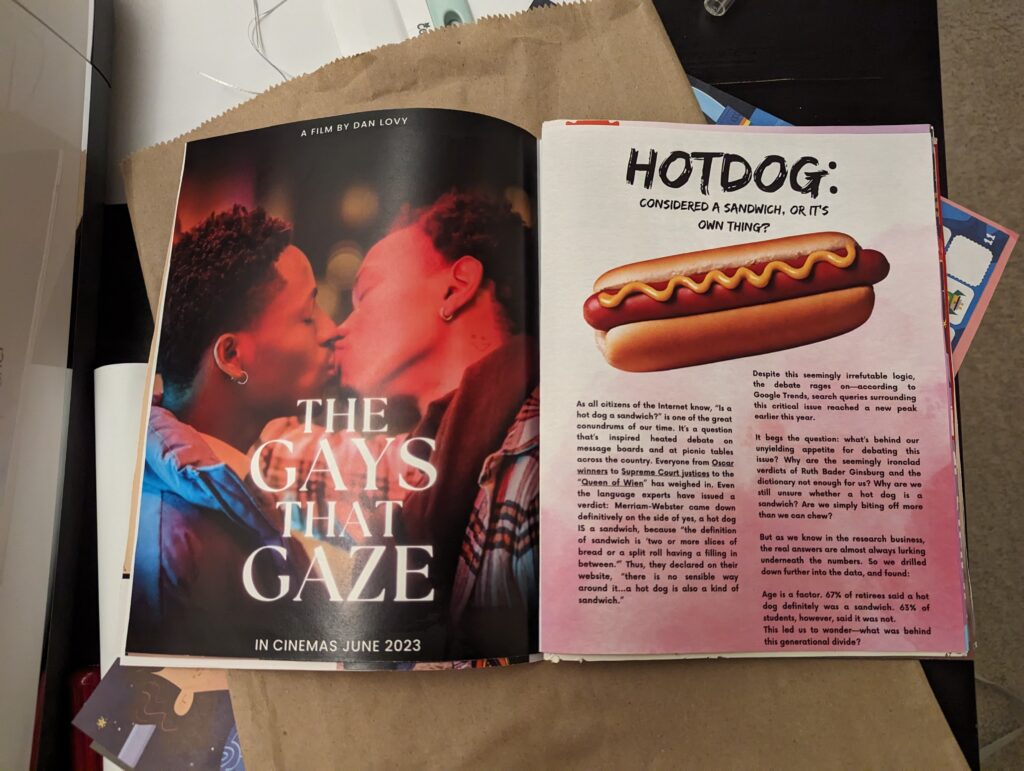
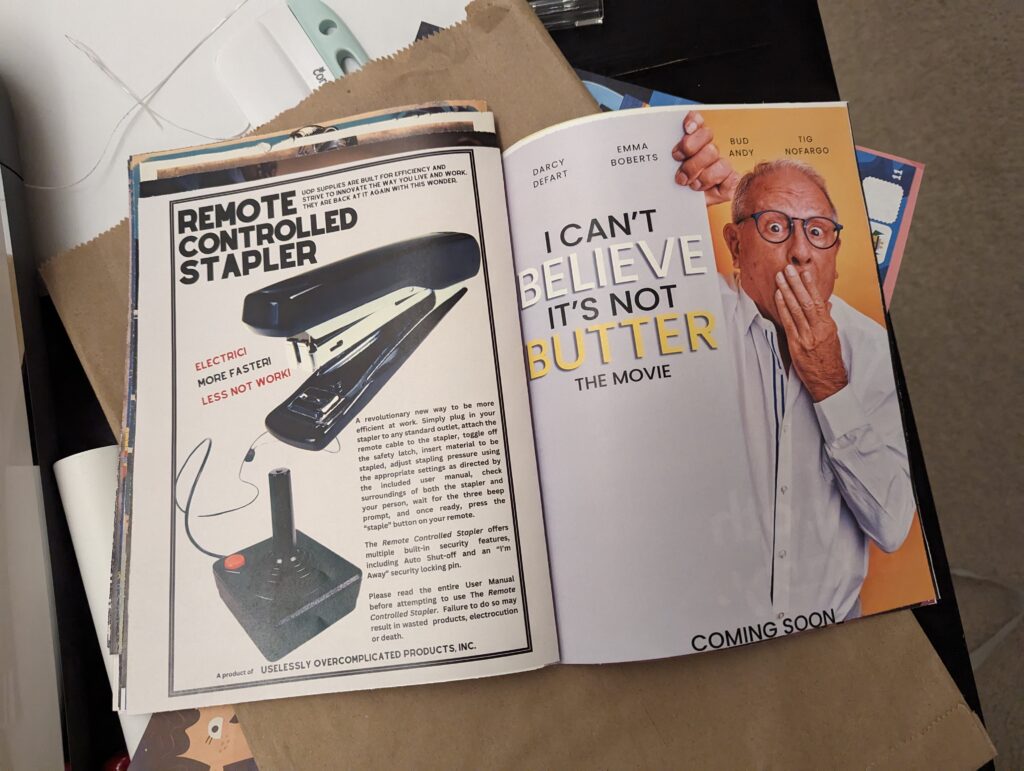
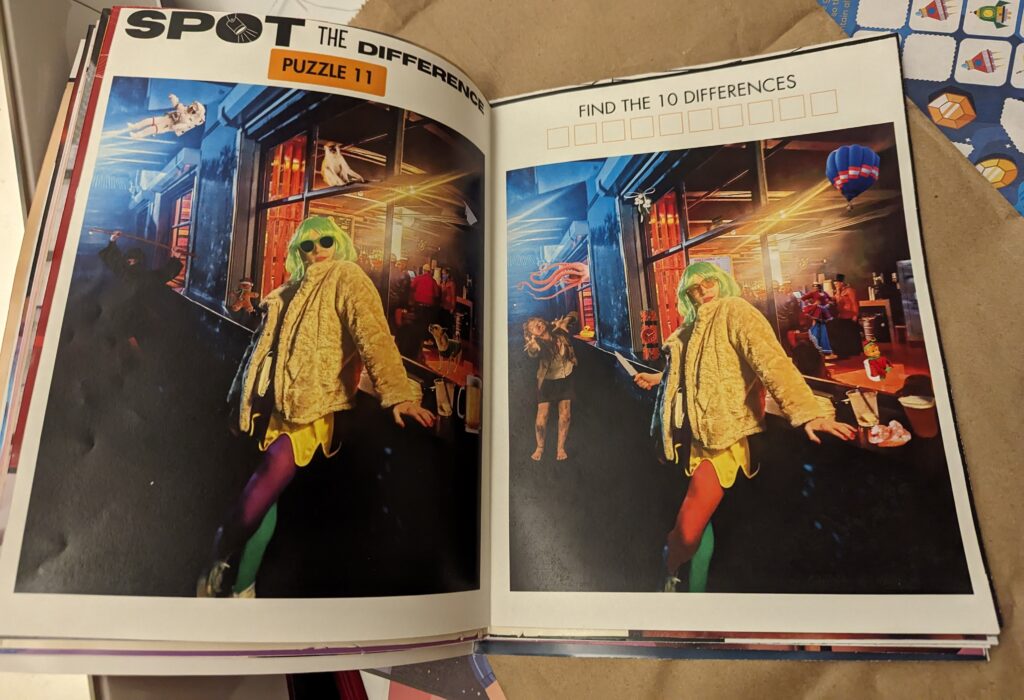
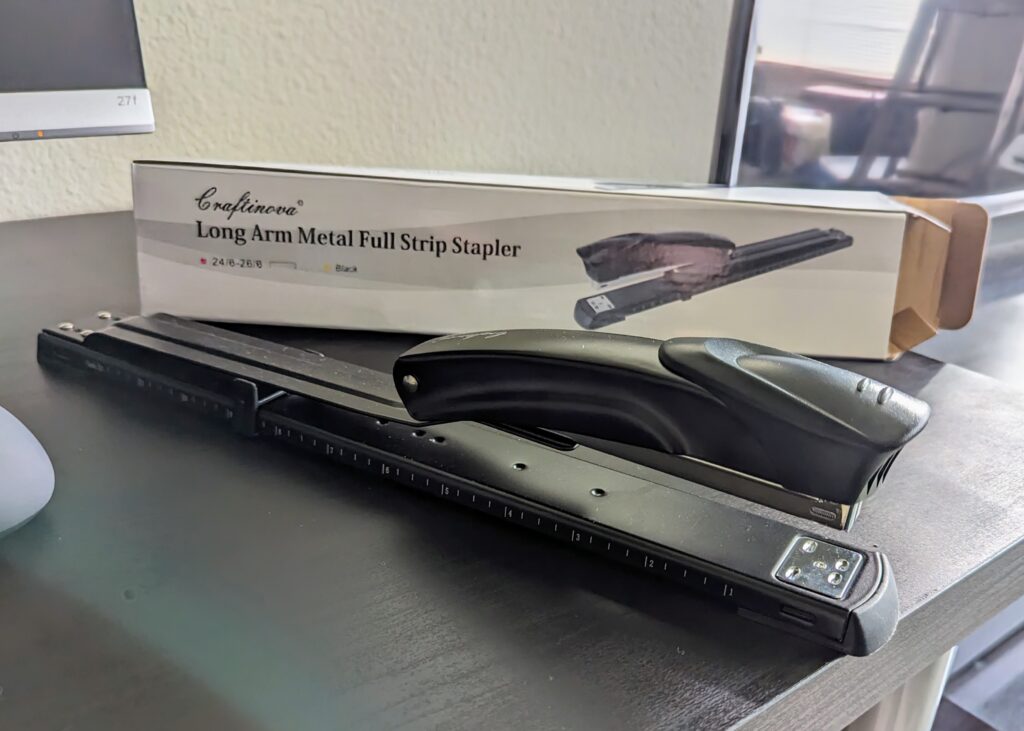
Now, admittedly this cheap DIY gift did cost a bit more than expected. Although I did find a discount code for the prints, I did not anticipate that the hardest part of this project was going to be how to bind the pages together. After looking online for local retailers and driving around town to different print shops like FedEx Kinkos and (back to) Office Depot, I ended up having to order a long arm stapler from Amazon. (Which was fine — I have since made two more magazines and am apparently getting my money’s worth.)
For the final touch I remembered that the photo paper I recently purchased from Dollar Tree had a cellophane wrapping, so I used that as a protector as well as a way of making it look more authentic.
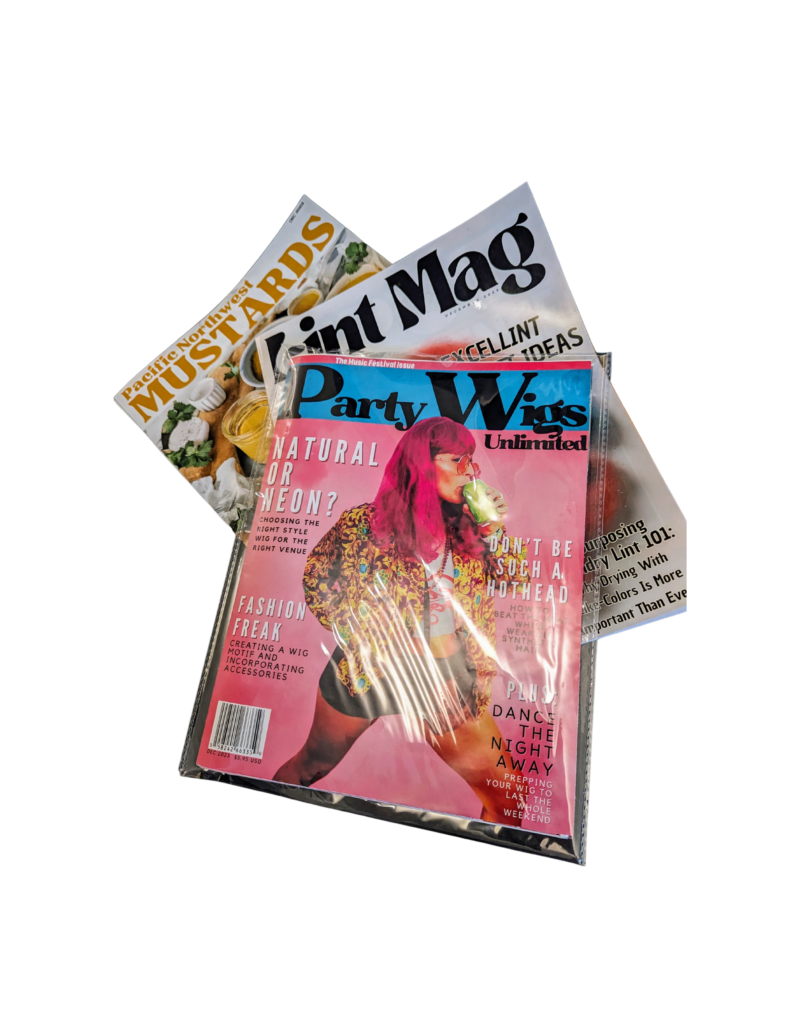
And there we have it! A personalized magazine gift for my friend. She will be hosting a group of us at her home for brunch to celebrate, and the plan is to sneakily leave it somewhere conspicuous for someone to find.
You can create any magazine, not just an excuse to make your friend a cover model for a day. Inside jokes or an embarrassing story make for good topics to create a magazine around. I have since created a few other magazines to be left around town, with the back of the cover sporting a fake ad with a QR code to my shop with the hope that curious passerby’s will create some natural traffic. We’ll see…
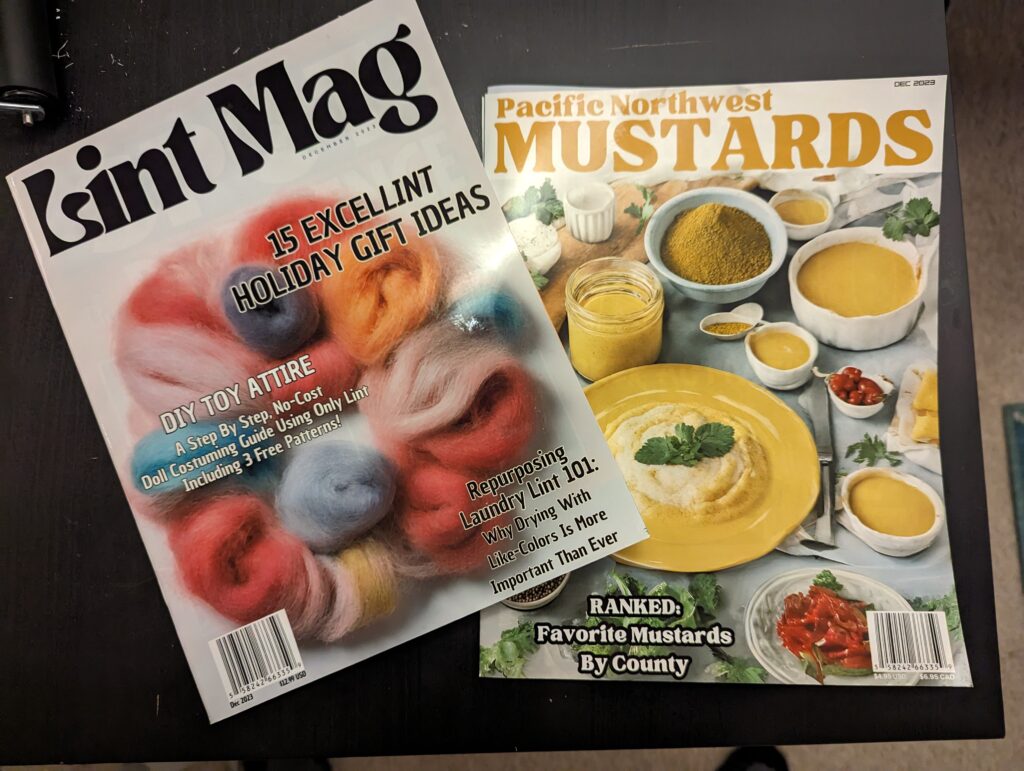
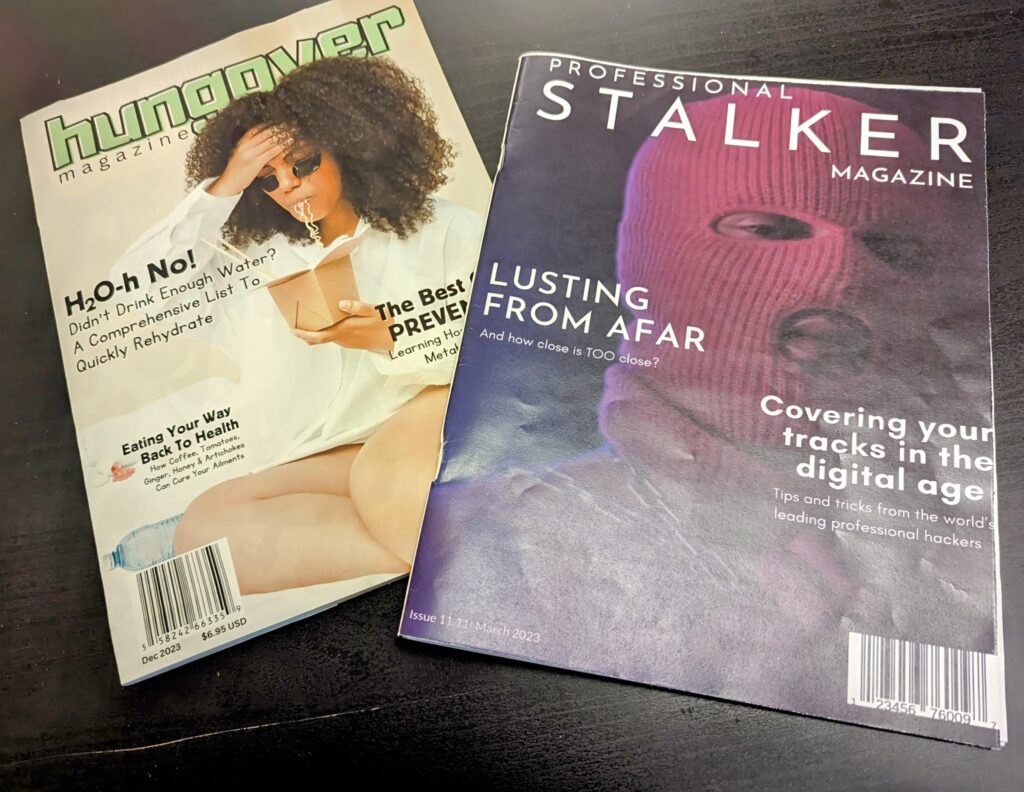
And that’s it! Hopefully this inspires you to create a fun magazine, fake store advertisement mailers or maybe even a coloring book using this same technique. Good luck, and have fun! Okay, bye.

