Creating a realistic looking product that you might find at a novelty store like Spencer’s Gifts is absolutely doable, even if you are lacking in proper design software.
I am definitely someone with very little training in graphic design, so I had to get creative with a workaround. But once that part was figured out, this project was really fun to make.
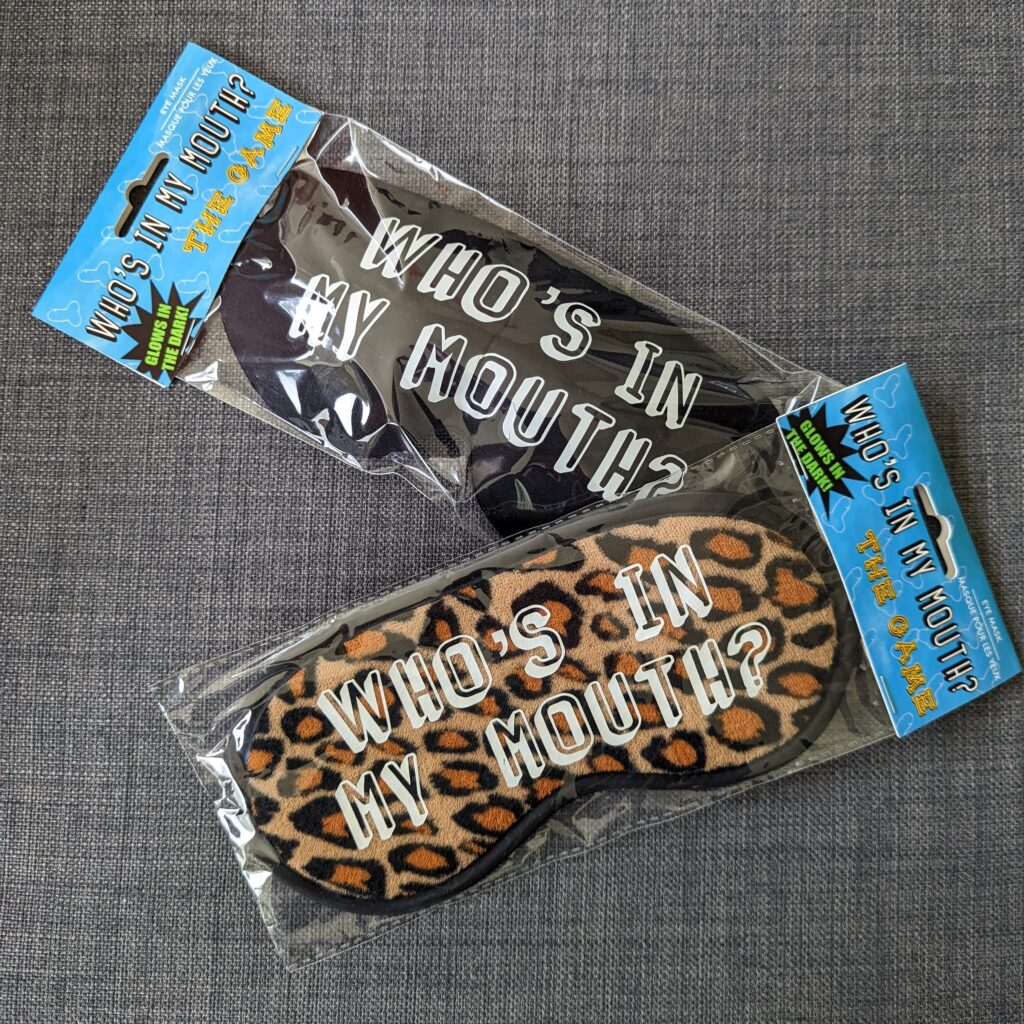
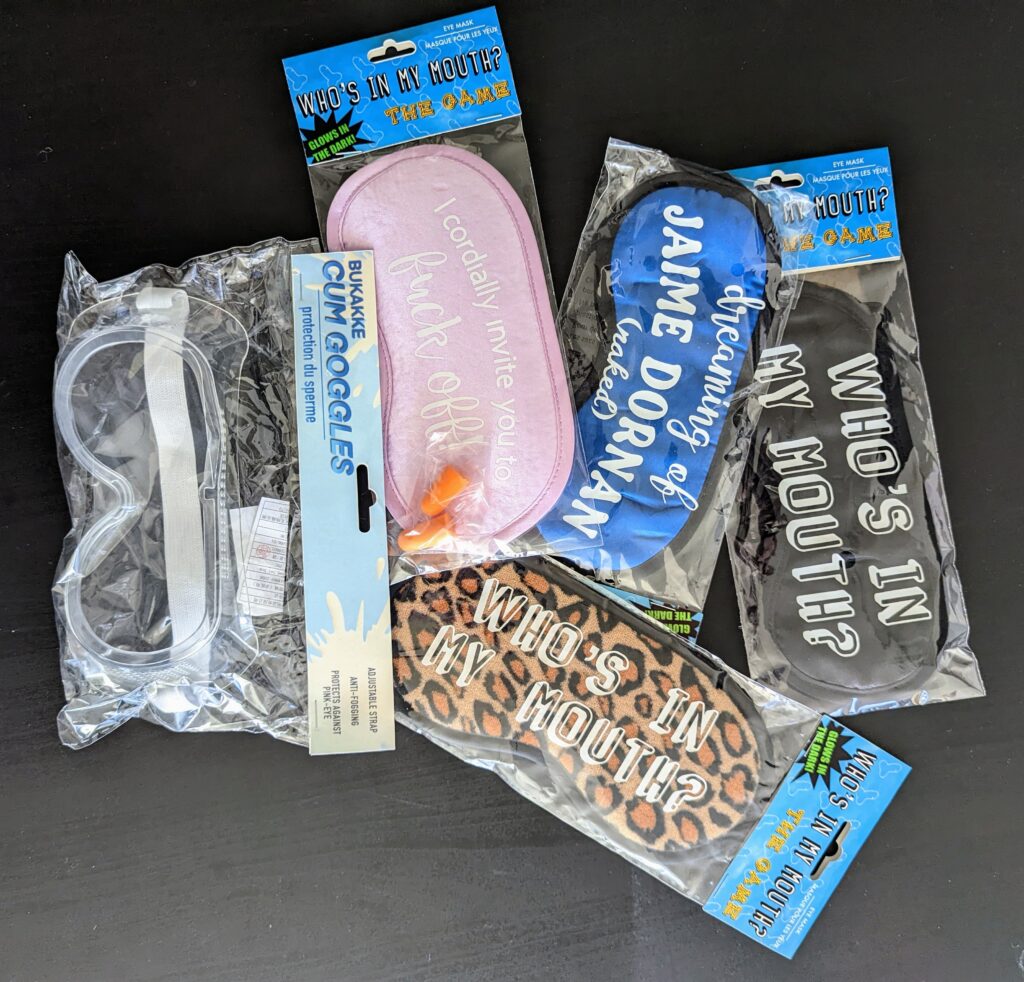
As part of a “slut box” gift set, this “Who’s In My Mouth?” eye mask and subsequent packaging was created using the app Procreate, my Cricut and Cricut Design Space. And the best part? The mask itself was purchased at Dollar Tree so the whole project was extremely cost effective.
Of course, is completely customizable to say whatever suits your fancy…
So let’s begin…
WHAT YOU NEED
- EYE MASK. My local Dollar Tree had an assortment of style options including some that even came with ear plugs.
- HTV VINYL. Siser Easyweed Glow-in-the-dark is my product of choice. And it’s typically on sale at Michaels or JoAnn. It is also easily attainable through Amazon.
- PRINTABLE VINYL. My go-to is called JANDJPACKAGING Printable Vinyl Sticker Paper. It too is readily available on Amazon, quite inexpensive and has a professional looking finish to it once printed on. ( I have found some discount printable vinyl has a less-than smooth, almost tacky finish.)
- POSTERBOARD, cereal box cardboard, or a similarly weighted cardstock.
- A CRICUT MACHINE that supports Print then Cut.
- HEAT PRESS – I have the Cricut EasyPress 9×9”
- PROCREATE app
- RULER or TAPE MEASURE
- PRINTER
- STAPLER (and staples, dumb-dumb)
DESIGNING THE EYE MASK
To prepare for the mask’s design, I first carefully removed the eye mask from its original packaging. This step is somewhat important because we will be reusing the plastic packaging once the project is complete.
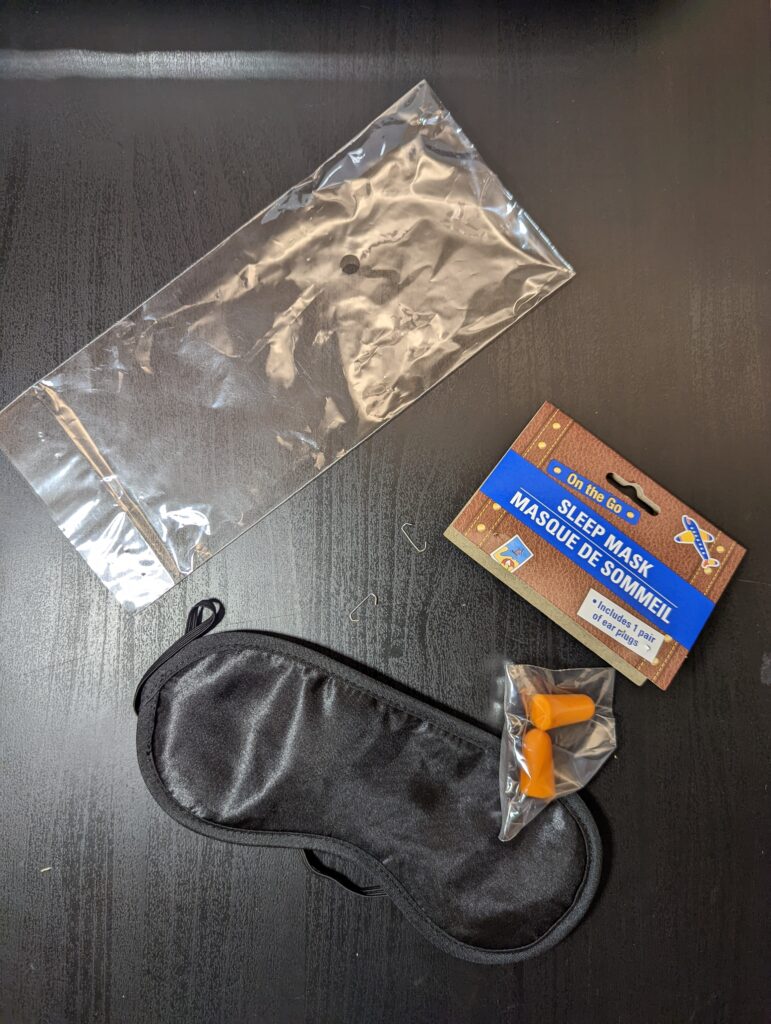
But fear not… if you do accidentally damage the packaging or the original packaging has something already printed on it, all hope is not lost. You can use a cellophane bag like ones found at a dollar store, or even just cut the top off of a sandwich bag you may already have.
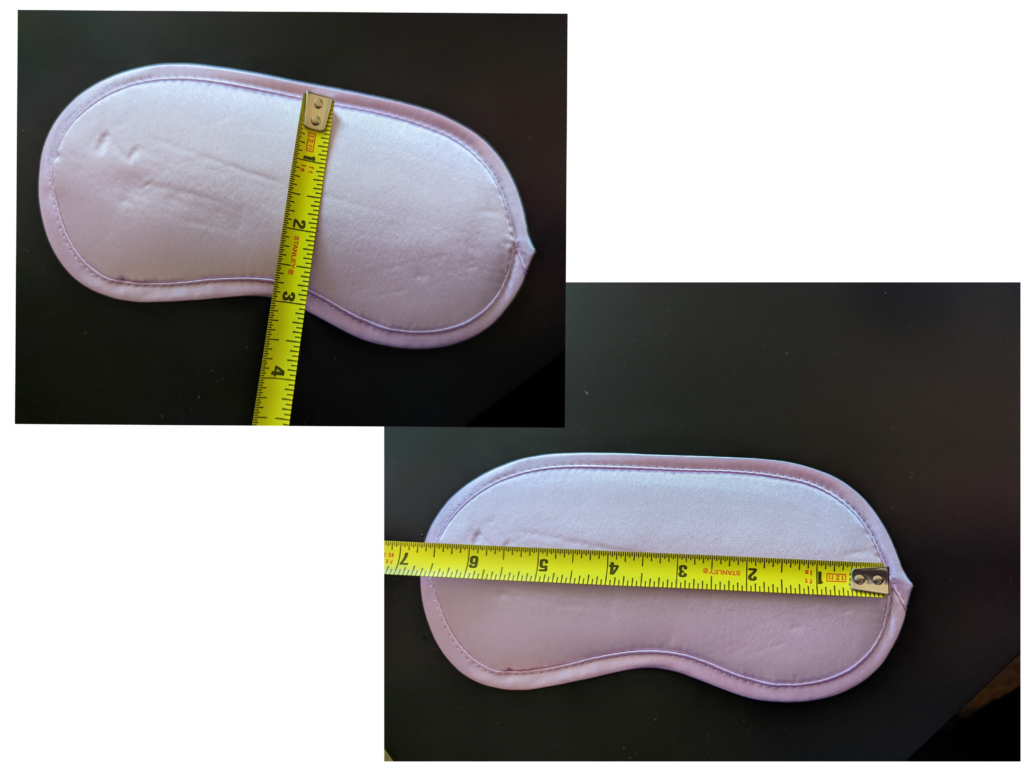
MEASURE: Using the center of the mask for height (aka the nose bridge), measure the height and width of the mask. Use those dimensions to create a template in Cricut Design Space.
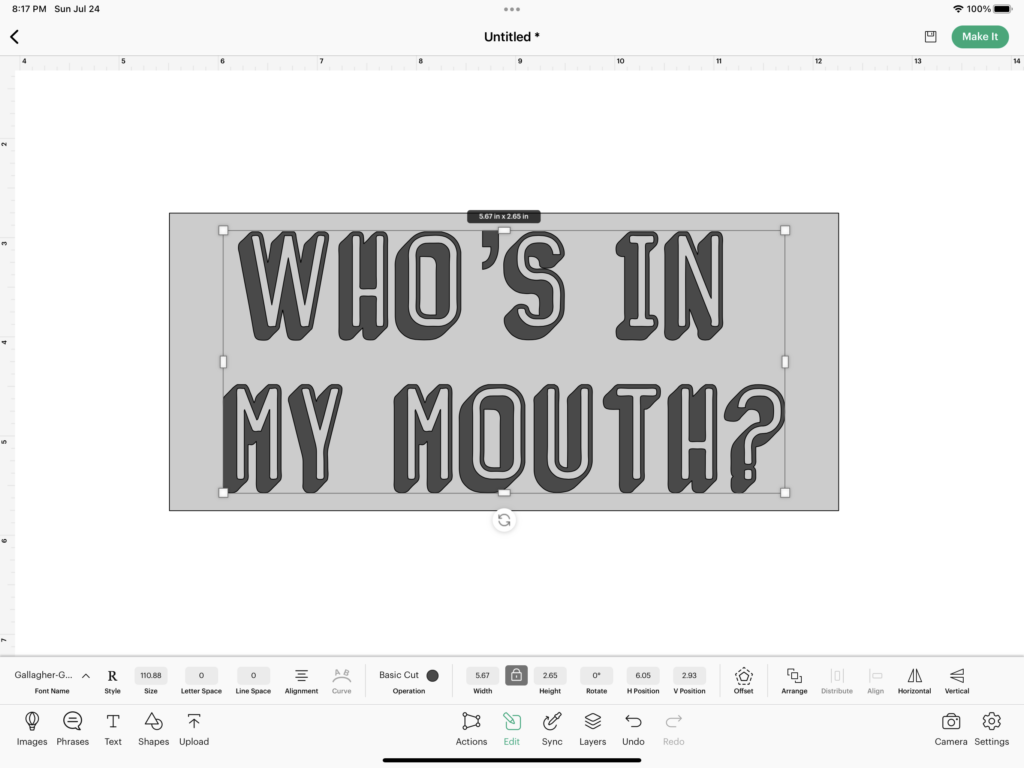
Choose a font from the Design Space library, your system’s options or you can find fonts online to download as well (just be mindful of their usage rights). Type out your preferred phrase, and once you are happy with the design you can delete or hide the template box.
I settled on this font layout for my mask:
MAKE IT: THE MASK
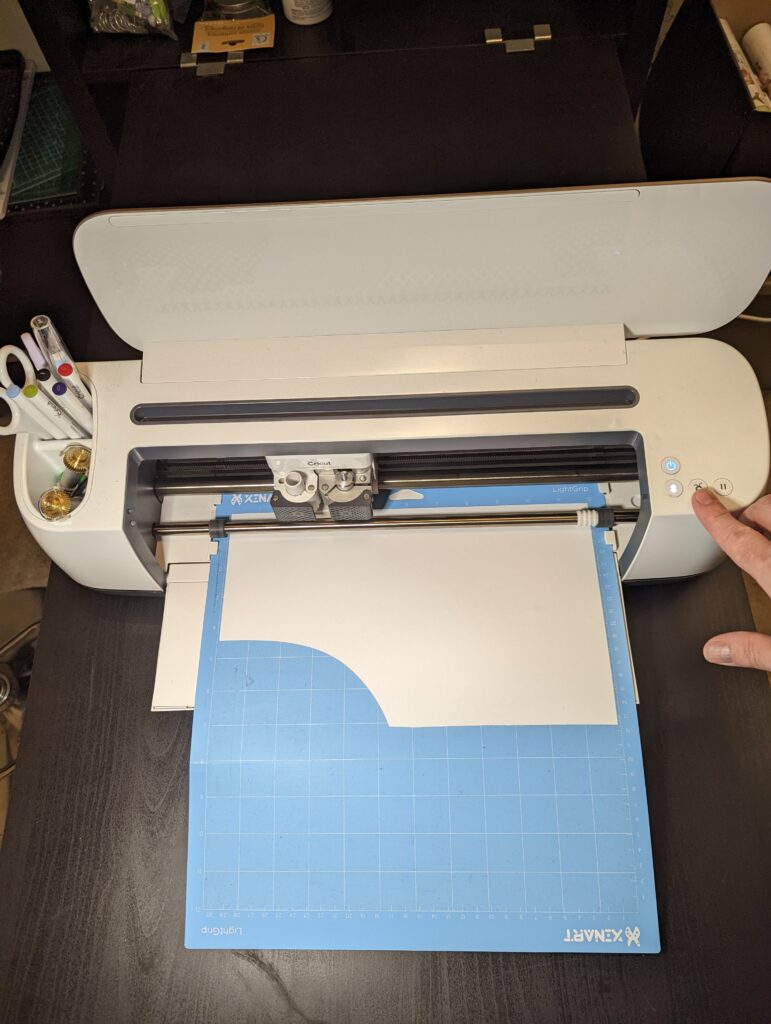
Attach your HTV glossy side down onto the cutting mat. MAKE SURE YOUR IMAGE IS MIRRORED. Then hit Make It, load the mat and hit Go.
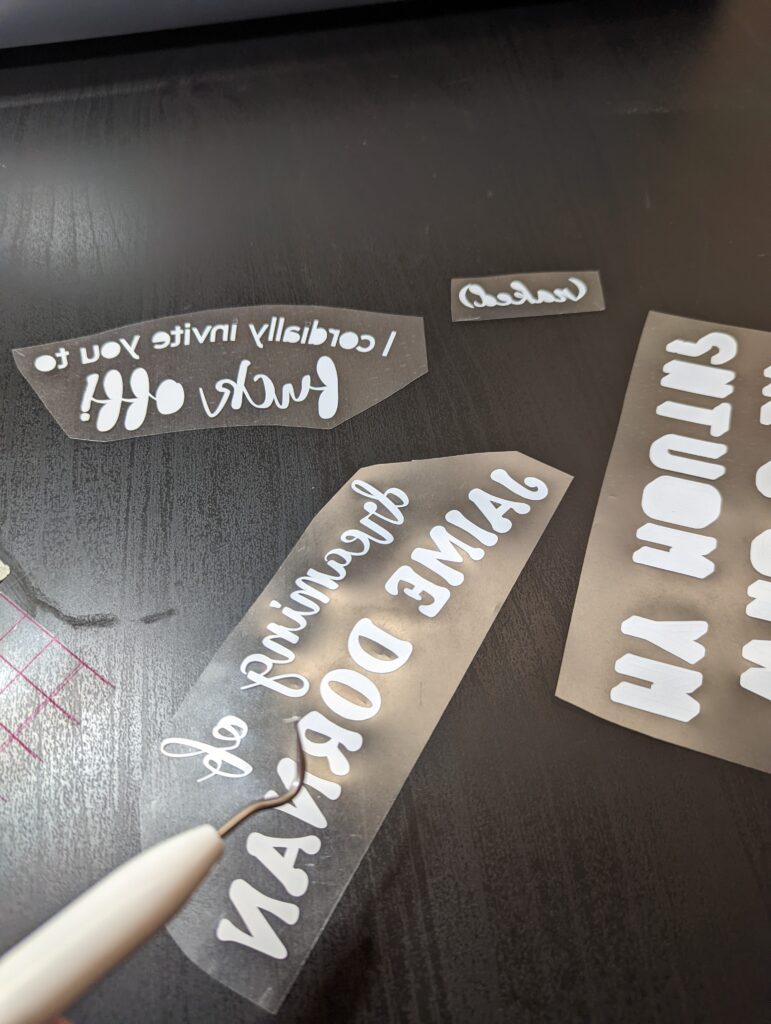
Once cut out, simply weed your image. Take particular care of letters like “R” or “A” that may need their inner spaces weeded out.
Preheat your Heat Press. I use the Cricut EasyPress 2. For Siser’s Glow in the Dark HTV I opted for a 305 degree setting with a pressing time of 15 seconds. The choice of HTV may affect your temperature settings and pressing time. If you’re unsure, Cricut offers an online Heat Transfer Guide that can recommendations based on your vinyl and fabric.
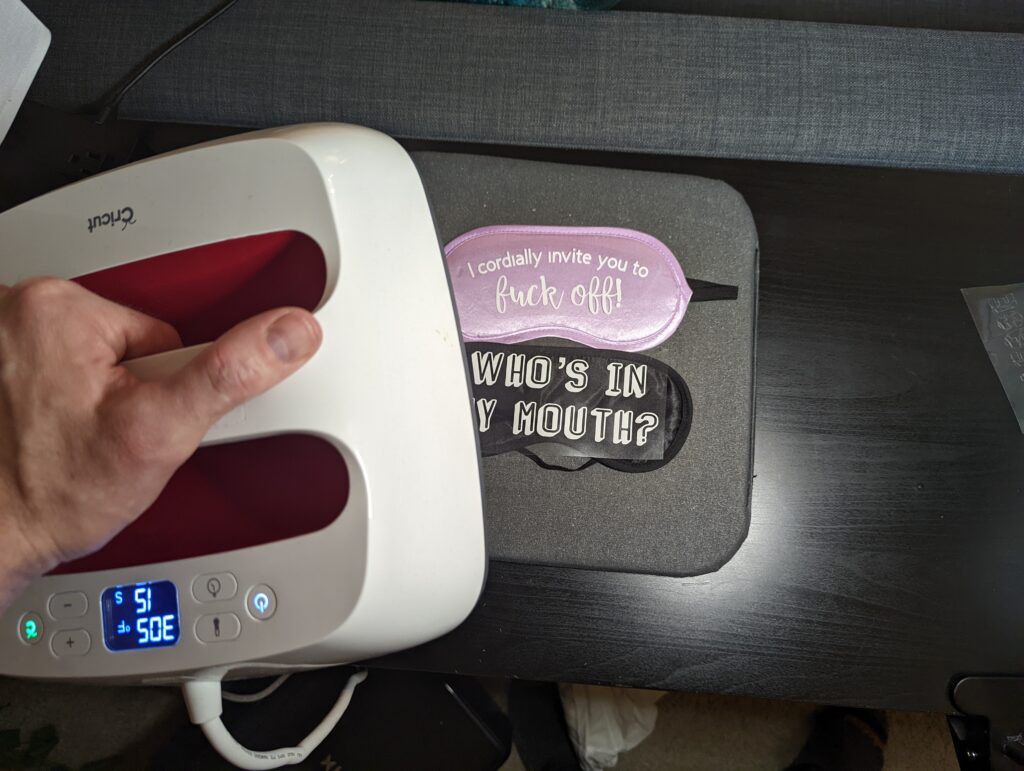
Pre-press the eye mask for 3-5 seconds to get rid of any moisture. Then center the vinyl. The carrier sheet the vinyl is attached to is safe to be directly applied to your press. Press it and Presto! — it’s done.
DESIGNING YOUR PACKAGING
As someone who isn’t well versed in Illustrator or Inkscape, I have found that the Procreate app on my IPad Pro has really filled the gap for this not-so tech savvy lad. Obviously if you are knowledgeable in graphic design software, by all means go to town designing your way and skip to CRICUT DESIGN SPACE NEXT STEPS.
Otherwise the following is my “I don’t have a real PC or professional software” hack:
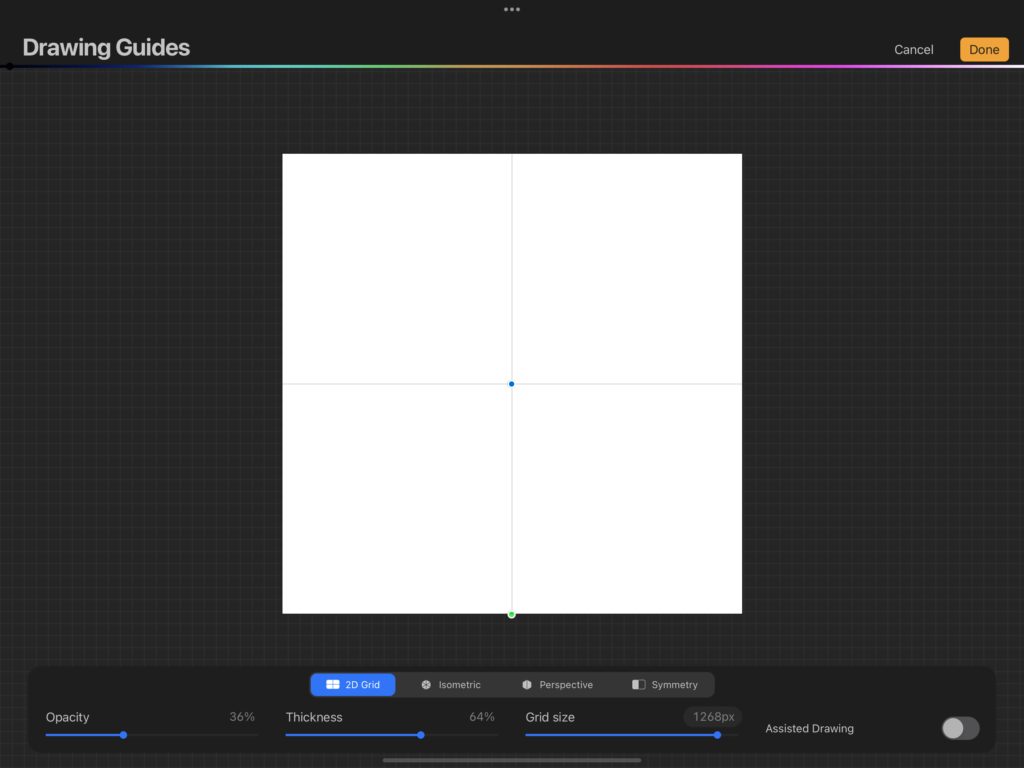
In Procreate, start by creating a canvas to the dimensions of your packaging. I measured the original bag topper for this. I then turned on grid assist to help establish the center. This is where half of the canvas’ design will be upside-down for when we upload it to Cricut Design Space and insert a score line.
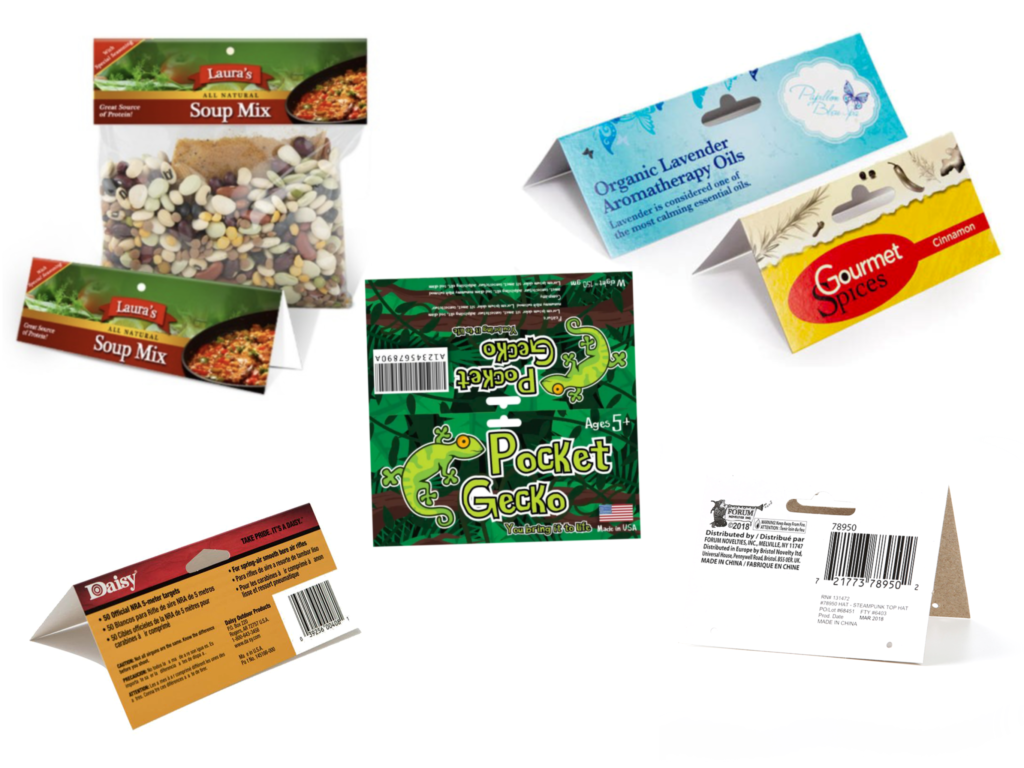
For this design I used other design cues from actual packaging I had previously researched. You can find examples online for inspiration using the search terms “header card” and “bag toppers”.
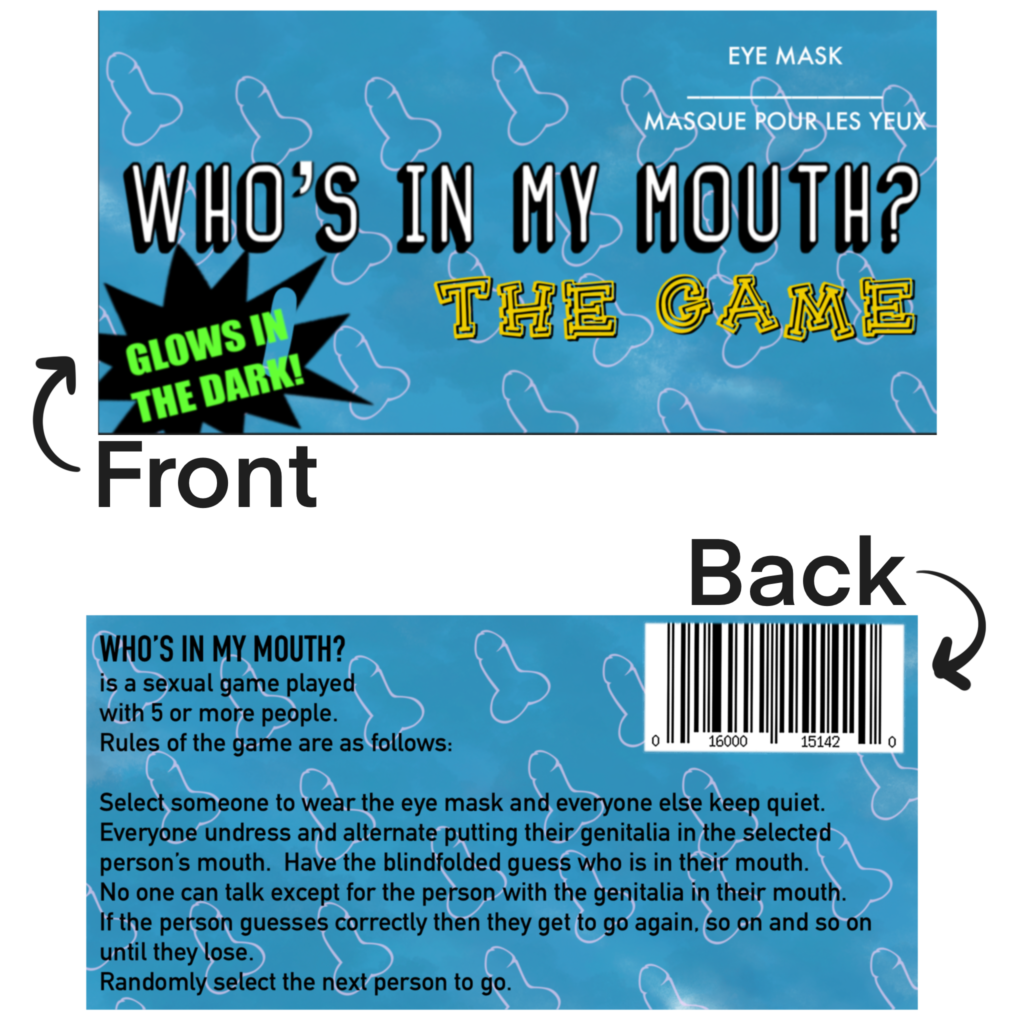
I decided on a lighter blue background. I intentionally kept the same font for both the packaging and the mask.
I flipped the canvas around (what will become the back of the packaging) and began adding the “rules of the game”. I knew I would later add a cut-out to hang the packaging later in Design Space, so I was mindful of where to keep the design free of images or text.
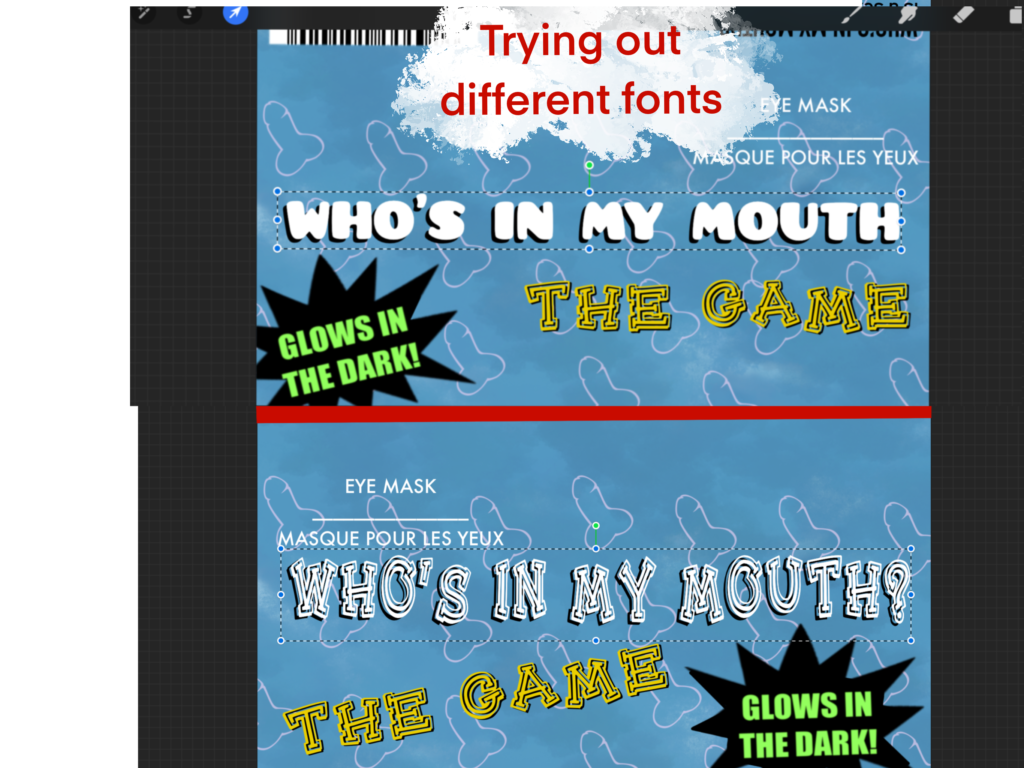
You can make this as minimal or as elaborate as you’d like. It is really easy to design by trial and error in Procreate by adding different elements or compare different fonts by simply toggling each layer on and off to see what looks best.
Adding subtle details can make your packaging look more authentic. Including a barcode adds authenticity. Inserting one of those ‘POW’ stars to highlight product features can also make it pop. Other details for this project like subtle penises in the background may not be important, but they make me laugh…so actually they are very important; little Easter eggs are great.
UPLOAD TO CRICUT DESIGN SPACE
After you have decided that your design is complete, save it as a PNG. Then launch Cricut Design Space, upload your newly saved image as a Print then Cut file, and open it onto your canvas.
Even though your canvas designed in Procreate had the correct dimensions, often times Cricut Design Space decides the project is larger, so make sure to click on the design to check its dimensions. Resize if needed, Just make sure the dimensions are locked so it won’t distort your image.
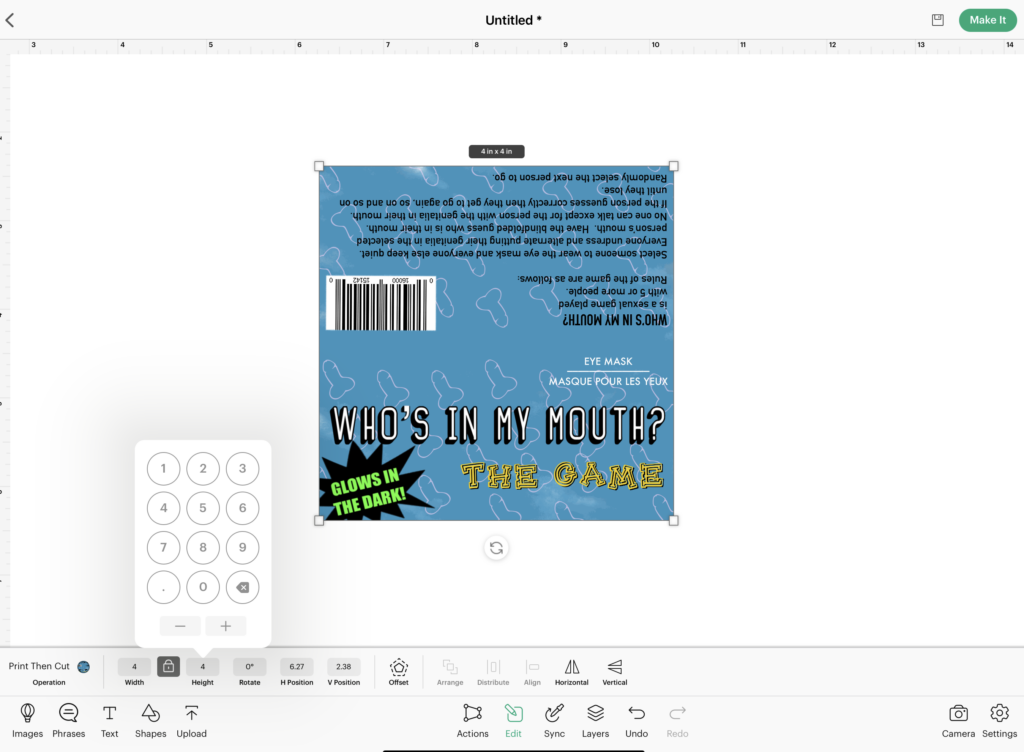
I wanted to add that hanging-hook-loop-hole-punch thing that a lot of packaging has. First I took a small narrow rectangle from the shapes options in Design Space. Then I inserted a circle with the same height and duplicated it to put on either side of the rectangle. Finally I added a third circle in the center of the rectangle. I made sure that half of the center circle hung over the top of the rectangle.
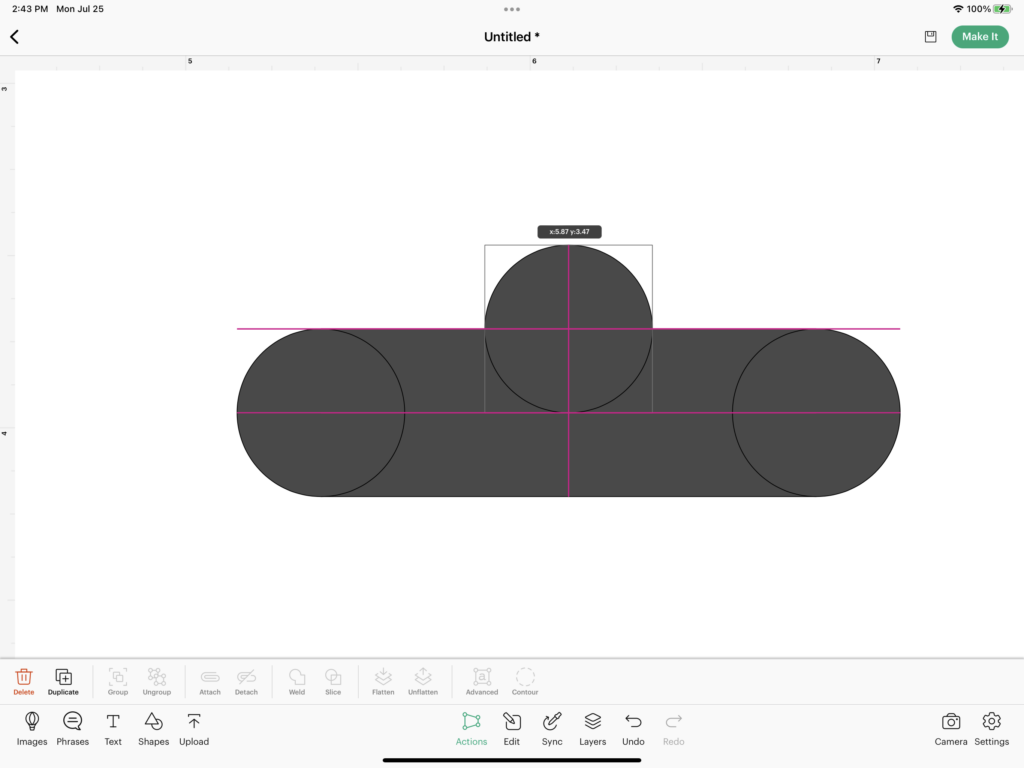
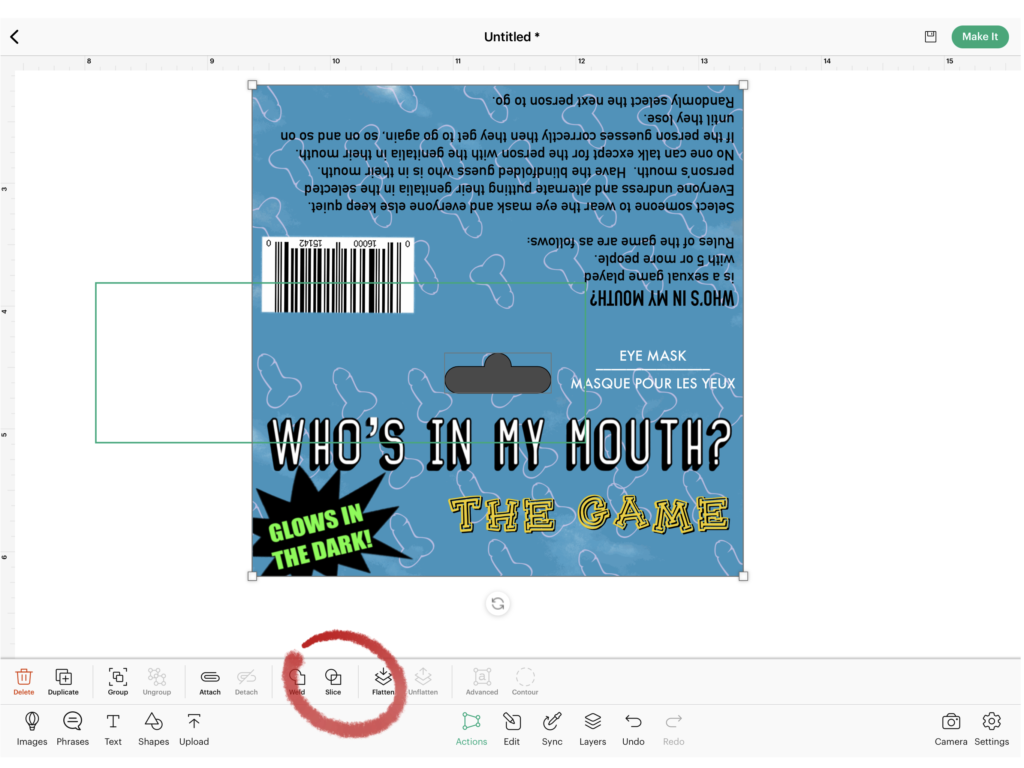
Once all elements were placed, I welded them together. I centered this new shape toward the top of my design. Next I highlighted both the shape and my design and hit “slice”.
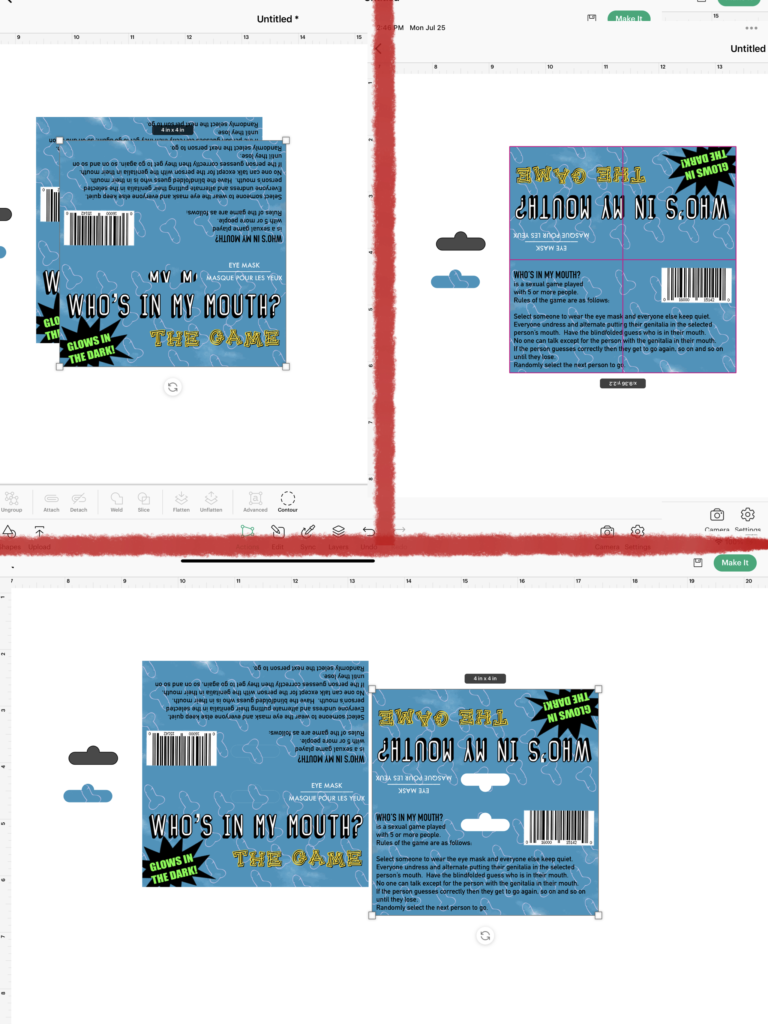
Once the shape was cut out, I duplicated my new design. Centered directly above, I rotated the box 180 degrees (or upside-down). Highlighting both, and sliced the images again. Deleting the top image and excess pieces, I was left with my design with the two hanging cutouts.
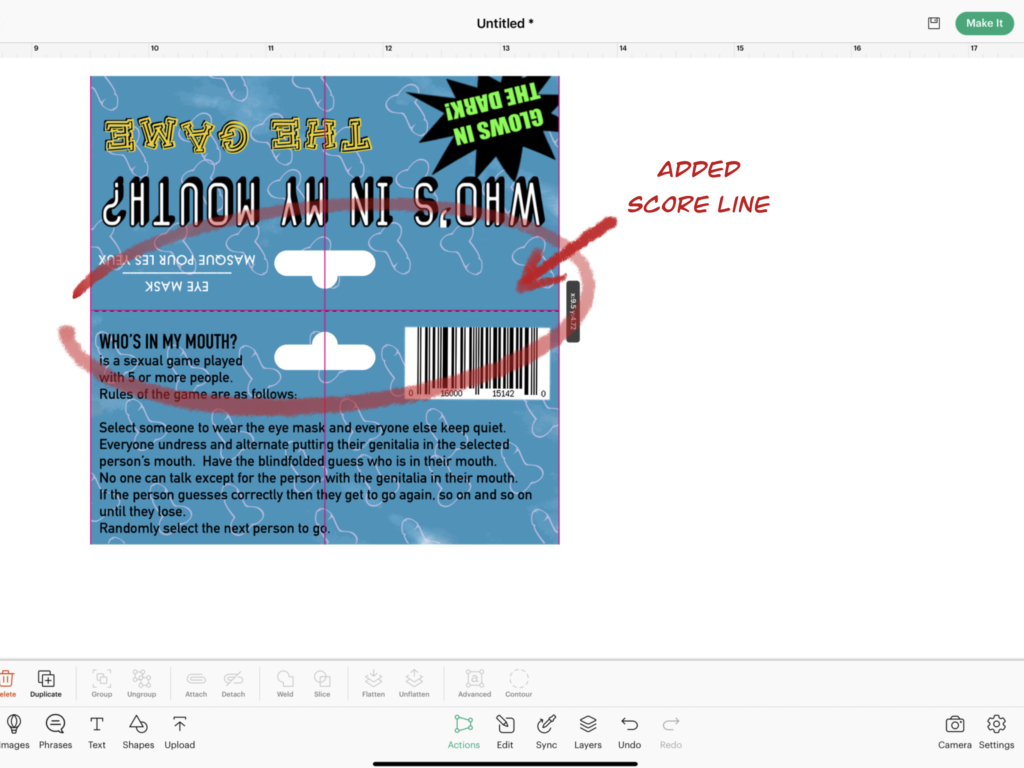
Lastly I attached a score line horizontally directly in the center where my image will be folded during final product assembly.
Now we are ready to Print and Cut.
MAKE IT! THE PACKAGING:
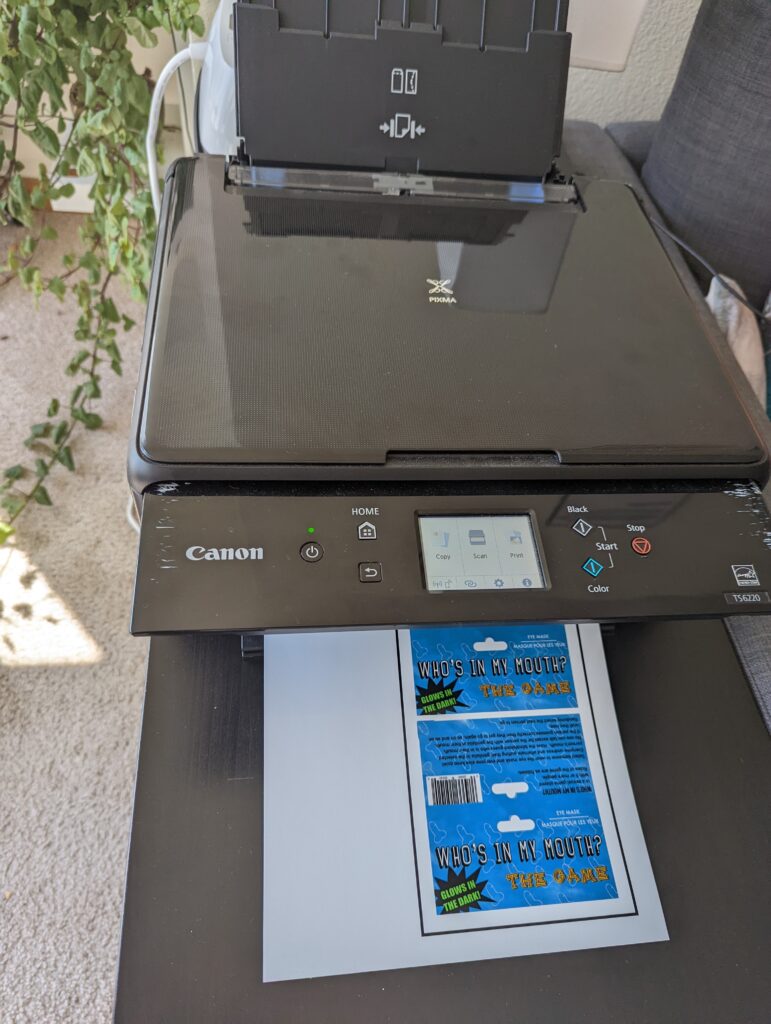
Next we need to actually Print then Cut out our images. Click “Send to Printer”, make sure all settings are correct and the correct printer has been selected. Load your printable vinyl and print out the image.
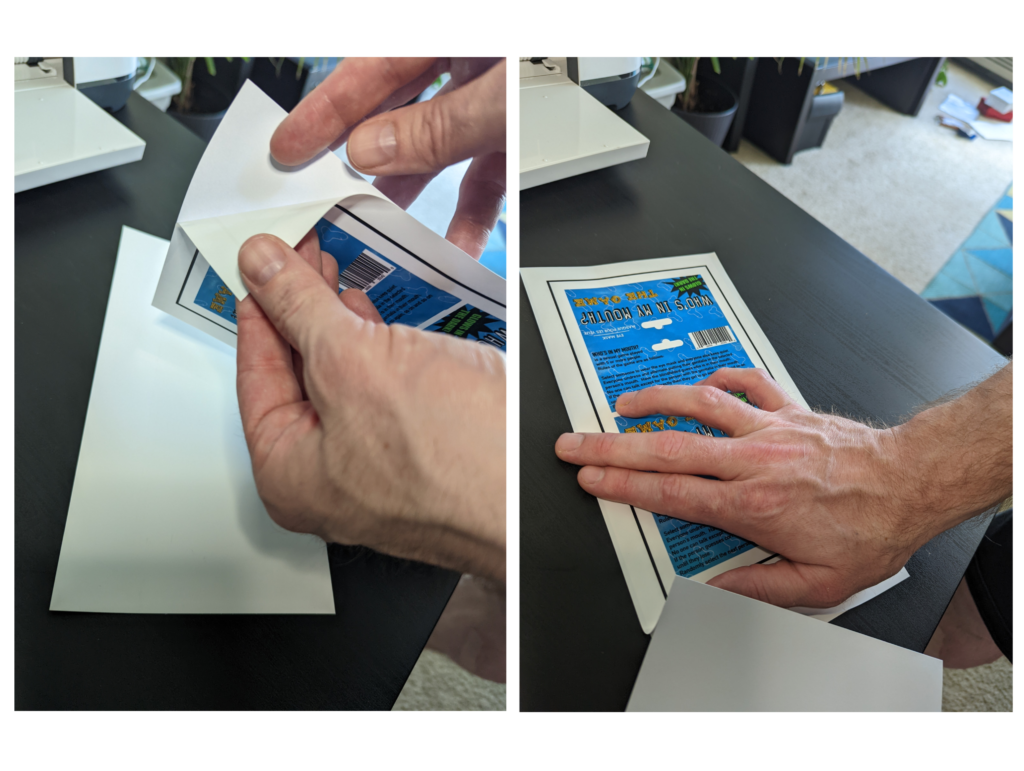
Once printed, apply the print to your poster board. I pre-cut the poster board to the dimensions of the vinyl sheet and aligned it onto my cutting mat. Then, pulling back one corner of the vinyl’s backing, I carefully aligned the corner to the poster board, slowly removing the backing while simultaneously pressing down the vinyl in a diagonal motion to guarantee no air bubbles get trapped between the two surfaces.
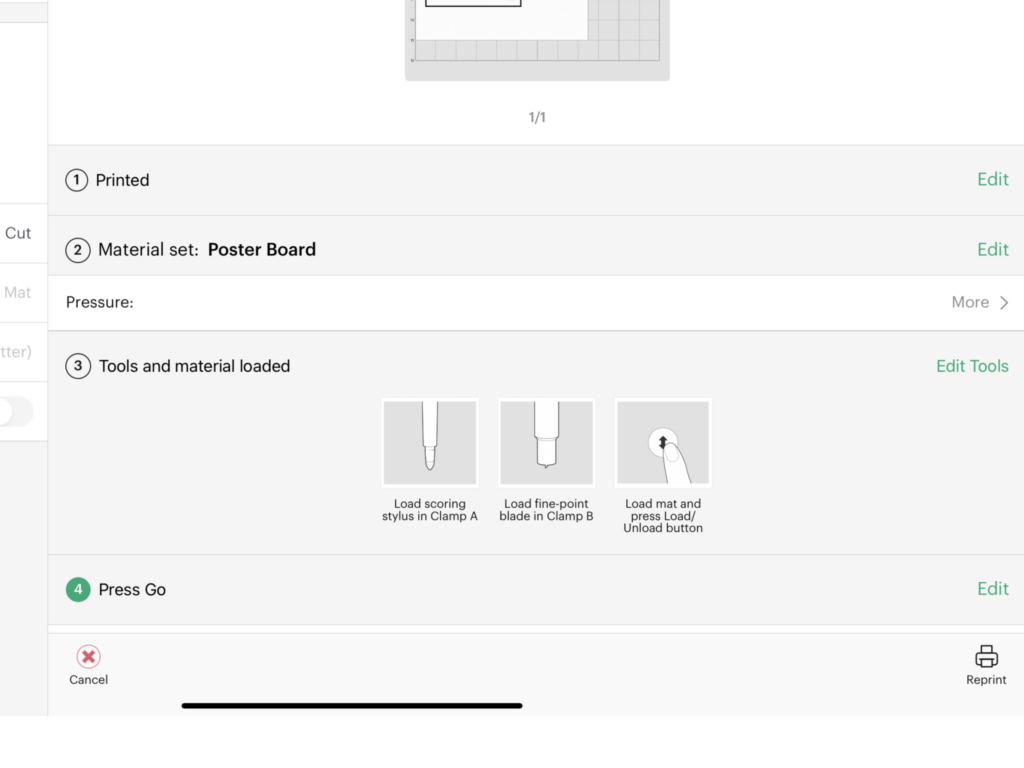
Select the appropriate material, and follow the prompts on Design Space. For example, this project has a score in the center so I needed to install the appropriate tools, (i.e. scoring wheel or pen stylus).
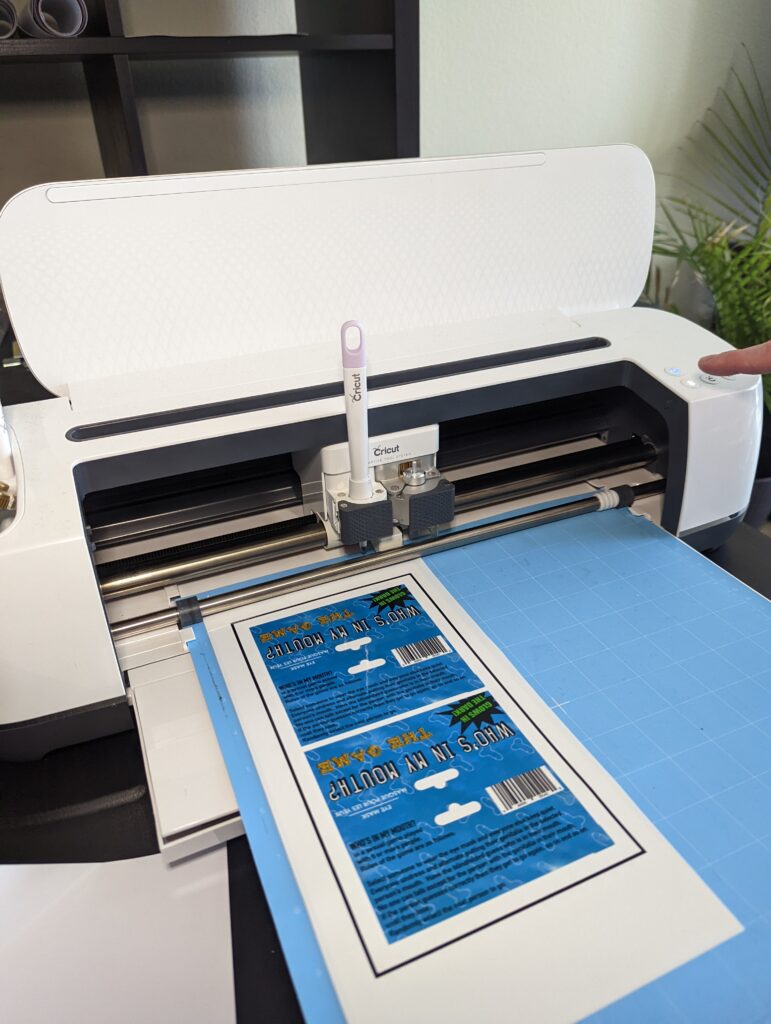
Load the mat into your Cricut, press the Cricut Logo button and let your cutting machine work its magic. It will first scan for the registration marks, and then cut.
PUTTING IT ALL TOGETHER
Now that our entire project has been printed, cut out and pressed, it is time to assemble our final product.
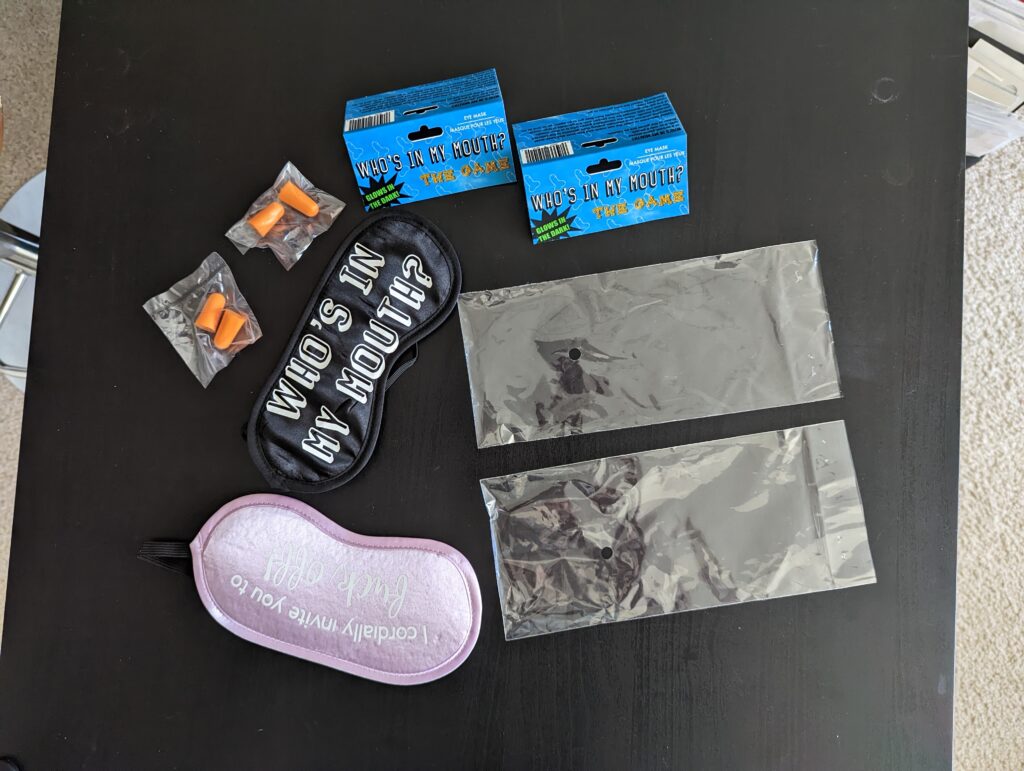
Take the mask’s original cellophane wrapper it came in and carefully reinsert the mask.
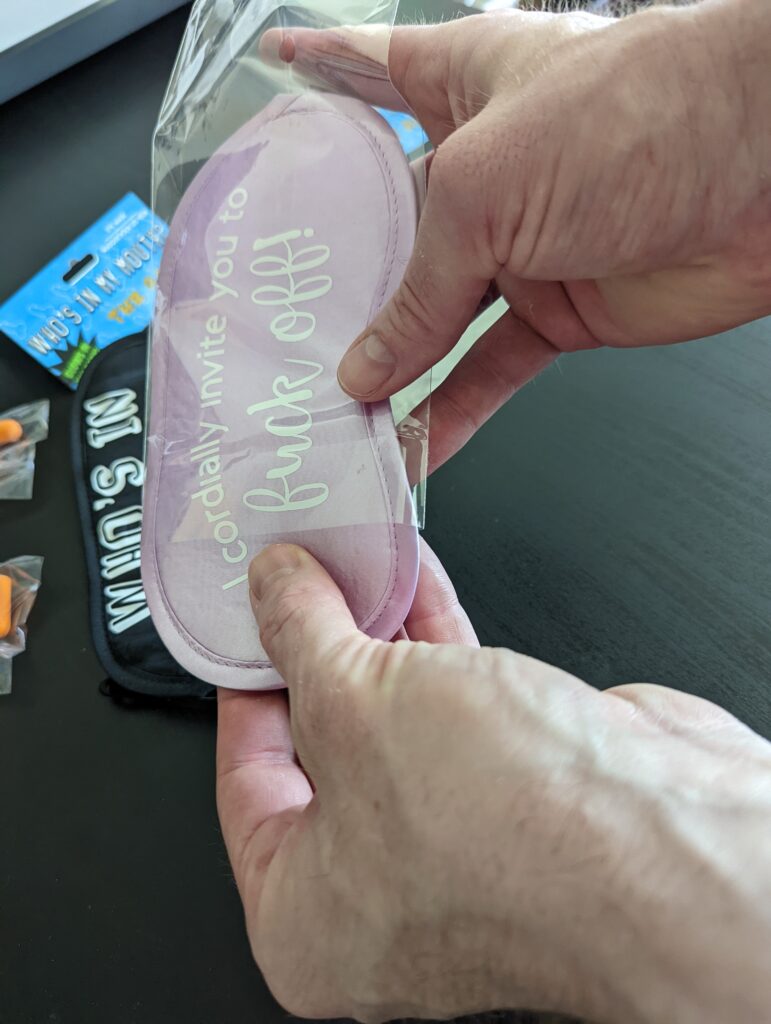
Bend your printed posterboard or cardstock on the perforated line and place at the top of the wrapper.
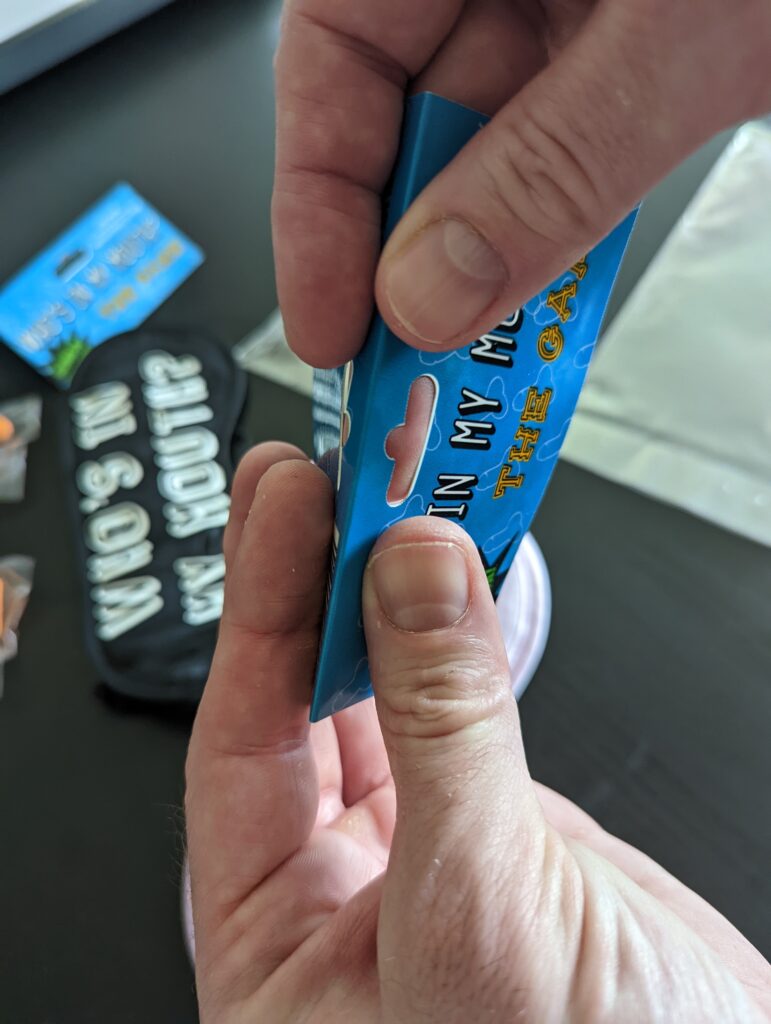
Staple the printed packaging to the cellophane as close to the bottom of your design as possible.
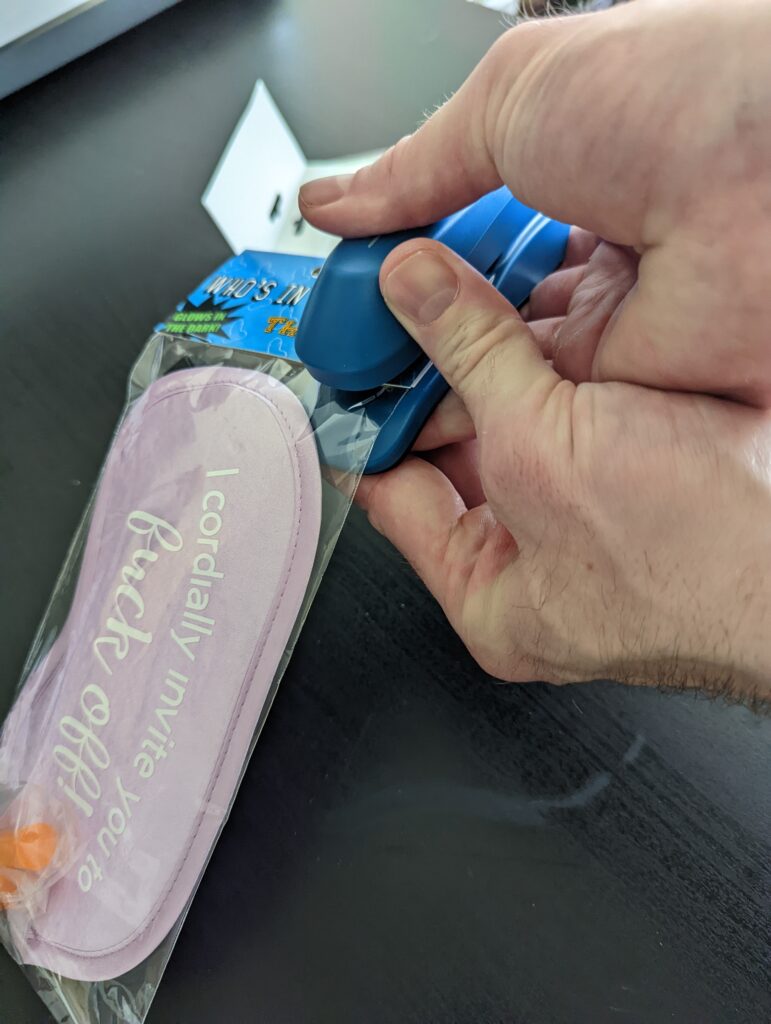
And Vois La…you successfully made a gag gift!
AND THAT’S IT!
I hope this tutorial expresses how easy and inexpensive a funny handmade gift can be. And you don’t really need the packaging if spending time pretending to be a graphic designer isn’t your bag.
What funny design or phrase will you put on your eye mask? Hopefully this sparks your own ideas or feel free to just make this and tell your friends it was of your own creative juices. As long as you’re being crafty, just have fun!

And, uh….Okay, bye.

