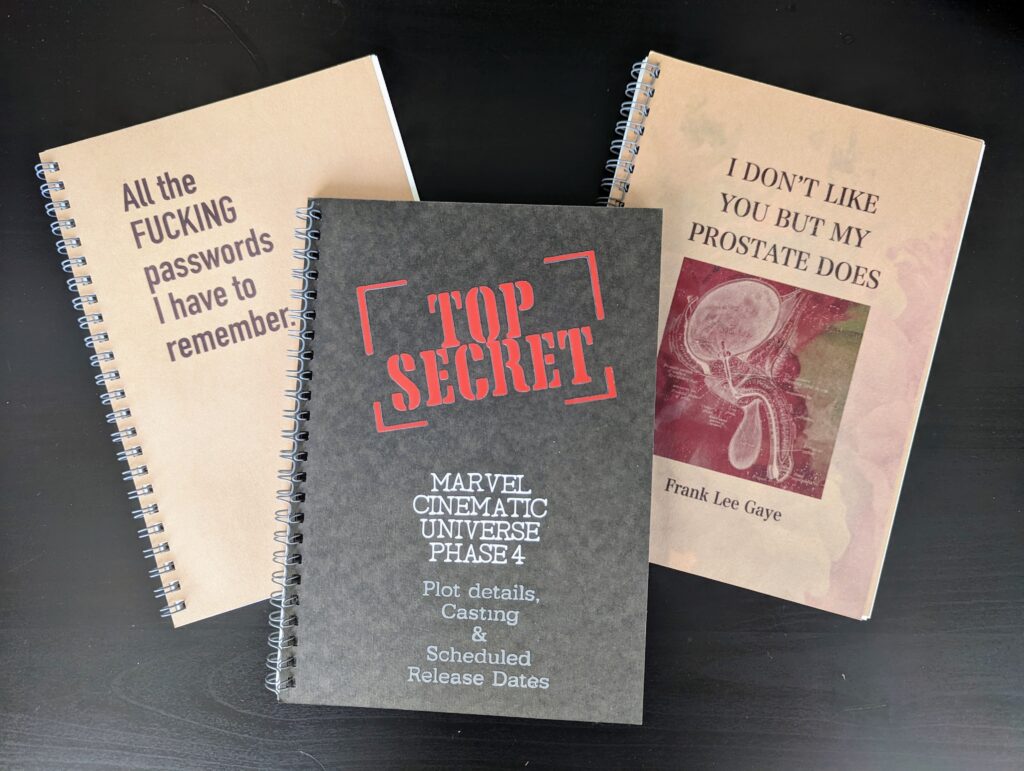
When figuring out a gift for someone, I have this horrible habit of never feeling like it’s worthy enough, especially if I’m trying to do it on the cheap.
What usually happens is I find a fitting gift, immediately second guess my decision, and inevitably pick up a few more inexpensive “filler” gifts. This horrible habit ends up costing me more money than if I were to have just pony’d up a few more bucks on the original gift in the first place.
Due to this insane reaccuring act, I have come up with a cost-saving workaround to implement when I find myself in this gift loop. Because God forbid I actually deal with the issue and better myself.
One such tactic is to have on hand a few blank notebooks at all times. This quick-to-personalize and incredibly cheap bonus gift saves time and money when I take a step back from the gift basket and yell, “SHIT! It’s not enough!!”
Below are two ways to decorate a custom notebook using both HTV Vinyl and Sublimation.
MATERIALS
- Blank Notebooks – I pick mine up at my local MUJI. They have an extensive stationary section, and the notebooks are completely blank, save for an in-store sticker that can be easily removed and does not leave a residue.
- Heat Press – I use the Cricut Easypress 2 (9”x9”)
- Cricut
- Cricut Design Space
- FOR HTV:
- HTV Vinyl – multiple colors dependent on your design
- Teflon Sheet
- FOR SUBLIMATION:
- A-Sub Sublimation paper
- Sublimation Printer
- Butcher Paper
- Procreate app
HTV VINYL NOTEBOOKS
I like to use this process specifically when using a black or dark colored notebook. To begin, launch Cricut Design Space and open a new project/blank canvas. Create a template by inserting a square and resizing it to the dimensions of your notebook cover.
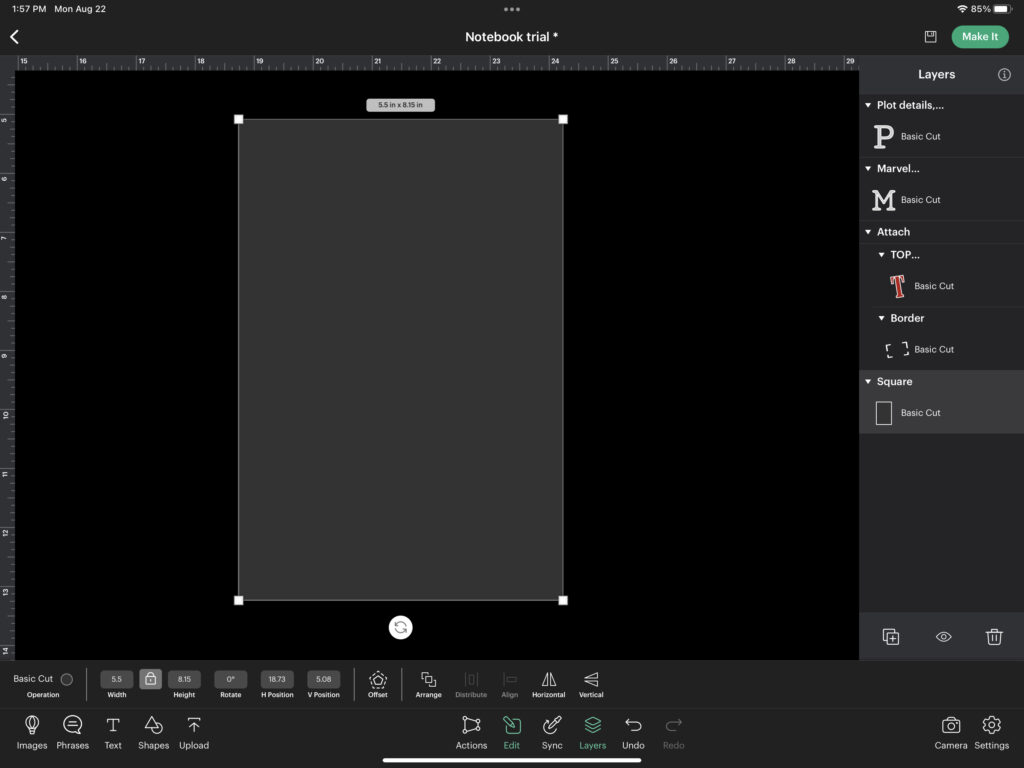
If you have an idea in mind, begin to play with fonts and/or images and begin to create your design using this new template guide. For this example we will be creating a “TOP SECRET” book cover.
Select Images, and search for either ‘square’ or ‘frame’. Choose a couple of options you like and insert your selections onto the canvas. Select your favorite and resize to your liking. Changing each new element’s color to the intended HTV color will help better visualize your design.
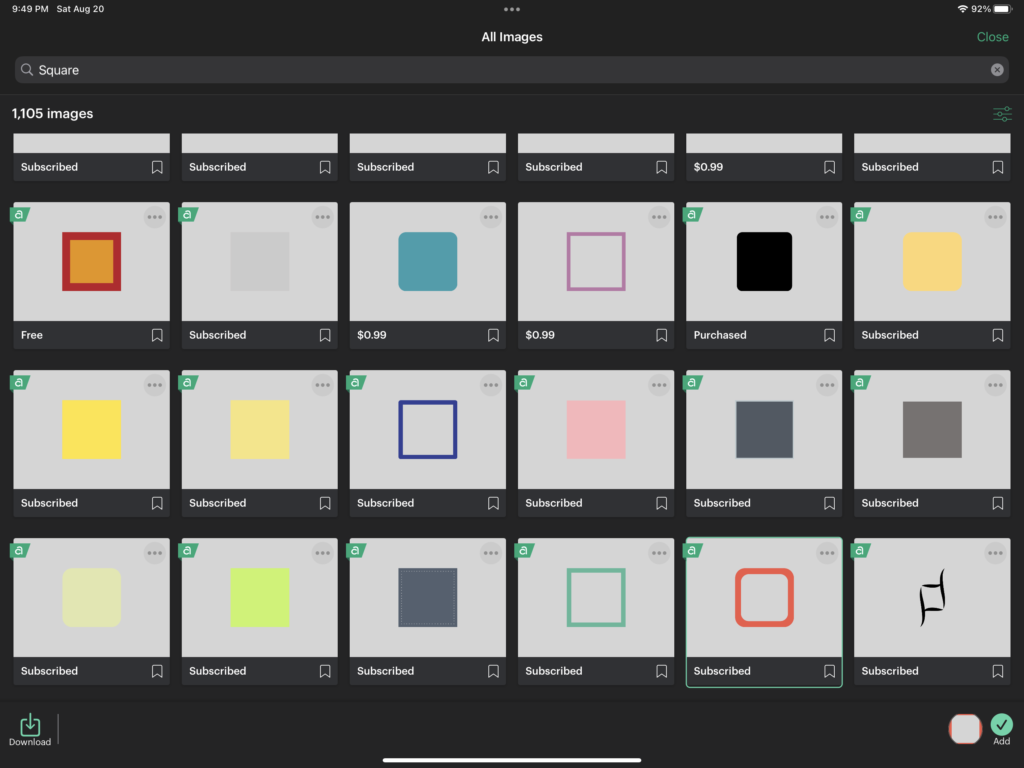
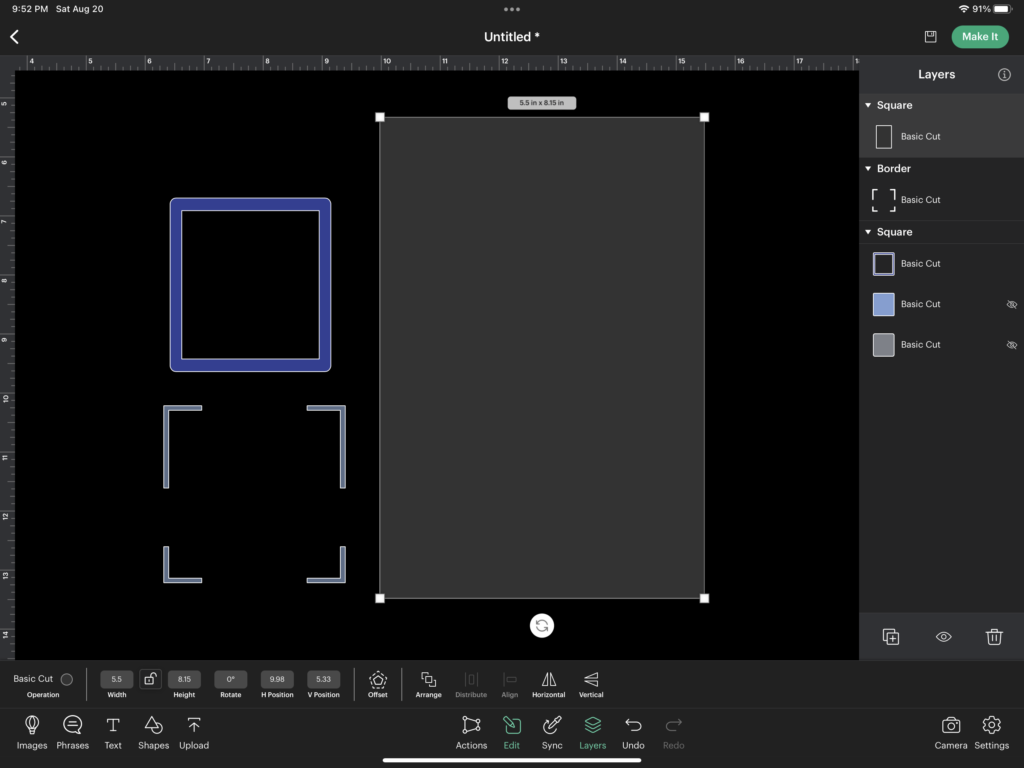
Next select Text and type “Top Secret” (or your desired phrase). Go through the font options until you find the one you prefer. In this example the font selected was “Tea Chest”.
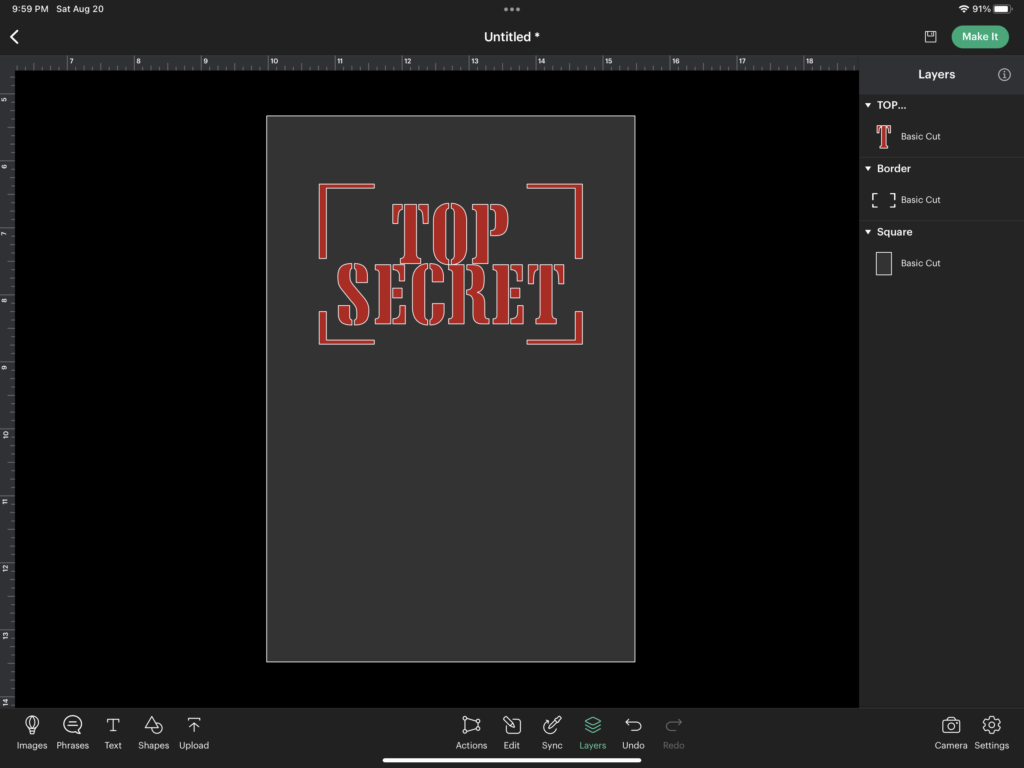
Insert a new text layer and type out the phrase at the bottom of your design. The font selected for this was titled, “Typewriter”.
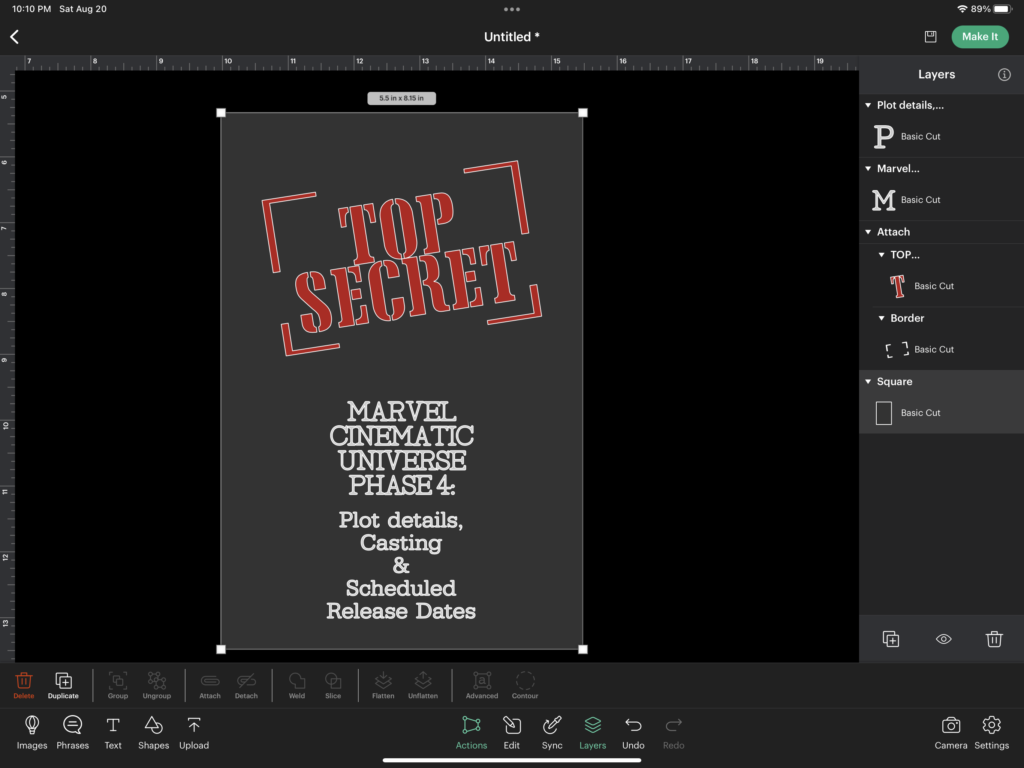
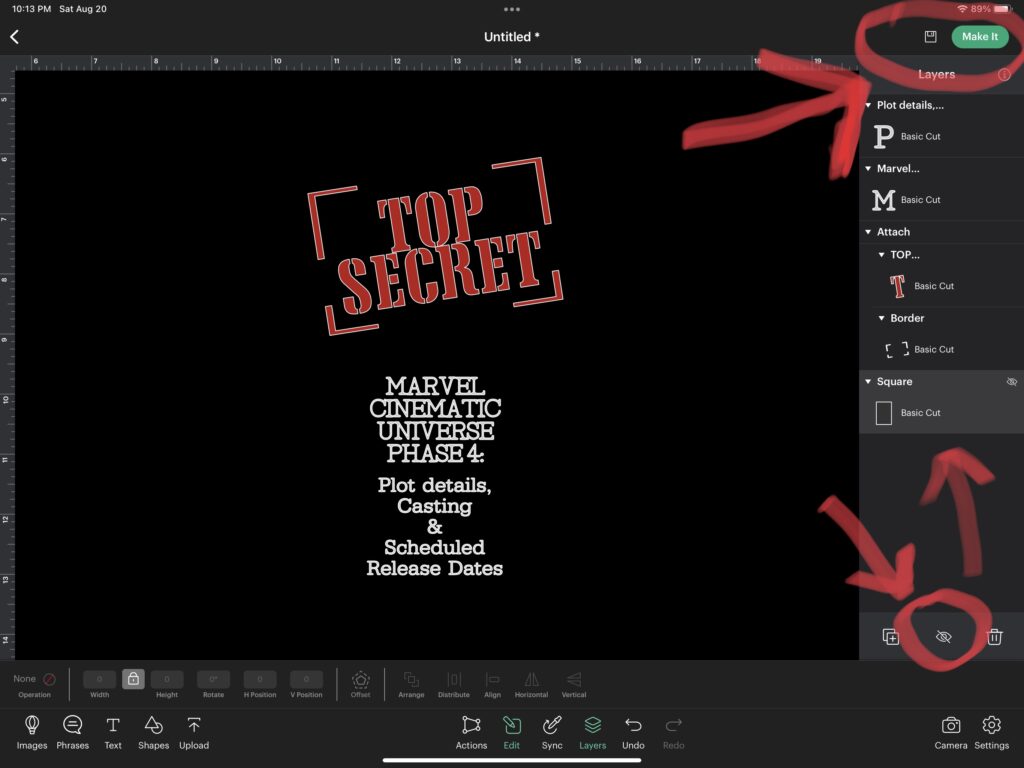
After hiding the created template it is time to make it by selecting Make It in the upper right corner.
First thing’s first: MAKE SURE TO SELECT MIRROR ON ALL CANVASES. I’ve wasted a lot of time and vinyl by forgetting this step.
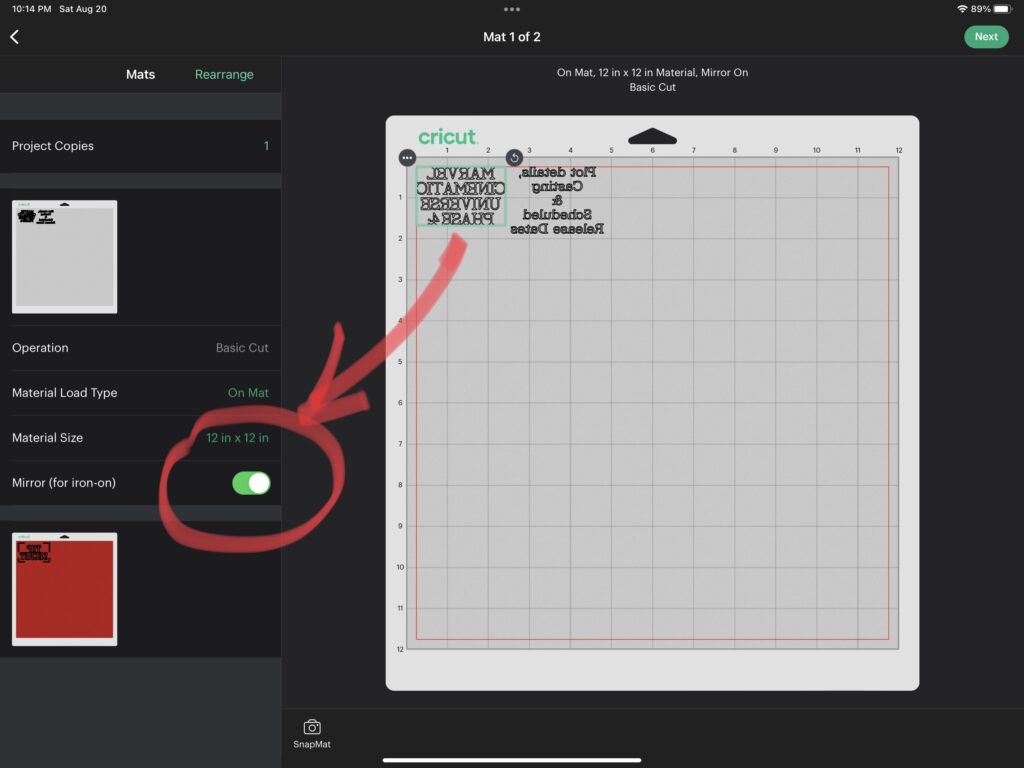
These smaller projects are a great way to utilize any scrap pieces you may have saved, so you can also reposition the designs to better match how you loaded your mat. Next select NEXT.
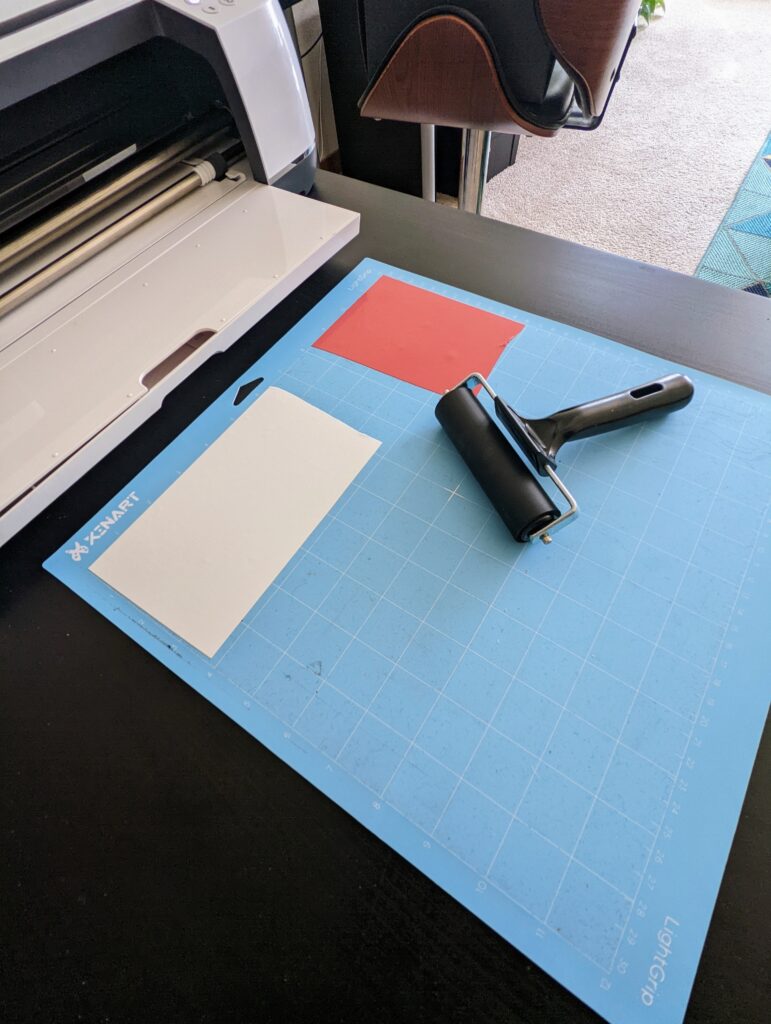
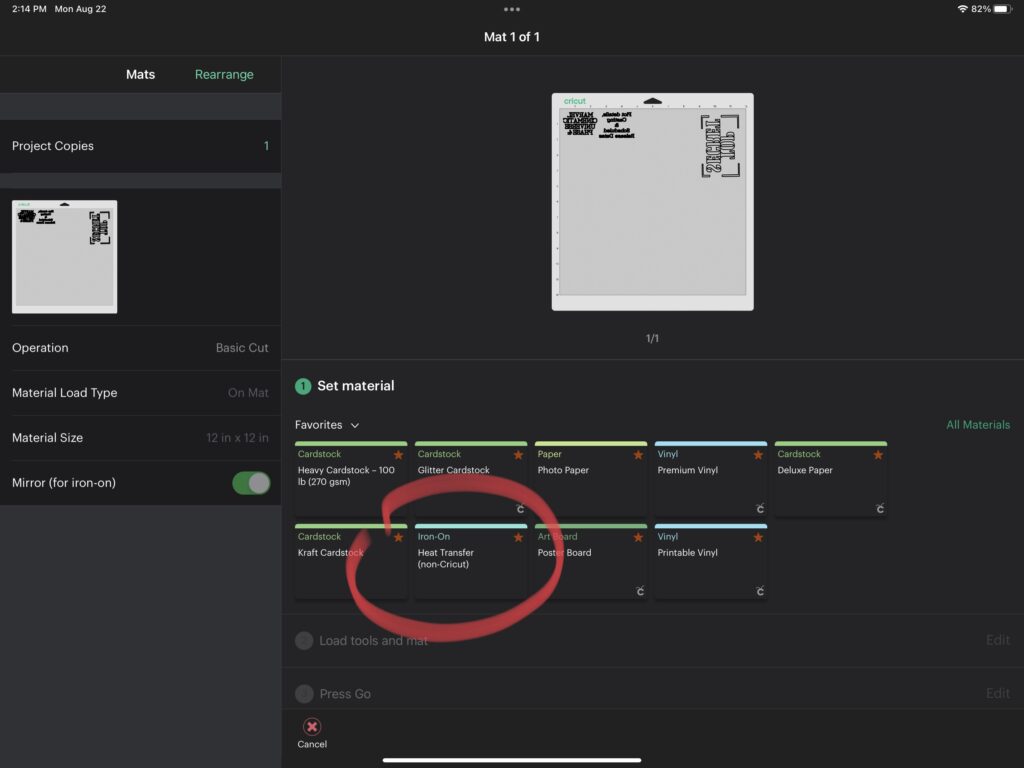
After you have connected to your Cricut, choose the appropriate material. I am using non-Cricut HTV, so in this instance Heat Transfer Vinyl – (non-Cricut) was selected.
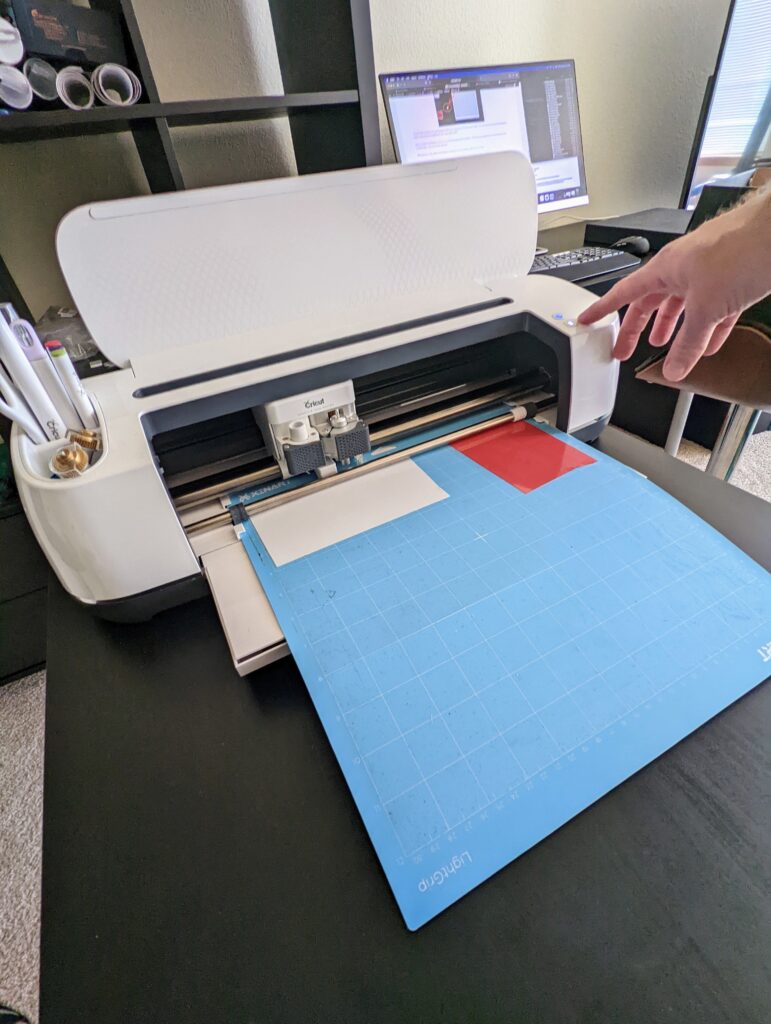
Next load your mat, press the flashing Cricut button on you machine, and let it do its thing.
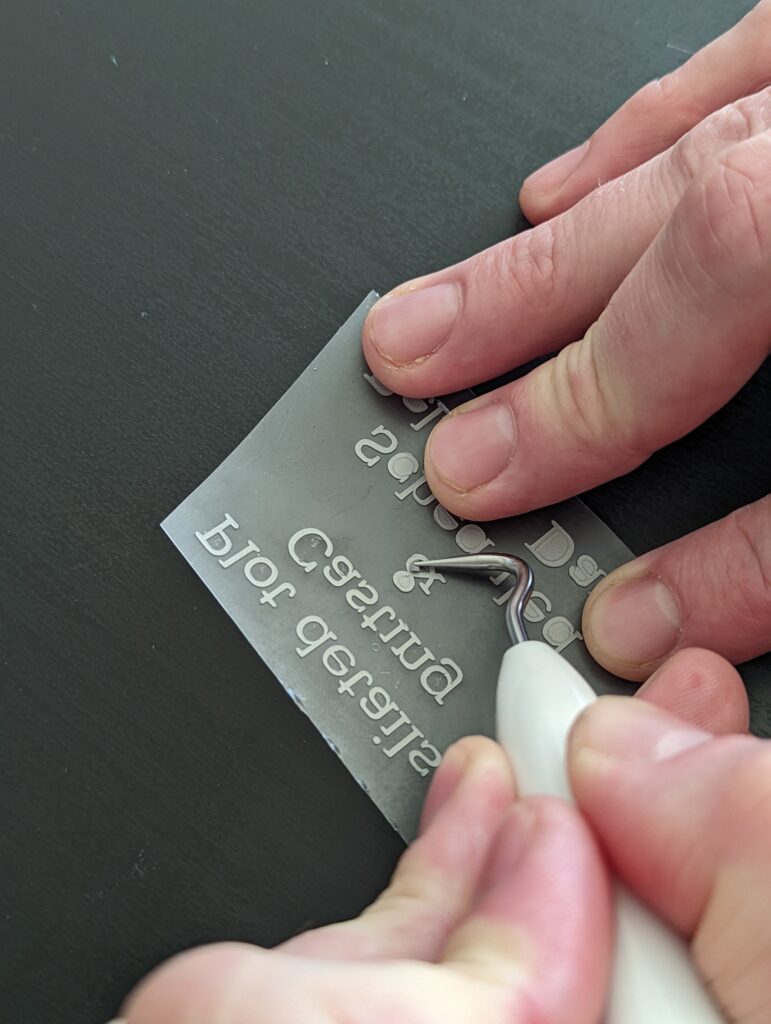
Once your Cricut has finished cutting everything out, unload your mat and remove the vinyl. Begin the weeding process, being mindful to remove all smaller cuts between the font. (Lower case “e”, “a”, “d”, “g”, “&” …etc.)
Preheat your heat press to 280°. Place the HTV to its cooresponding location on the notebook. Once the heat press is up to temperature, cover the pressing area with a teflon sheet (so the notebook isn’t in direct contact to the heating element), and press for 30 seconds.
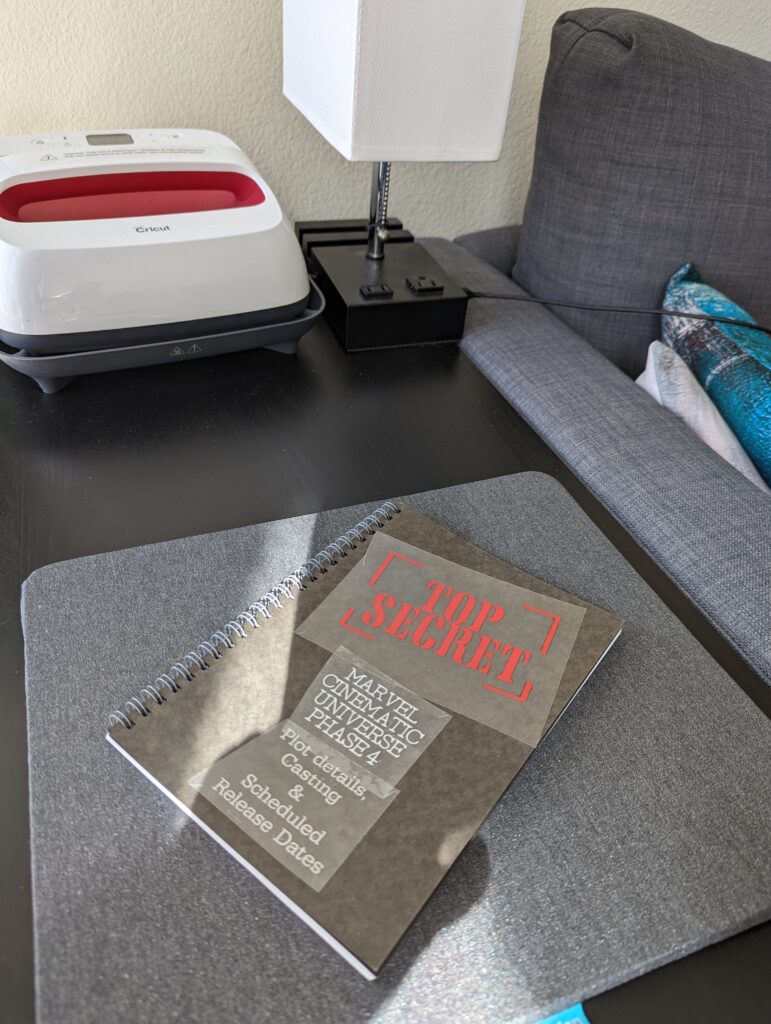
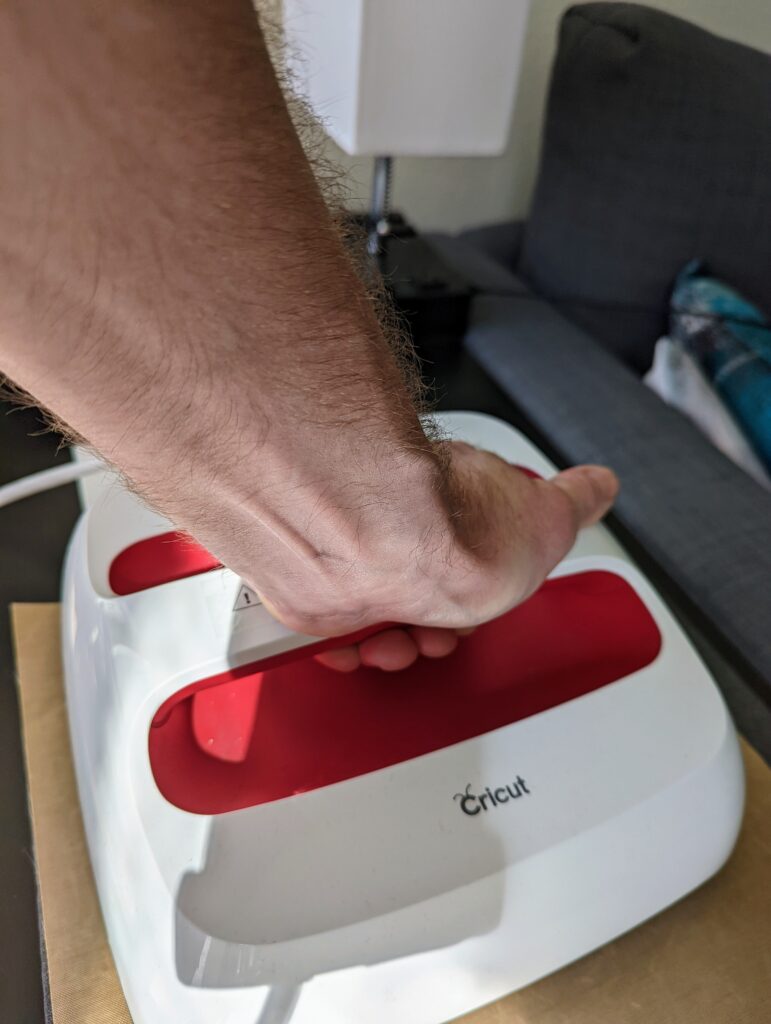
Allow the notebook to cool for a few moments then remove the vinyl backing. And TA DA! One custom notebook complete!
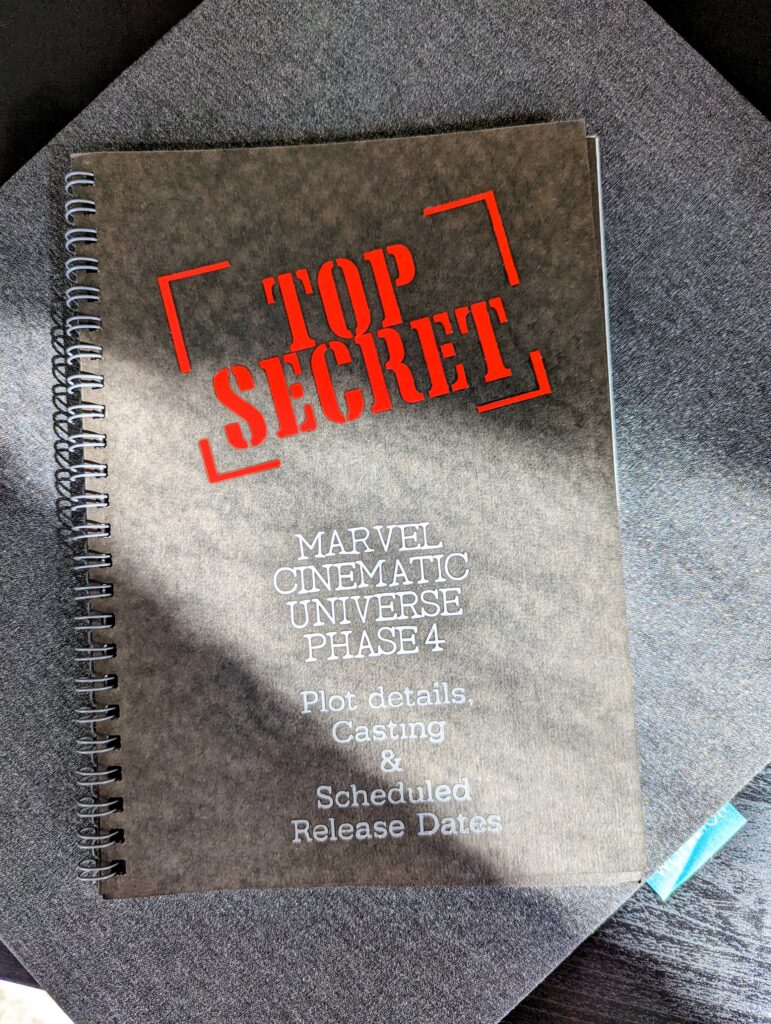
Next we will create a printed looking notebook using the Sublimation technique…
SUBLIMATION NOTEBOOKS
This sublimation process creates a more professional looking product in my opinion, but does limit using white or light colored notebook covers. It also involves a bit more tech-savviness to complete.
Luckily I am not all that tech savvy, so let’s make our cover using good ole’ Procreate.
After creating a canvas using the predetermined book dimensions, begin by choosing a preferred red color. Choose the Monoline 1 brush, bring the size of the brush down to around 20% and draw a rectangle.
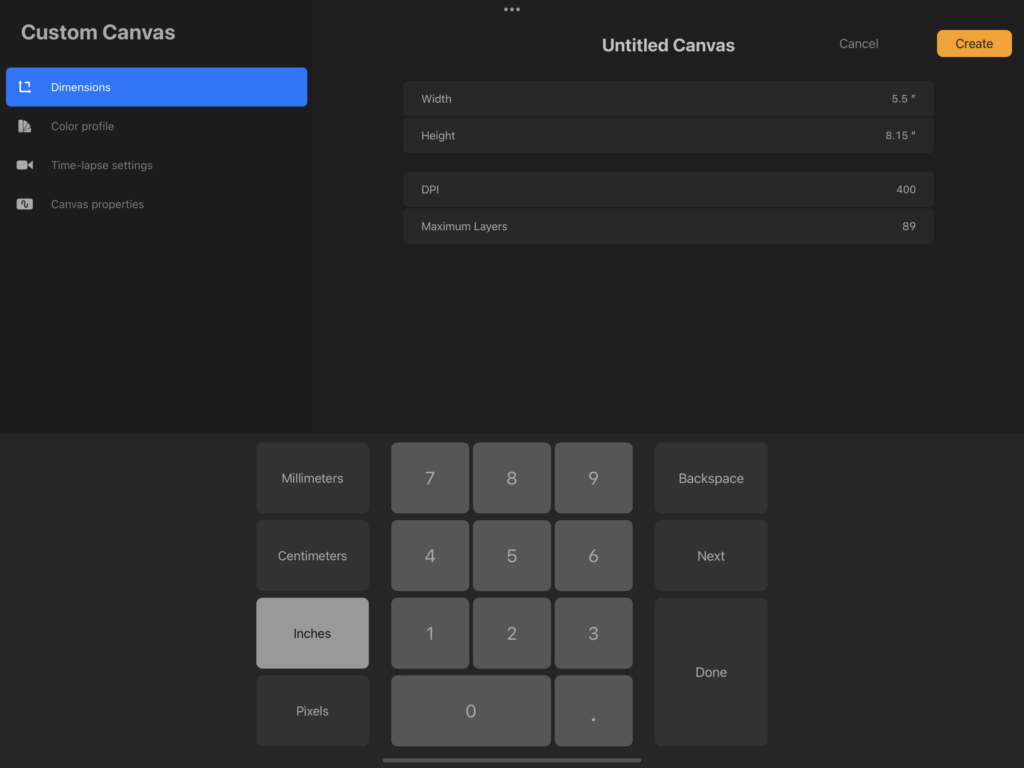
If your shape is a bit askew you can select Edit Shape at the top and move around the nodes to straighten it out. Once you are happy with it simply tap once anywhere on the screen to exit out of edit mode.
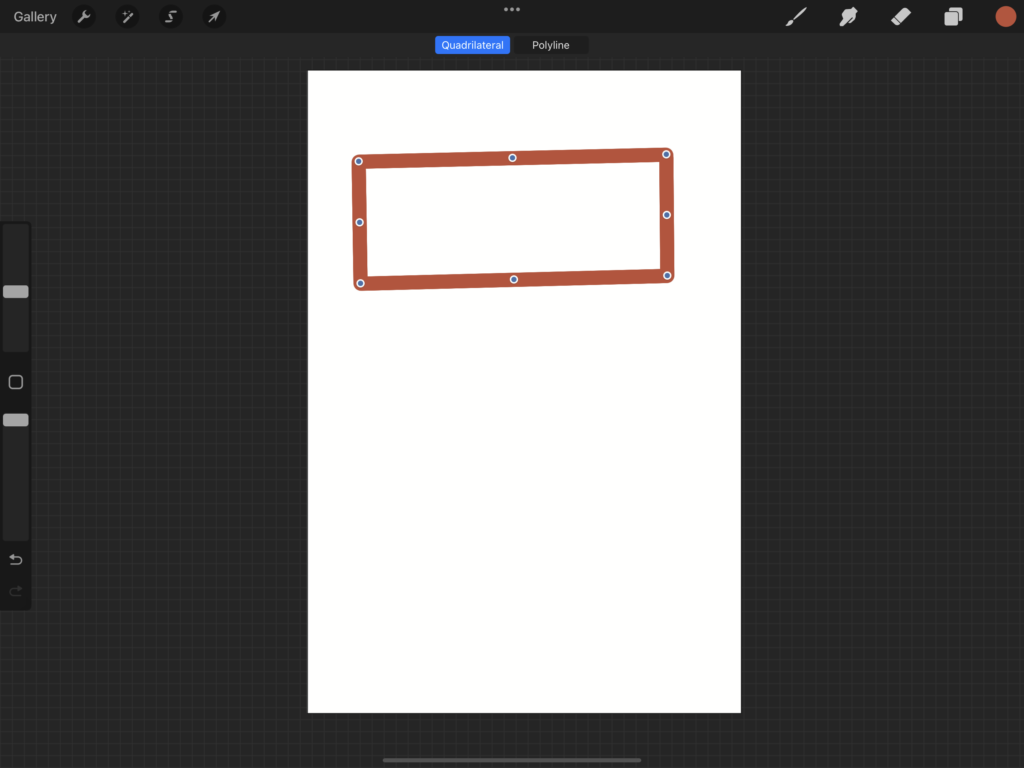
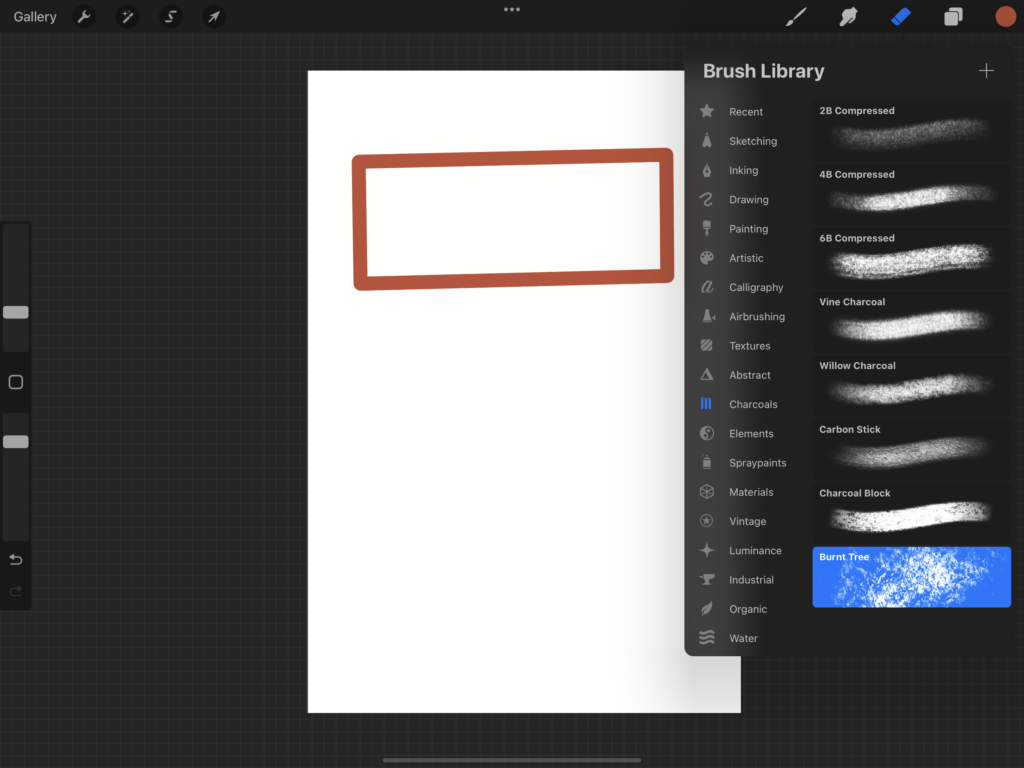
Select Erase and choose a “busy” brush to add a stamp-like texture to the rectangle. I selected Burnt Tree under the Charcoals brush. Lightly and randomly squiggle over the rectangle’s border to add the desired effect.
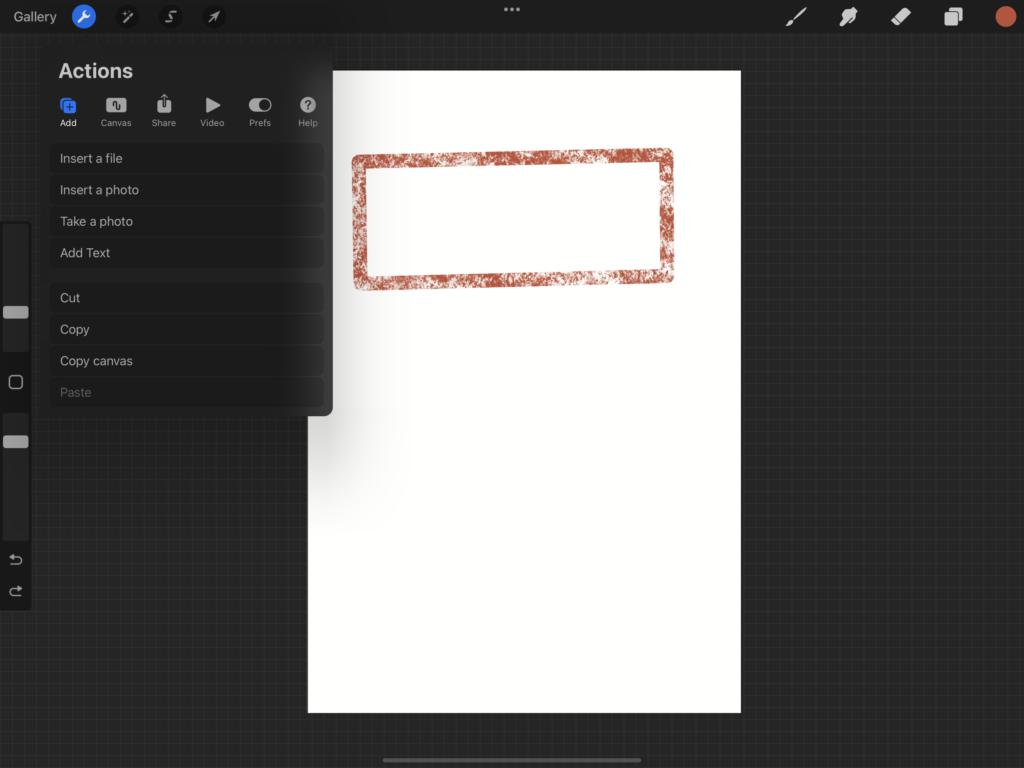
Next go to the upper left corner and click on the wrench tool next to the word Gallery. Select Add Text and type out your word or phrase. Highlight the entire font group and an editing box will show up. Tap on the name of the font, and select your font of choice. I selected a font titled, “Rugged Stencil” that I had previously downloaded for free from Fontspace.com. This font is also 100% free for commercial use with no attribution.
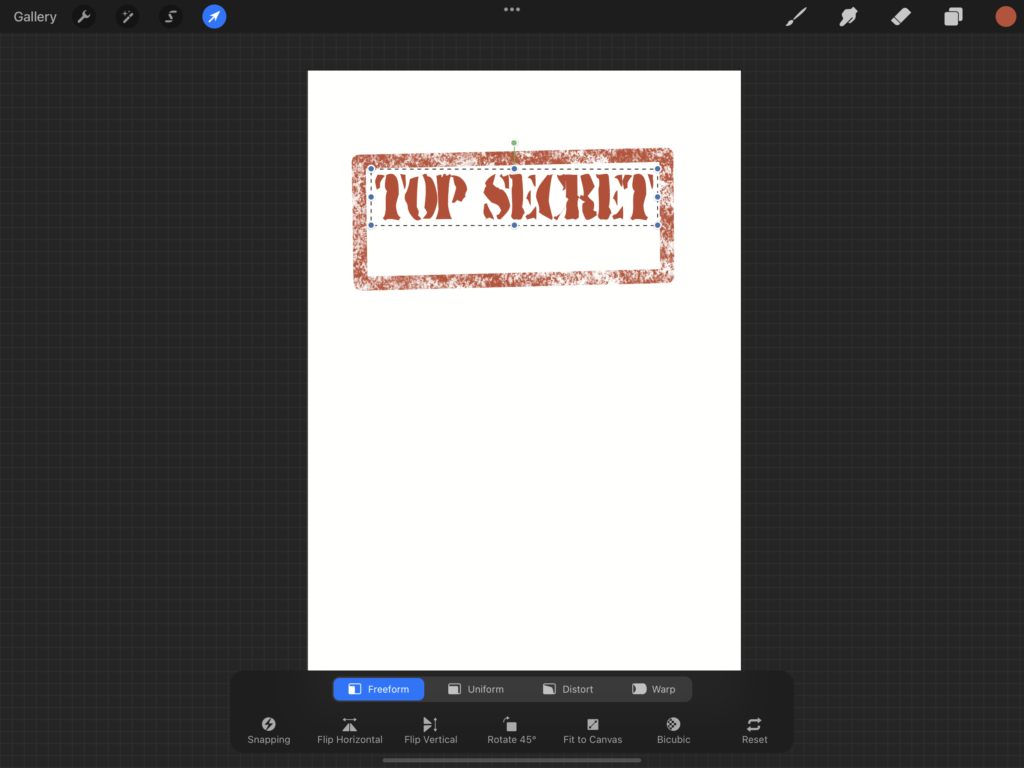
Position the font into the center of your box shape. To better fit you may want to select the arrow toward the upper left corner and resize using the Freeform tool found at the bottom of your canvas. This allows a sort of stretching effect to better resize.
Once you are happy with the position, go to the upper right corner and select the double box icon next to the selected color icon. Once the layers drop-down appears, lightly tap the layer twice and select Rasterize in the new drop down menu. This turns your font into an image that can be affected by brushes. Select Erase and repeat the process from above to create that stamp-like texture.
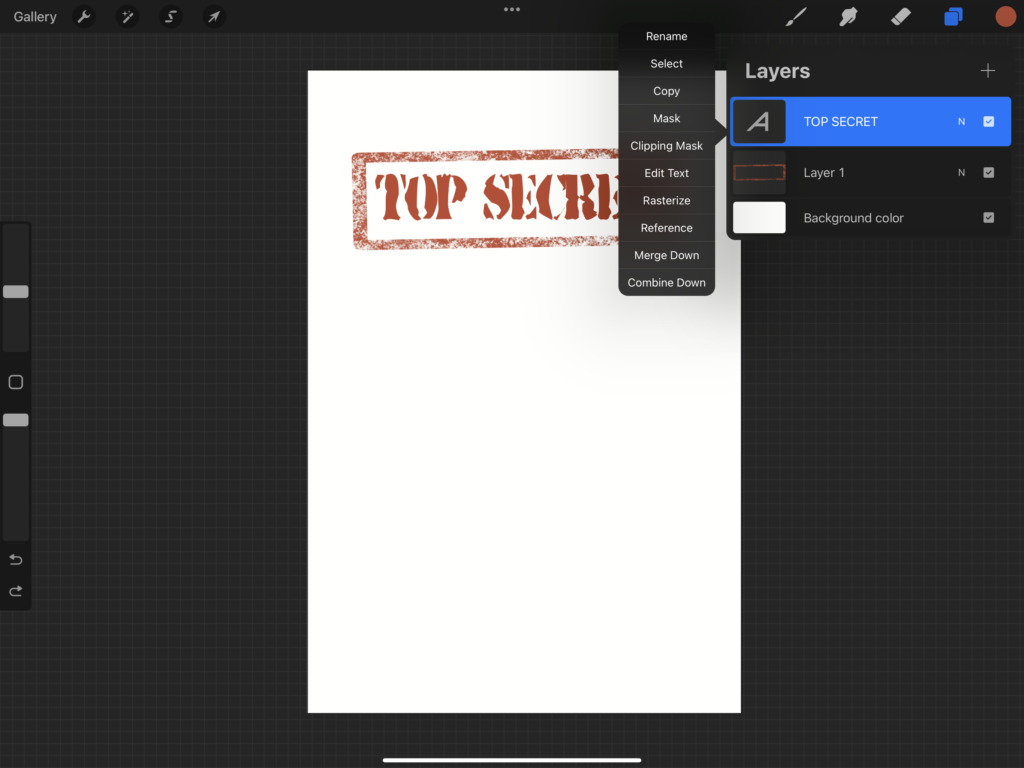
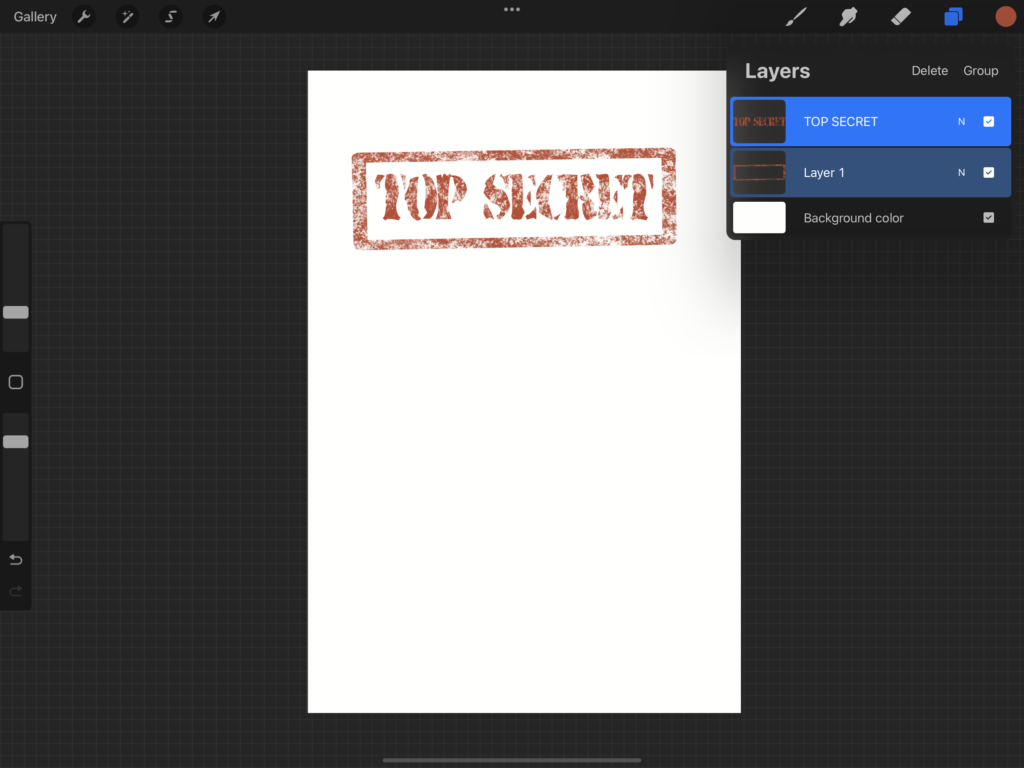
Going back to the layers drop-down, swipe right on both the box and edited font so both layers are highlighted blue. Select the resizing tool and using the small green node above and at the center of your images, slightly rotate the combined image to be a bit crooked. This gives that actually stamped esthetic.
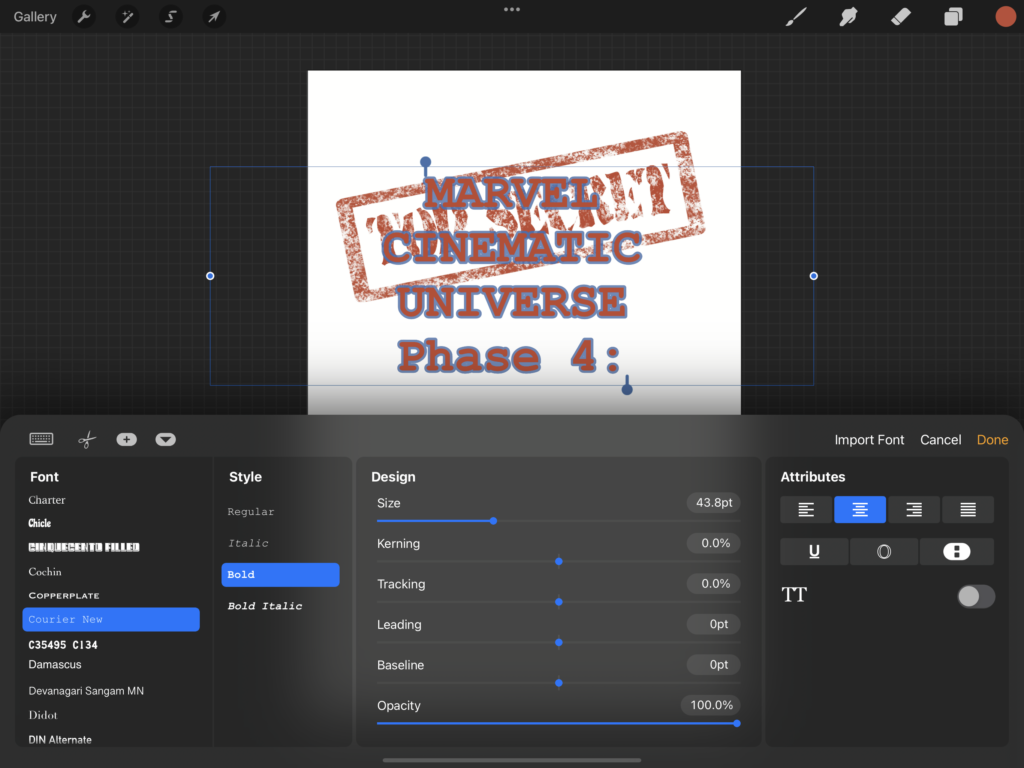
Select the wrench tool once more and again select Add Text. Type your second phrase out. Highlight its entirety and choose your font of choice. For this section I selected Courier New in a combination of Bold and Italic Bold.
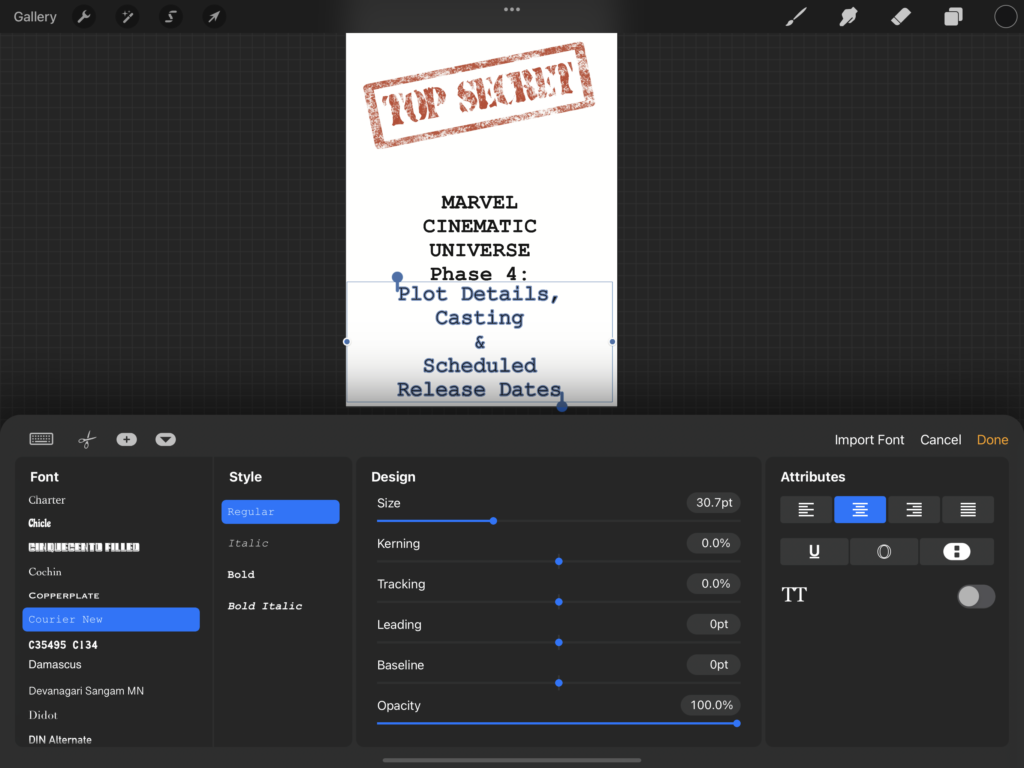
Now that the design is complete, I went back to the layers panel and swiped right on every layer. With the resize tool selected, I clicked on Flip Horizontally at the very bottom. When sublimating the image needs to be mirrored so it is correct once pressed. I then tapped on the wrench tool, selected the Share icon and then selected PNG.
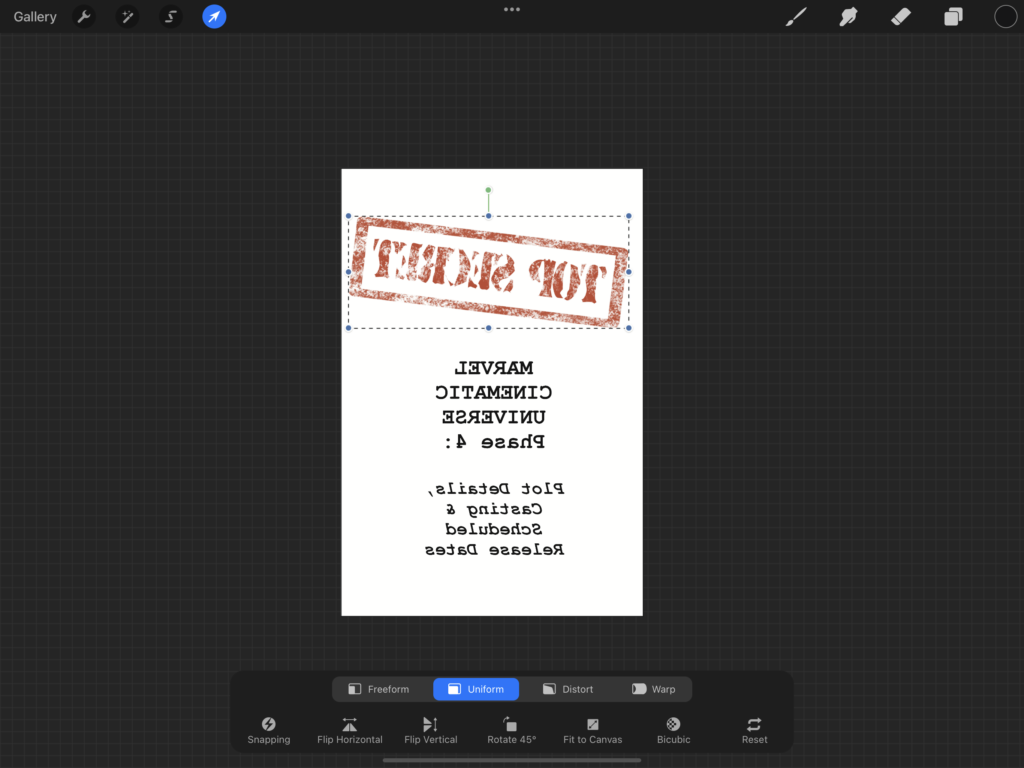
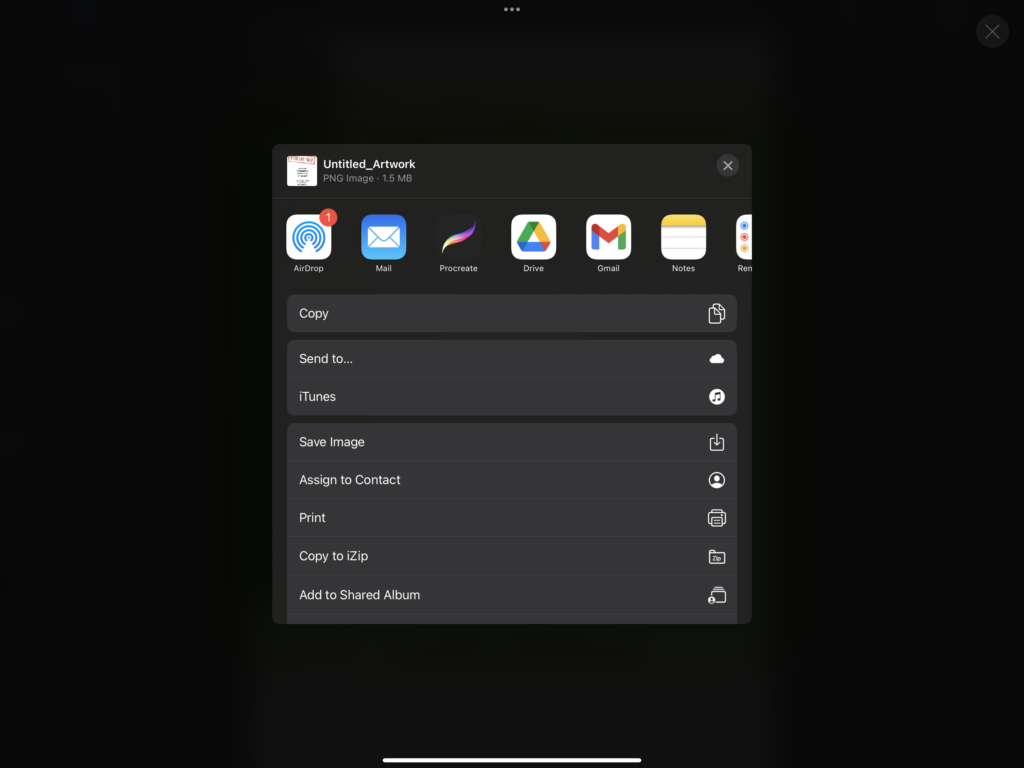
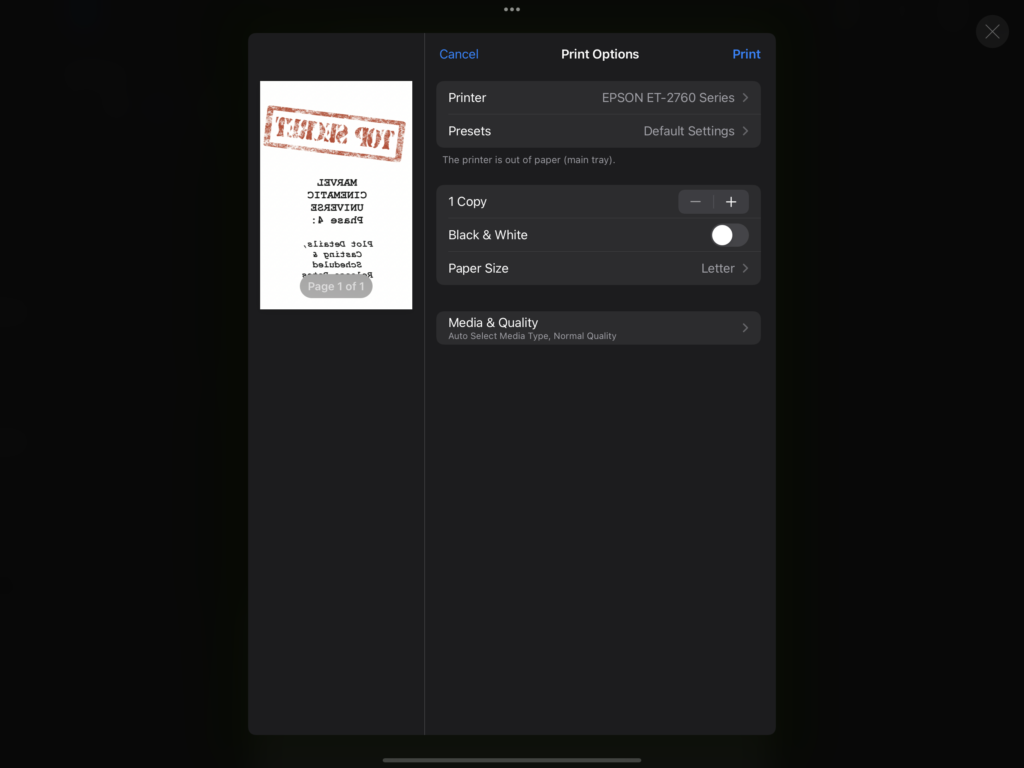
A new window will pop up where you can select Print. Then simply choose the correct printer and select any alternative settings if needed. Load the A-Sub paper and print your image.
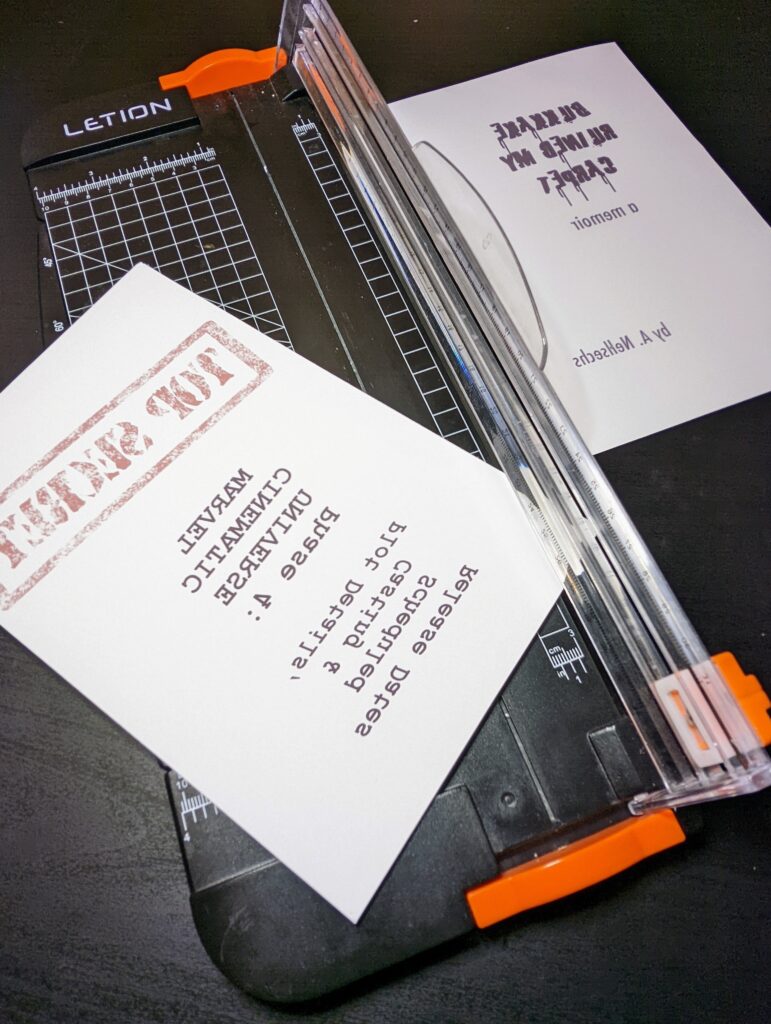
Once the image has been printed it is time to press. While the heat press is heating, cut down your paper to fit the notebook cover.
Using heat resistant tape, tape sparingly along the edges as to guarantee there will be no shifting of the image during the press.
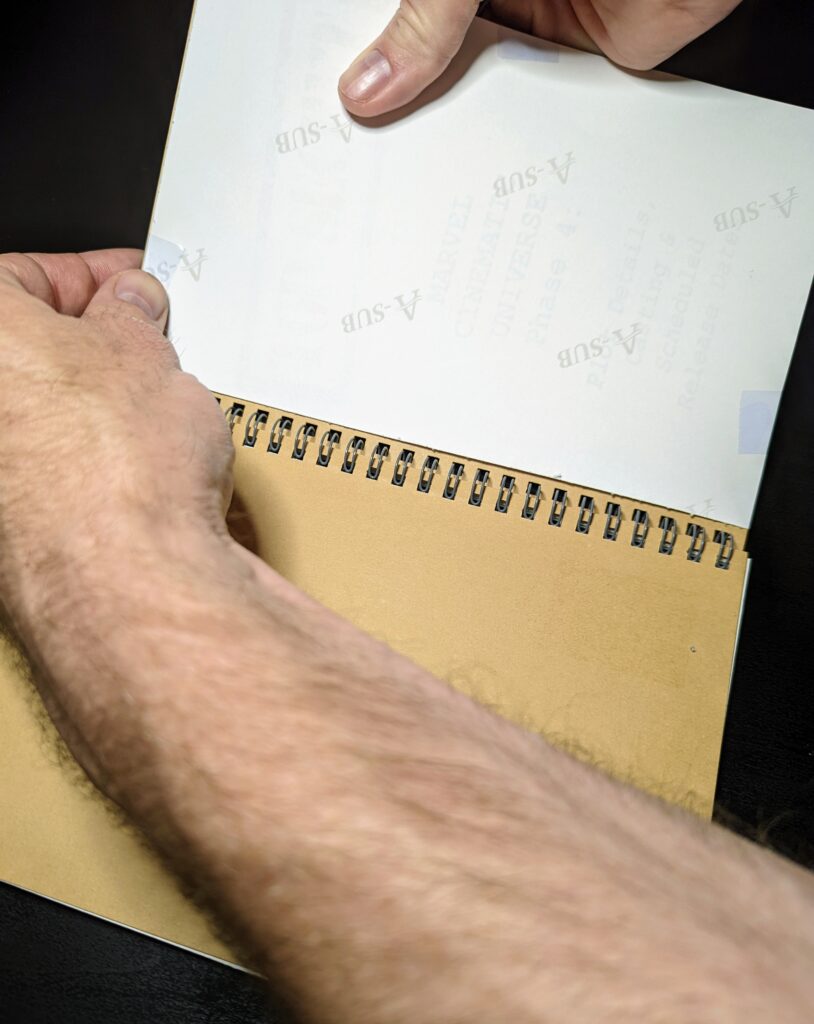
With the heat press ready, cover your design and notebook with a piece of butcher or parchment paper followed by a teflon sheet. The paper is to catch any bleeding of the ink, and the teflon will assist in minimizing scorching of the notebook cover.
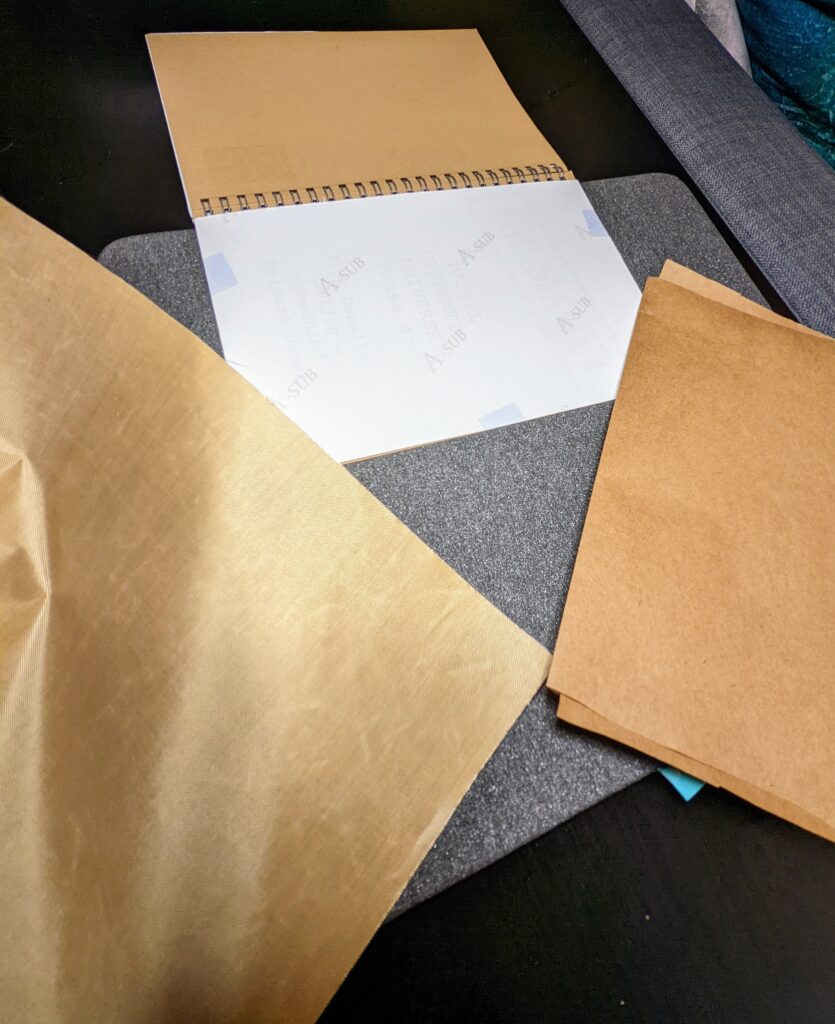
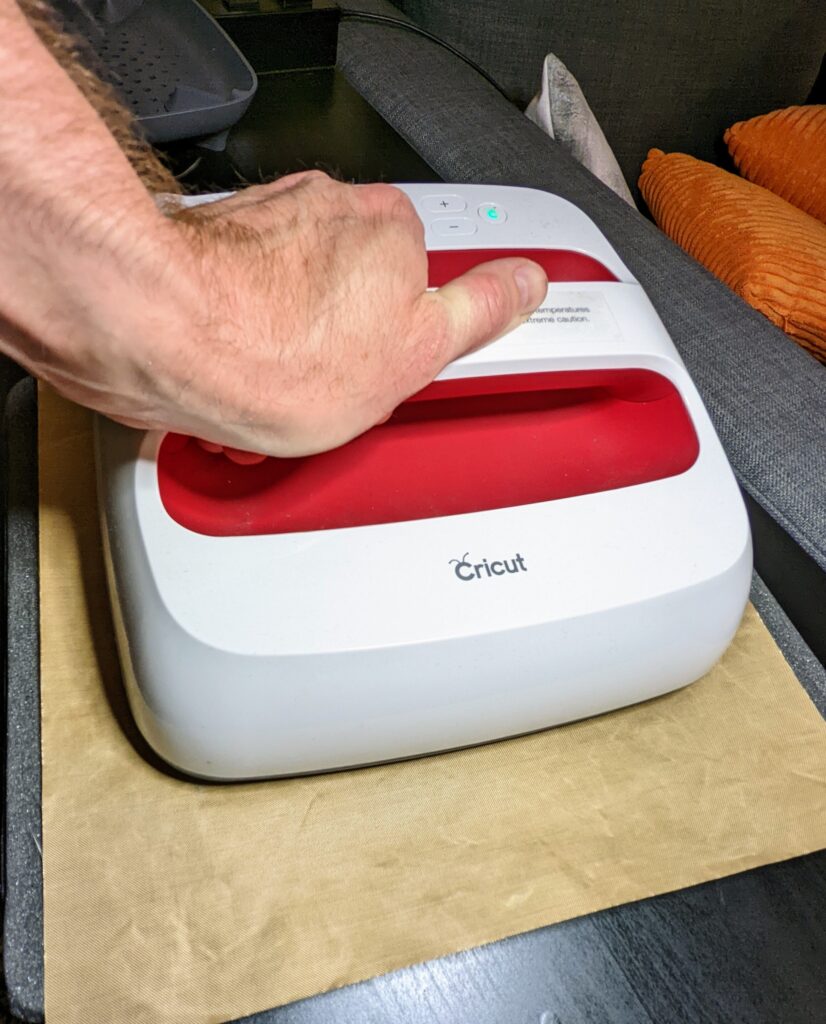
Press at 385-400° for 45-60 seconds using medium-to-firm pressure. For this project I did 385° for the full 60 seconds.
Once pressed, allow a few moments for the material to cool, then remove the paper and tape to reveal your super kewl design.
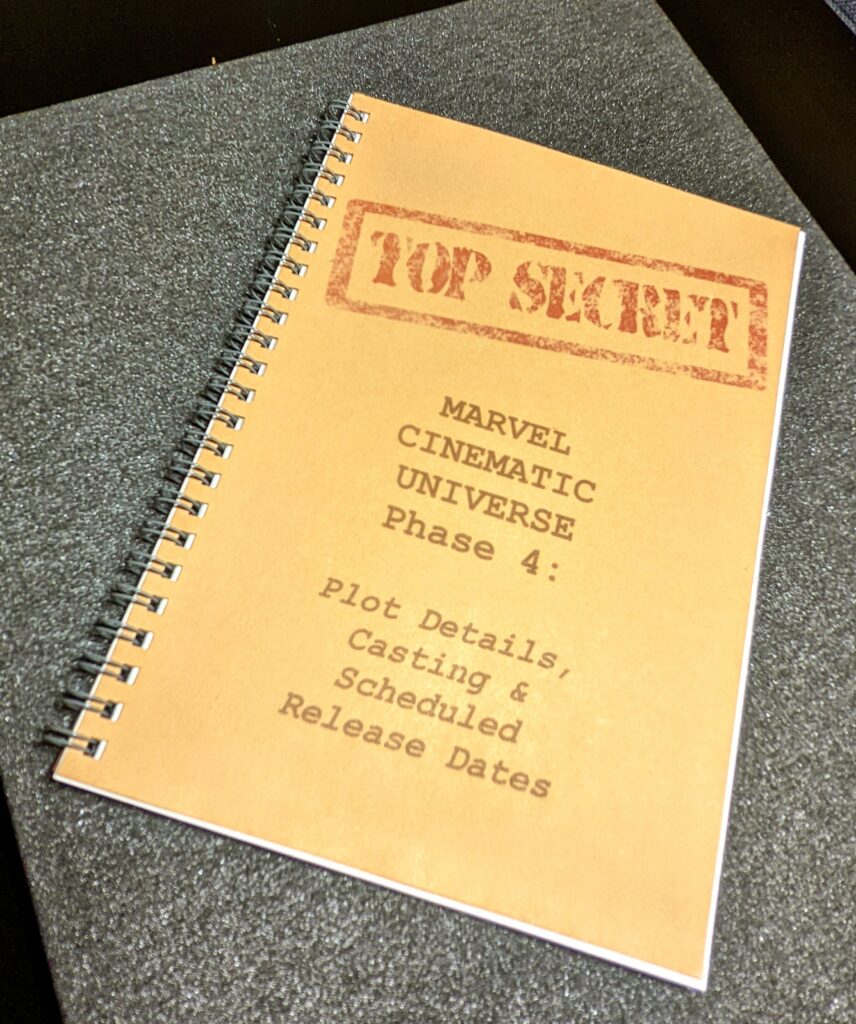
Now that’s one nice looking gift notebook!
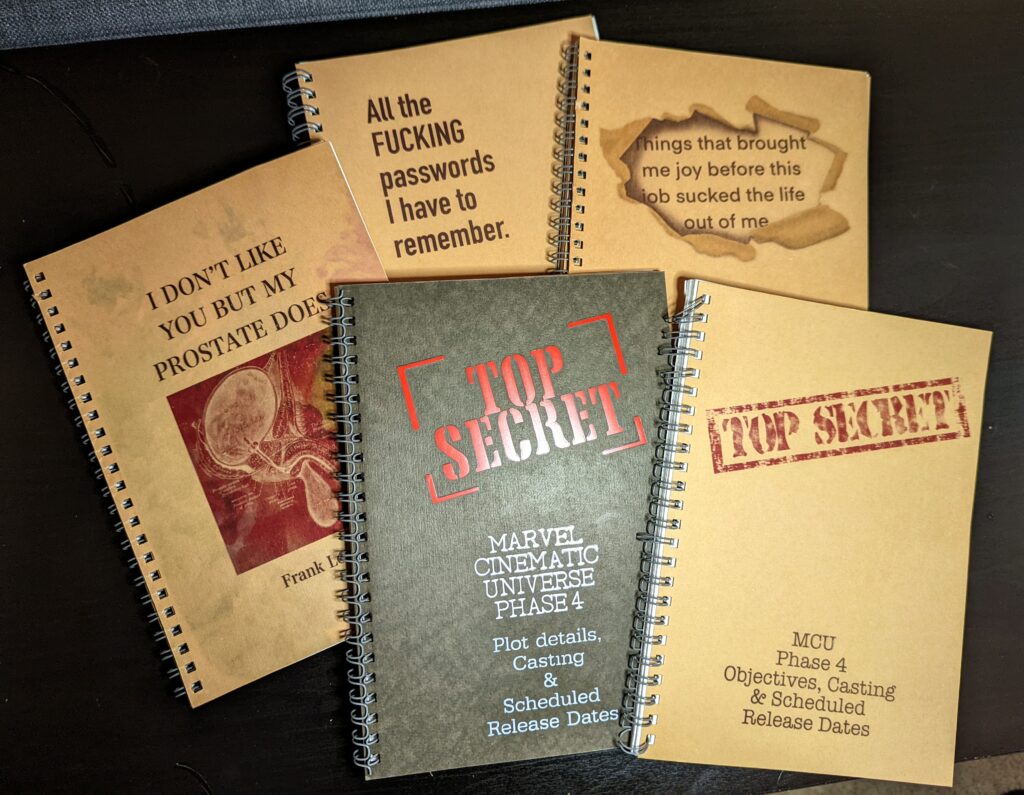
AND THAT’S IT…
So there you have it. If you keep a small stock of blank notebooks on hand, you will always have a quick filler gift that can be easily personalized in a matter of minutes. Especially if you have already built a template like this design example, just change the phrase to fit your recipient. It lends for anything from wholesome to wildly inappropriate and costs just a couple of bucks!
What are you putting on your notebooks? Get creative with your design and be as intricate or simplistic as you’d like.
And…uh…okay, bye.

