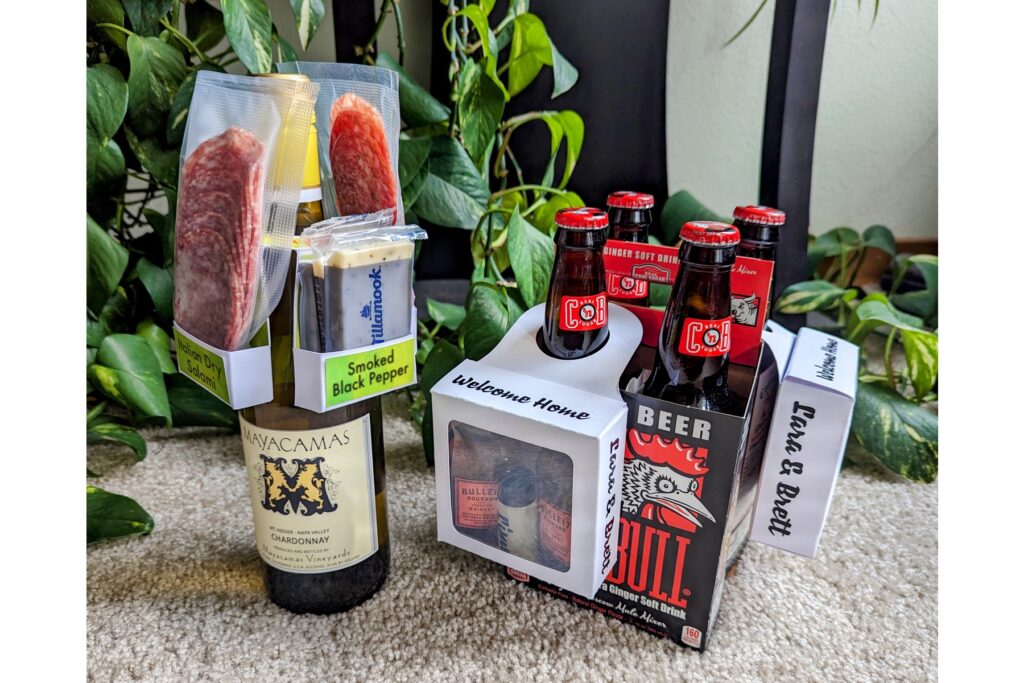
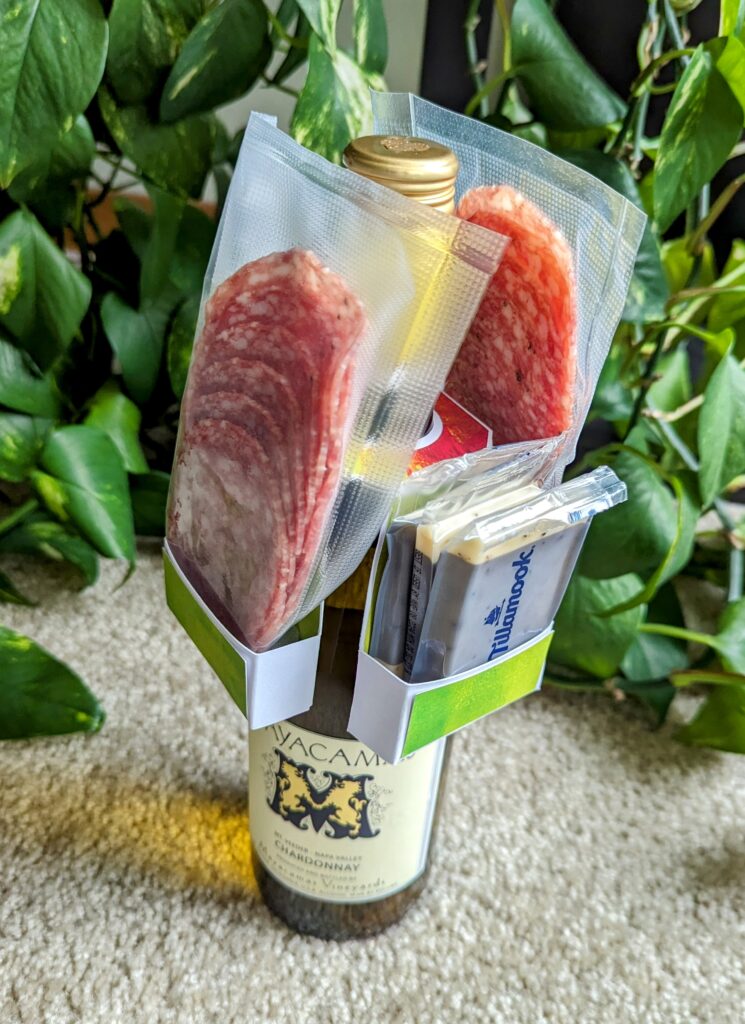
A close friend was lucky enough to be in a position to purchase a new home build. With the build nearing completion, I wanted to bring something as a housewarming gift when I went over to check it out. Because I’m me, I needed to do something more than just a bottle of wine, so I decided to take advantage of some of the pre-designed templates offered by Cricut Design Space. Using wine bottle gift box hangers is a quick, cheap and easy way to elevate any sort of beverage bottle you intend to gift, may that be for a housewarming, birthday or holiday present. So let’s dig in…
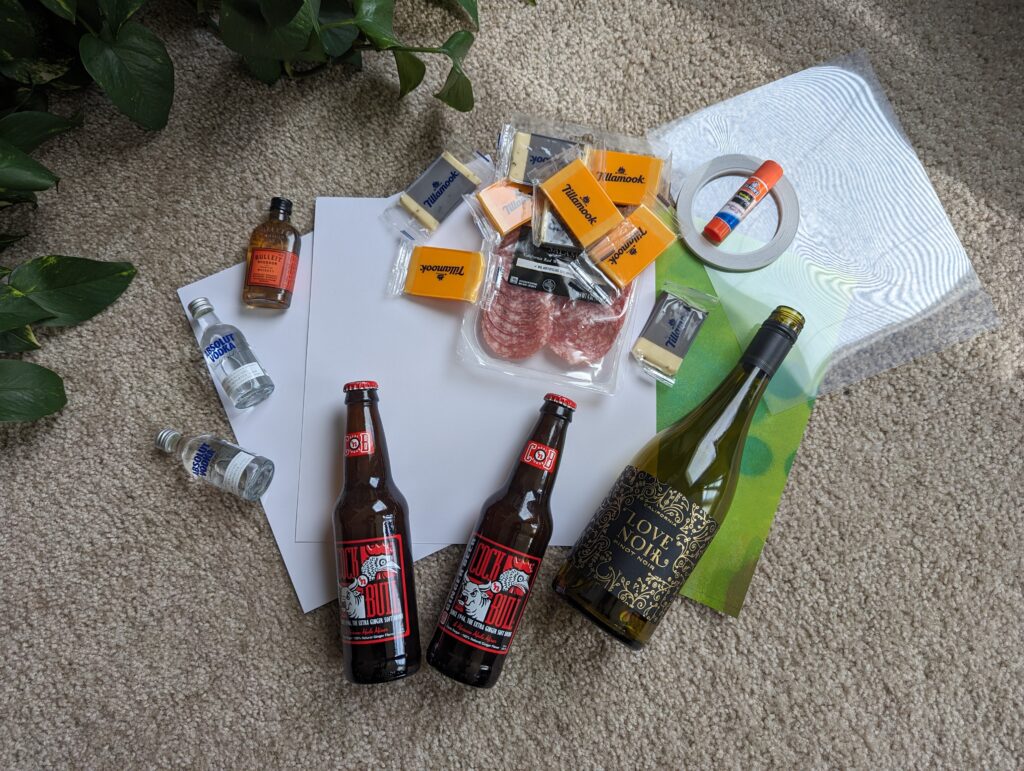
MATERIALS
Thick paper materials: heavy cardstock, poster board or even a cereal box will do.
Self Adhesive Vinyl and/or Printable Vinyl
Transparency film (for box window)
Double-Sided Tape
Beverage Bottle to gift: Alcoholic or otherwise
Smaller gift(s) for gift box: Mini bottles of alcohol, chocolates, meats and cheeses, etc.
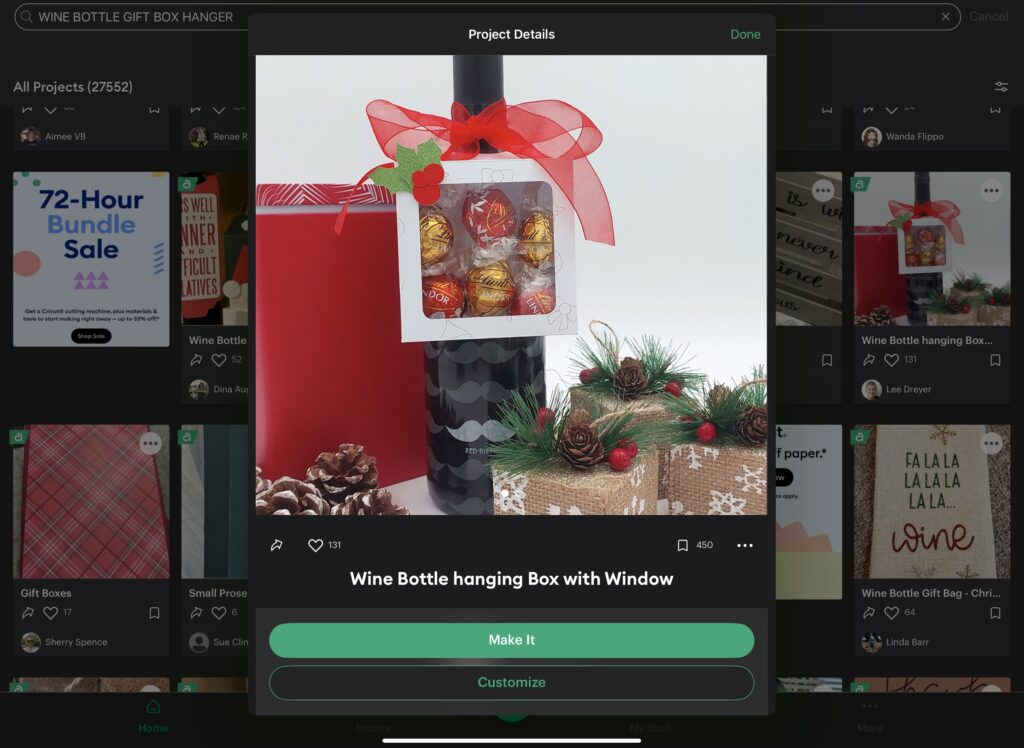
CHOOSE A WINE BOTTLE GIFT BOX TEMPLATE
Within Cricut Design Space, there are multiple pre-designed projects to choose from that are free to use with a Cricut Access account. Using the search term, “Wine Bottle Gift Box Hanger”, many options came up, often similar but with varying modifications. One was a simple square box, while another had a window cut out to display what’s inside. Keep in mind that some designs are not supported using iOS, and can only be opened to modify using Cricut’s Desktop version.
After browsing your options, select one to your liking.
For this project I selected Wine Bottle Hanging Box with Window by Lee Dryer
MODIFY THE DESIGN IF NEEDED
As most of the projects are designed by other users, many of the design elements will be for a specific occasion. If your project came pre-loaded with a rose pattern, but you aren’t gifting this as a Valentine’s gift, feel free to delete or modify any specific elements. Personalize it to your intended audience by adding patterns, text or print-then-cut images. The way in which you personalize and elevate your gift box is up to you.
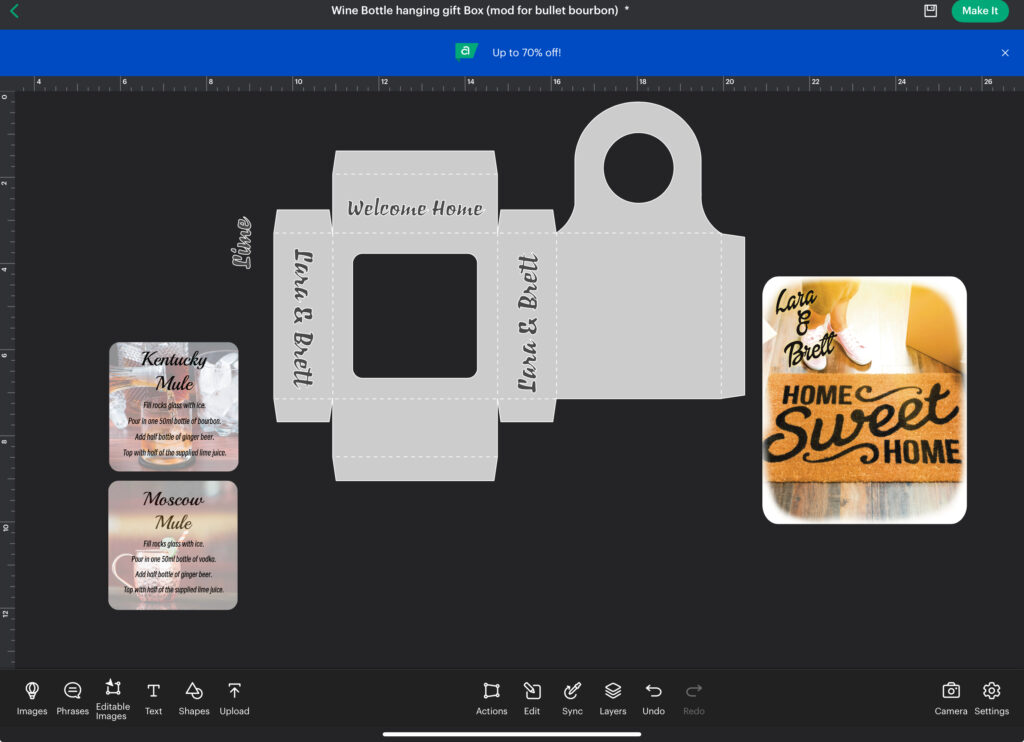
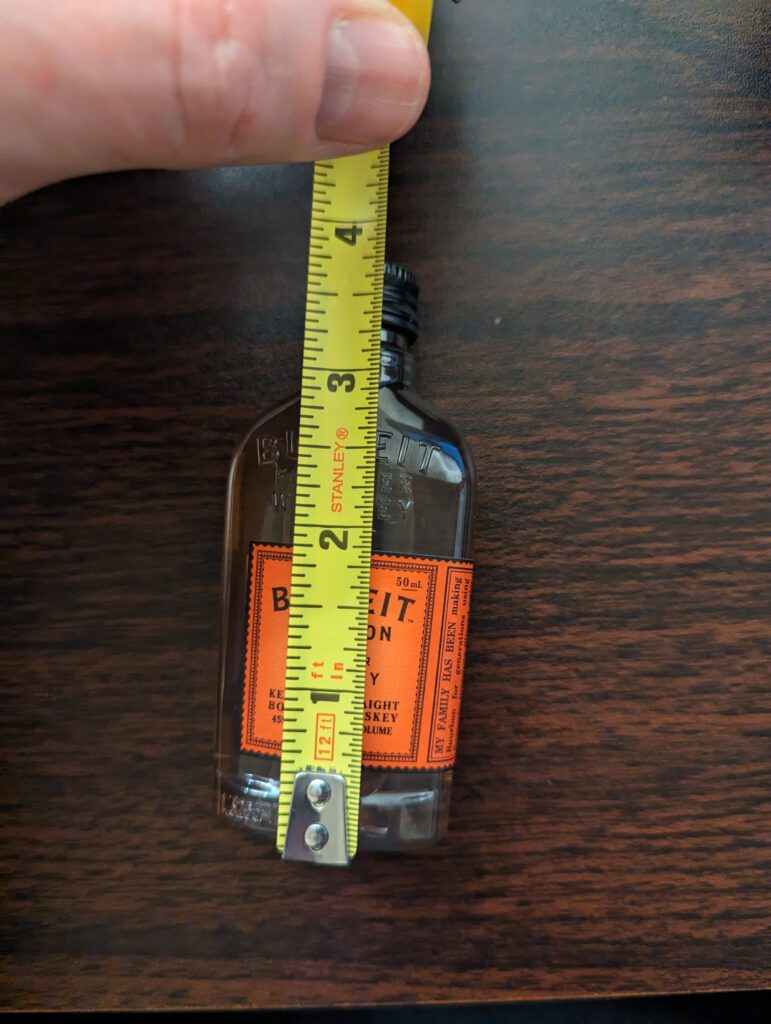
Also keep in mind what items you will be adding to the gift box. With my project, for example, I knew I was going to put mini bottles of bourbon in the box to create a cocktail kit. Measuring one of the bottles, I realized it stood right under 4-inches tall.
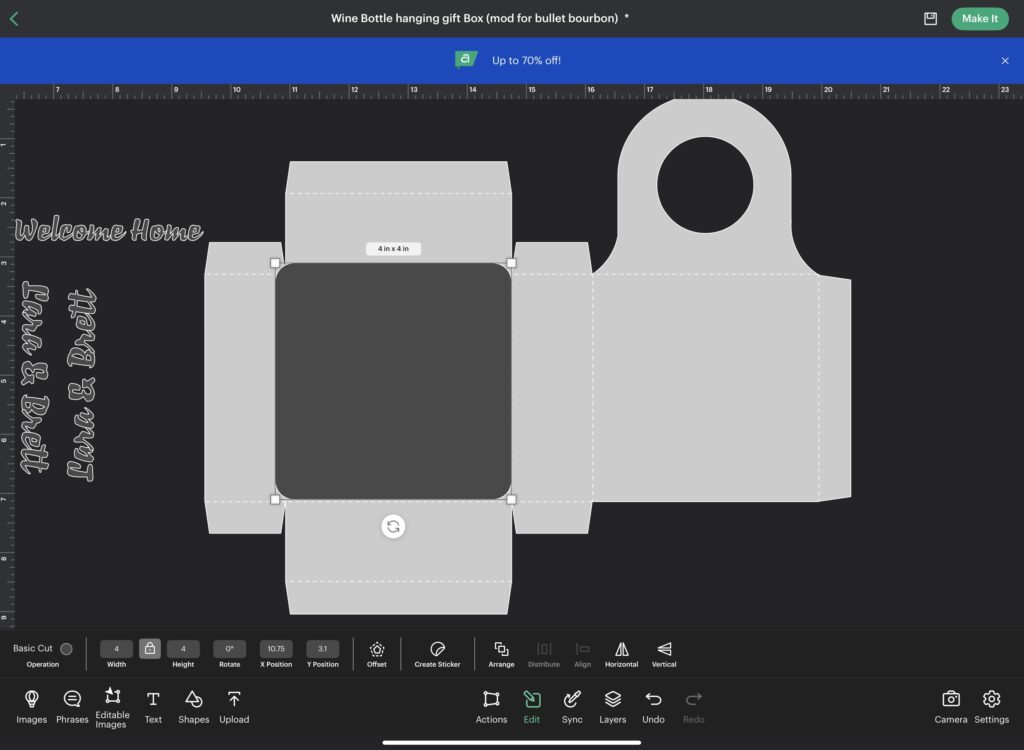
Using shapes, I inserted a square and resized it to 4-inches. I then placed it over the predesigned project box, and realized that the bottles wouldn’t fit without resizing the project. Resizing just slightly taller than the height of your item will guarantee the gift box will close properly.
CUT OUT YOUR PROJECT
With everything properly set up, it is time to send the project to your Cricut. Select “Make It”, and check that each design element is placed properly on its appropriate mat.
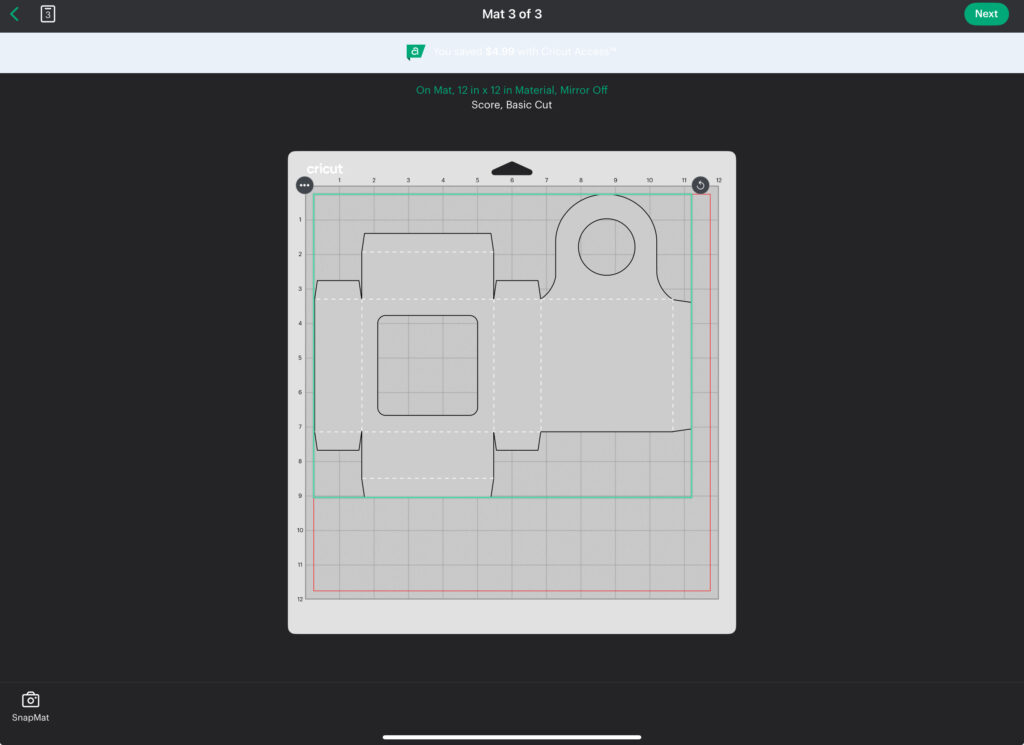
Install the appropriate tools into your Cricut machine if prompted, load the mat and select, “Go” on the machine.
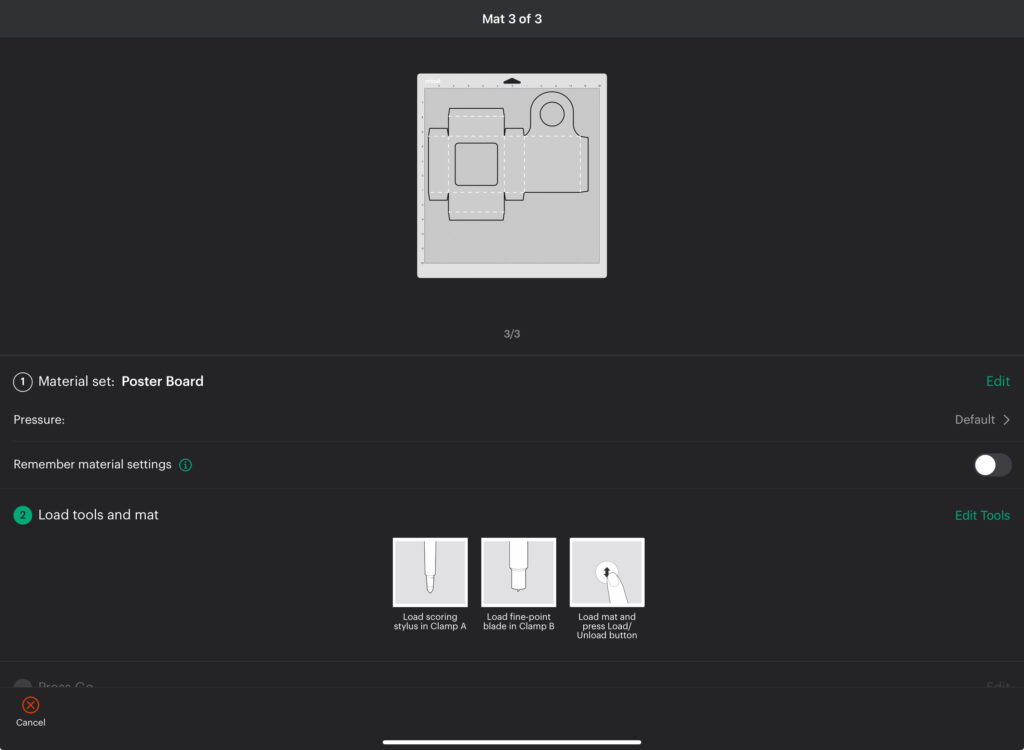
Once everything has been correctly cut out, it’s time to create the final product.
ASSEMBLE THE Gift Box
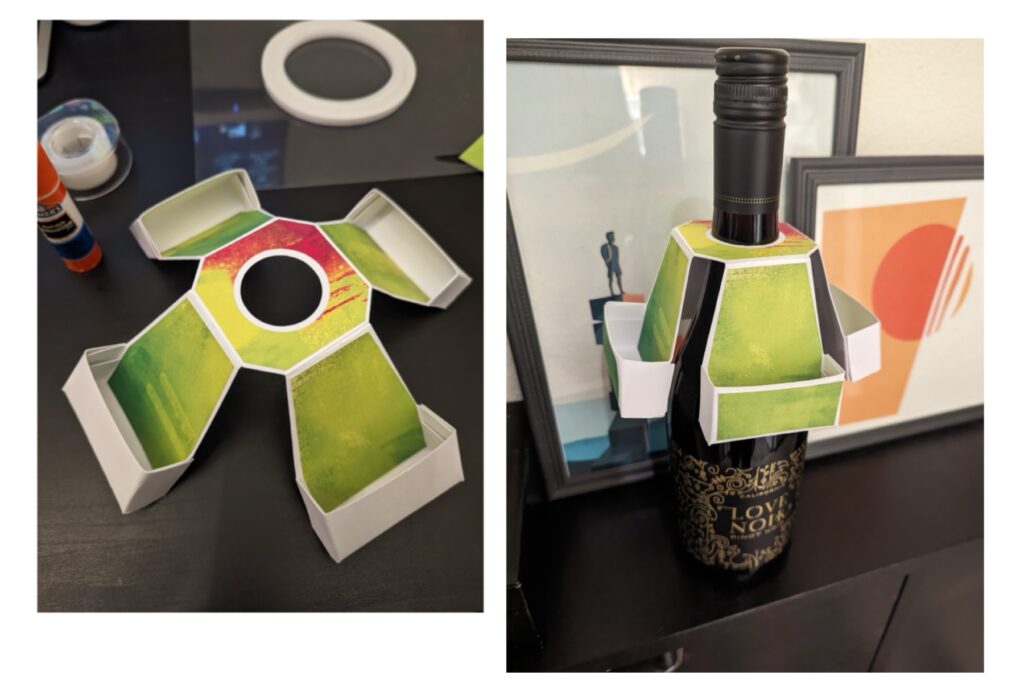
For the gift box, carefully fold at each score line. Loosely bring edges together to visualize what the box will look like for easier placement of any embellishments. It is easier to attach any design elements like vinyl or print-then-cut designs to the box while the surface is still flat.
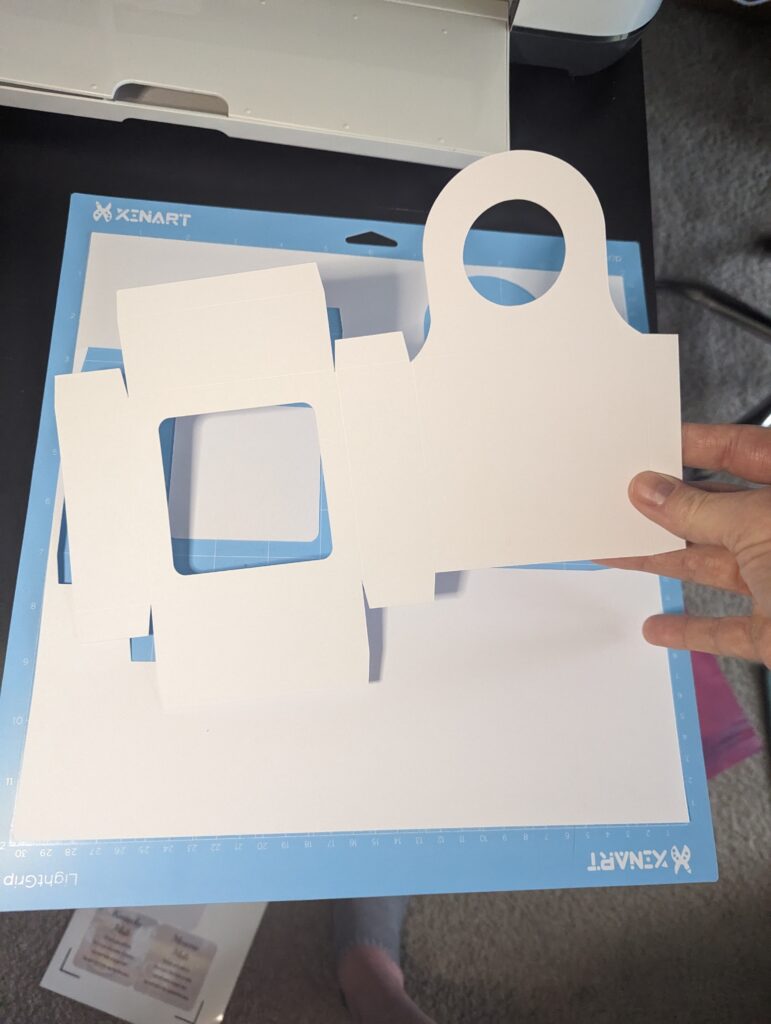
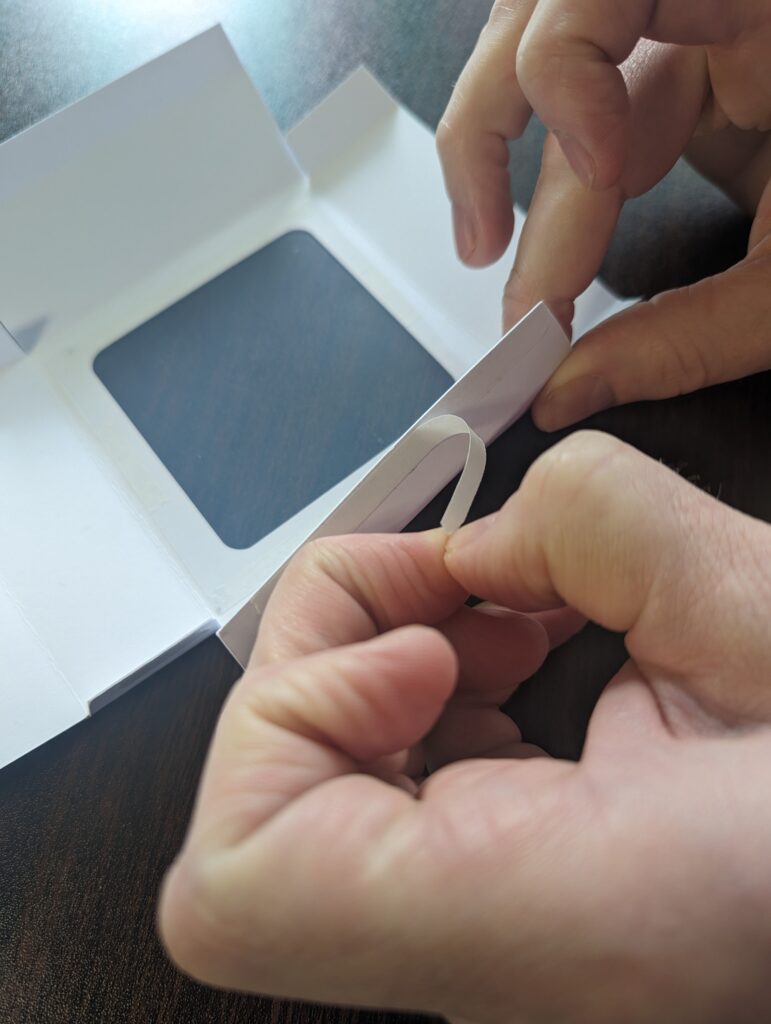
If your design has a window cut out, take transparency film and cut out a square slightly larger than the opening. Using double-sided tape, attach the film to the inside of the box.
(Alternatively, if you have an old cutting mat that is out of commission, you can repurpose the clear protective cover as your window).
Once everything is attached, assemble the box using double-sided tape where needed. Once the box is assembled, stage your items inside the box to guarantee everything fits properly. Hopefully everything looks good, otherwise it’s back to the drawing board to resize and adjust, buckaroo…
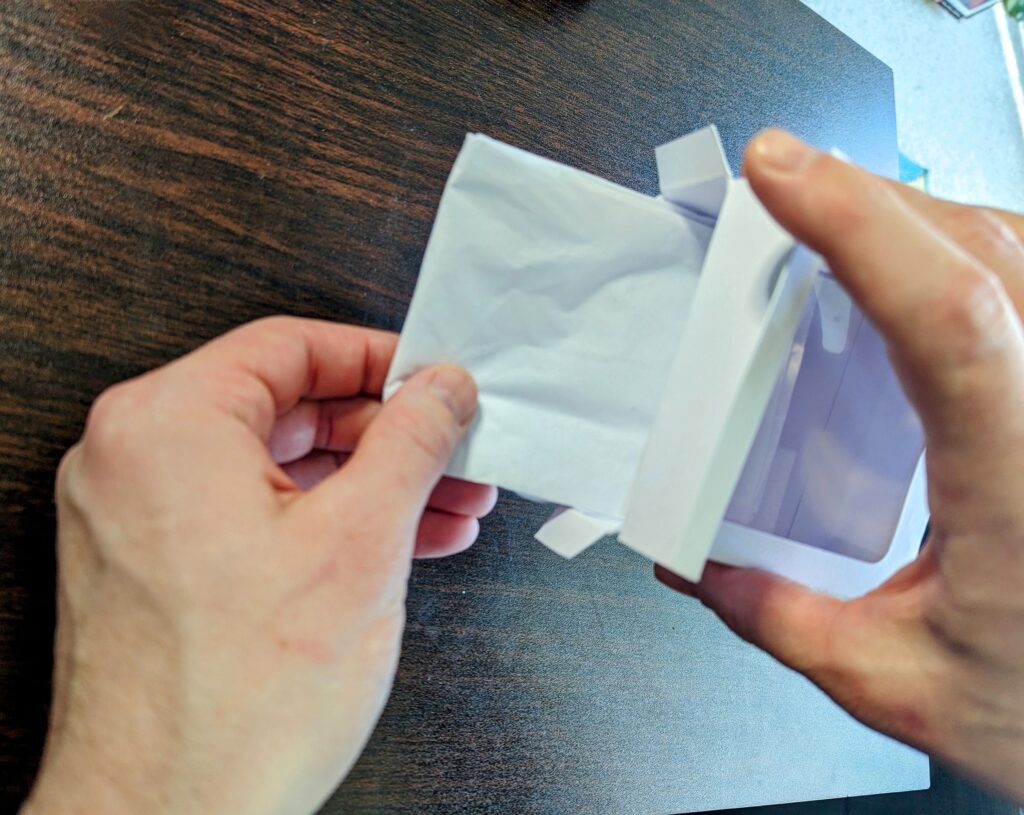
An easy way to help everything inside the box to stay in place is to add tissue paper before inserting the gift items. In this example, I folded a sheet of tissue paper a few times over, then folded one edge roughly the width of the bottom of the box. I inserted the tissue paper to line the bottom and back of the box, and cut off the excess. This added a bit of padding to the inside of the box, helping the items to stay in place. You can also simply crumple the tissue paper if your items need more bulk to stay in place.
Insert your prepared gifts into the box and enjoy them on display.
HANG THE GIFT BOX TO YOUR BOTTLE
With th e hanging gift box assembled and staged, all that is left to do is to attach the gift to your beverage of choice. Hang the gift box from the neck of the bottle, and TAH-DAH! Your gift is complete! You can add any final touches such as ribbon, a tag, or perhaps even another wine bottle project you may have come across while searching for this one. I did notice a few wine bottle paper toppers that looked rather adorable.
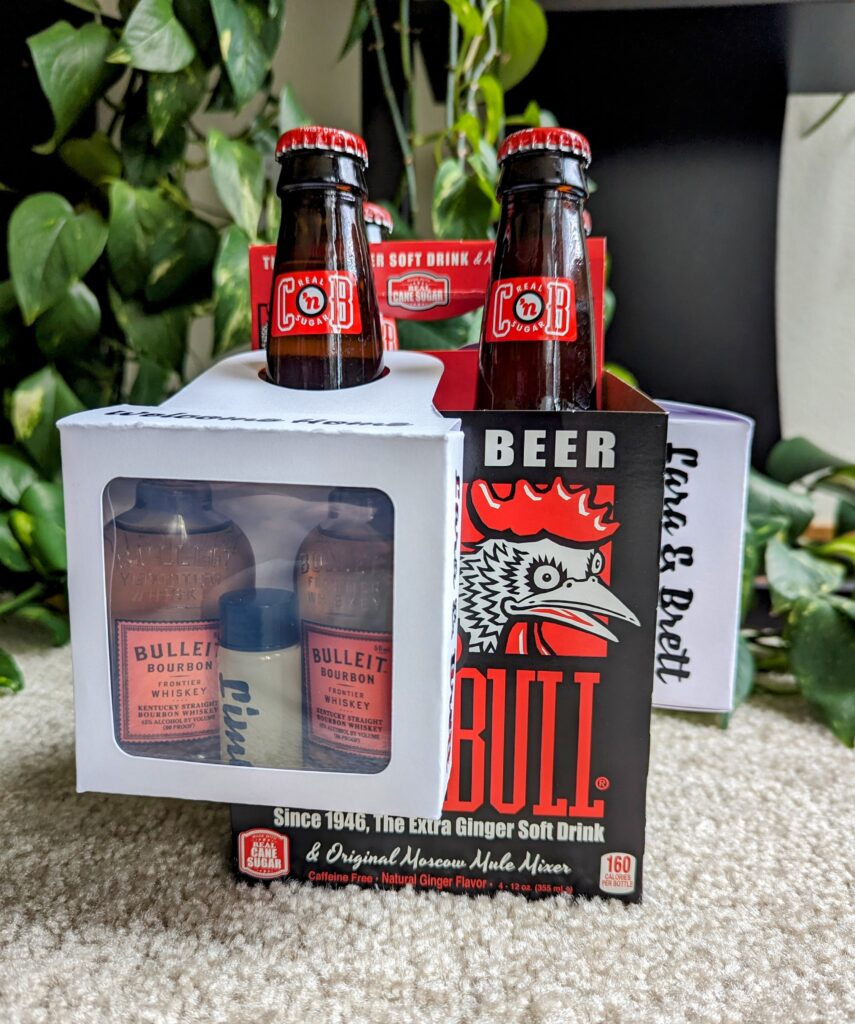
AND THAT’S IT!
All that is left to do is to actually gift your gift. This project is such a simple way to elevate any beverage gift. I really love the idea of creating cocktail kits, especially for a cheap white elephant gift or to send with someone doing a low-key weekend getaway.
‘ The gift box could be filled with so many different options: chocolate, gift cards, lottery tickets, a deck of cards, condoms, poppers and lube, or even hangover supplies like ibuprofen, liquid IV and a sleep mask to name a few.
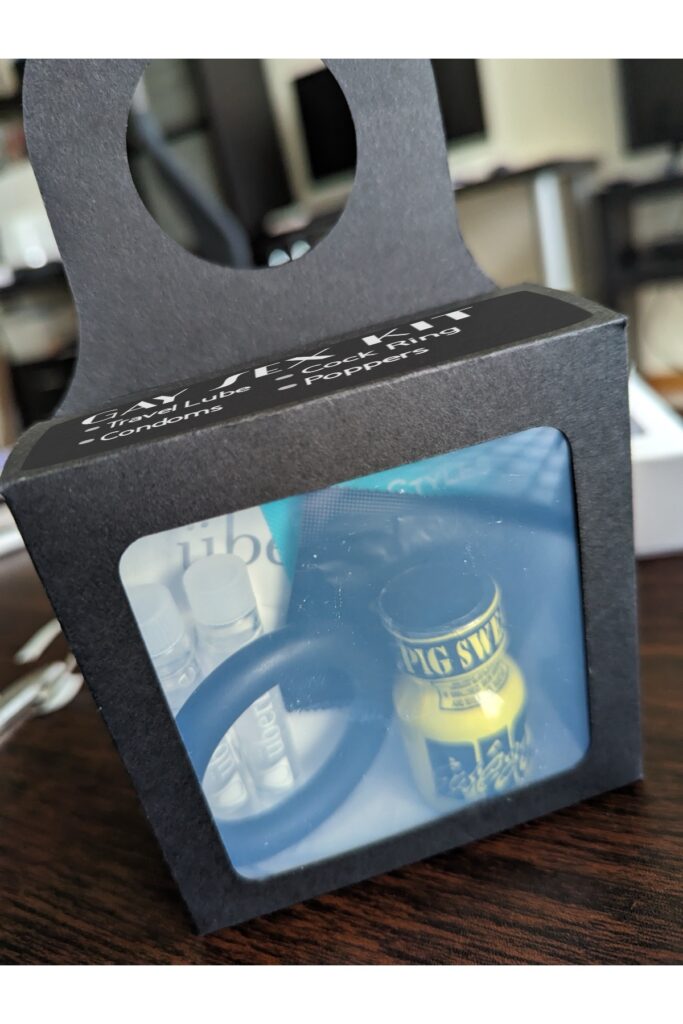
Have fun with this one and let me know in the comments if there’s something rather cheeky to gift that comes to mind.
Thanks for reading, and as always OKAY, BYE!!!!!!!!!!

