Let’s create some inappropriate stickers to be used in public places and prank some random strangers. A friend of mine that knows I make stickers recently asked me if I could create a fake baggie of cocaine as a sticker. (I believe he came across some for sale online, but didn’t want to pay for shipping). I had a free afternoon, so I got to making them for him. In the process, it came to me that making an entire sticker pack of multiple inappropriate items would make a fun, cheap gift idea. Thus, today’s project was born.
MATERIALS:
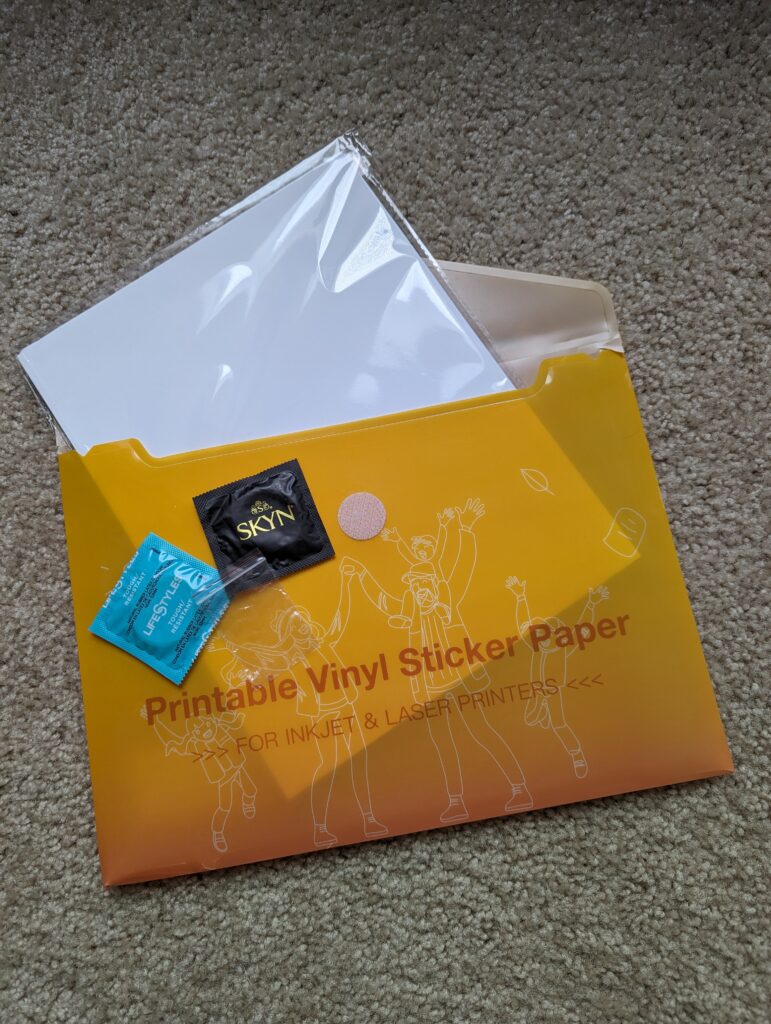
Printable Vinyl
Items to be photographed (based on your sticker concepts)
Image Background Removing Software
Procreate
Cricut
Cricut Design Space
DESIGNING THE STICKERS
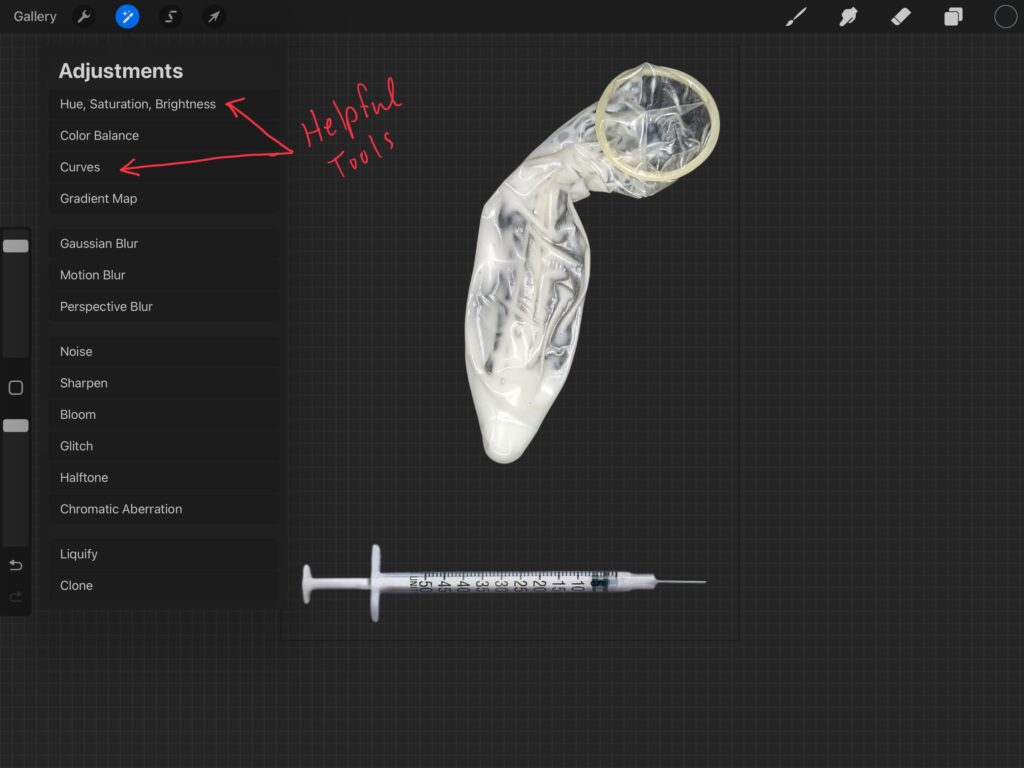
Decide on a concept, and then create a mockup to be photographed. For this specific project, first fill a small baggie with salt, flour or powdered sugar. Next unroll a condom and fill it with body wash, liquid hand soap or in this instance, a mixture of clear aloe vera and hand lotion. (If you cannot procure a real syringe, find a royalty free image online and remove the background). Photograph each physical element making sure to have a dark background.
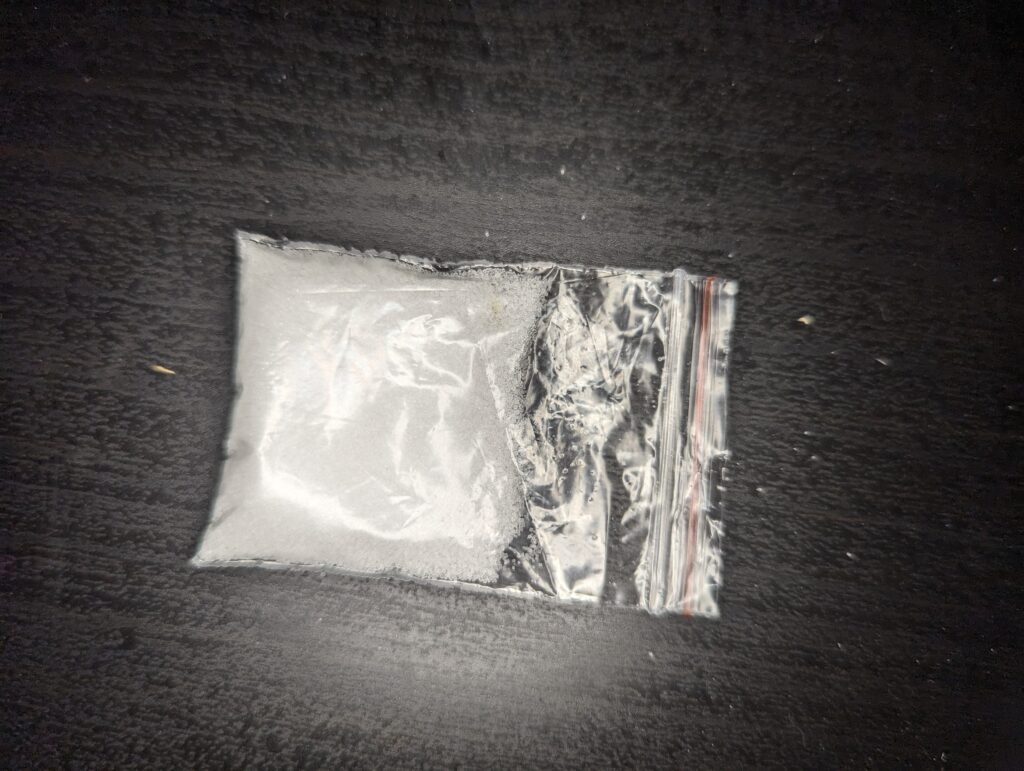
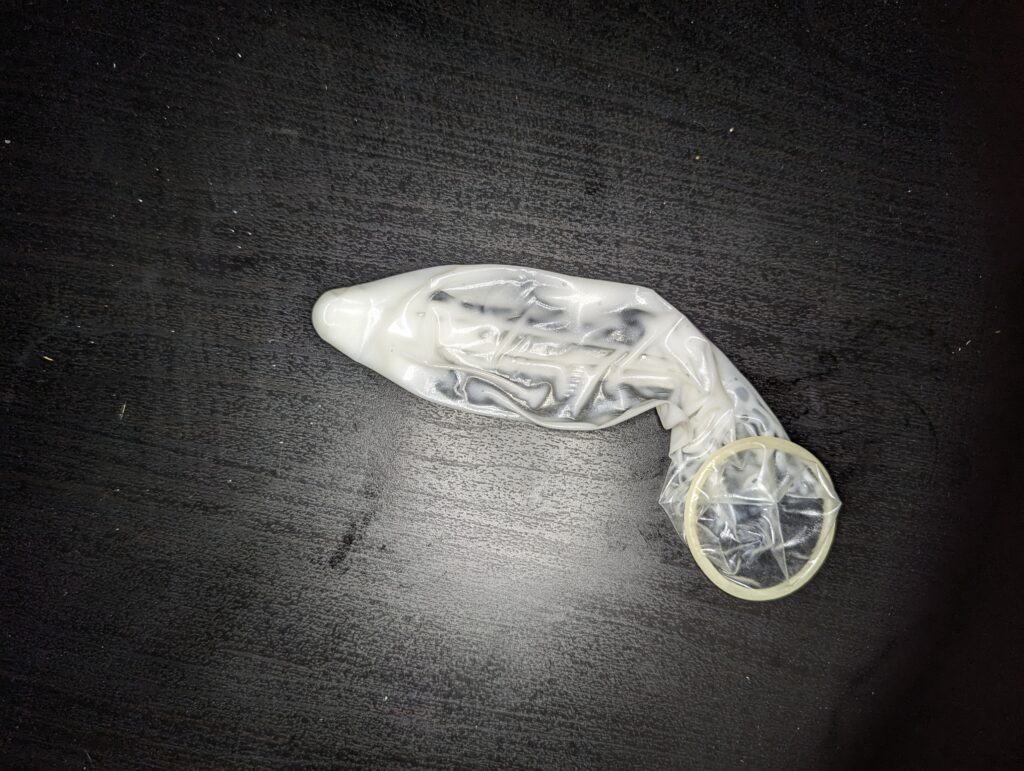
Remove the background using your photo editing software of choice. I prefer to upload my pictures onto Canva and allow its Background Remover feature to do the work for me. Apps like PhotoRoom or websites such as removal.ai are also free options to use.
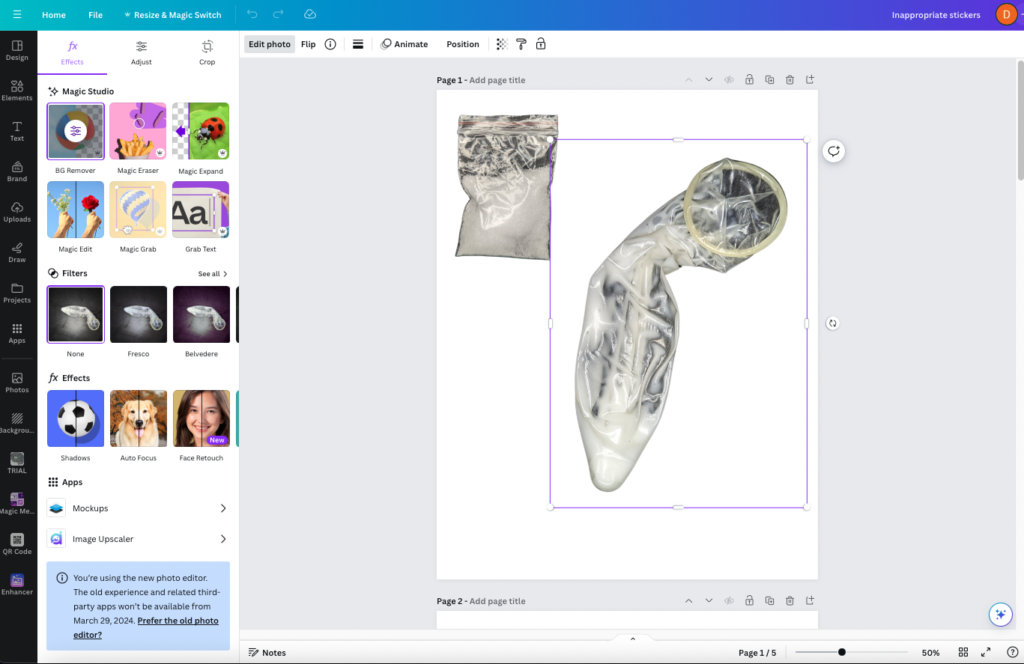
You can upload your images into Procreate for any final tweaking such as adding shading or shadows, altering color hues and sharpness, or distorting/warping the image. Once you are happy with the image, save it as a PNG to next be sent to the cutting software.
PREPARE YOUR CUTTING FILE
With your image designs finalized, upload your files into Cricut Design Space. Save the files as a Print Then Cut. Once the images are on the canvas, resize them to your preferred dimensions. Create a template by placing a rectangle shape with Cricut’s Print Then Cut dimensions of 6.75” x 9.25”. Sort your images together rather close inside of the box template, but be mindful that bleed will be turned on, meaning some images may inadvertently overlap once printed.
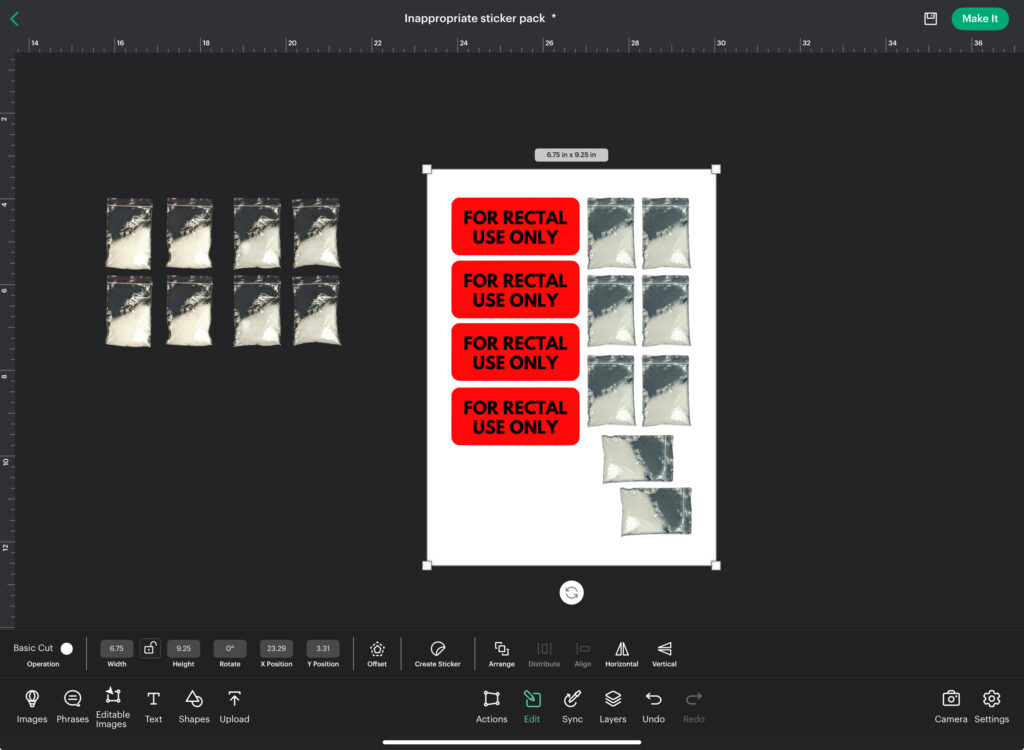
Hide or delete the box template, and attach the elements together. If a red warning icon appears within the Layers, you will need to reposition, or possibly separate the elements into two separate groups.
CUT OUT THE STICKERS
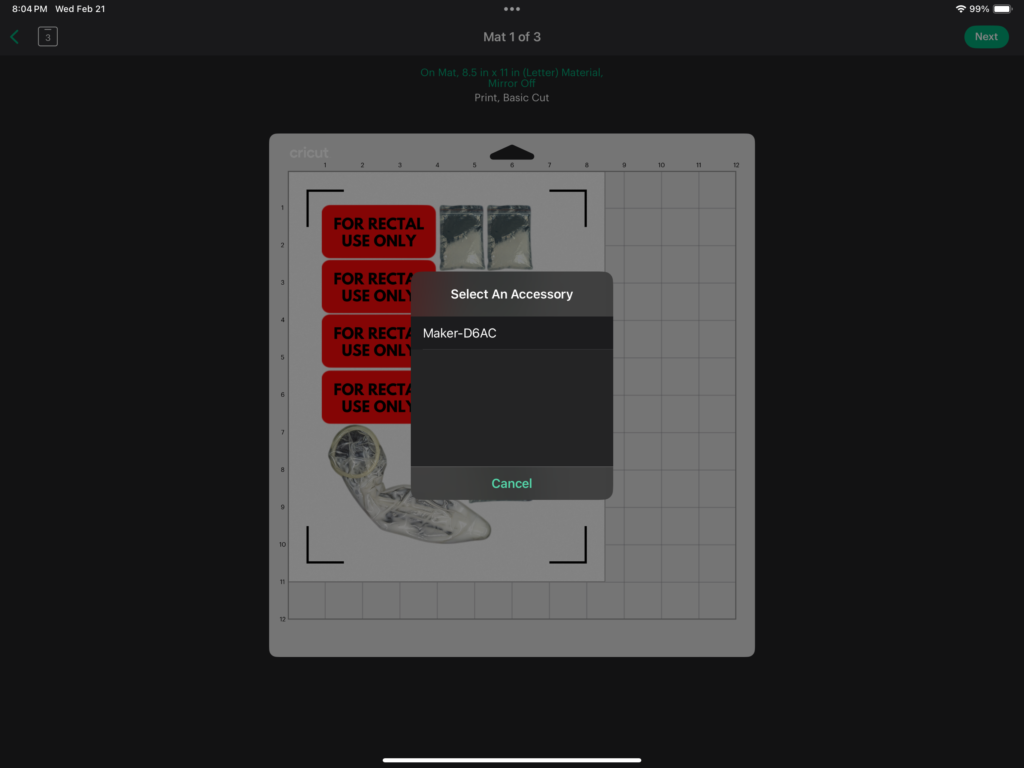
Now that the designs are properly set up, select Make It. The next screen will show the Print Then Cut layout on top of a cutting mat. If everything looks in order, select ‘Next’. A ‘Select an Accessory’ dialogue box will appear. Select your machine. On the next screen select ‘Send to Printer’. Print out the image. Attach the print onto the cutting mat, ensuring the image is facing the same way as it is presented in Design Space.
Load the mat into your Cricut machine. Press the ‘Go’ button once it begins flashing. At this point the Cricut will begin to read the registration marks, and once calibrated, your designs will be cut out. When the action is complete, unload the mat.
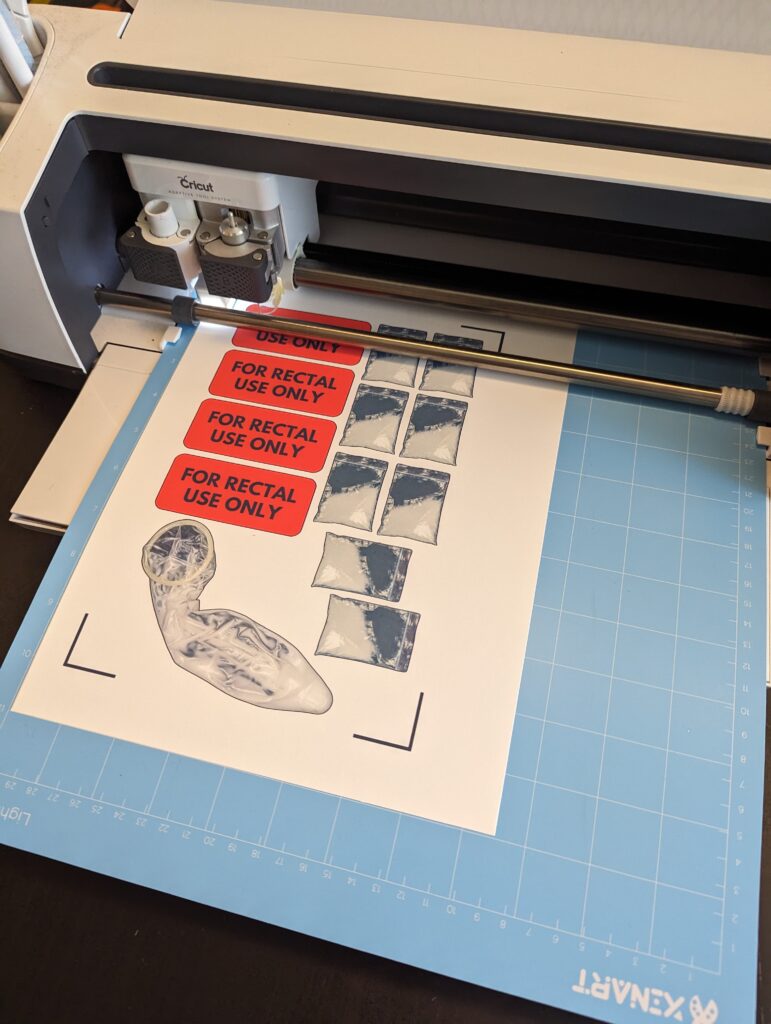
Instead of pulling the project off of the mat, turn over the mat and slowly pull the mat away from the project. This will prevent your stickers from curling.
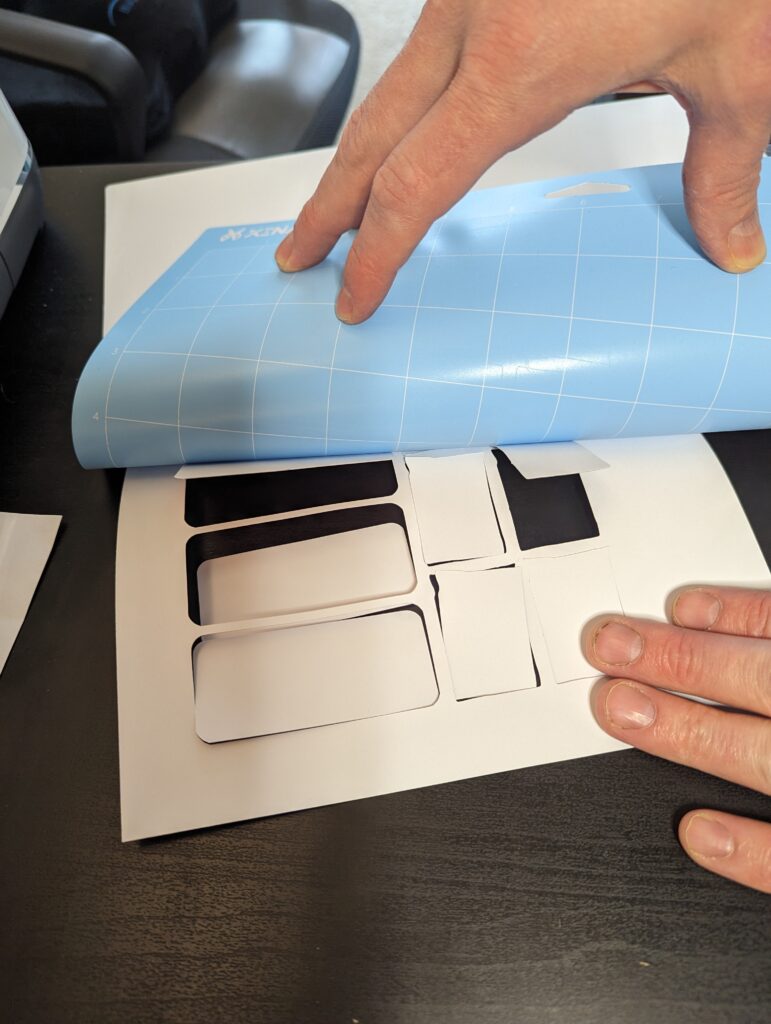
TWO WAYS TO CUT OUT YOUR STICKERS:
If you would like individually cut out stickers that allow for stealthy sticking, simply select “Cardstock 80lb” as your material, and send it to your Cricut.
If you prefer a kiss cut to offer an entire sticker sheet, then you will need to do two separate cuts. The first just as described above, only changing the material to “printable vinyl”. But do not remove the project from the mat.
For the second cut, hide your stickers, and unhide the box template. Change the box into a Print-then-Cut.
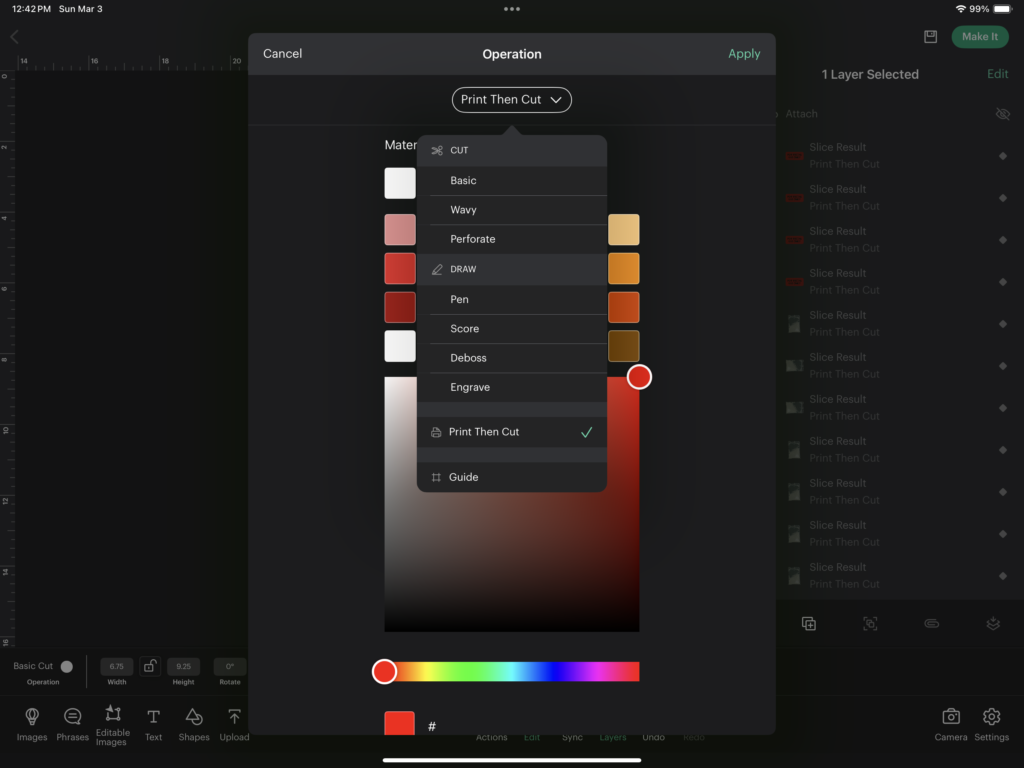
Select “Make It”. Eyeball the preview to make sure it is aligned with what is on your actual mat.
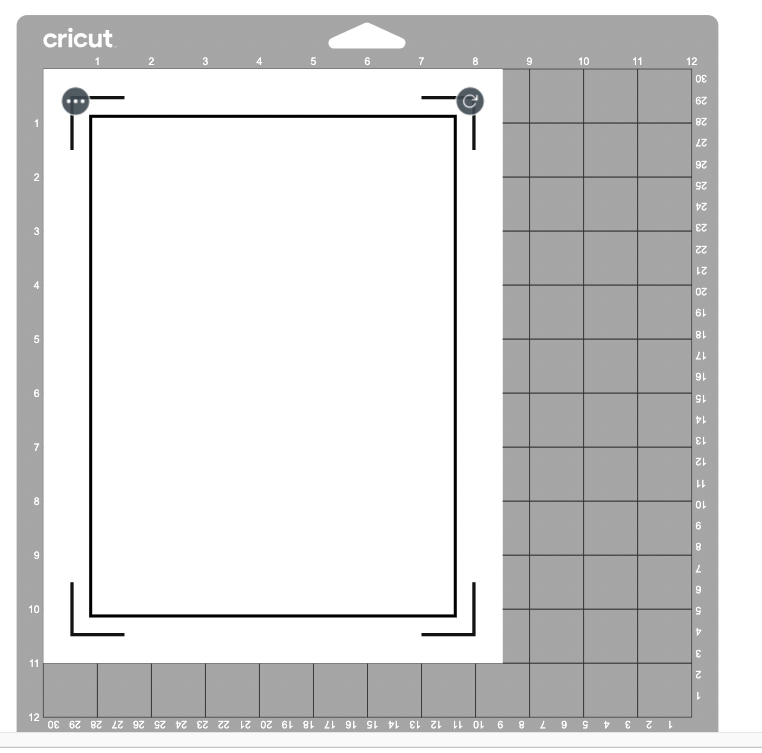
Select “Next”, but select “I’ve already printed”. Select “Cardstock 80lb” as your material, and select, “Go”.
Once everything has been cut out, carefully pull away the mat from the prints.

AND THAT’S IT!
You can add finishing touches, such as packaging your fake cocaine baggie stickers in an actual baggie. (Perhaps not wise to package your fake used condom stickers in an actual condom).
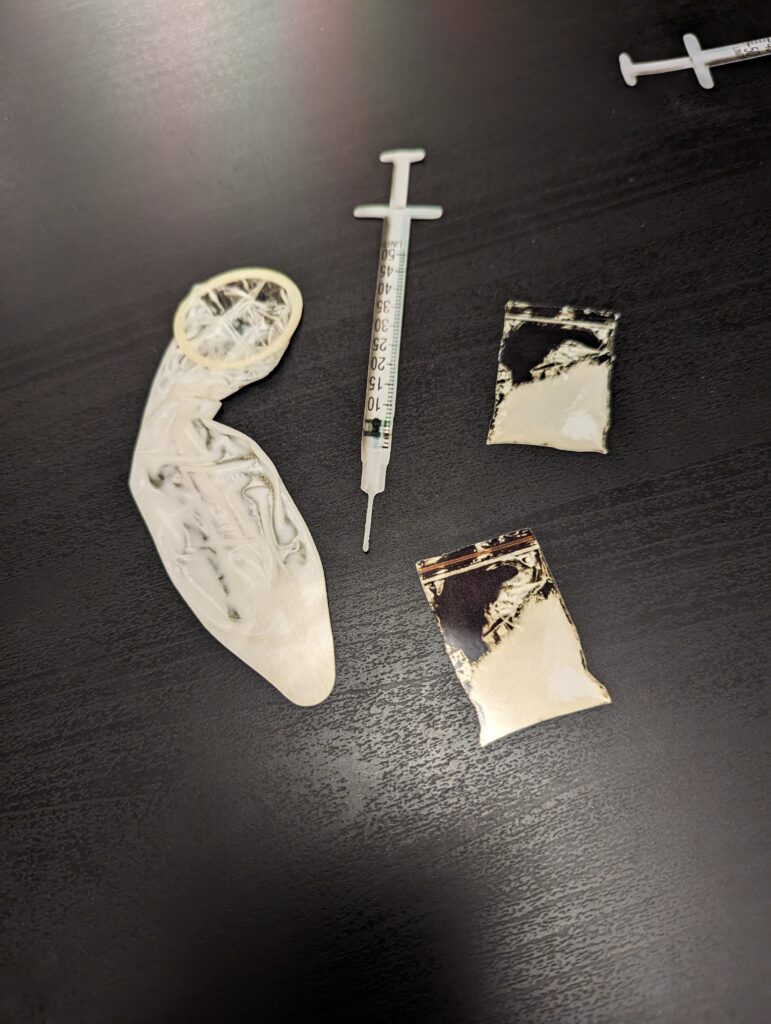
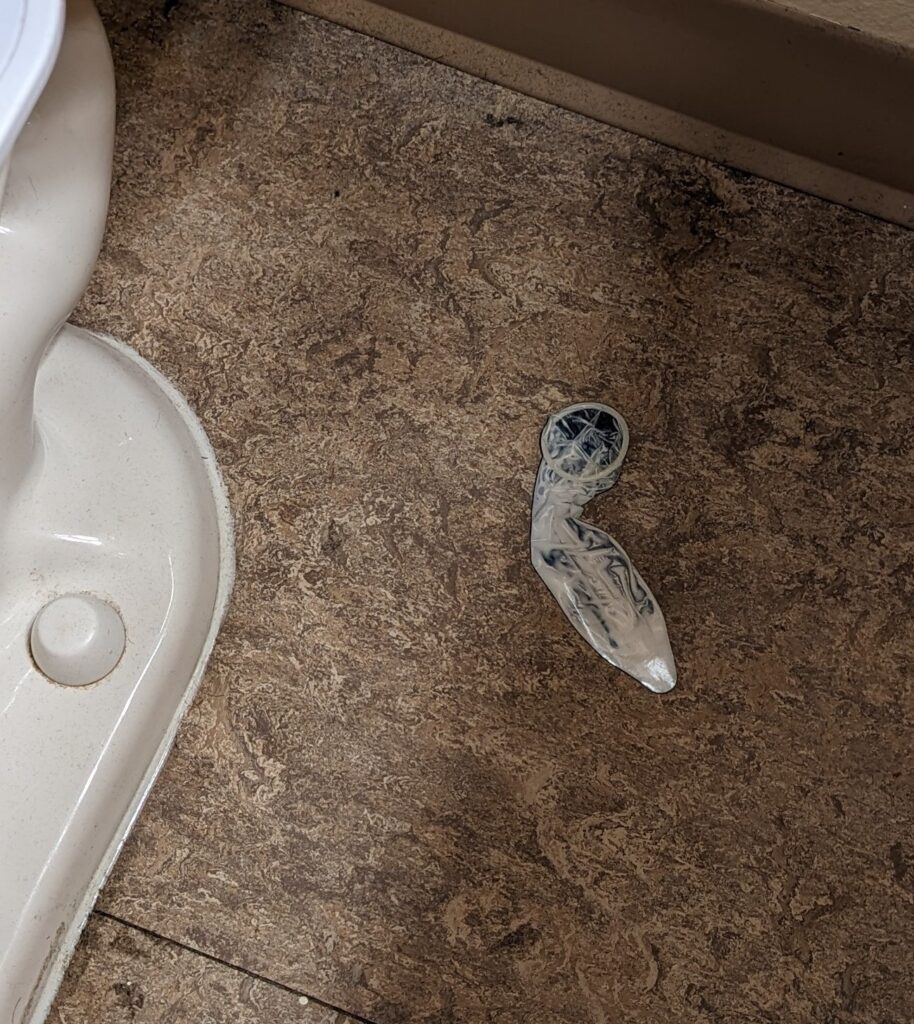
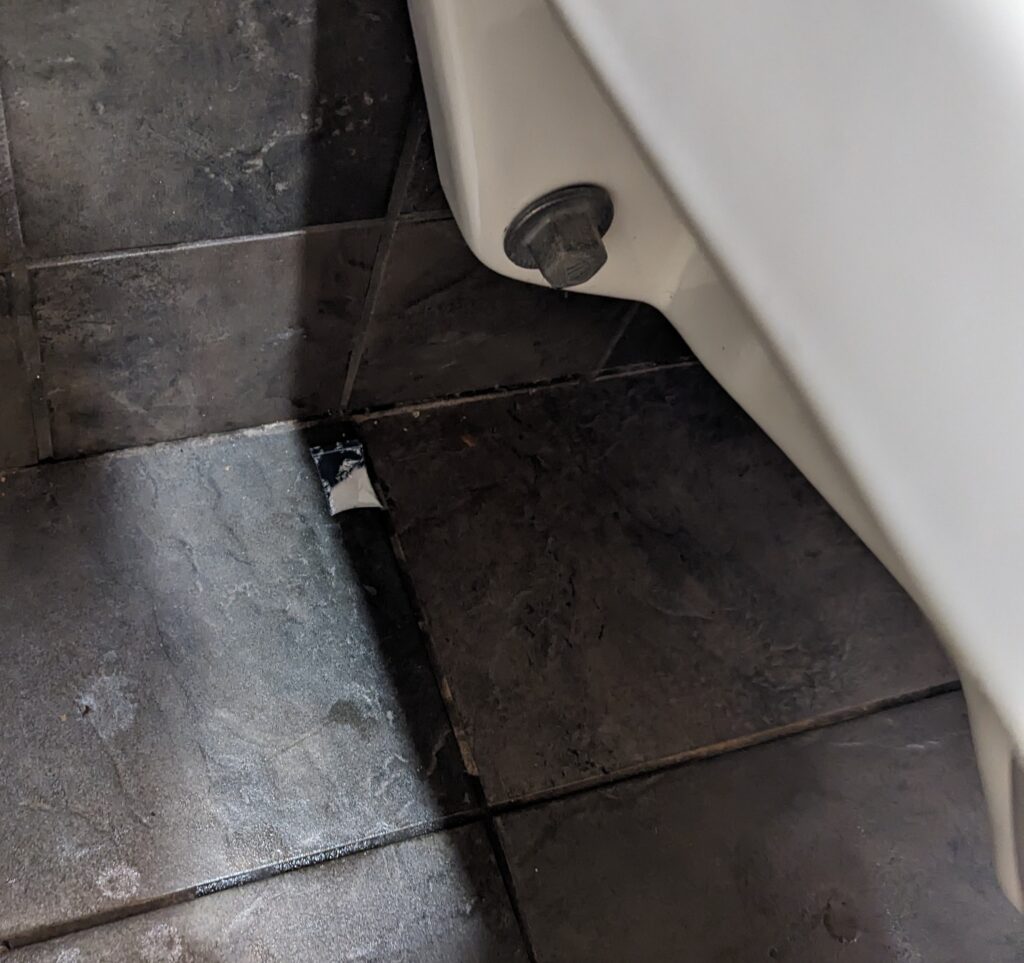
Now off you go and start sticking these inappropriate prank stickers all over town. At my favorite watering hole, I left a cocaine baggie beside the trash in one bathroom, and a used condom sticker behind the toilet in another.
What will you make, and where will you be adhering your creations? Let me know below.
And as always, …
…Okay, bye!
