Creating an inspirational decorative mirror has never been easier with the help of some vinyl and a Cricut. This project is an excellent way to spruce up an old mirror, create a fun focal point to liven your space, or can even be decorated as an accent piece for your themed event.
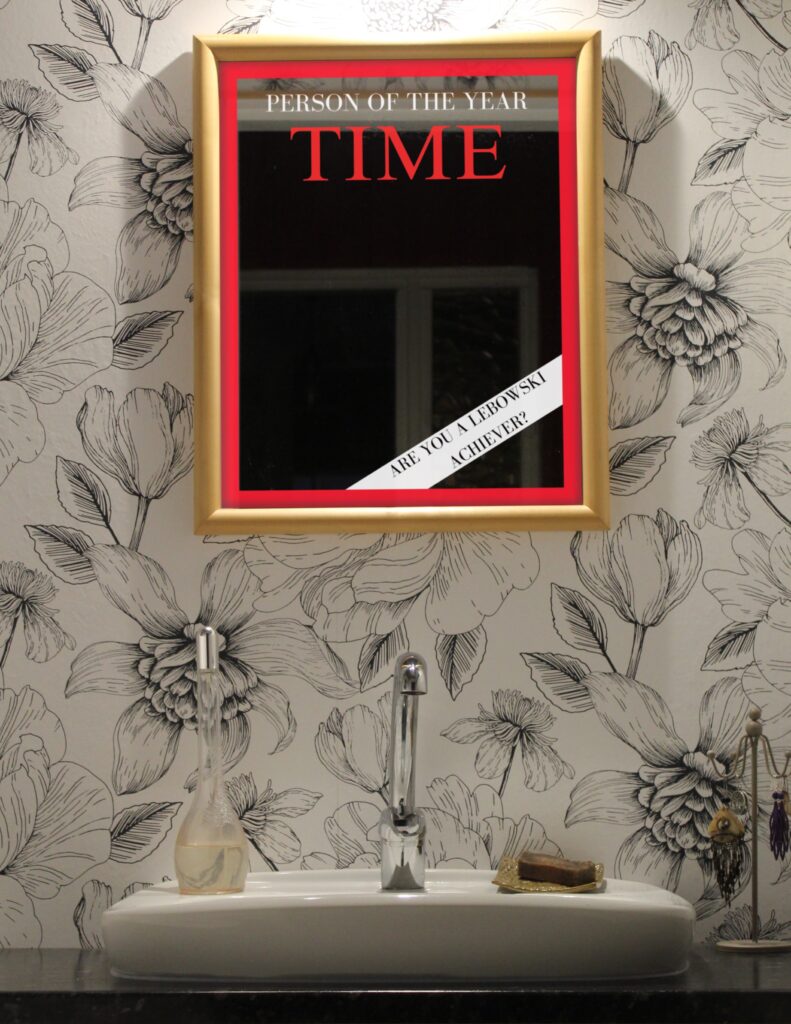
This simple project is inspired by The Big Lebowski, a 1998 comedy with an all-star cast. In a blink or you’ll miss it moment, (without going into plot details), our main character turns to a mirror that is fastened to look like a Time Magazine cover.
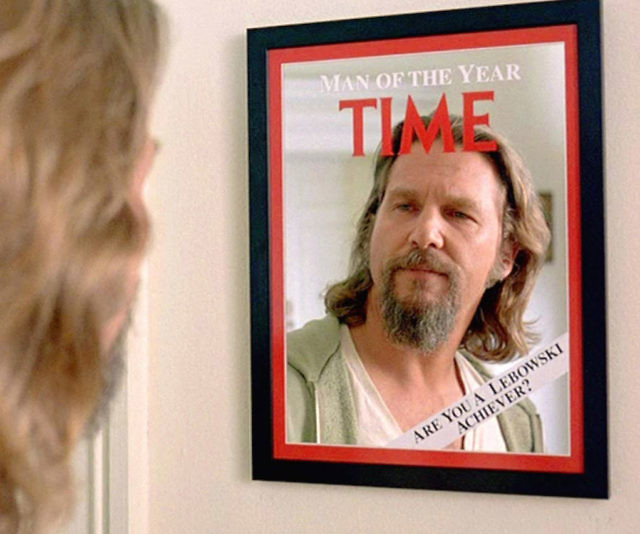
So let’s begin…
MATERIALS:
Mirror
Vinyl (permanent or removable)
Transfer Tape
Painter’s Tape
Level or Ruler
Dry Erase Marker
Exacto Knife
Scraper Tool
Cricut
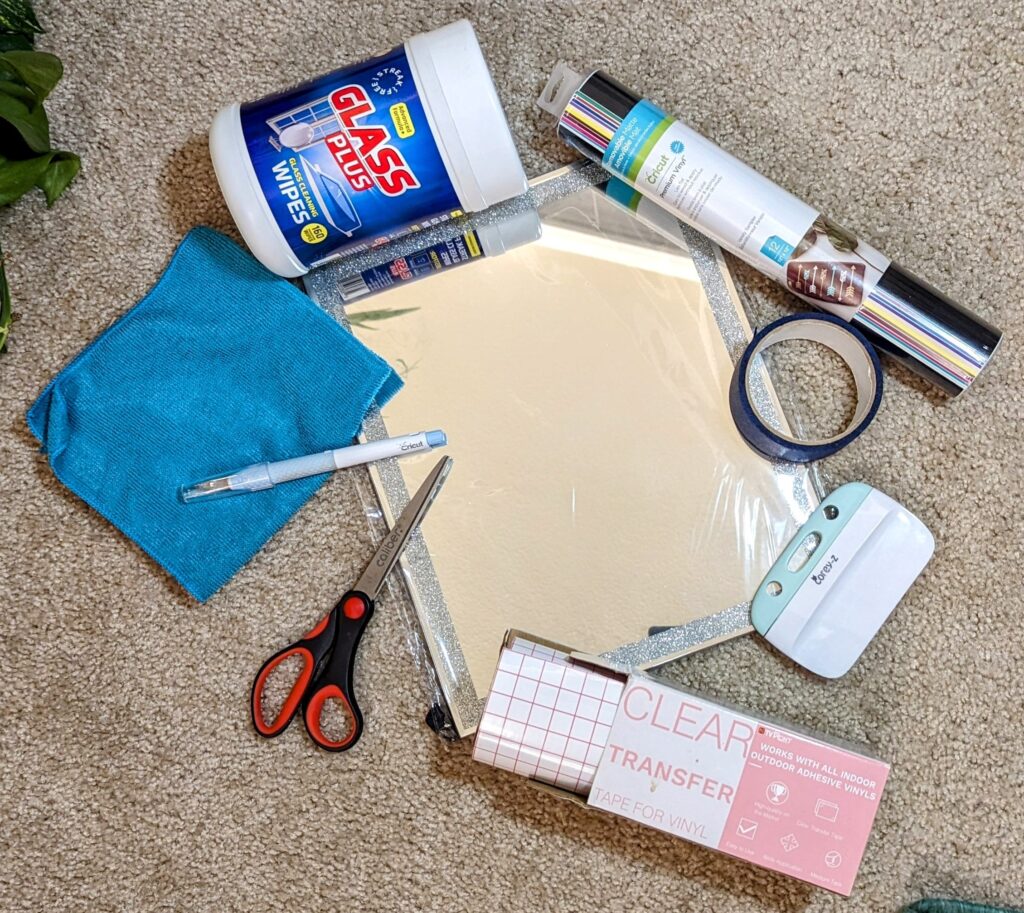
ACQUIRE YOUR MIRROR
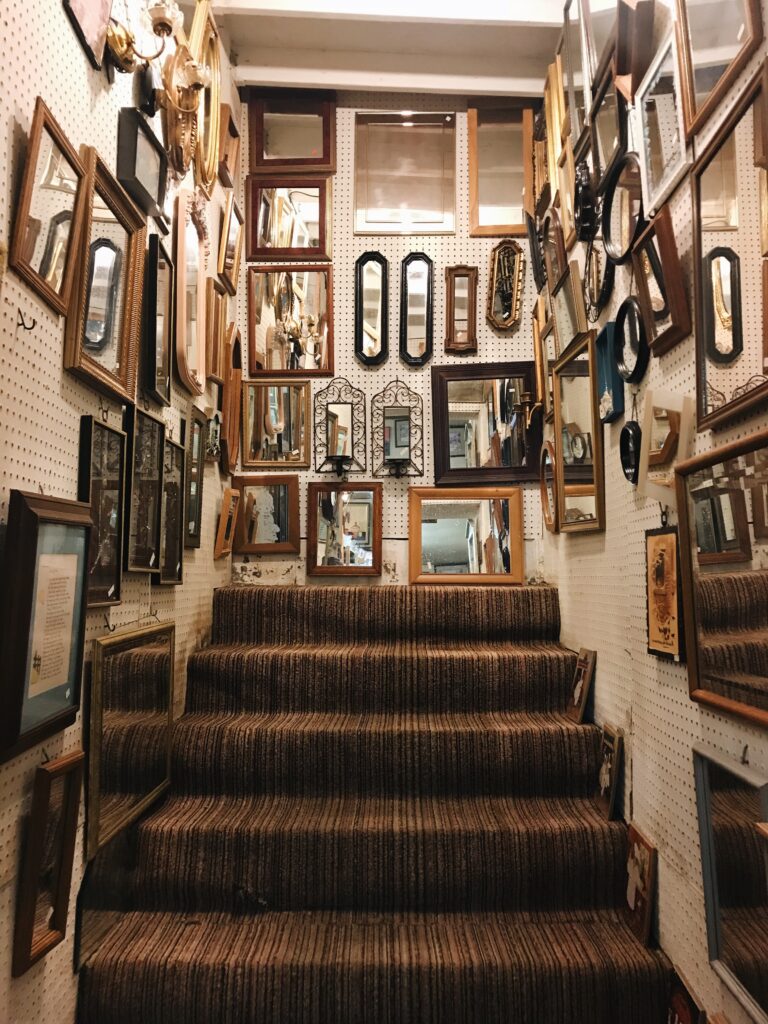
If you are repurposing an old mirror you already have, great. If you are in need of acquiring your mirror, try to save yourself some money by getting one secondhand. Goodwill and OfferUp are great places to look. If you can’t find exactly what you are looking for, retail stores like Ikea, T.J. Maxx, or Home Goods are a great place to shop that have multiple options with reasonable prices. You may even find a good deal at the craft store Michael’s with the right coupon.
DECIDE ON YOUR MIRROR’S DESIGN
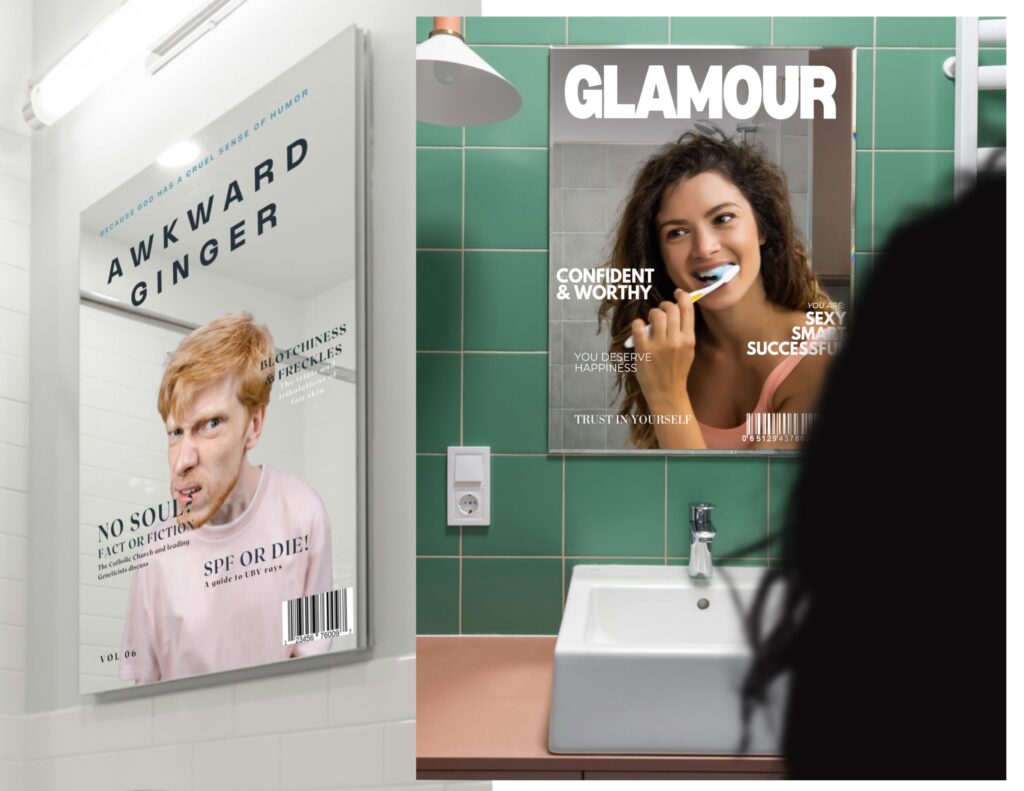
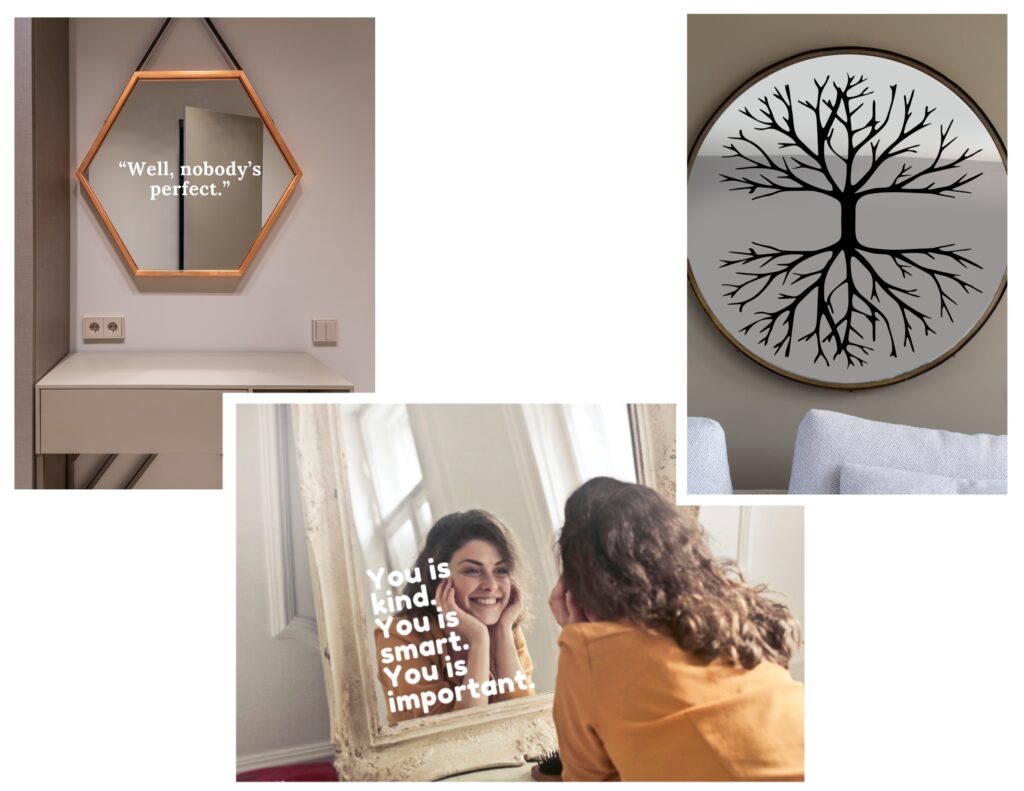
Using the mirror’s dimensions for reference, decide what your looking glass will look like. Does it mimic an already existing magazine cover? Are you using it as a seating chart or focal point for a wedding or anniversary party? Perhaps your mirror’s purpose is for daily motivation and positive reinforcement. Once you decide on your design it is time to create it.

CREATE YOUR DESIGN IN CRICUT DESIGN SPACE
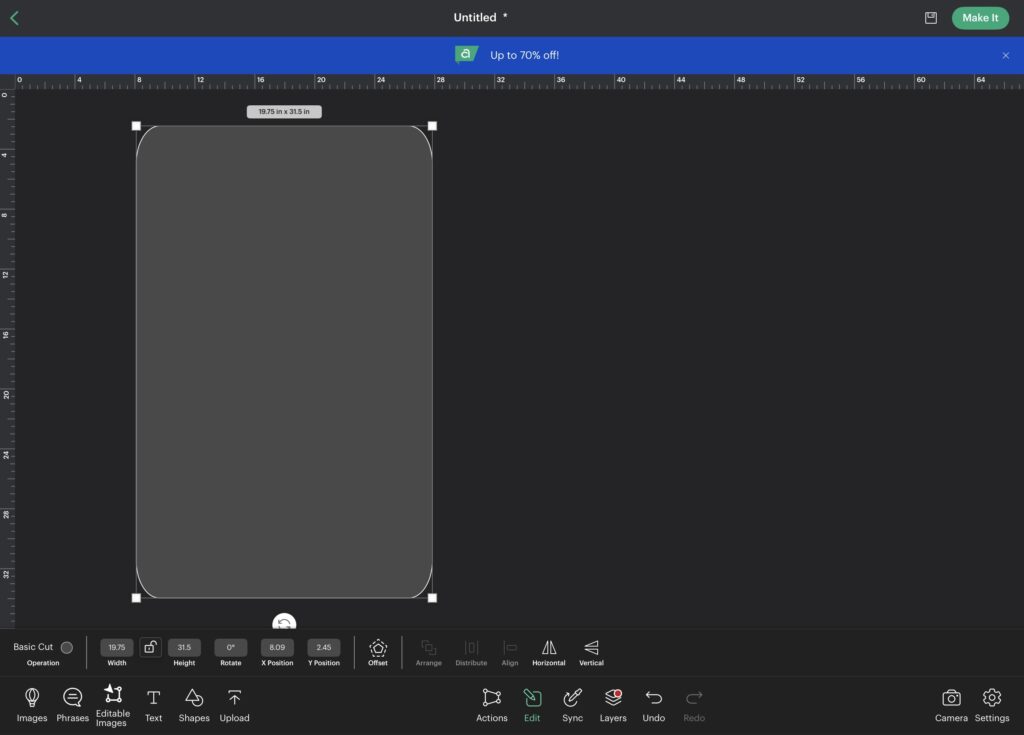
First create a digital template of your mirror’s dimensions. Using the Shapes tool, select a rectangle and apply the appropriate measurements. In this case my mirror is 19.75” x 31.5”.
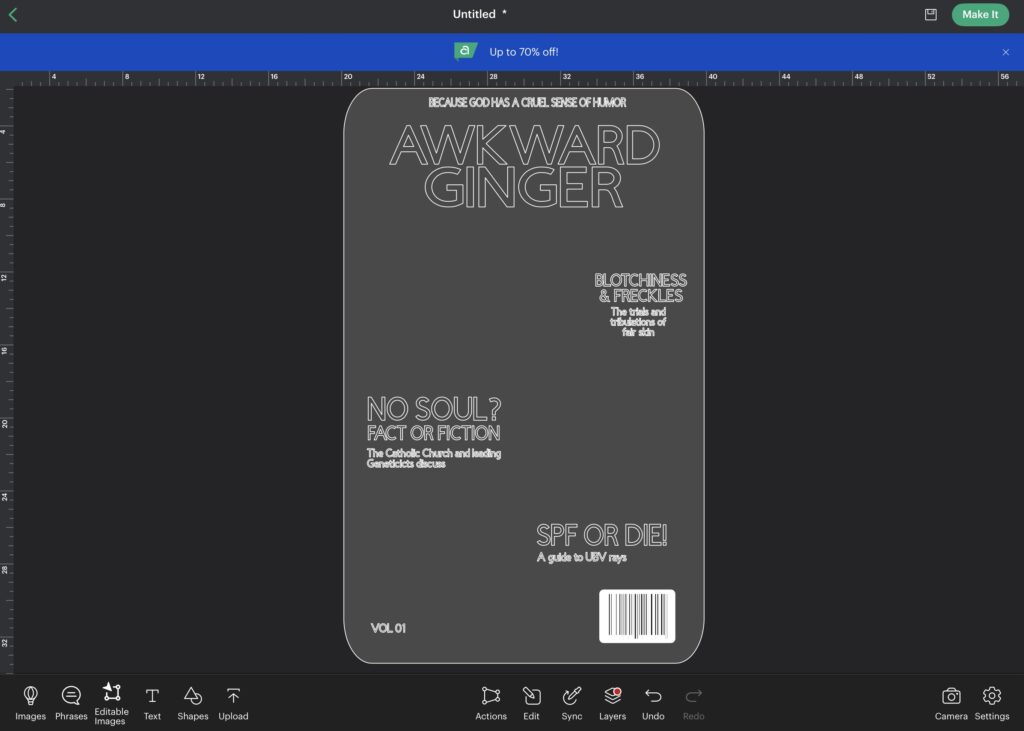
Select the Text icon and begin designing the mirror layout. Play with different fonts and sizes to get the look you want. For this example, I am taking inspiration from one of the magazine covers I created for my Personalized Magazine Covers post.
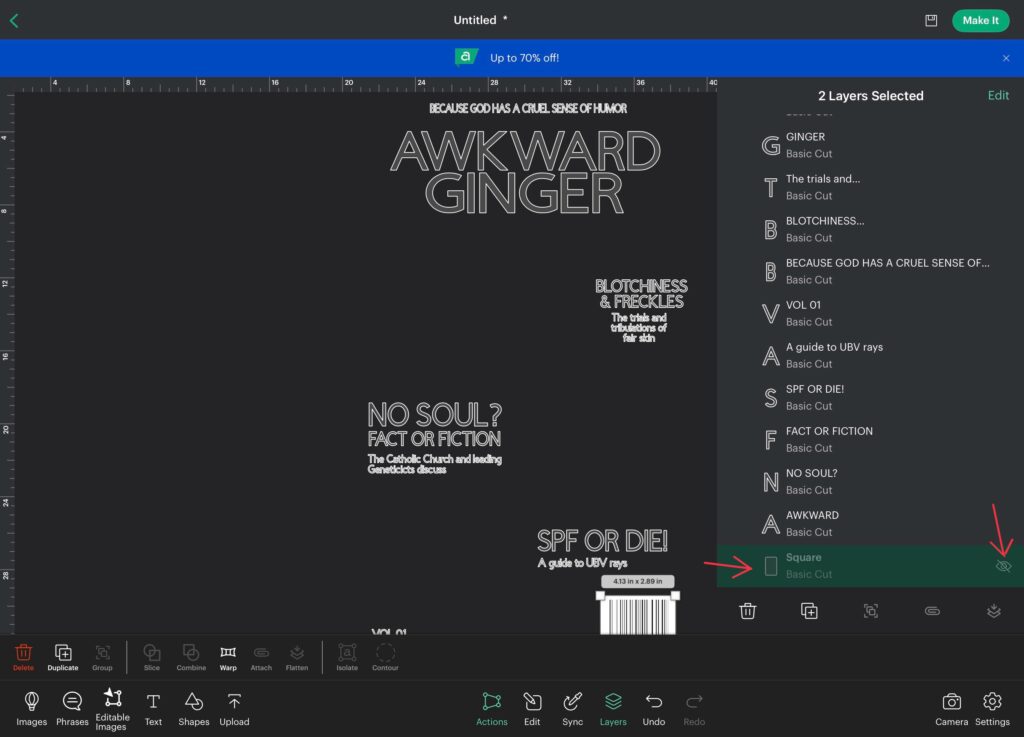
Once you are happy with the layout of your design elements, Select Layers. Find magazine template square layer and select the eye icon to turn the layer off.
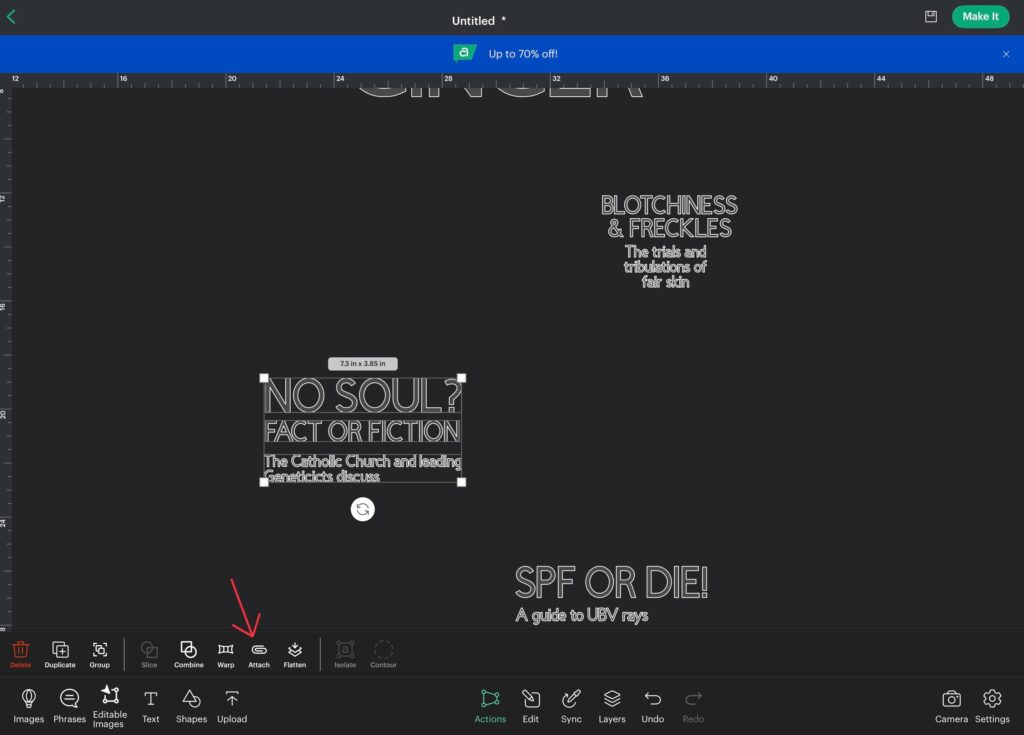
Group design elements that you would prefer to apply to the mirror as one piece. Highlight the elements by dragging your mouse (or using your finger if using an iOS/Android app) and select Attach. This will keep the elements grouped together when they are being cut out for easy application.
Now you are ready to send the project to your Cricut.
CUT OUT THE DESIGN ELEMENTS WITH YOUR CRICUT
Select Make It and choose your preferred cutting mat. For this project I selected On Mat – 12 in x 24 in.
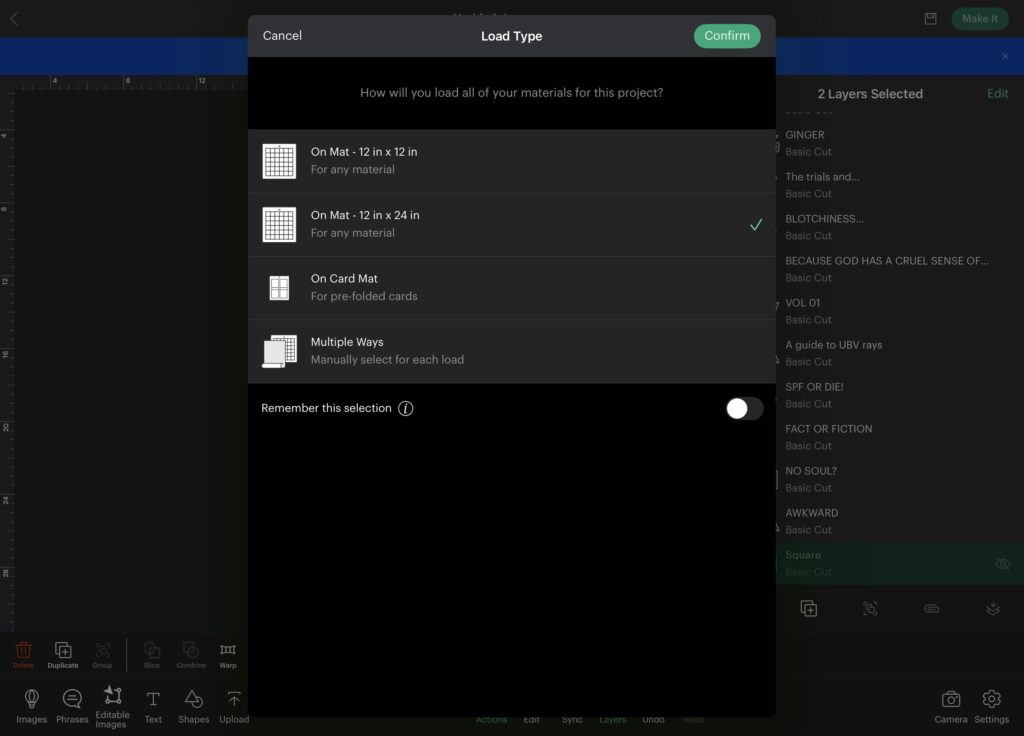
You are able to move around the grouped elements before selecting Next if you so choose. I like to move items around to space out the elements a bit for easier cutting/weeding, or to conserve vinyl.
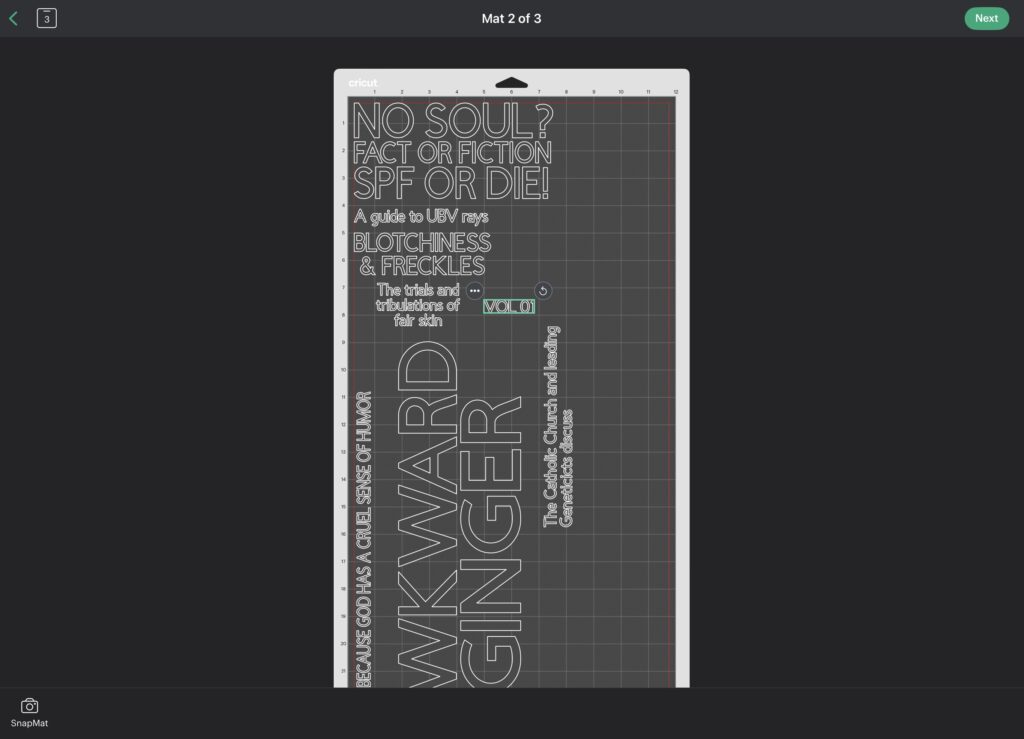
Load the vinyl onto the mat. In Design Space select the material type. After first making sure all of the preferred settings are correct, load the mat in your Cricut machine. Press the glowing Go button and let your machine work its magic.
WEED THE VINYL
With the design cut out, unload the mat and carefully remove the vinyl. Cut out each grouped element with scissors — it is much easier to weed smaller sections than to try and do the whole thing all at once. Using a weeding tool, carefully weed out everything, paying special attention to each letter so to not accidentally leave any excess vinyl behind.
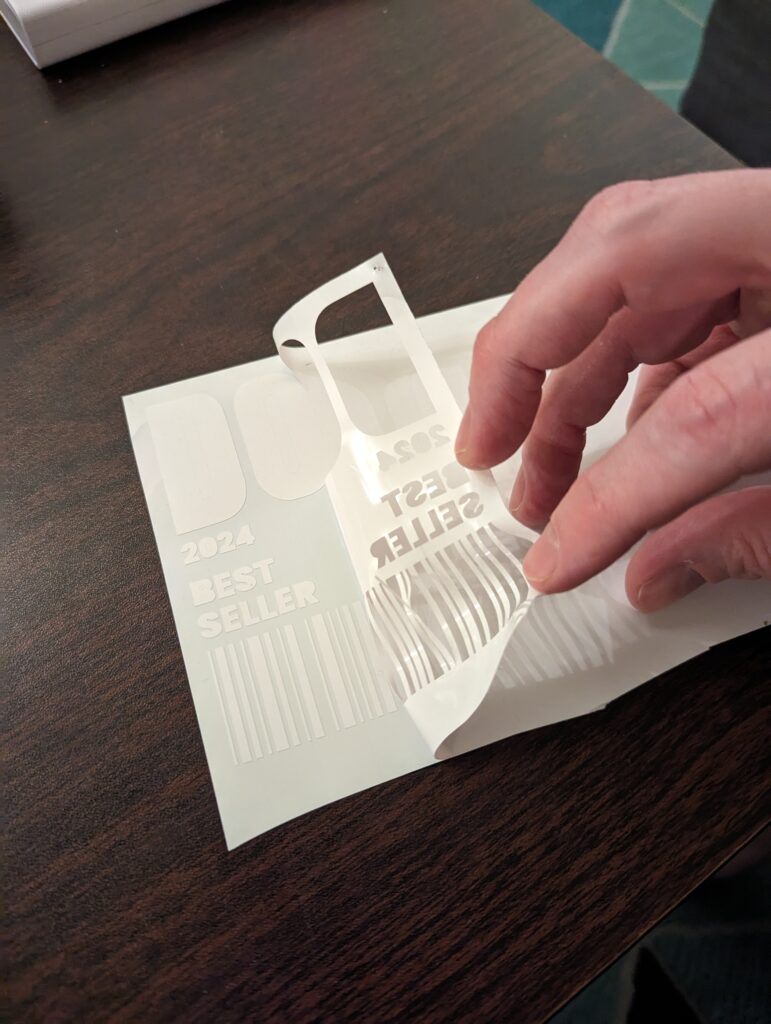
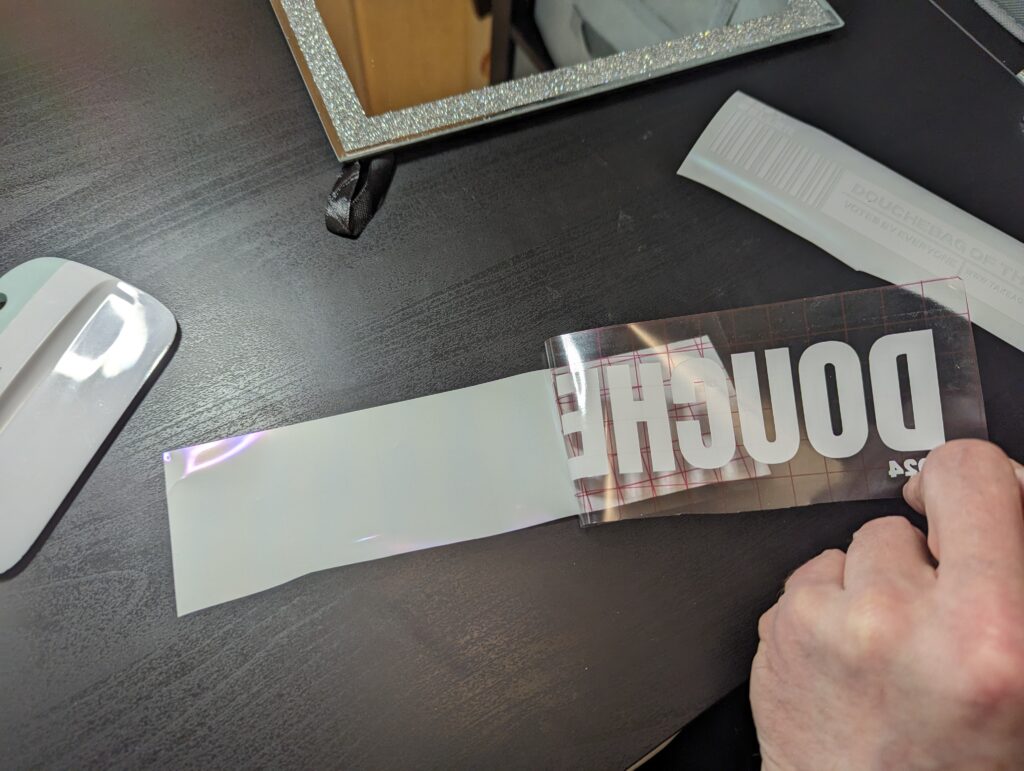
Once everything has been weeded, prepare each section with transfer tape. Using the scraper tool, make sure that the vinyl is firmly pressed into the transfer tape.
PREPARE THE MIRROR
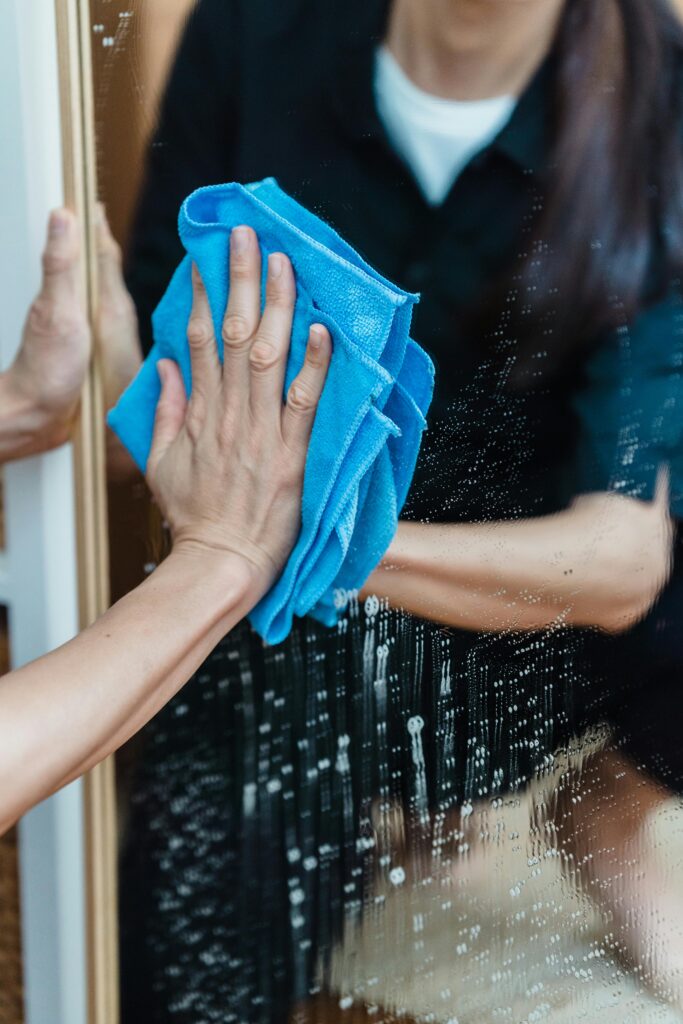
Clean the mirror prior to applying the vinyl. Clean the mirror’s frame first. To clean the actual mirror, use a microfiber cloth and cleaning solution (I used this simple DIY mirror cleaning solution that you can find here). Spray the solution onto the mirror, and then wipe clean in an S-pattern starting at the top of the mirror and working your way down. This will help minimize streaks.
APPLY THE VINYL
Create two small markings to be used as guides by using the dry erase marker and your ruler/level. This will assist in keeping your design straight when applying.
Using the guides, line up the vinyl to its preferred positioning. Once you are satisfied, carefully place your design over the mirror. Allow the center of the vinyl/transfer tape to touch the mirror. Slowly adhere the design to the mirror.
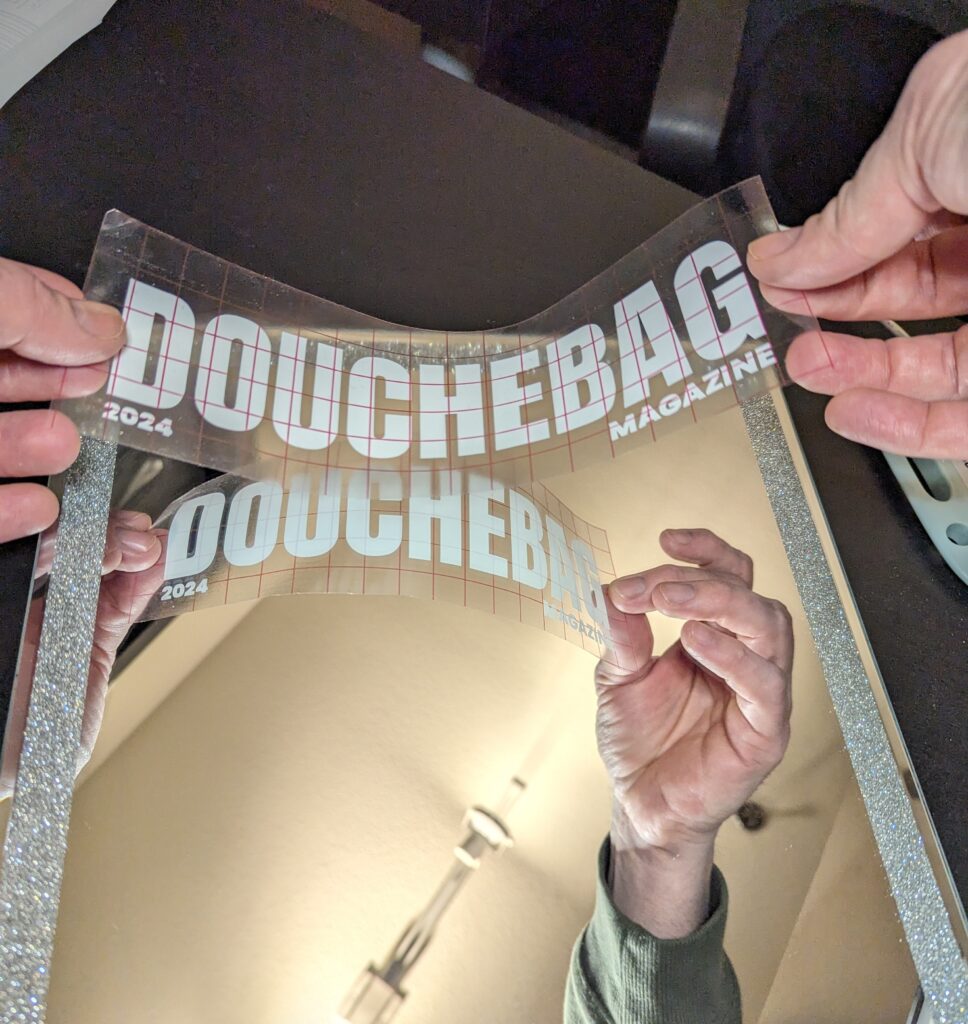
Use the scraper tool to evenly adhere the vinyl to the mirror. Do your best to steadily scrape outward to prevent any trapped air bubbles under the vinyl.
Once the first half of the design has been attached, continue the process for each design element.
With everything evenly attached, clean the mirror once more to remove any fingerprints, and take a step back to admire your handiwork.
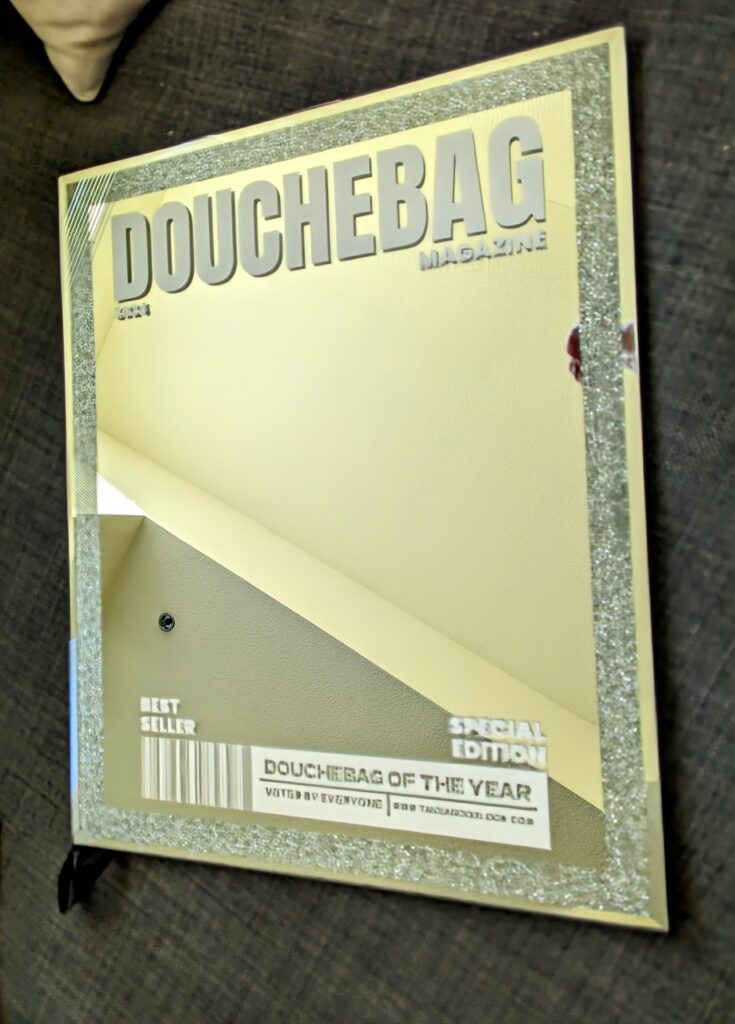
AND THAT’S IT!
A mirror art piece to spruce up your home, gift someone, use as an event seating chart, or to be swapped out at a friend’s house for a harmless little prank.
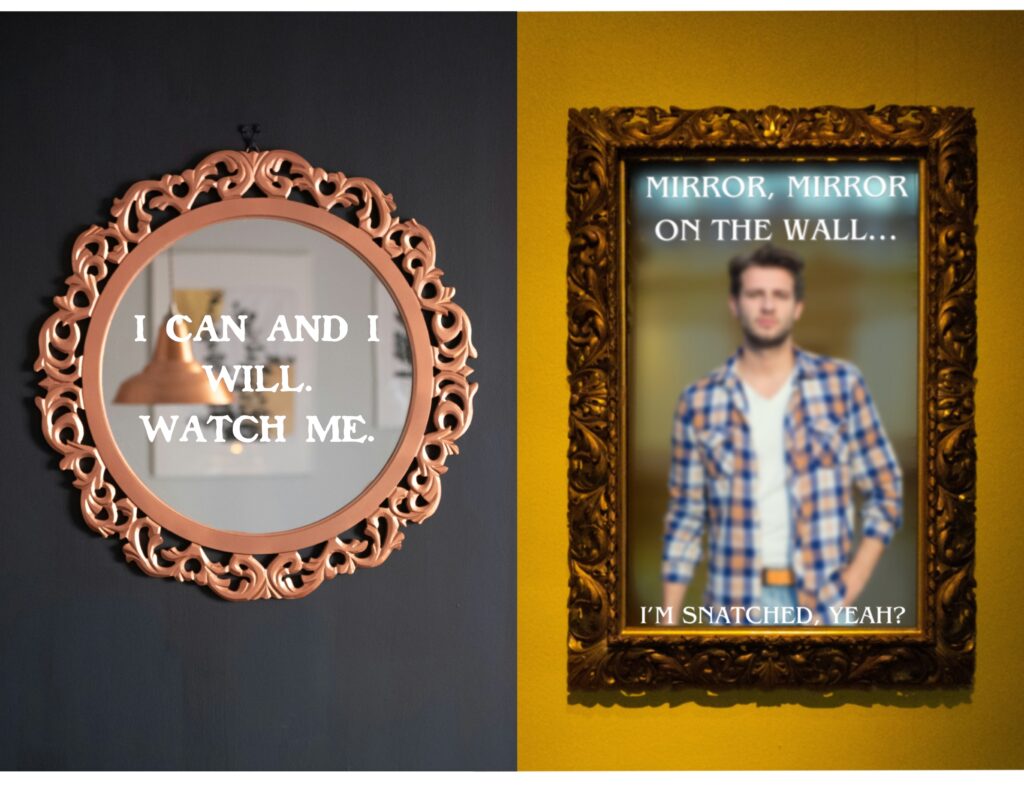
What design or phrase is staring back at you in your mirror? I’d love to hear other concepts or ideas, so leave a comment below and describe your own creative ideas.
…And as always, Okay, Bye!!!
