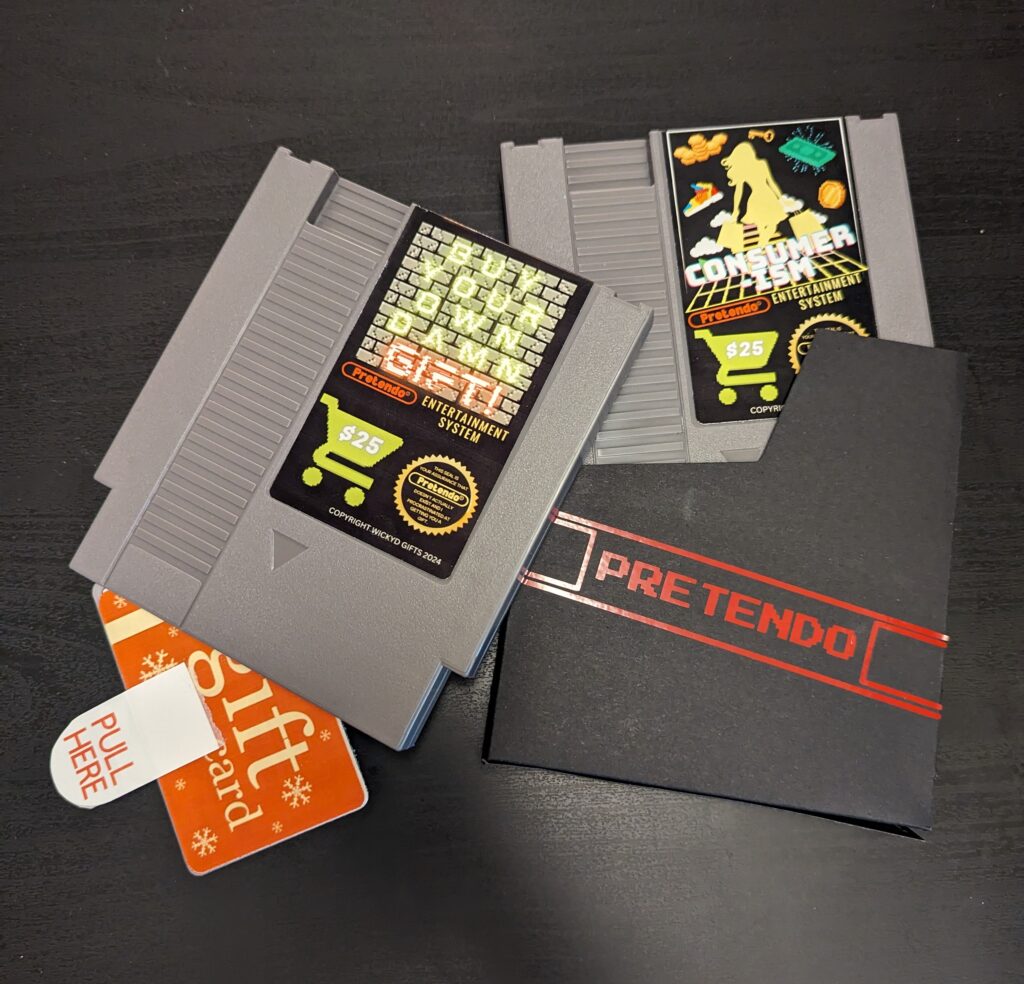
If you’ve perused this site for even just a moment, you have undoubtedly surmised that personalized gift giving is sorta’ my bag. This is why I have never been the biggest fan of giving out gift cards; they seem so impersonal. But every so often giving a gift card is inevitable. Luckily we can easily spruce up this otherwise generic gift with a spoonful of member berries and a bit of creativity.
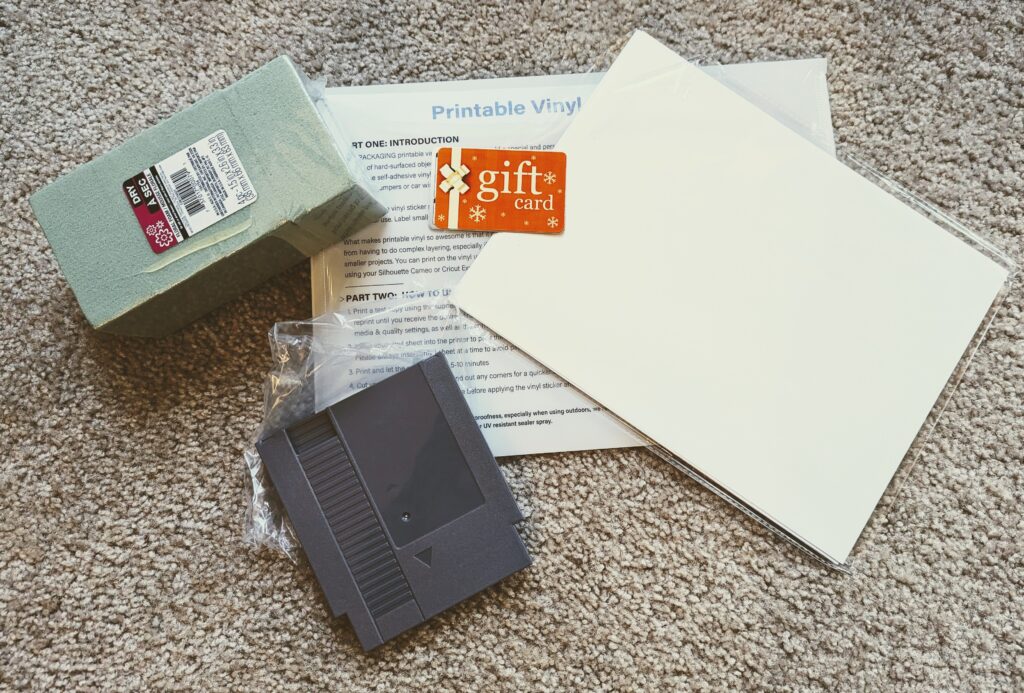
MATERIALS
- Nintendo NES Game Cartridge Shell (found a 6-pack on Amazon)
- Floral Foam
- Printable Vinyl
- Gift Card of choice
- Hot Glue Gun and sticks
- Screwdriver
Create the Gift Card Holder
First, acquire the game cartridge shell. I was lucky enough to find a 6-pack on Amazon for around twenty bucks, but other options include 3D Printing or looking for used cartridges on OfferUp or Craigslist.
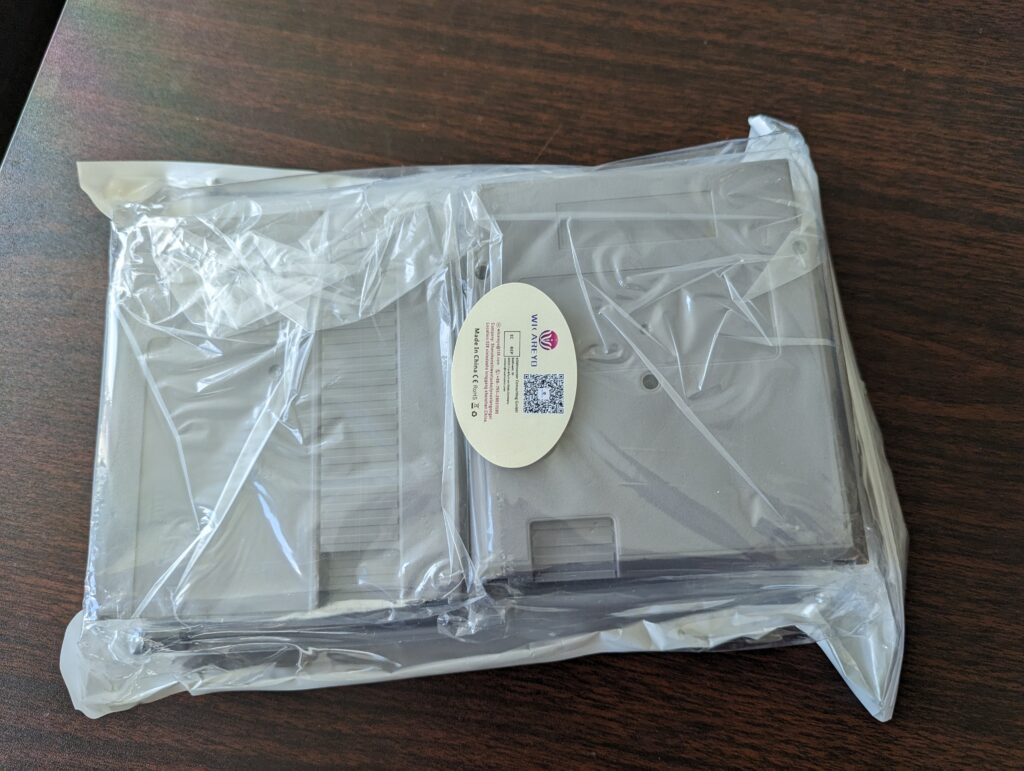
Once acquired, put the two halves of the cartridge together and measured the opening at the bottom where the game chip would typically live.
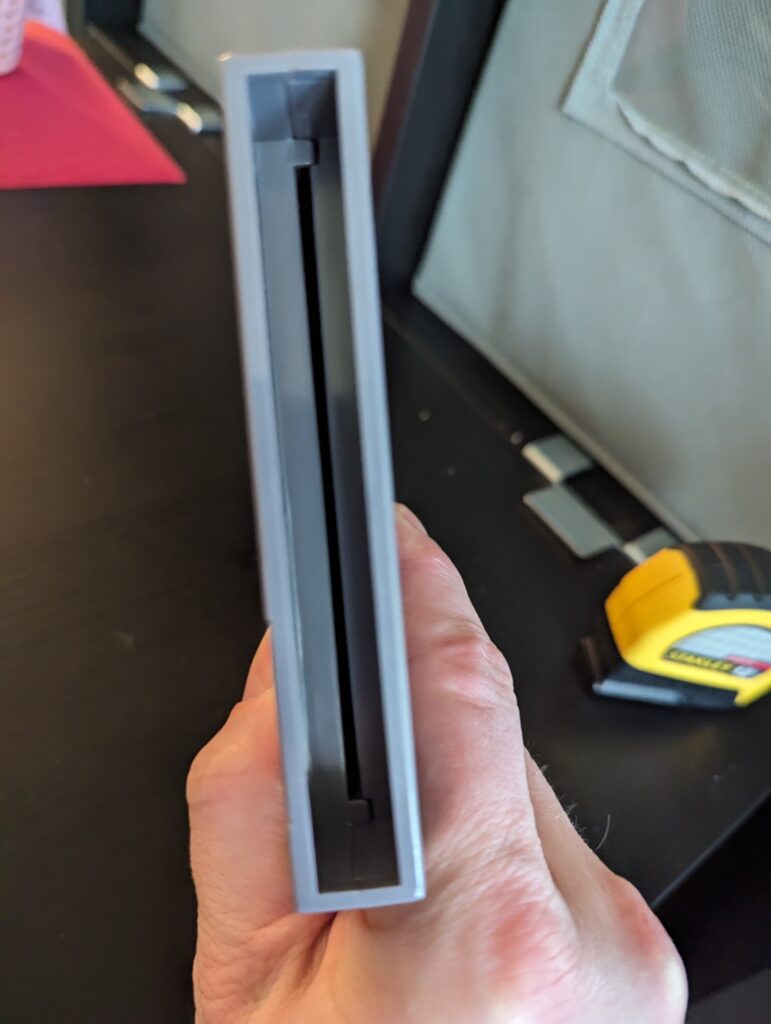
Taking the floral foam (or substitute thick EVA foam), and using an Exact-o knife, cut out to ever so slightly wider than the measured dimensions. The foam is easily compressed, so we want a really snug fit.
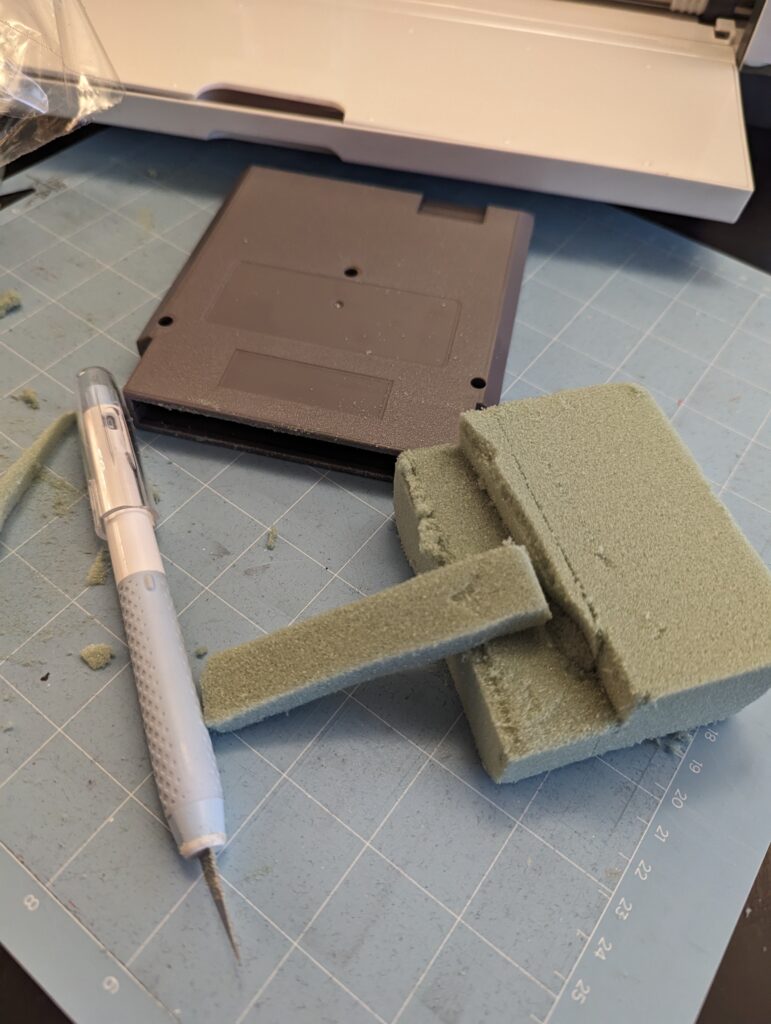
Next cut your prepped portion of foam and slice it directly in half. Place both pieces on either side of the cartridge. Using the hot glue gun, apply a strip of glue to adhere the foam to stay in place.
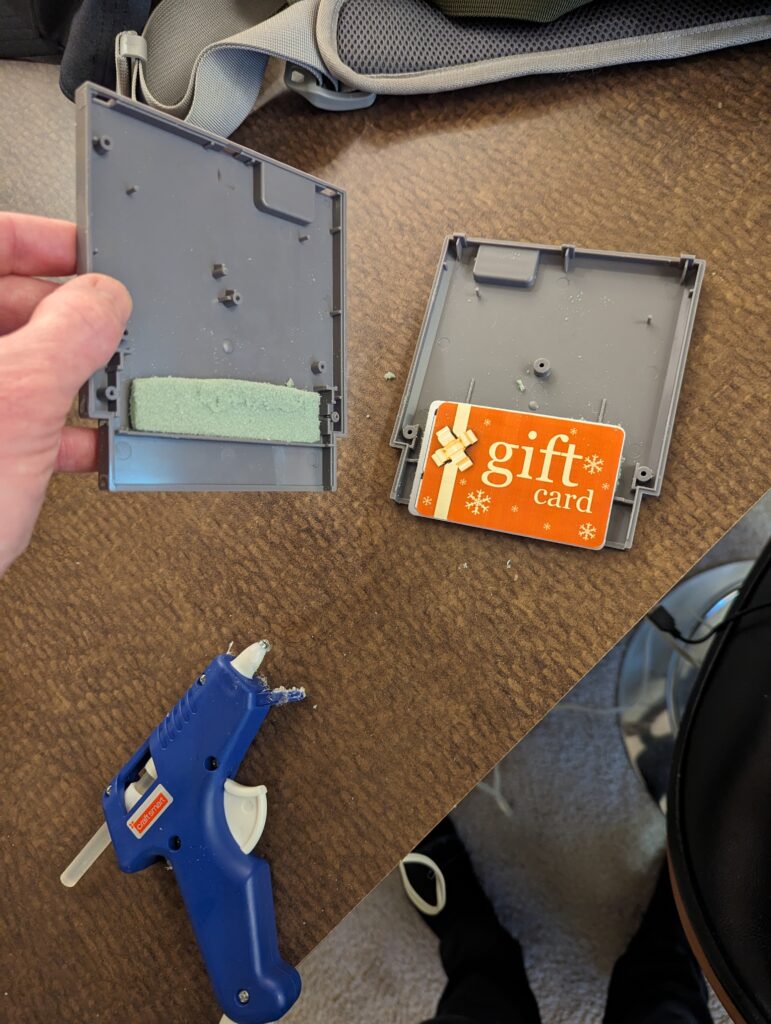
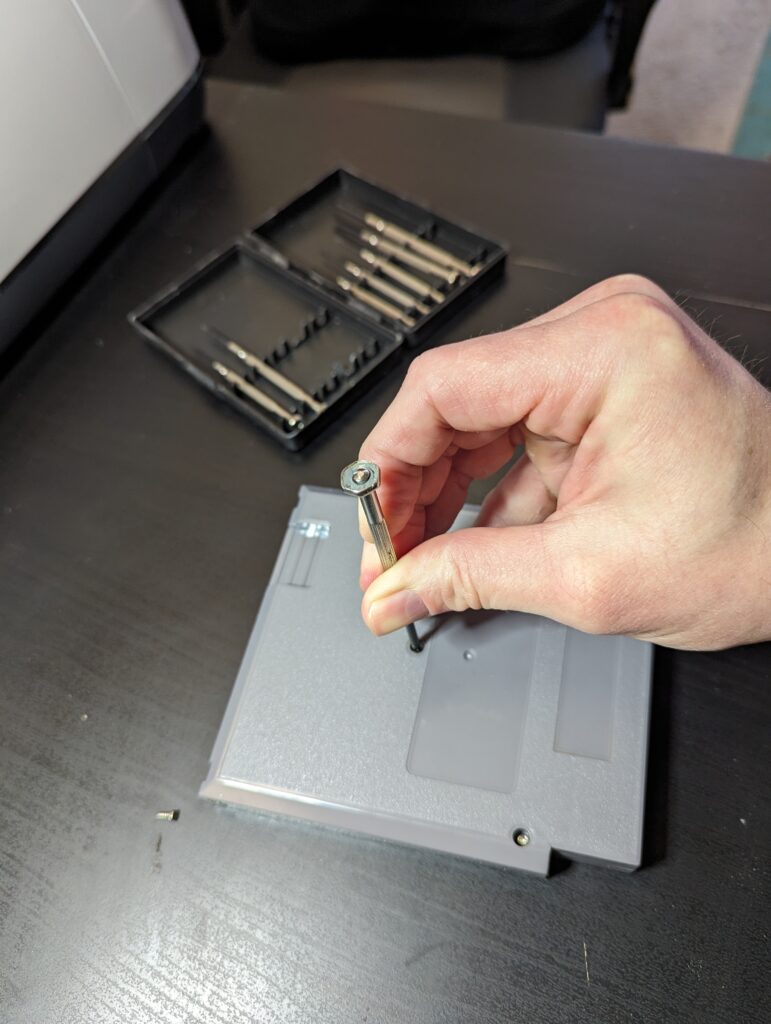
Connect the two halves of the cartridge using the included screws.
Now the part of turning an otherwise impersonal gift into a personalized masterpiece…
Create the Game Label
Measure the space where the cartridge showcases the game label, and create a template in your preferred design software. (For this example I used Canva). The dimensions should be around 2.32 x 4.00 inches. Alternatively you can search for a Nintendo NES game label for reference and using elements to recreate the preferred images to your liking.
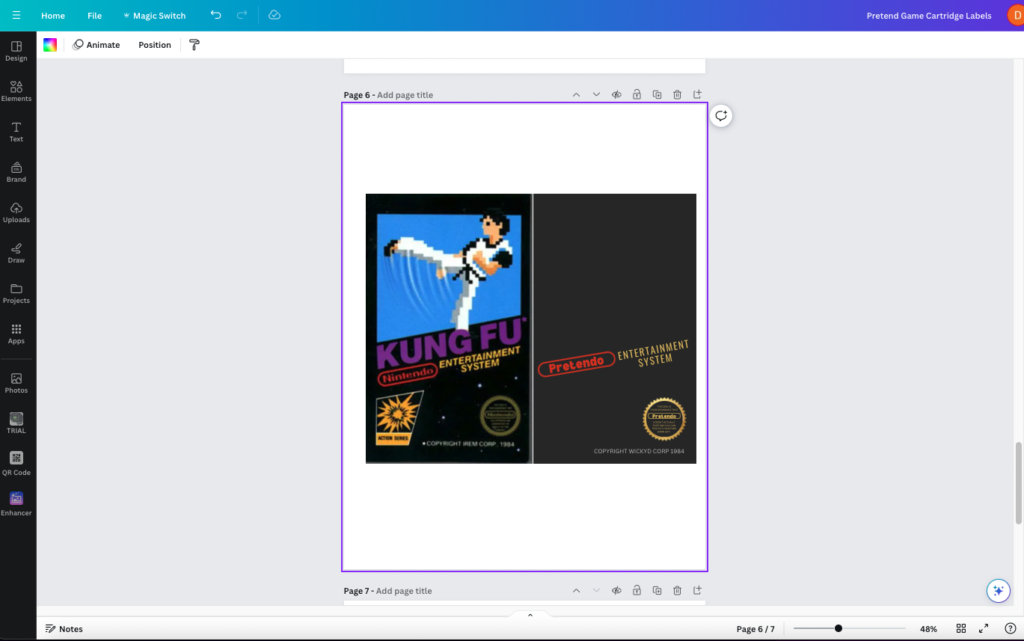
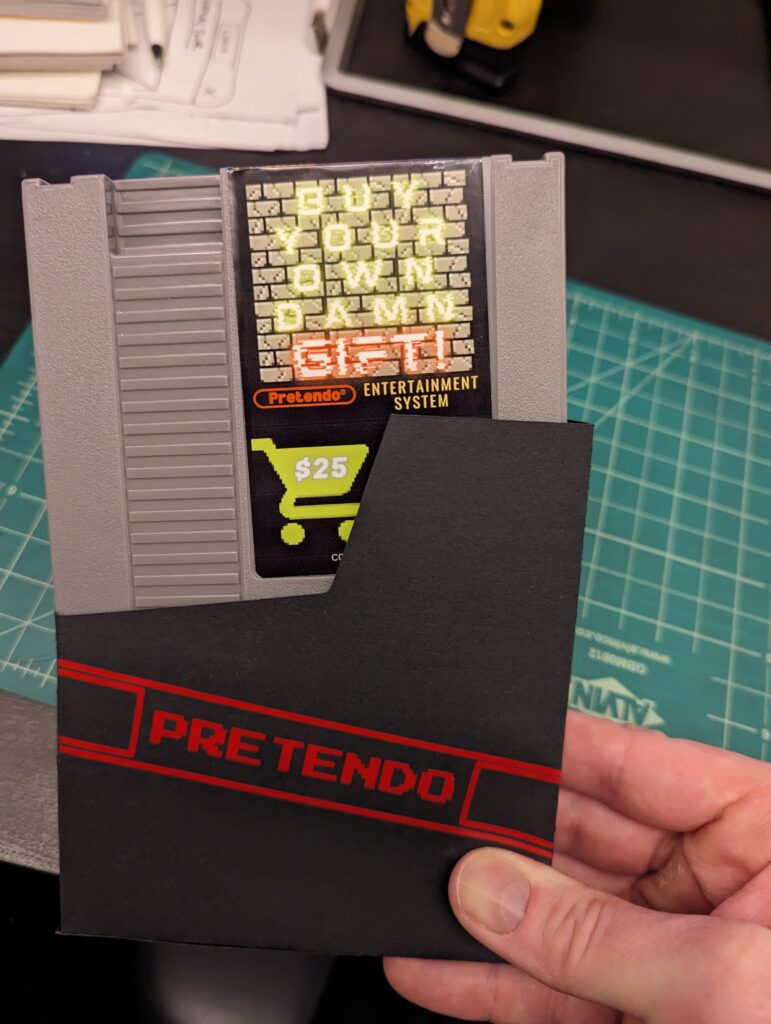
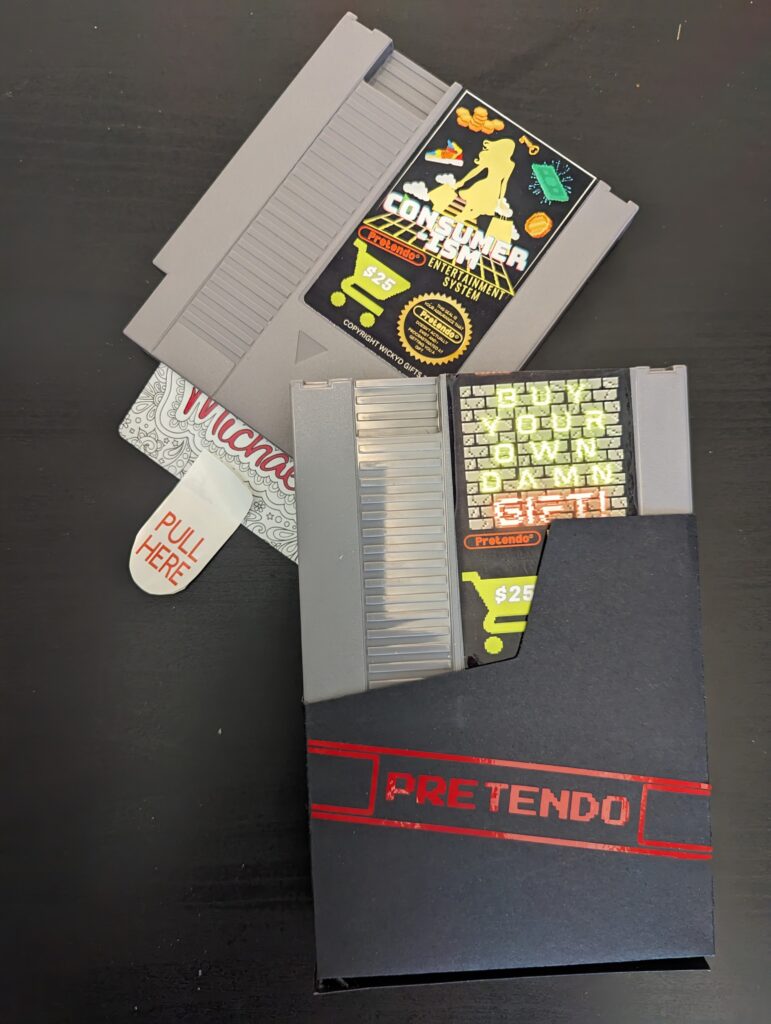
Once the skeleton of your design has been assembled, it is time to decide what your game is called and looks like. Here I designed some more universal game labels, such as “Consumerism: The Game” or “Buy Your Own Damn Gift!”, to be reused for others.
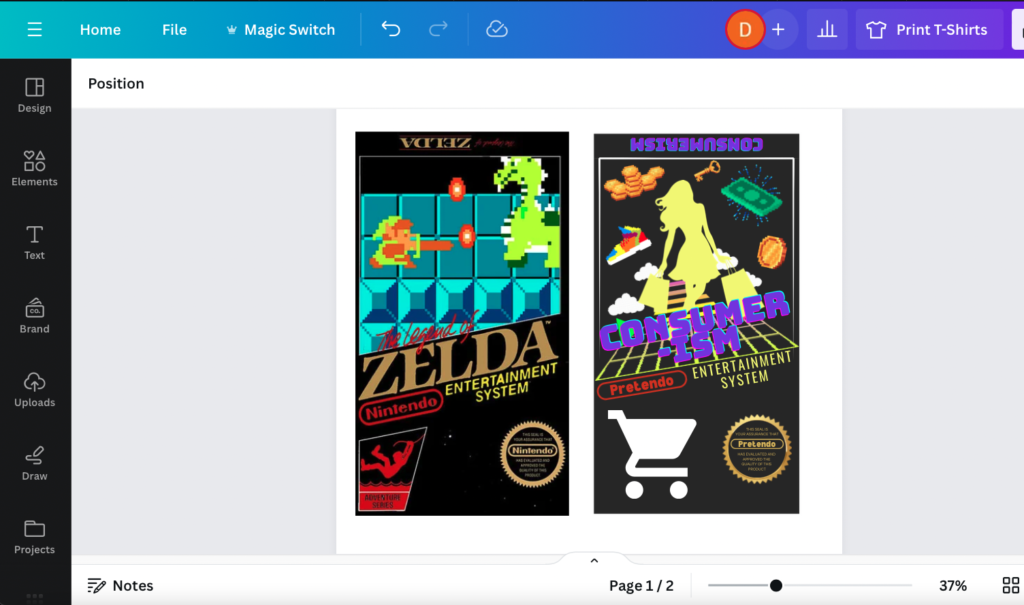
But if this gift is for someone specific, you can create a unique label just for them. Try using Canva’s Magic Studio tools like Background Remover, as well as sites similar to pixelicious.xyz can lend help to your design.

When you are happy with your design, it is time to print and cut it out.

Install The Label
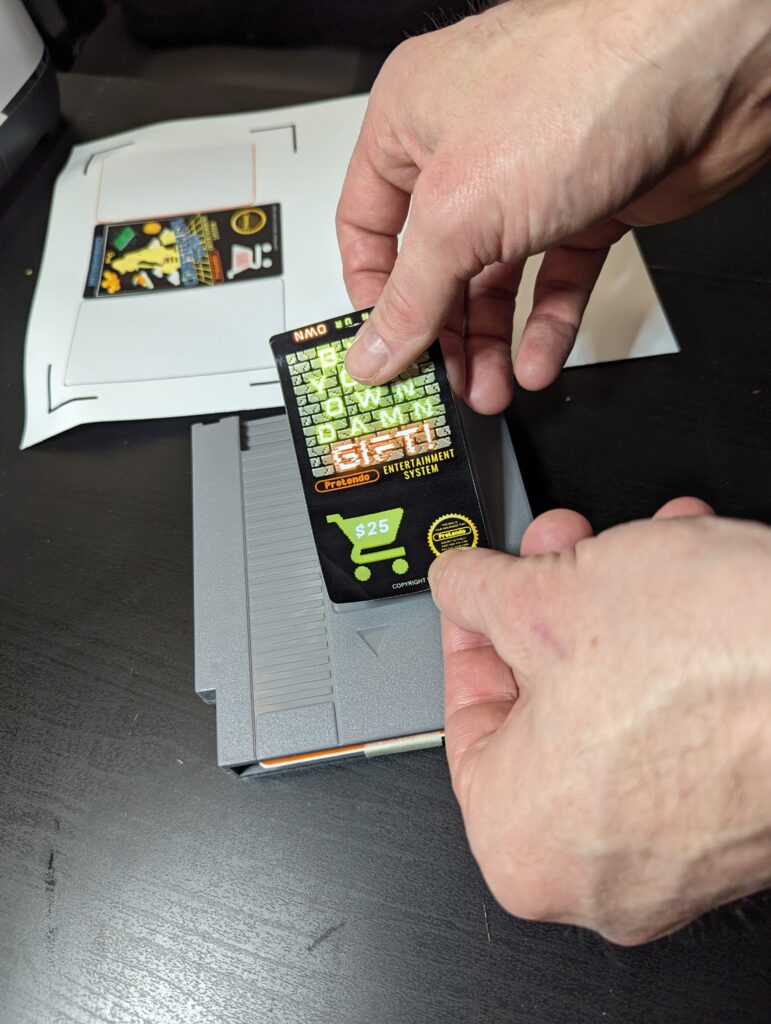
Print your design onto Printable Vinyl and carefully adhere it to the game cartridge.
Create a Gift Card Pull Tab
Prior to inserting the gift card, attach a strip of painter’s or masking tape. Adhere one end of the strip to the back of the card. Carefully fold the tape onto itself, attaching the other end to the front side of the card. This creates a tab for easy removal, and quickly guides the recipient into how to engage with the gift.
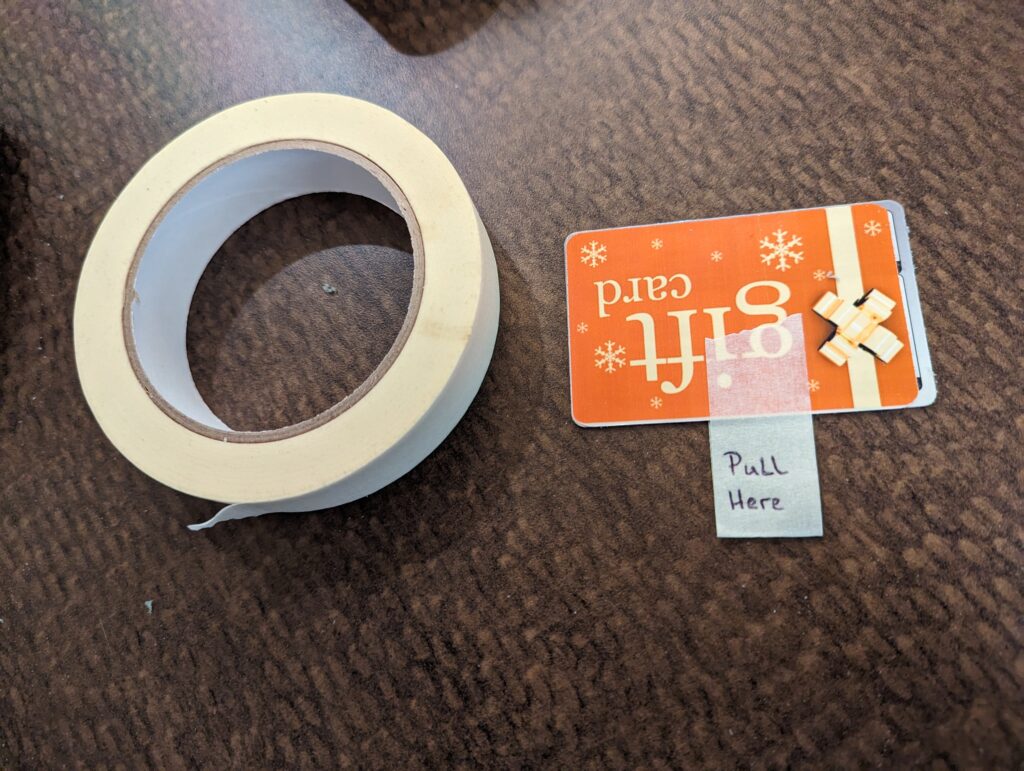
I decided I wanted a more polished look, so I also created a Print Then Cut tab in Design Space that was attached directly over the tape. Once applied simply insert the card into the game cartridge chip slot.
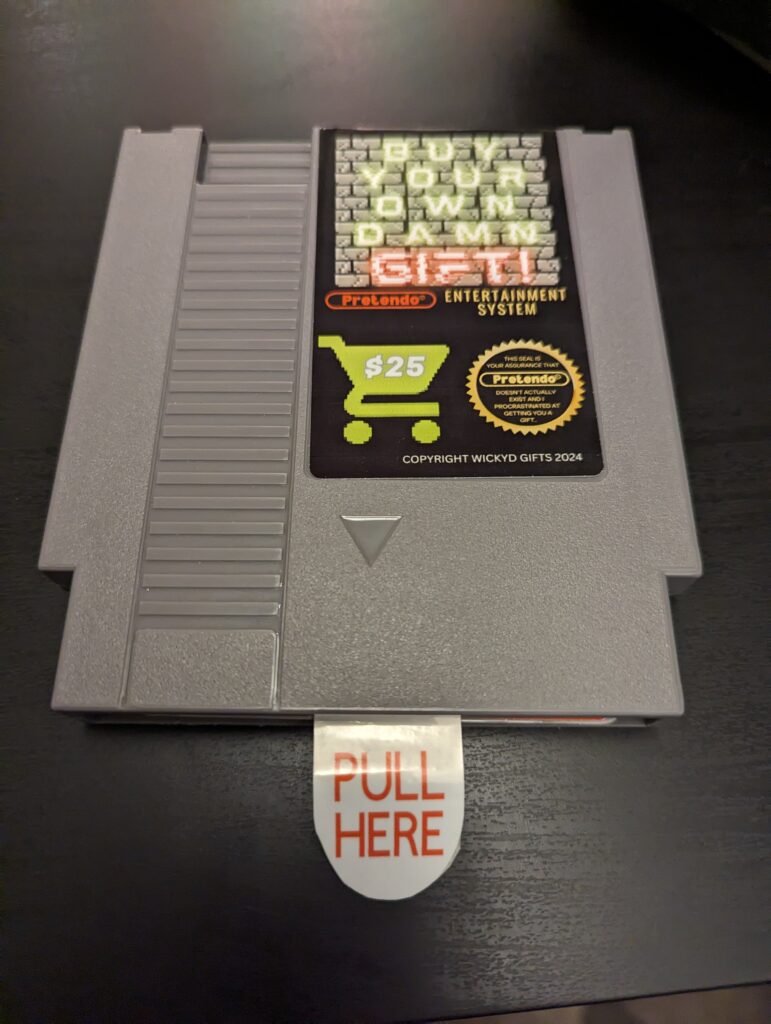
Optional: Create a Dust Protector Sleeve
For the final touches, you can create a retro cartridge sleeve to protect your design and secure the gift card from unexpectedly falling out.
A simple search should find a general template, or you can download this basic Nintendo NES Gaming Cartridge Sleeve Protector Template that I found from a YouTuber by the name of ThePizzaByte (thank you for the free download). If using Cricut Design Space, upload the template and attach score lines to the png for easy fabrication. Then have your Cricut cut out the design on black poster board. Otherwise cut out the template by hand and carefully fold using the guide lines.

Once prepared, attach the ends with double-sided tape or adhesive of choice.
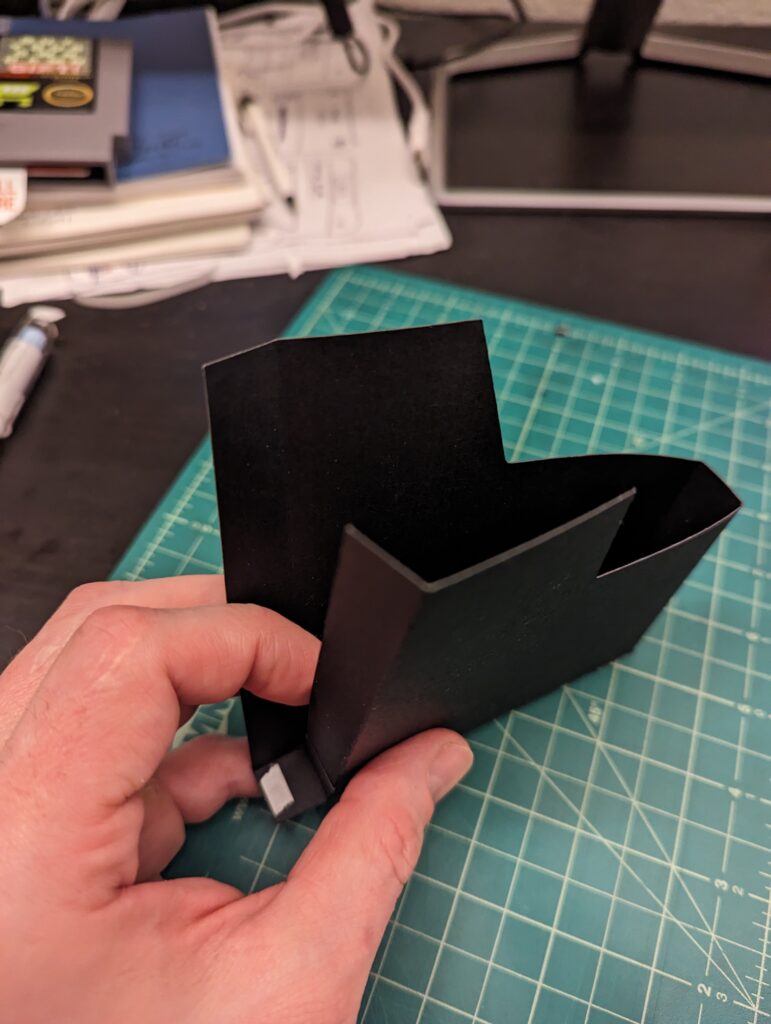
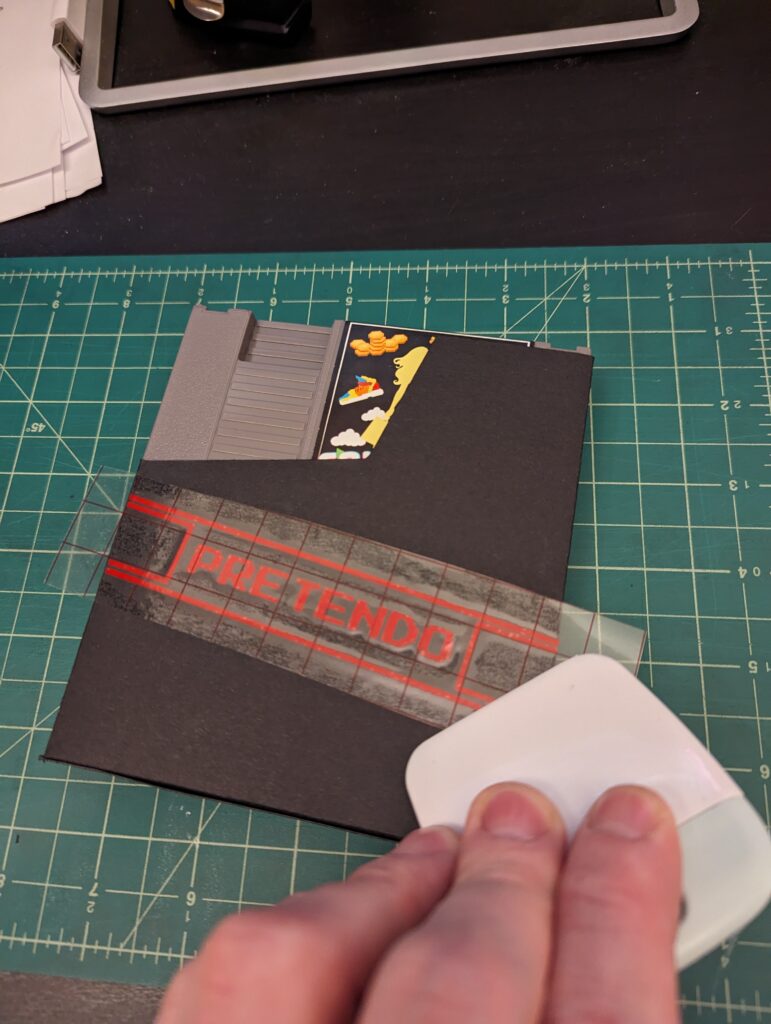
*I also quickly created a “Pretendo” logo based on image references of the original dust covers, then cut it out of red vinyl. This was adhered to the case with transfer tape.
And That’s It!
A retro game cover to hold your boring ass gift card!
Other items to store inside that came to mind:
- Concert Tickets
- Magic Mushroom Chocolate Bars (may need to use a rotary tool to widen the opening)
- A Wedding Ring (perfect for adorable Nerds in love)
And that’s it! I think the most challenging part is acquiring the game cartridges. After that, the whole thing can be made in very little time using minimal design software skills and your imagination.
Let me know in the comments what you think about this project or what you will be gifting inside the retro game. Happy crafting, and, uh, …Okay, bye….

