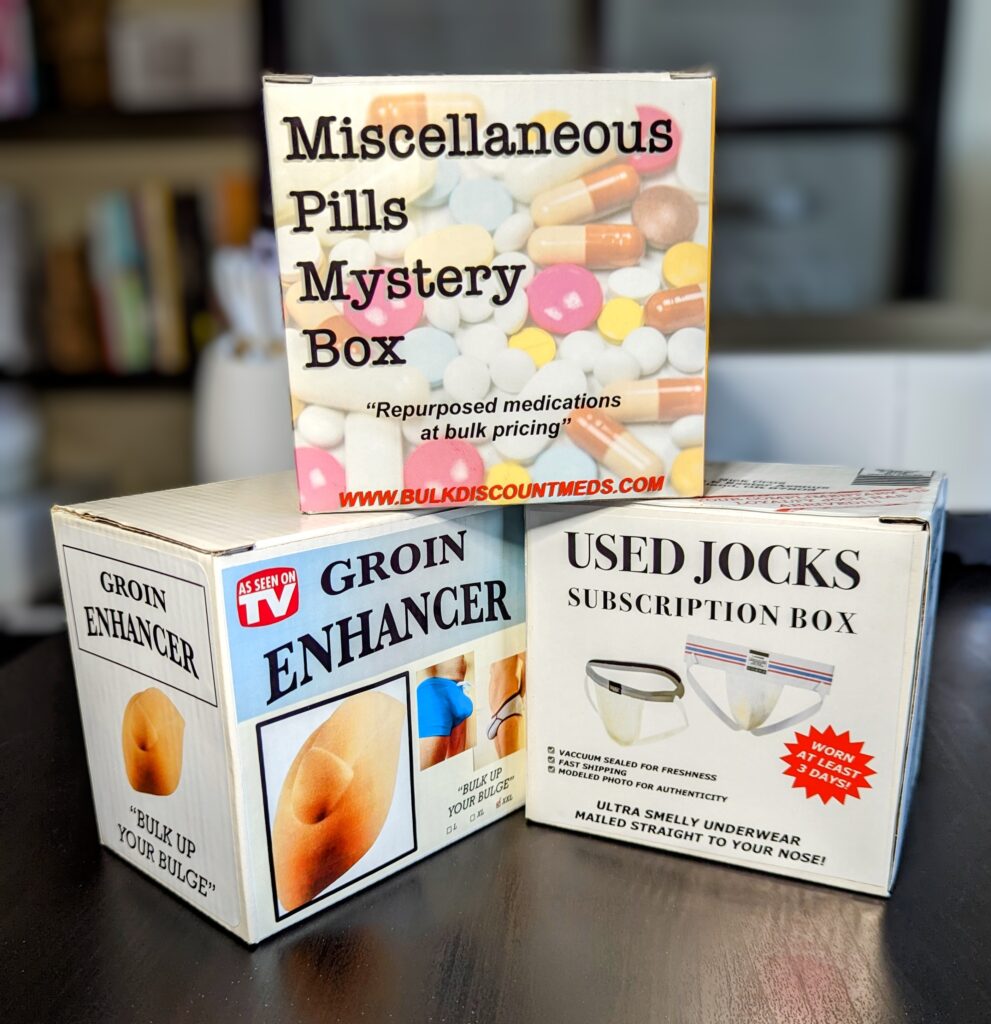
For the past couple of years I’ve been having a real hoot sending eyebrow-raising packages to friends afar in an attempt to make their local mailman question the safety of delivering to their address at all.
Properly timed prank mailers with labels like, “Groin Enhancer”, “Repurposed Taxidermy” or “Used Jocks Subscription Box” can make for a truly unique birthday surprise.
The beauty of this prank is that you can be as elaborate or simplistic with your design as your skillset allows, because no one wants to come home to a blackmail-level mailer clearly marked for them on their doorstep.
Let’s begin….
MATERIALS:
- Printable Sticker Paper – I use JANDJPACKAGING printable vinyl, but any high-gloss printable sticker paper will work as well. (It is wise to use a water-resistant sticker paper/vinyl if your budget allows)
- Mailer Envelope – Easily attainable: Dollar Store, Office Supply Store, UPS, etc.
And/Or
- Small Box – For this project I used a box one of the sublimation mugs came in
- Printer
- Cricut
- Cricut Design Space
- Procreate – *As always, if you have the designing part down, use what you know and skip the Procreate design section
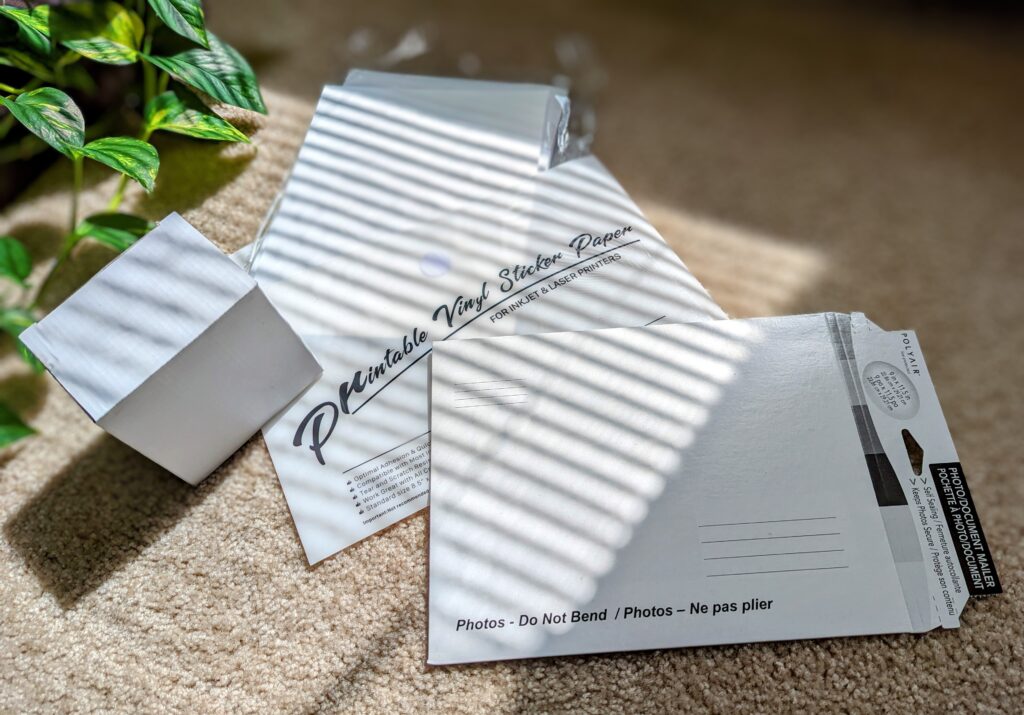
DESIGNING YOUR PACKAGE
If you’ve perused my other posts, you may already know that my graphic design software skills are virtually non-existent. But I do like drawing in and am quite familiar with Procreate. It is an incredibly inexpensive app for the iPad and in my opinion has a very small learning curve.
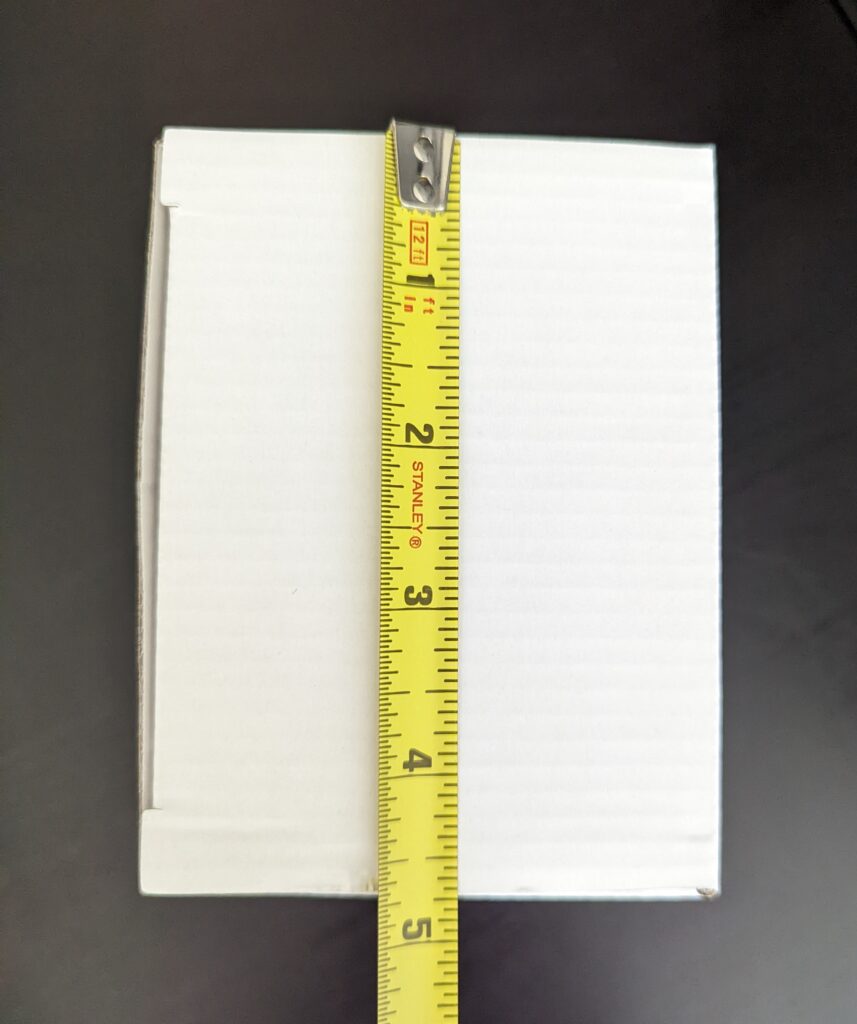
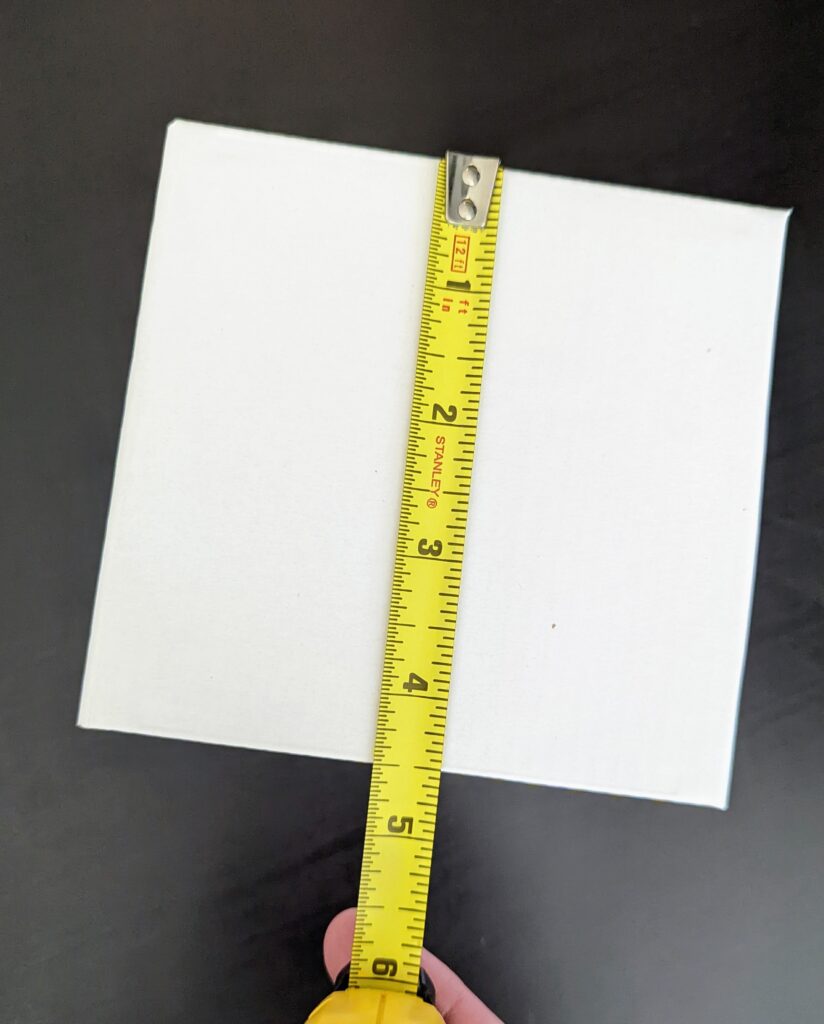
Decide on what package you will be mailing and measure its dimensions. For a cardboard envelope mailer you may want to design to the dimensions of the printable vinyl and simply slap it on.
For a gift box, measure each side (minus the bottom), and create multiple canvases that correspond with those dimensions.
Focusing on one side at a time, begin by searching for a background image that best fits the design aesthetic. For the “Miscellaneous Pills Mystery Box” concept, use search terms related to “medication”. Then clicking the Tools option, select Creative Commons Licenses to narrow royalty free images.
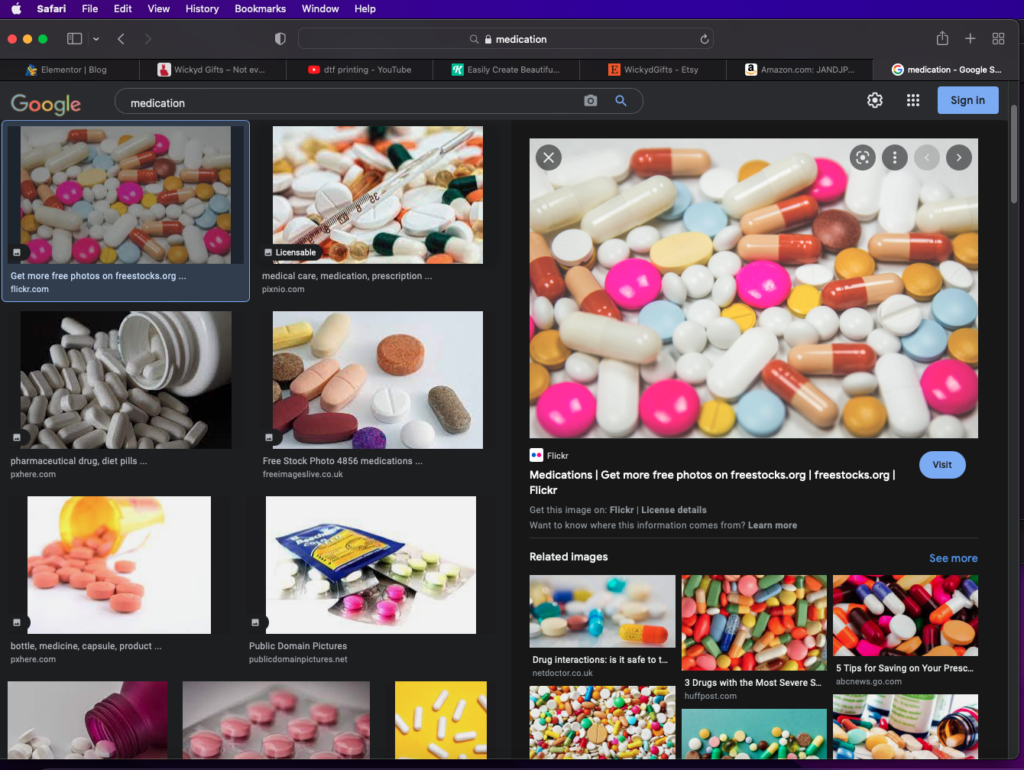
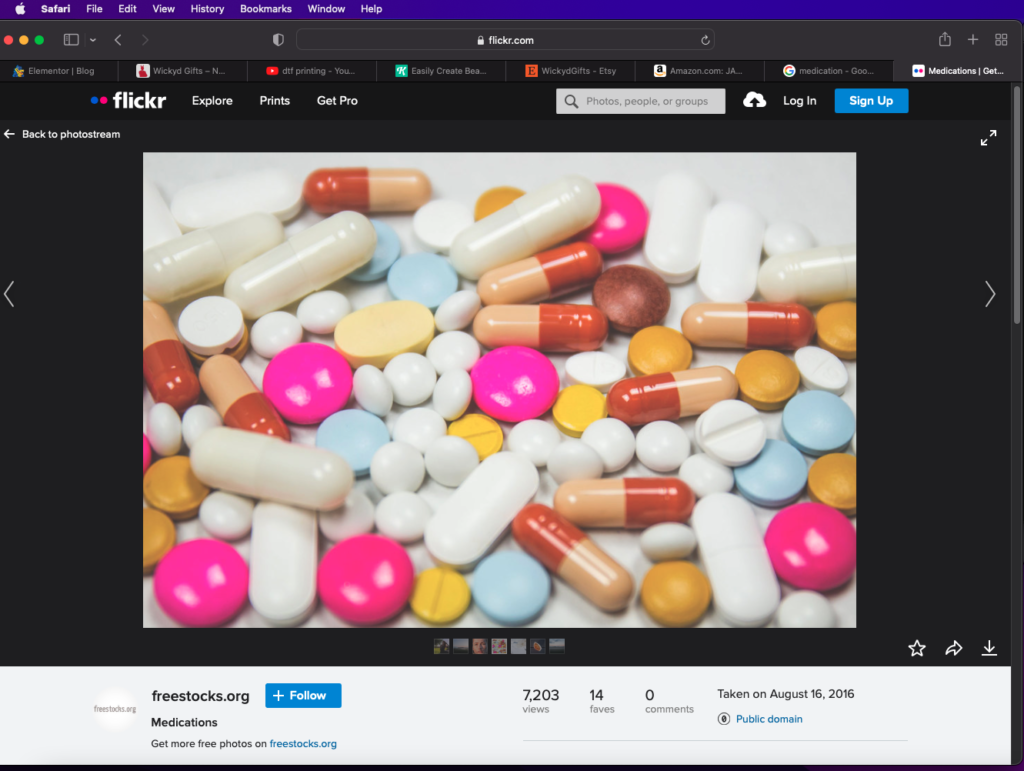
Once you’ve selected an image that you like, first double check the License details on the actual website, then once verified, save the image to your device.
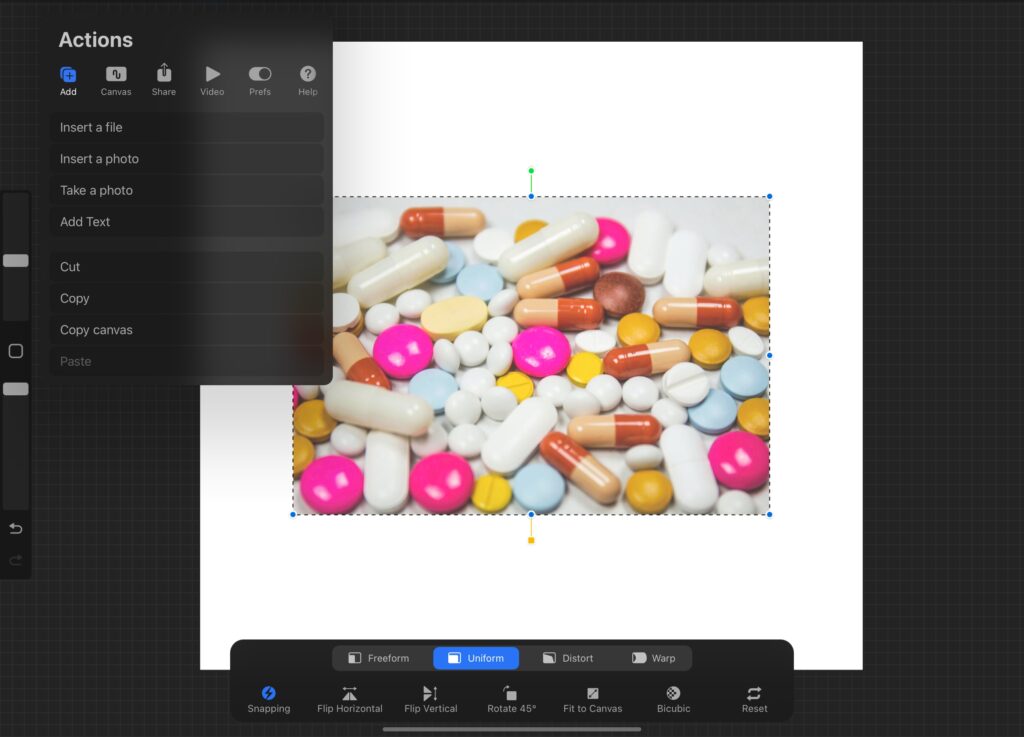
In Procreate, select the Actions tab and tap Insert a photo. Select the newly downloaded image, and once on the canvas, resize it to where you find it aesthetically pleasing.
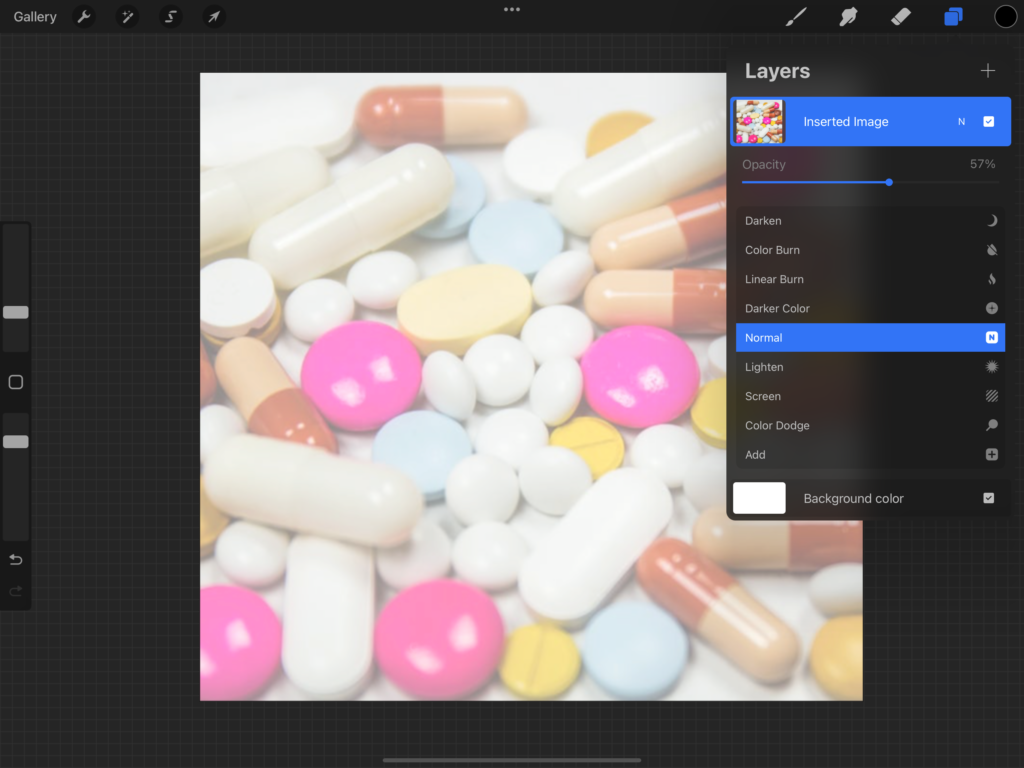
Tapping on the letter ’N’ on image’s layer will drop down a sub-menu. Here you can adjust your image with preset filters and Opacity. Slide the Opacity bar down to lighten your image.
To add text, select the Action wrench and click on Add Text. Type out your product name.
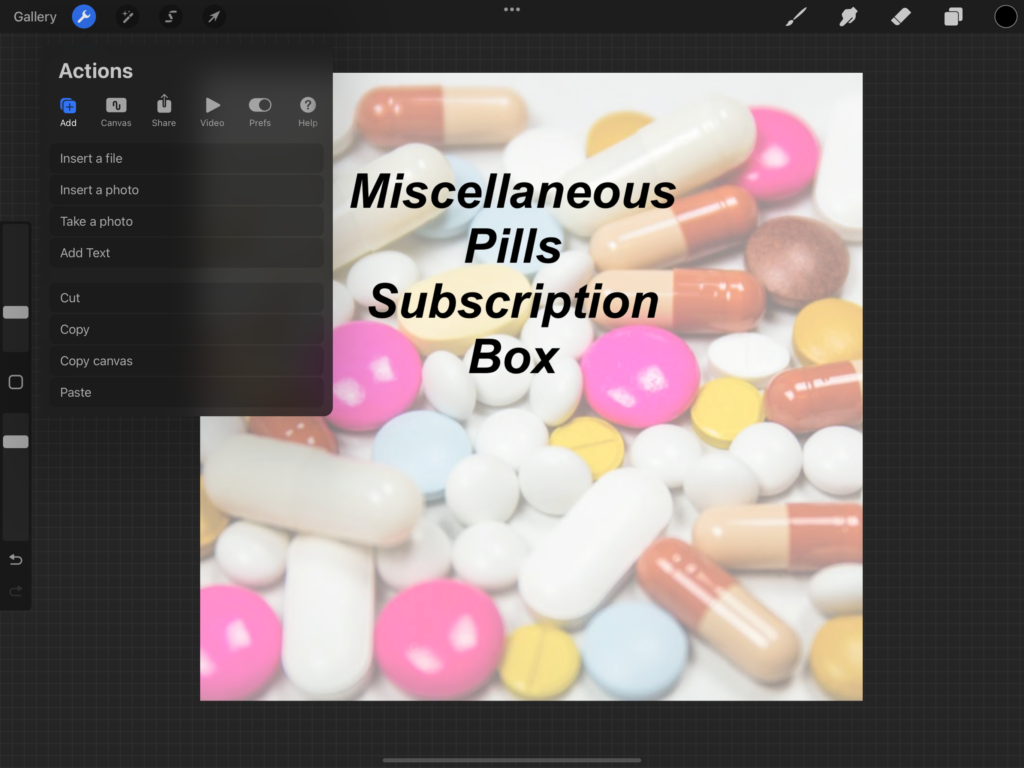
Highlighting all letters open the text editing menu options. Change your font and style by tapping on the font name.
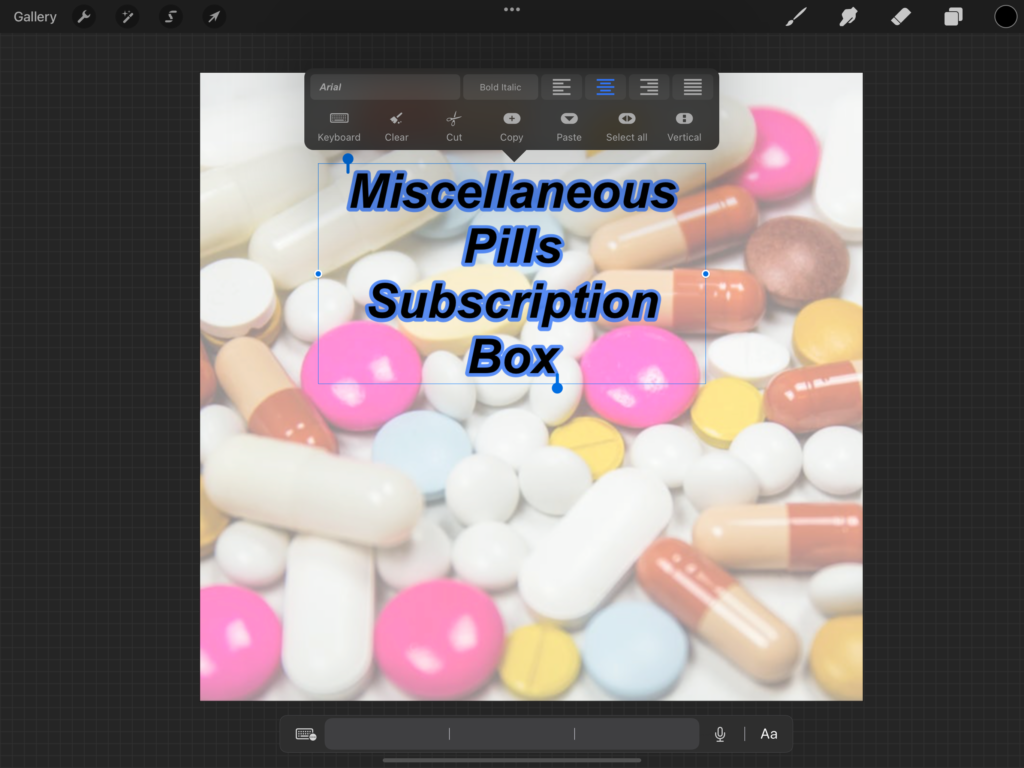
The new menu will offer options for font, style, design (line and letter spacing, etc.), and attributes. Play around until you find the appropriate layout.
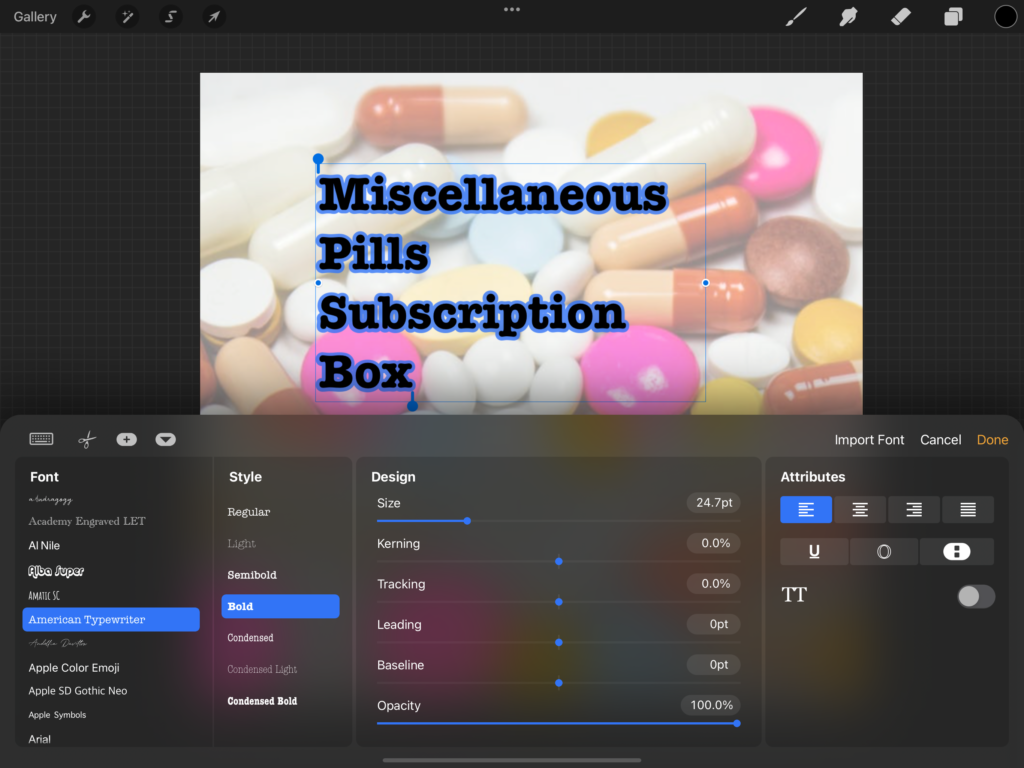
You can add a drop shadow for the font by swiping left on the text layer and click Duplicate. Then with the lower layer selected, slightly offset the new layer with the Move tool and change the color.
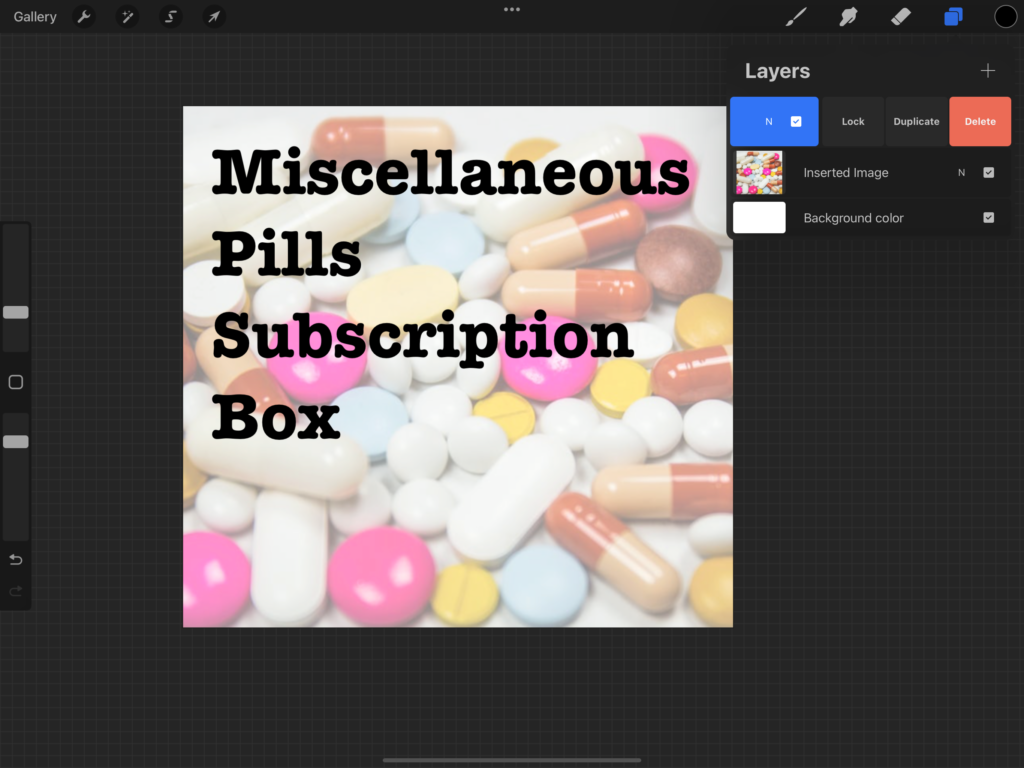
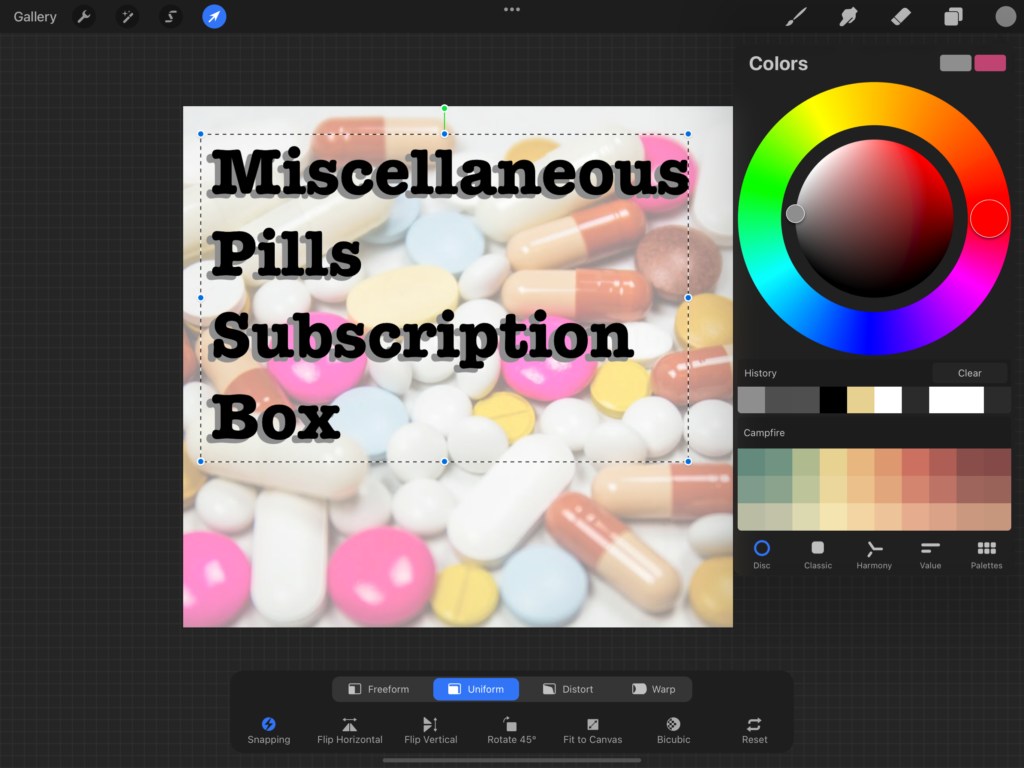
Repeat the process to include additional script to the packaging as needed. Once you are happy with your design, select the Share option under the Action wrench, and share image as a PNG. Then simply choose where you would like to save the file.
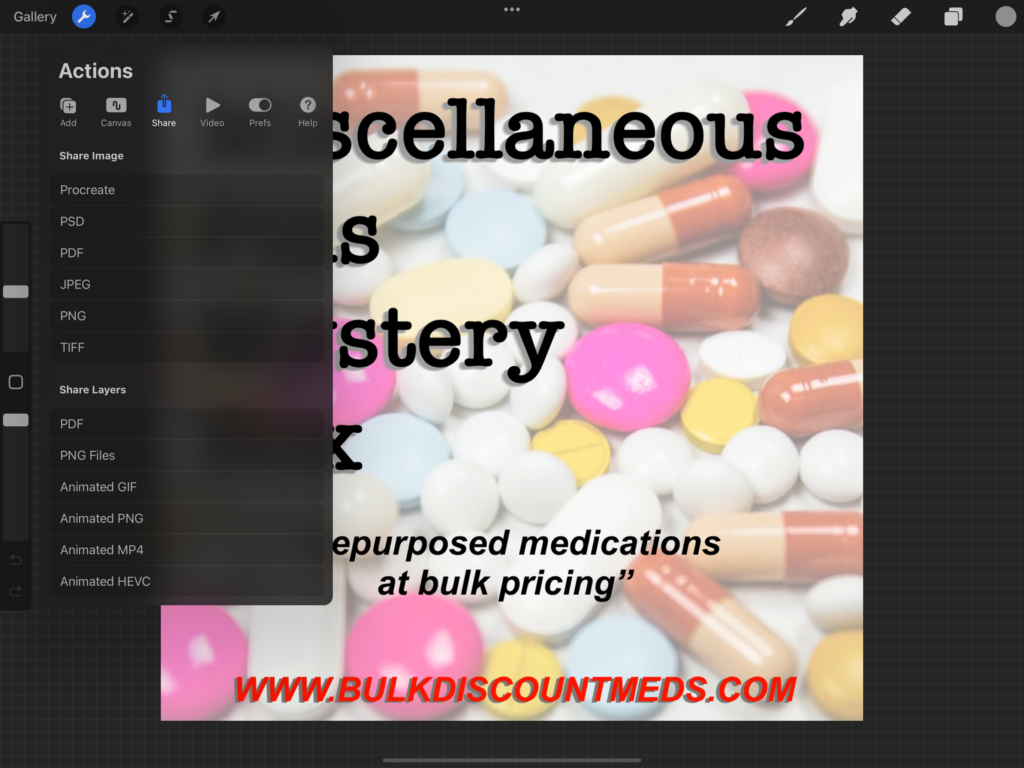
Repeat this process for the top and sides of the packaging. Once everything has been saved, it is time to upload into Cricut Design Space as a Print Then Cut file.
MAKE IT
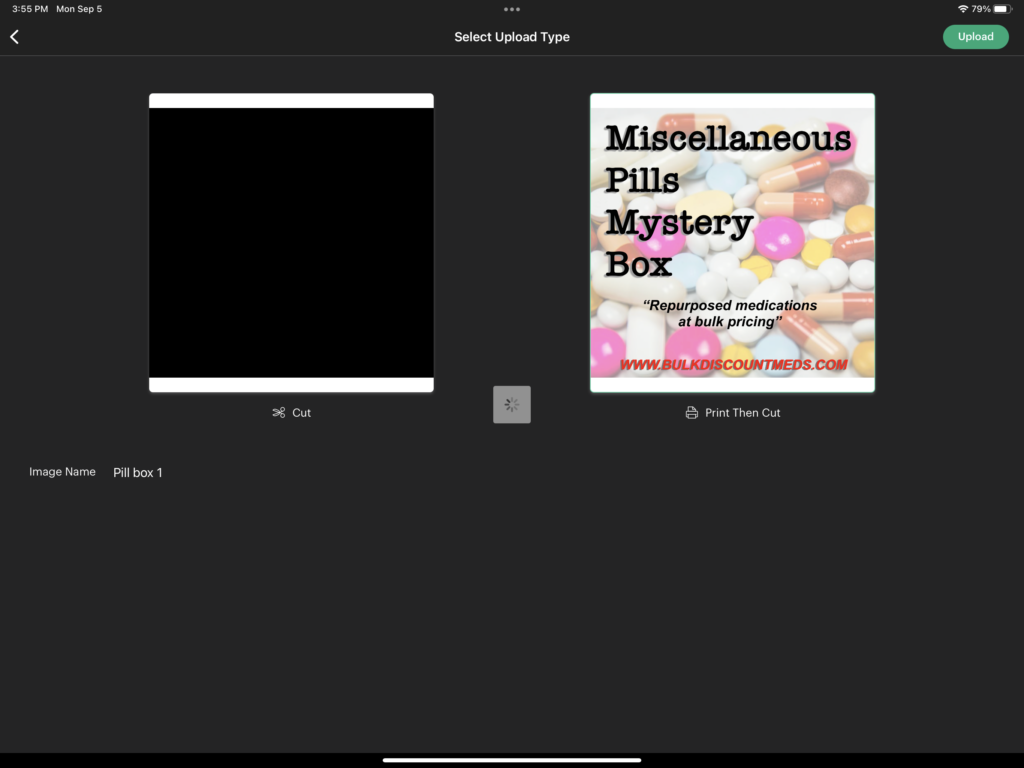
Starting on a new canvas, select Upload, then Browse Files. Select the first box design. Next click Apply. Select Print Then Cut, name the design and select Upload.
Under Edit, resize your image to it’s original dimensions.
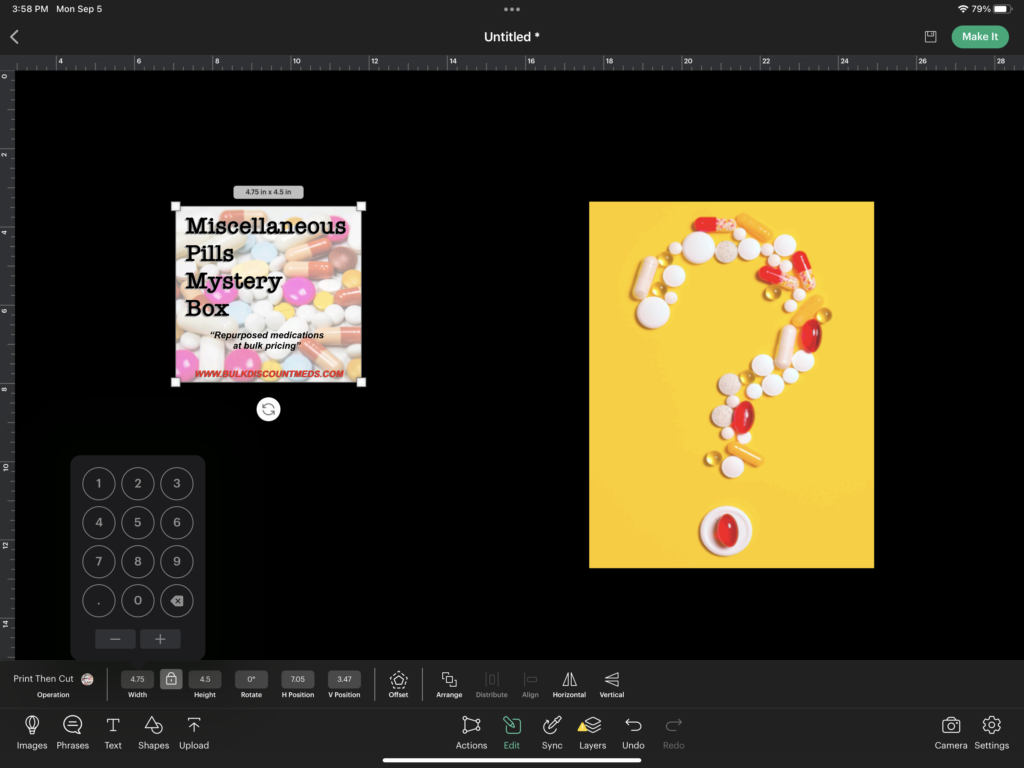
This design was kept intentionally simple, repeating the label on adjacent sides of the box. So highlighting each image, select Duplicate under Actions.
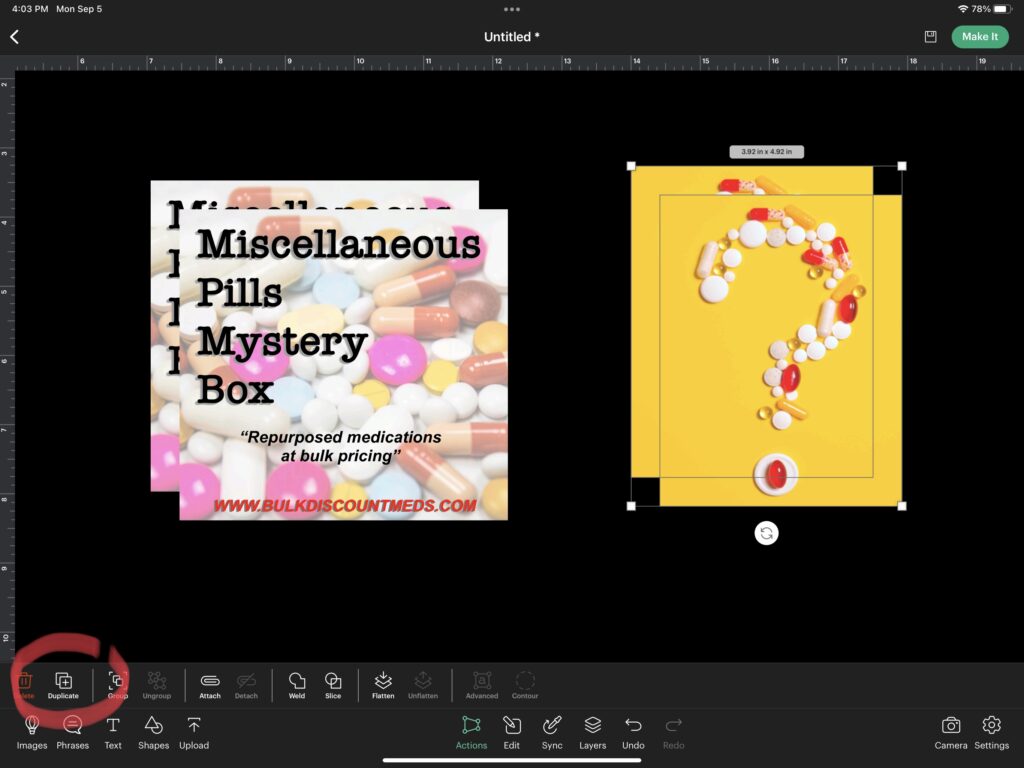
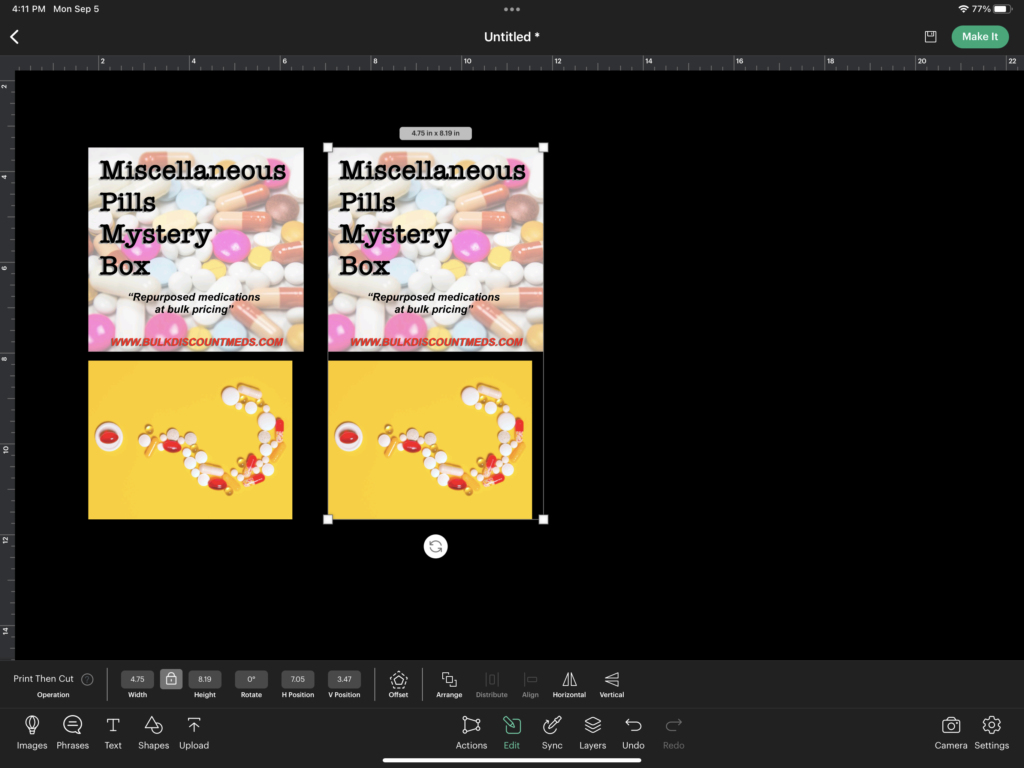
Even though Cricut’s Print Then Cut feature allows for 9.25” x 6.75”, the software (as of this writing) is sometimes not intuitive enough to group images onto one sheet to conserve materials. The simple workaround is to Attach images together positioned in a way that fits into the print area size.
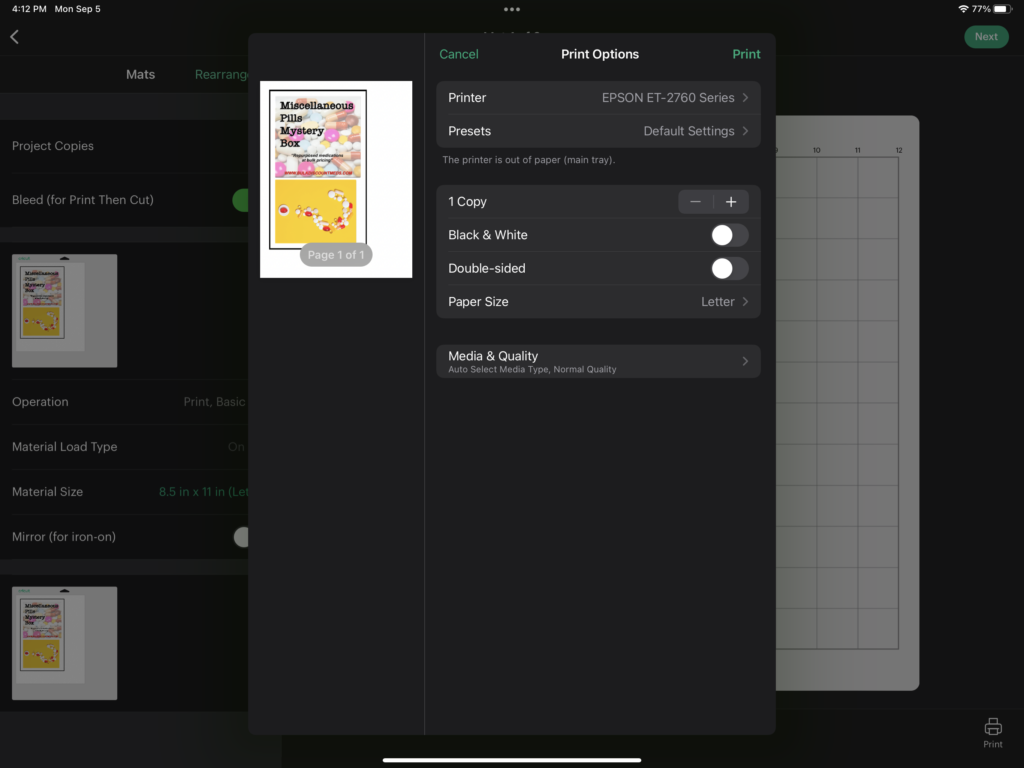
Selecting Make it, first Print out your images using the dialogue box to adjust any settings.
Attach your prints to your mat, taking care to position it in the same way as on you screen. Set your material, in this case, Printable Vinyl.
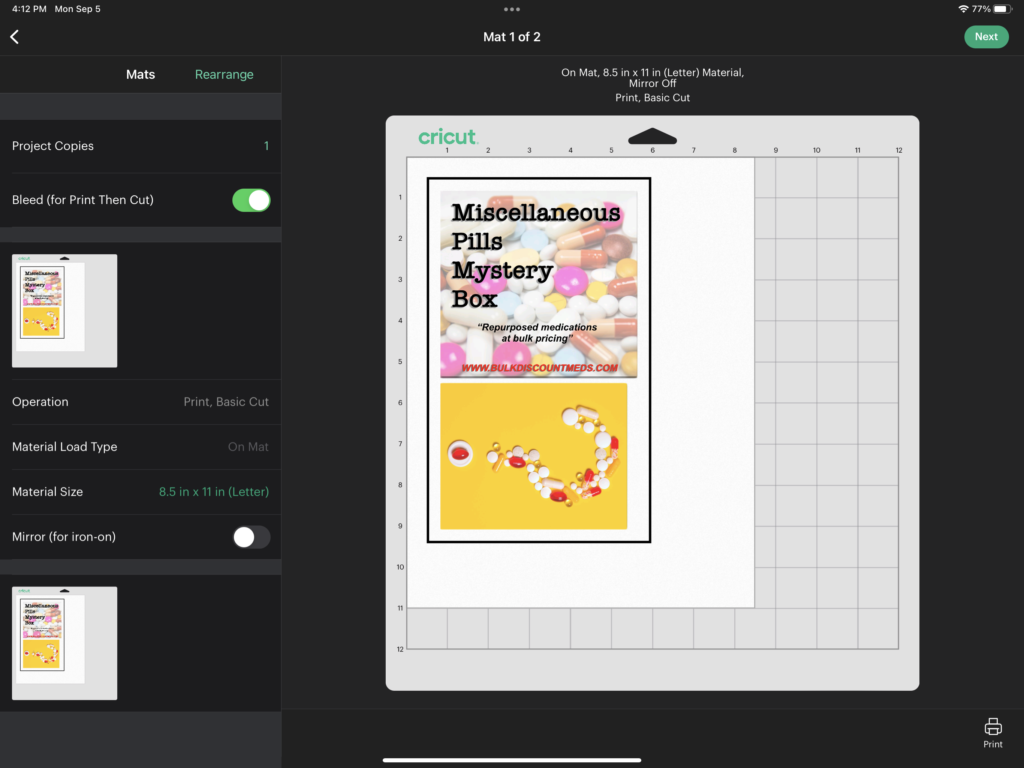
Load your mat, select the logo’d Go button, and allow the machine to first read the registration marks and then cut out the image.
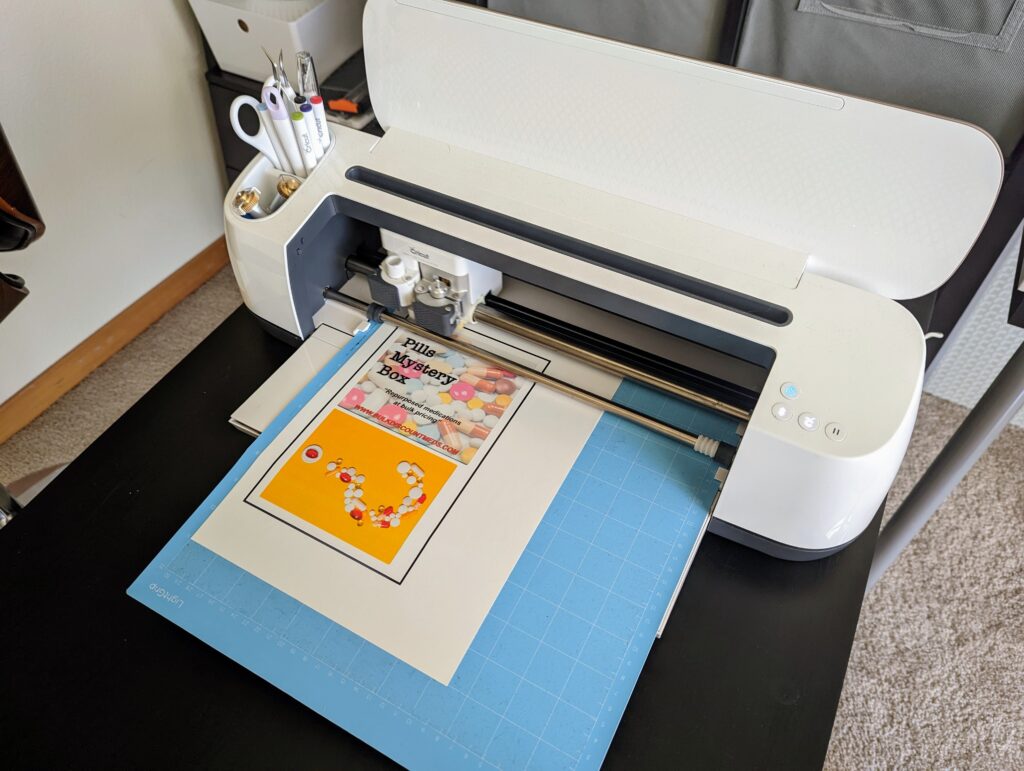
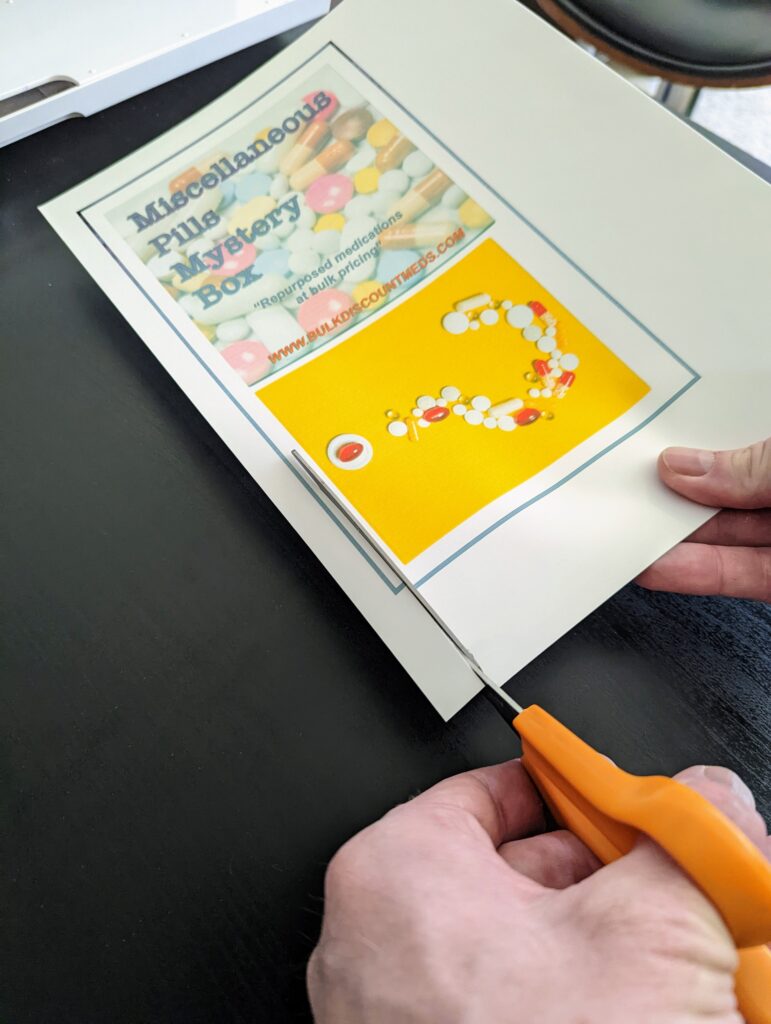
Once the images have been cut out, I like to cut down the paper for easier placement.
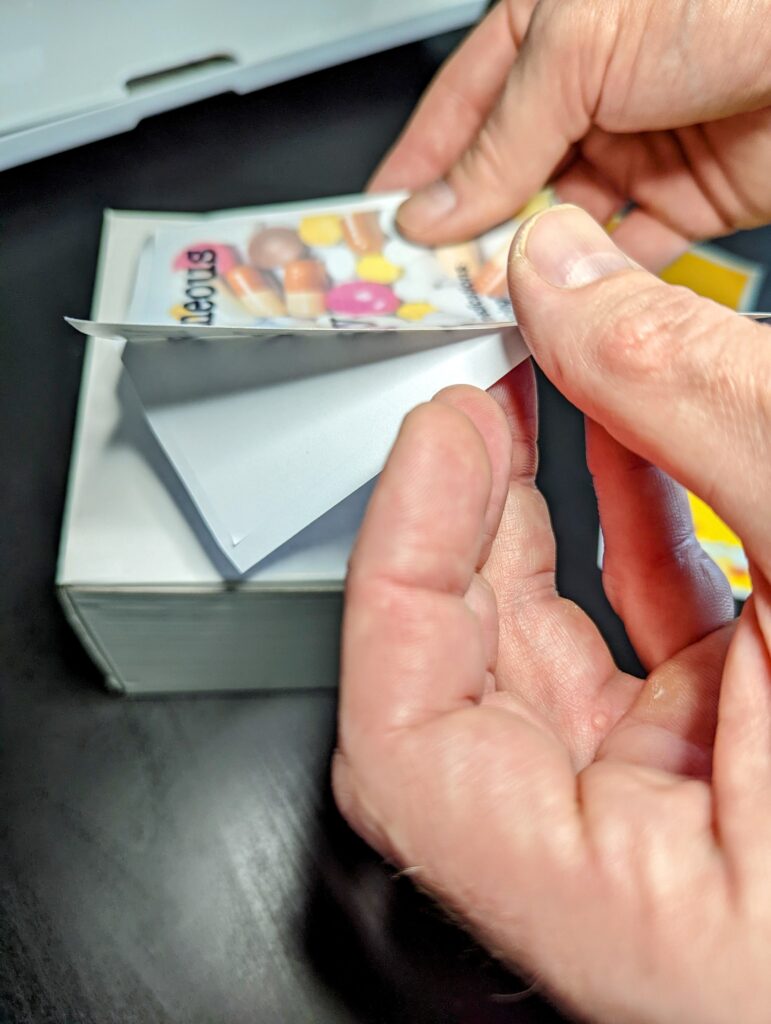
Carefully peel back one corner of the vinyl from the backing to help line up with the box.
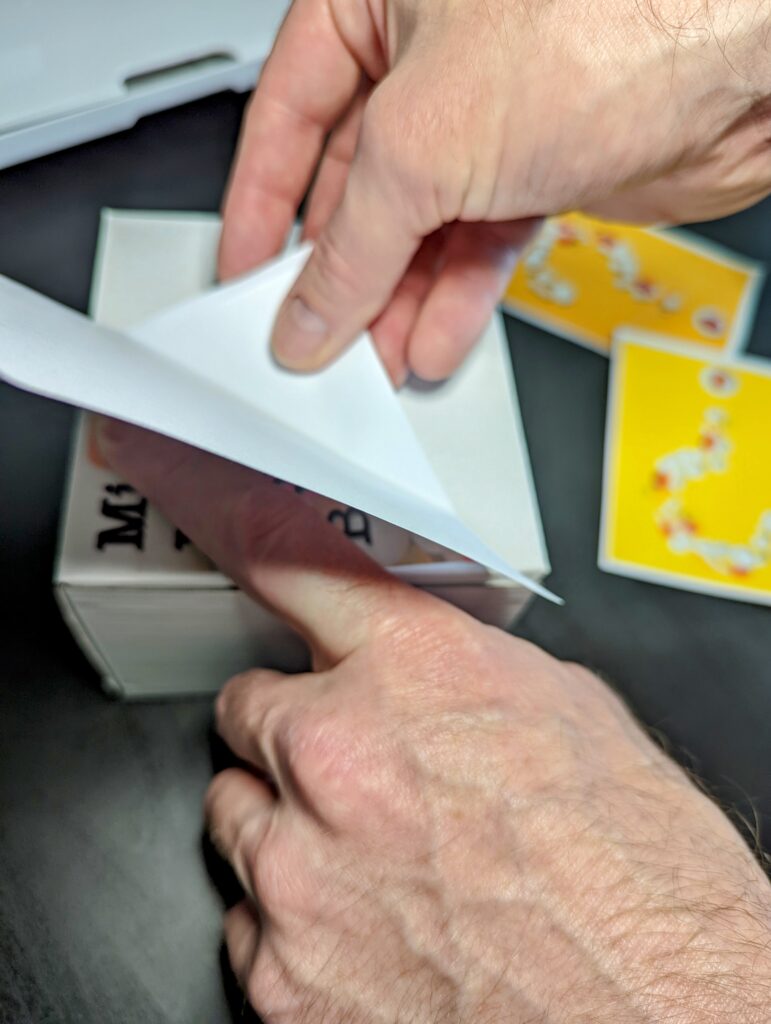
Press down the vinyl while slowly pulling back the backing in a diagonal motion to resist catching any air bubbles.
You can easily trim any excess overhang caused by improper placement or incorrect measurements by using an exact-o knife and the side of the box as a guide.
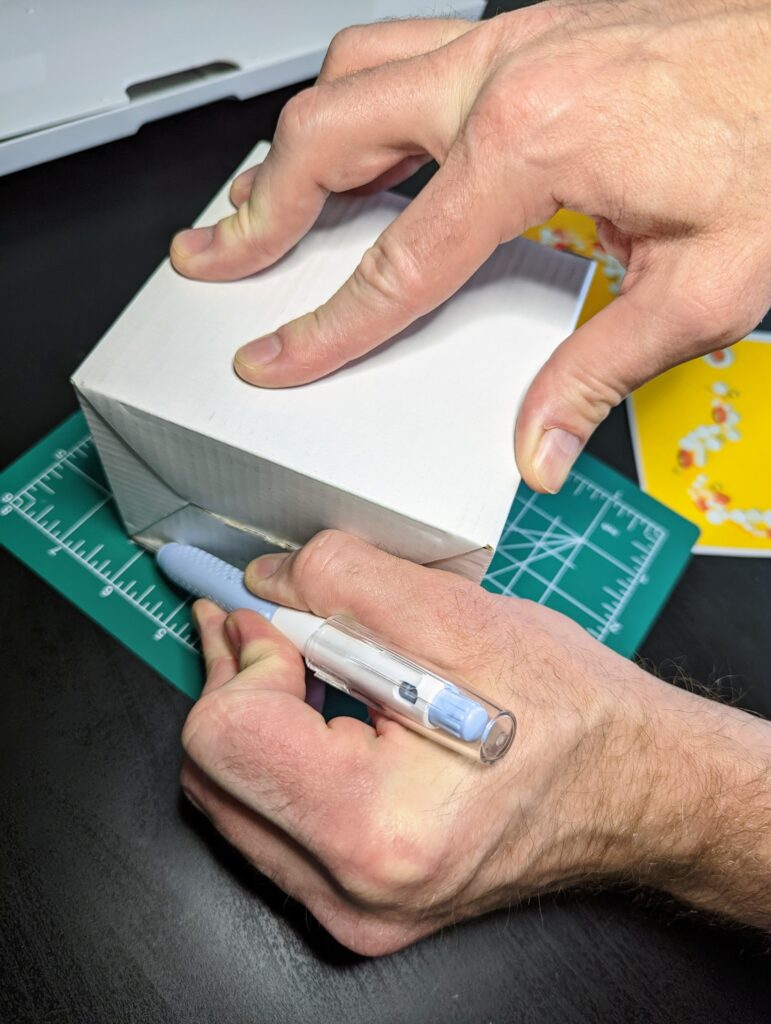
Repeat the process with each side, being mindful to press the edges as they overlap to create a strong bond.
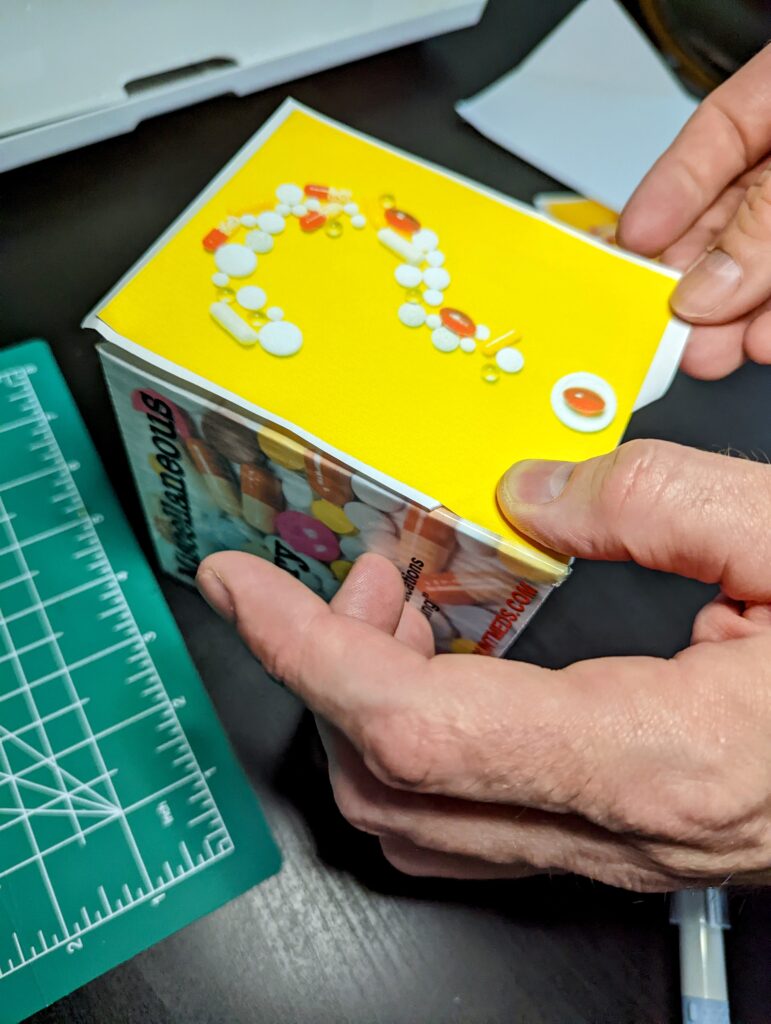
And That’s It!
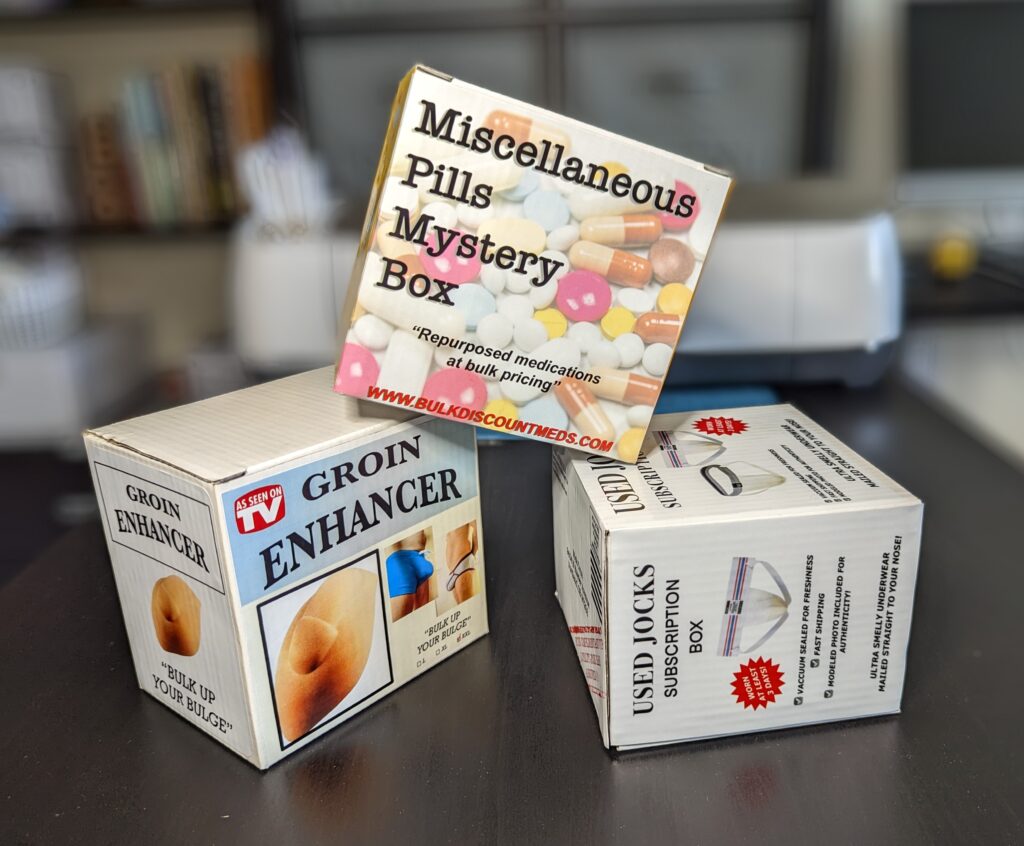
Congrats! You have made a realistic looking prank package to mail to any unsuspecting target. You can fill the box with a thoughtful gift, or an even pranky-ier prize inside.
I would recommend not using any vulgar language or imagery if you intend to actually mail this through your local post office. That aside, the ideas are limitless. Play around with different designs and start weirding out your close friends on their birthdays, or doctor up a box to be unwrapped for a White Elephant party.
Just have fun with it and get to creating.
…Okay, bye.

