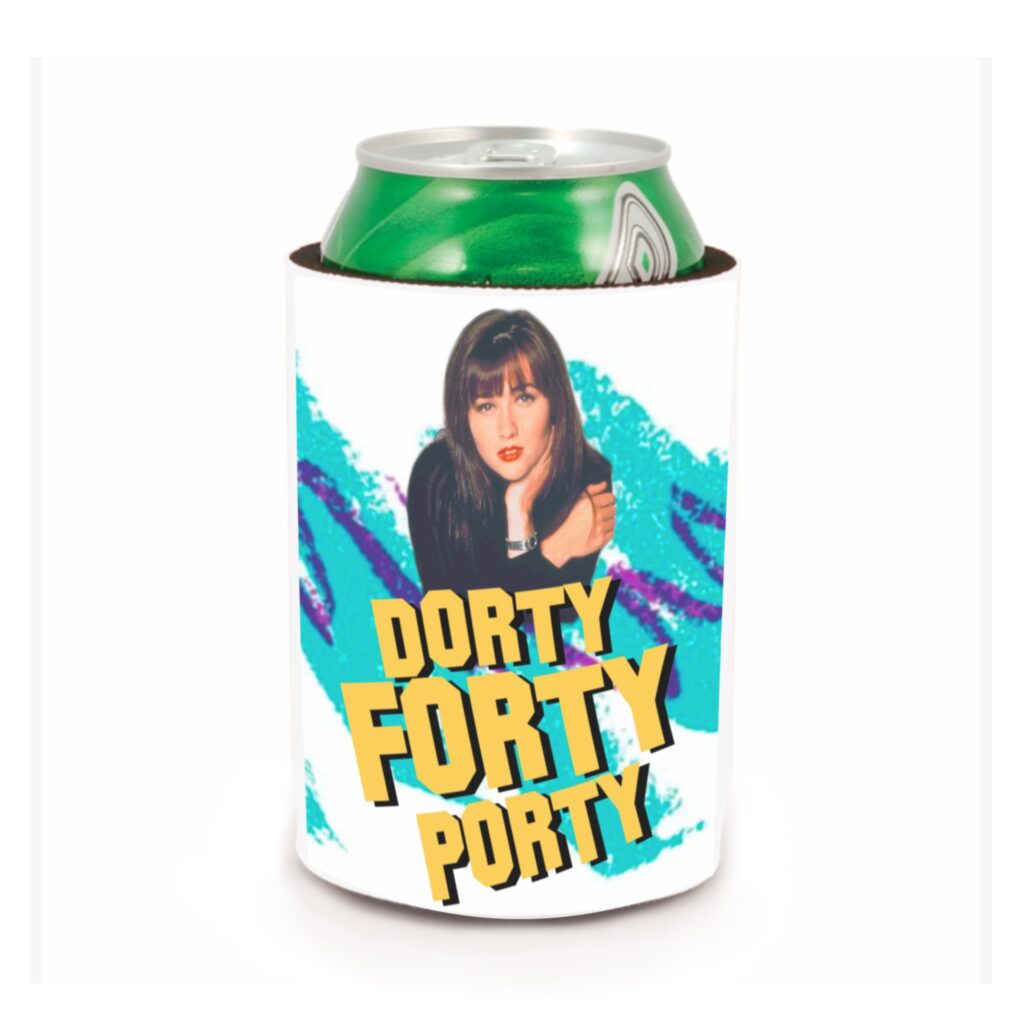
My friend’s 40th Birthday was last Summer, and he wanted to do a little backyard barbecue. He’s a kook, so he kept calling it his “DORTY FORTY PORTY”, as in like a “Dirty Thirty”, but, you know, not. It made absolutely no damn sense, but we all chuckled every time he said it.
How do you theme a party based on a phrase that has no particular meaning? By making shirts and party favors that also make no sense, silly! So I ordered some supplies and went to work…
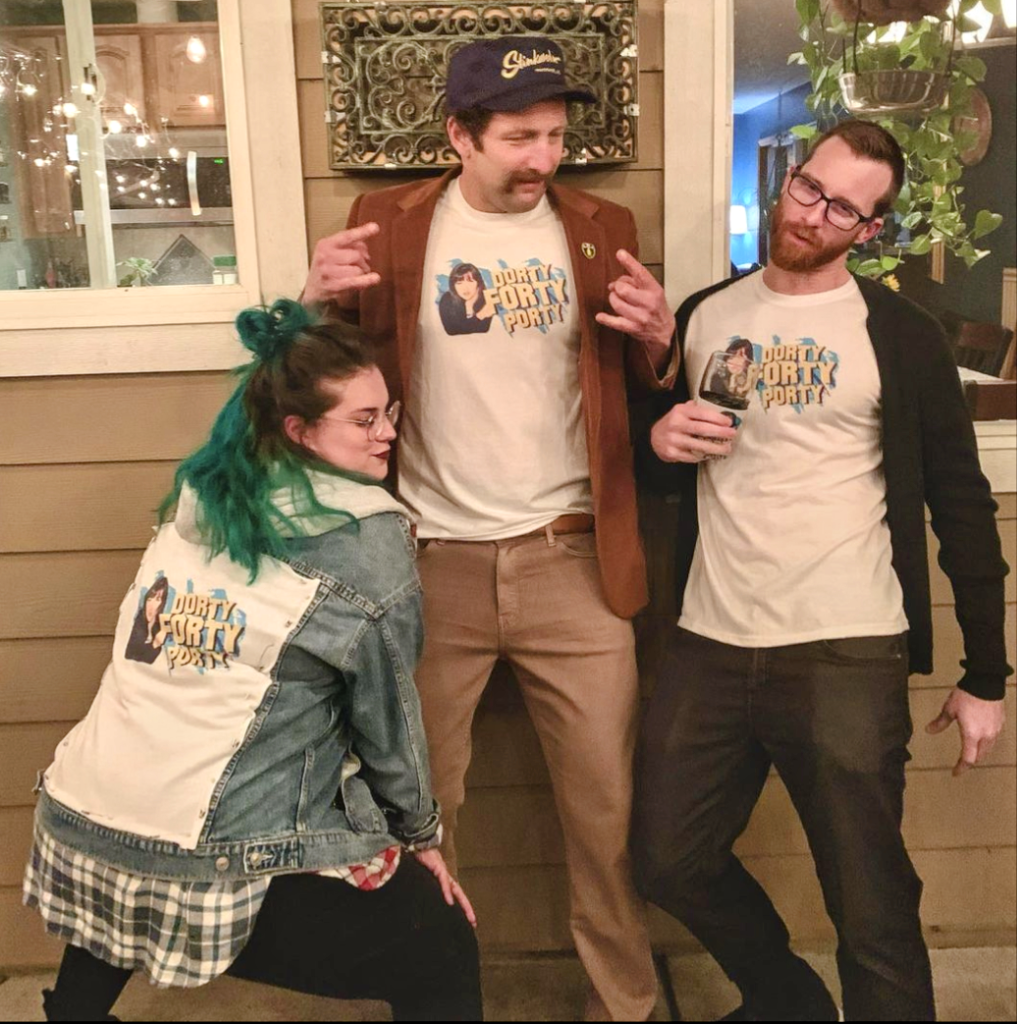
(A Quick Note: In this project I reference the beverage sleeves as Koozies, Coozies, Kozies, simply as sleeves, etc. It’s all the same thing, just lemme do me)
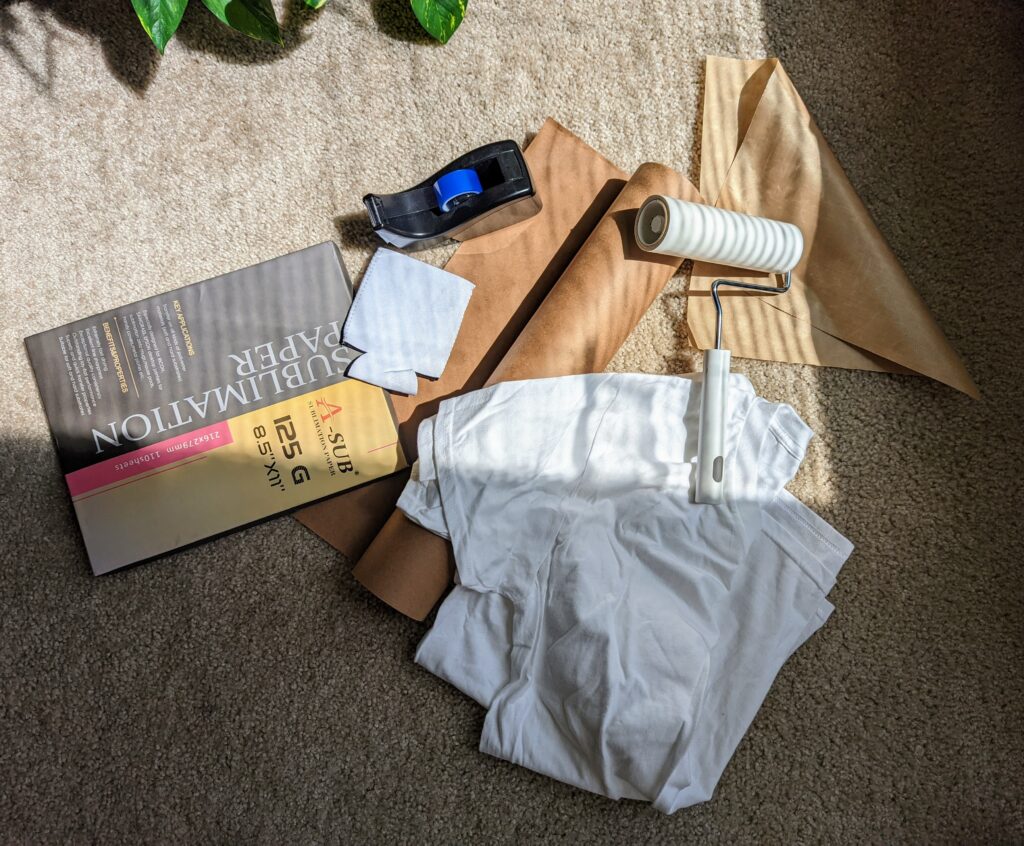
MATERIALS NEEDED
- 50/50 poly-blend white t-shirts. I picked mine up at Michaels, but you can find them on the cheap with a quick Google search.
- Beer Koozies. I found a pack of 50 for under $25 on Amazon. Make sure they say ‘sublimation’ or neoprene.
- Sublimation paper. I use the A-Sub brand
- Heat Resistant Tape
- Butcher paper
- Teflon Sheet
- Lint Roller
- Heat-Pressing Mat
- A Sublimation Printer. (Mine is actually converted an Epson ET2760 I bought on Black Friday from Costco into a sublimation printer by watching a very simple YouTube tutorial)
- Heat Press: I have the Cricut EasyPress 2 (9×9) and a heat press mat.
- A means to design your graphic. Adobe Illustrator, Inkscape, Canva are all great options if you have proficiency or have the time to learn. Personally I am not, so a cost effective and very user-friendly option that I use is Procreate.
THE CONCEPT
The theme for this project was already defined for us. But what IS a “Dorty Forty Porty”?
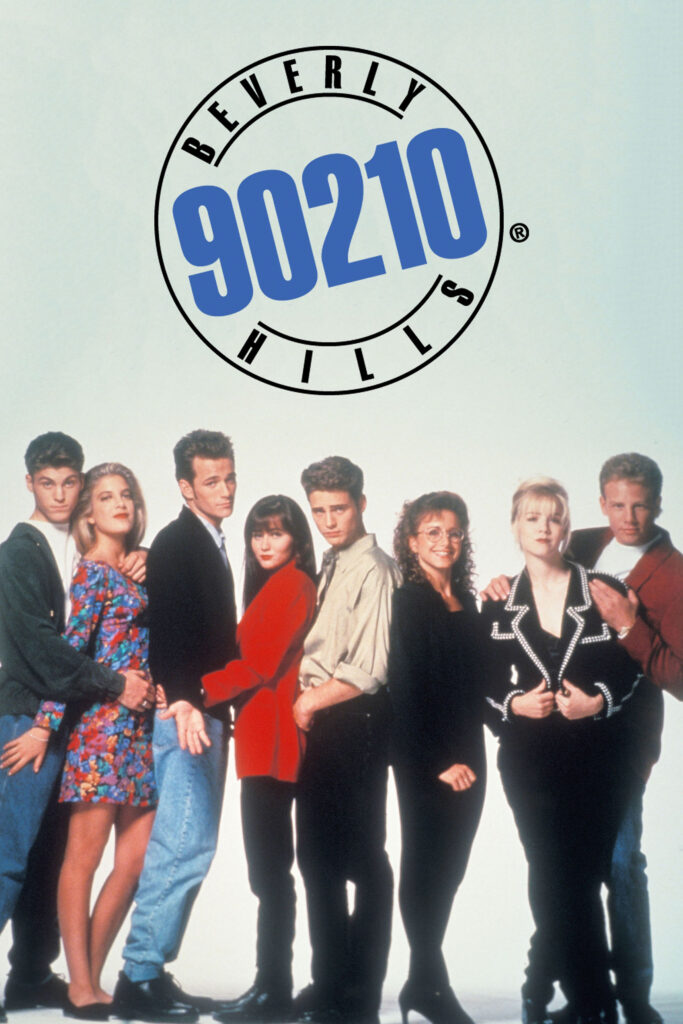
Well, the first thing that came to mind was Shannon Doherty from 90210. And my friend was turning 40, which allows that to fit into his pop culture references.
Next was figuring out how to design something that would integrate such a specific element. What I landed on was a very particular pattern that was printed on so many to-go cups when I was growing up. Almost this messy teal squiggle with a purple accent in it.
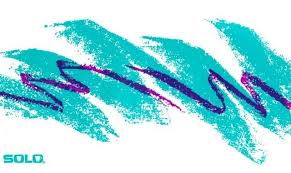
Good ole’ Google found me both my to-go cup squiggle reference and a picture of Shannon Doherty that I liked. Because this was for personal use I didn’t worry about copyrights, though now that I’m mentioning it to you I am in this moment realizing I should be. But whatever, I’m a nobody so hopefully its fine. I saved the images to drop into Procreate.
CREATING THE DESIGN
I have wasted so many products through laziness and winging it. So be sure to measure out your products to properly size your canvas’ dimensions accordingly.
For the Koozies I measured where I would want the image to be, and for the shirts I took note of my EasyPress’ dimensions, making the shirt design just under 9”x 9”.
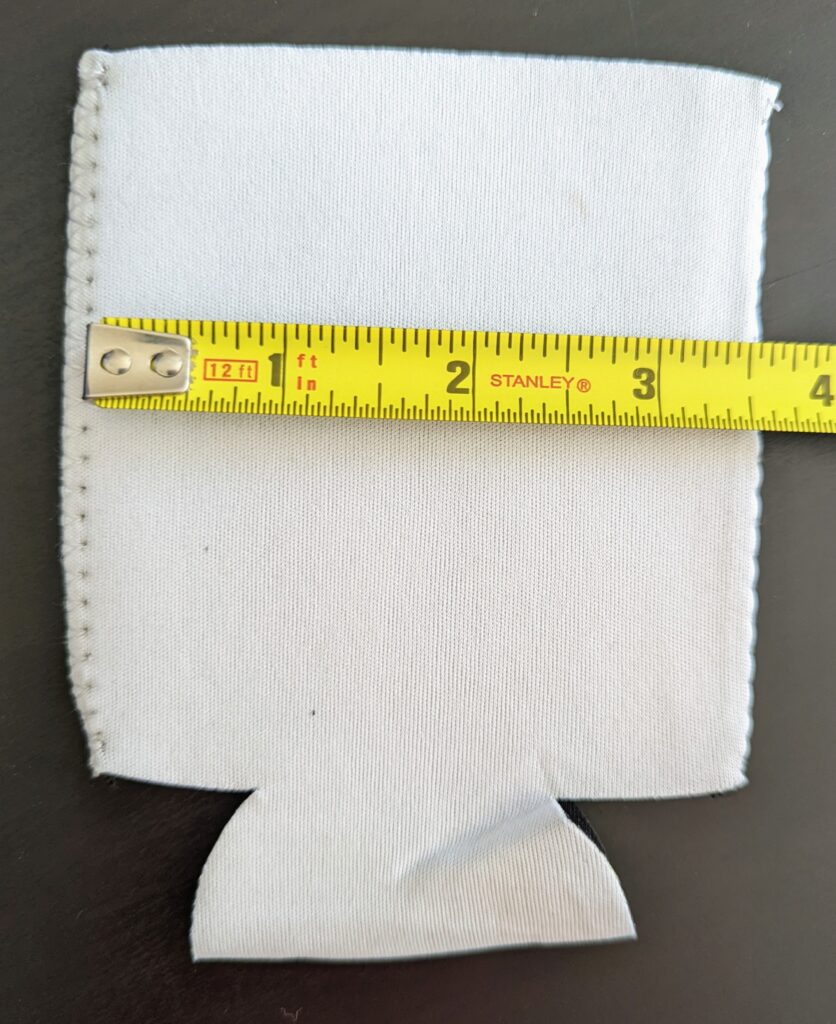
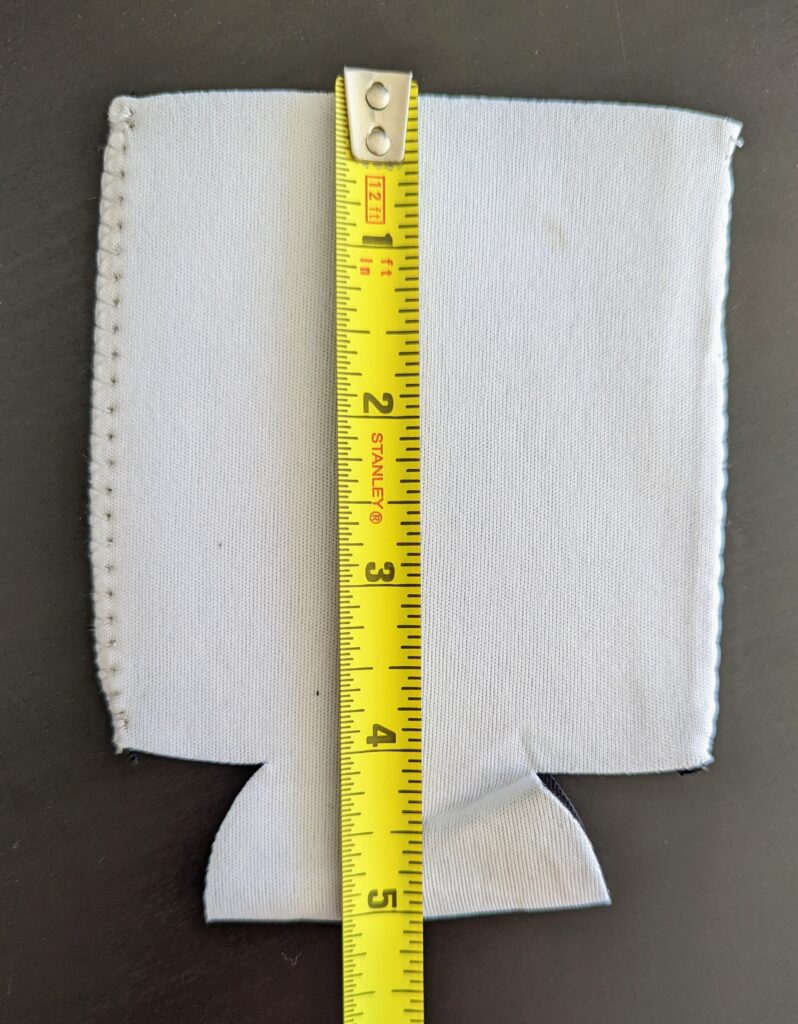
Opening the Procreate app I chose a large canvas. The koozies are small, but I’ve found it’s best to create on a large canvas and later shrink it down in Cricut Design Space. Starting with a small canvas creates issues if you later decide to use the design on a larger product. The image will become pixelated or horribly distorted this way.
I started by creating my to-go cup squiggles. Using a reference photo, I held my finger down until the app selected the color. I created a new layer and selected the “wedge tail” brush located under “vintage”. Then I created a new layer, shrunk down the brush size and created the purple accent. I then deleted my reference photo.
I inserted the Shannon Doherty image onto my canvas. Using my pen stylus, I went around Shannon Doherty’s outline, erasing the background using the soft airbrush brush. (This is definitely where having a skill set in proper illustration software would come in handy, as most would be intuitive enough to do this part for you).
I chose a few fonts to use for the text, and played around with the design elements until I liked the layout. This is the fun part, and was rather quick and easy.
Once I was happy with the design I saved my new image as an PNG. That way I could have the option to print it directly from the Procreate app, or drop it into Cricut Design Space if needed.
For Sublimation, the image needs to be mirrored, so you can do one of two things:
1. You can choose all of the layers and flip them horizontally, then print directly from the Procreate app. I will say that occasionally my IPad and my sublimation printer won’t play nice and suddenly my print has been randomly resized.
2. You can take your saved PNG and upload it into Cricut Design Space. Here you can verify the dimensions are correct, duplicate it to get more copies on a sheet and mirror the image before sending it to the printer. The only negative would be if your image is larger than Cricut’s Print then Cut preset dimensions (9.25”x6.75”).
I did a combination of both, uploading the Koozie design in Cricut Design Space, and printing directly from the Procreate app for the shirt. The height and width of my shirt design was 8.75”x7.25”, so I wouldn’t have been able to print via Design Space without resizing. Alternatively, the koozie design needed to be precise and I was able to print multiple designs on one sheet by way of using the Cricut method.
Once everything has been printed, cut around the borders of your images using a paper trimmer or scissors if needed.
HEAT PRESSING — DRINK SLEEVES:
Prepare your project by placing two Koozies on the pressing mat. It is wise to lint roll the surface to the sleeves to remove any fuzz, lint or particles that could affect the transfer. First press the koozies for 3-5 seconds to remove any moisture from the product.
Using a couple small pieces of heat resistant tape, align and attach your printed images to the koozies. Make sure the image is taped down enough as to not move. If the image were to shift during the pressing it will create a “ghosting” effect, meaning the image will have a sort of shadow from the exposed residual ink.
Cover the two Koozies with a double layer of butcher paper which helps catch any possible ink from bleeding through. Top with the Teflon sheet and begin your press.
Sublimation works by using heat to essentially bring ink and fabric together as one. So for this project I used 390 degree temperature with a 40-45 second press time using light
to medium pressure. Again – be mindful not to move or nudge the press during the pressing process to minimize any ghosting.
Once the press is complete, carefully remove the teflon sheet and butcher paper. Remove the original image paper by slowly lifting up and away from the Koozie. Repeat this process as many times as needed. I made 50 so it took a hot minute.
*If you have decided to add an image to both sides of the Coozie, make sure to allow the sleeve to completely cool before pressing the opposite side.
HEAT PRESSING — CUSTOM SHIRTS:
I opted for the matching shirts to be made using a 50/50 cotton/polyester blend. Sublimation on shirts requires polyester for the ink to bind with the material. Using a blend will produce a slightly lighter image, creating a more retro, slightly faded look. If you would like a more vibrant finish, opt for a higher polyester count. 100% Polyester will produce the most luscious of colors.
Repeat the process as above for the Kozies, with the addition of inserting a sheet or two of butcher paper inside of the shirt. This will prevent the ink from pressing through to the back. (And there’s also the obvious exception to only press one shirt at a time).
AND WOO-HOO! WE DONE!
AND THAT’S IT!
Although not completely low-budget, this project is reasonably inexpensive given the amount of value custom shirts and Beer Koozies bring to any celebration.
I would postulate most people would be quite impressed at the sight of all their friends wearing matching shirts and be handed a custom party favor that you could keep as a souvenir, especially if they weren’t expecting it. I know my friend was.
And of course you can just do only one of the two projects and it’s just as special. Surprise parties, anniversaries, graduation, St. Patrick’s day, for a local business or event, this lends to a multitude of options to play with.
What will you put on a Koozie? Get out there and steal this idea or come up with your own. Let’s make some weird shit!
…Okay, bye.

